About this mod
This mod is designed to revolutionize the way companions are controlled and interacted with, rendering the companion-wheel obsolete and bringing new elements of team-work and tactics, with the intention of making the game look and feel more as a proper role-playing game than as an action-shooter.
- Requirements
- Permissions and credits
-
Translations
- Spanish
- Portuguese
- Changelogs
This mod is designed to revolutionize the way companions are controlled and interacted with, bringing new elements of team-work and tactics, with the intention of making the game look and feel more like a proper role-playing game than an action-shooter.
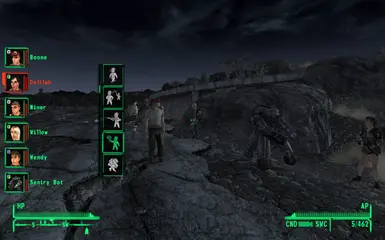
Using a HUD interface, companions can now be given any companion-wheel command (as well as a handful of new commands), all remotely, in real-time, without having to approach them and initiate dialogue. Effectively, this renders the companion-wheel obsolete.
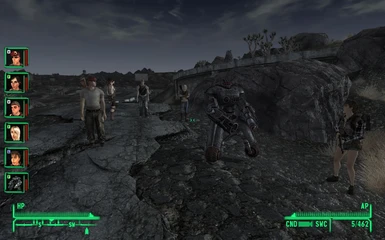
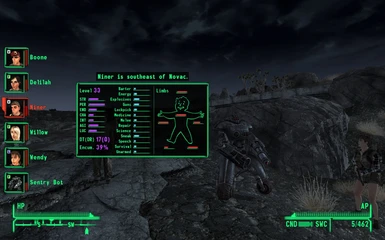
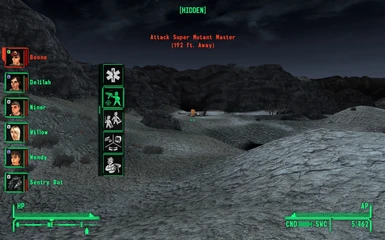
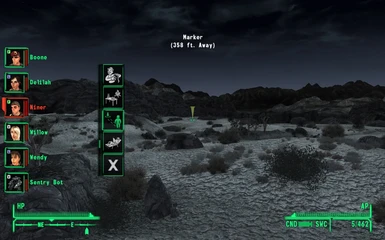
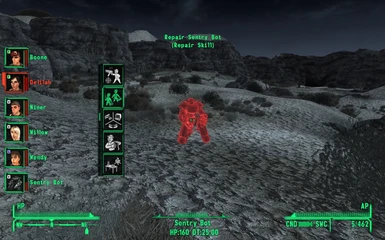
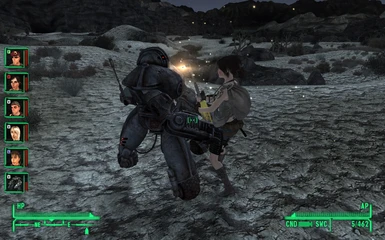
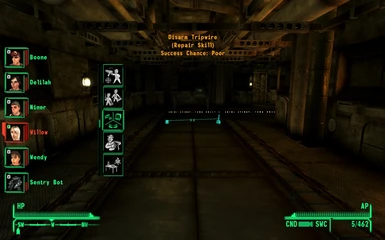
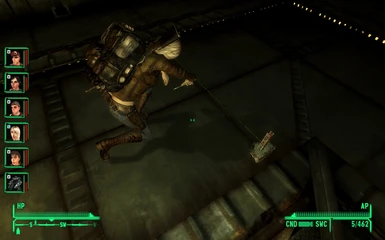
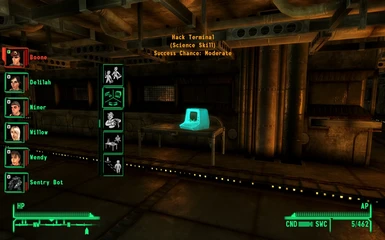
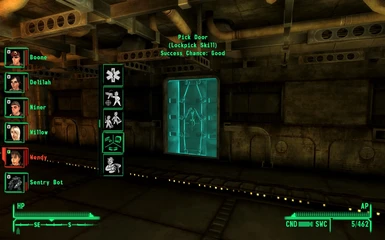
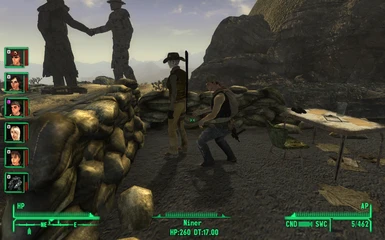
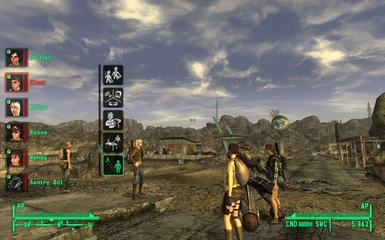
Similar to classic role-playing games, each companion will have its own avatar displayed on the HUD (see images section), with a health bar, and an indication of its current action (following/guarding/relaxing/in combat etc.).
ANY companion, both vanilla and non-vanilla, should be fully-supported by this mod. Companions who have a working companion wheel, or are based on either the NosCo or EZ companion systems, will be automatically added/removed as controlled companions when joining/leaving the party.
This mod also includes a powerful tool which enables you to force-recruit and control ANY NPC/creature in the game (including enemies). This will be explained in more detail below.
Key Features
ALL vanilla companion-wheel commands. These include:
- Wait Here/Follow Me
- Stay Close/Keep Distance
- Use Melee/Ranged Weapon
- Be Passive/Aggressive
- Share Items (open companion's inventory)
- Use a Stimpak (replaced by 'Use Aid Item(s)'; see below)
- Start Conversation
New, very useful commands:
- Attack Target - The companion will concentrate on attacking a single target (chosen by the player), using either a melee or a ranged weapon, and staying hidden if the player is in sneak mode.
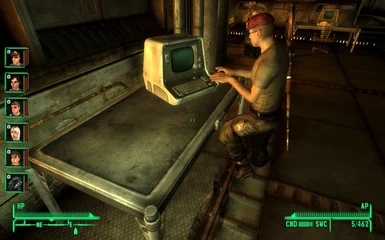
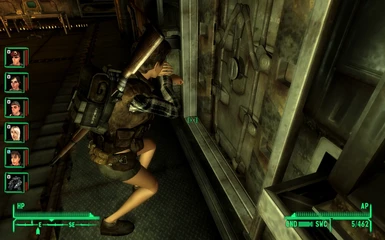
- Hack Terminal/Pick Lock/Disarm Trap or Mine - The companion will perform any of these actions on a target (selected by the player). Success chance is determined by a skill-check (based on the required skill and the companion's level) vs. task difficulty-level. Note that a companion is not required to be proficient in the relevant skill in order to make an attempt, but his success chance will be considerably lower.
- Heal/Repair - The companion will treat the injuries of a living target, or repair a robotic target. The treatment includes restoring health, limb condition, curing poison and bringing round knocked-down companions - each requires the companion to carry the appropriate chems/parts in his inventory. For living targets, Stimpaks, Super-Stimpaks, Doctor's Bags, Antivenoms (and RadAways on the player's character) can be used; For robots, the following misc items can be used, for restoring both health and limbs: Wonderglue, duct tape, conductor, scrap metal and scrap electronics (each item restores a different amount, with Wonderglue being the least and scrap electronics being the most effective). The companion's skill and level are used when calculating the effectiveness of the treatment (i.e. how much health/limb condition is restored). Medicine skill is used when healing living targets, otherwise Repair skill is used. Note that when no target is selected, the companion will attempt to treat the player's character, instead.
- Loot/Pickpocket - The companion will either loot an item (of any type) or a container, or pickpocket a target NPC (in both cases, selected by the player). As with Hack/Pick/Disarm, success chance is based on the companion's skill (Sneak), and is also modulated by several other parameters (such as the environment and alertness of nearby NPCs). Looted items will be found in the companion's inventory. Aside from the obvious advantage of being able to utilize yet another companion skill, another advantage is that no karma/reputation loss is suffered when stealing/pickpocketing, provided the companion was able to complete the task without being detected. If caught, however, the usual negative effects will apply (though any stolen goods will not be confiscated).
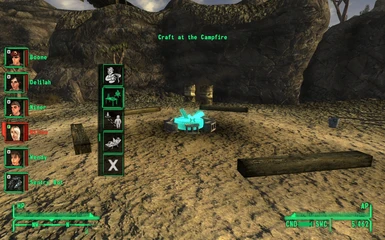
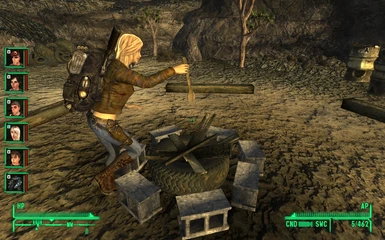
- Use Crafting Station - The companion will use a workbench, a reloading bench, or a campfire to craft items. This will open the appropriate recipe menu, depending on which crafting station was targeted. The companion's skills will be used (instead of the player's) to determine which items can be crafted. The companion will also receive a temporary skill boost, equal to his level. All the ingredients required for crafting the items must be carried by the companion, in his inventory.
- Move To and Stand Guard - The companion will move to where the crosshair is pointed at and remain there on guard, attacking any enemy who comes near, and staying hidden if the player is in sneak mode.
- Use Aid Item(s) - An improved, more "intelligent" version of the companion wheel's 'Use Stimpak' option. Stimpaks, Super-Stimpacks, Doctor's Bags or Antivenoms - any of these can be used by a companion when given this command. Only those items which are required to treat his current injuries (if any) will be used, to prevent waste. If the companion is within 10 feet of the player, the player's Medicine skill will be used to determine the effectiveness of the healing item (unless the companion has a higher skill). If the companion is farther than 10 feet, he will need to carry the required items in his inventory. Note that non-human companions cannot heal themselves, and must therefore be very close to the player when using this option.
- Relax - The companion will go into "sandbox" mode, interacting with idle markers, furniture, food, drink and other NPCs in his vicinity.
- Cancel Command - Cease doing any of the above.
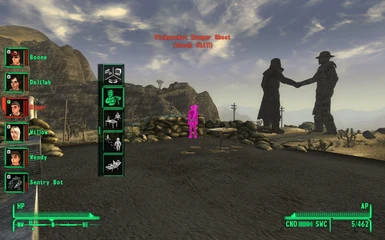
Force-recruit NPC/creature - This powerful tool enables you to force NPCs/creatures into joining your party and become fully-functional companions. "Forced" companions will follow any command given to them via the CC&C command interface. Creatures will also have a portrait in the companion bar.
- ANY NPC/creature in the game can be force-recruited (including enemies).
- Force-recruiting an NPC/creature will override its normal AI behaviour/routine. Use with caution when force-hiring plot-related NPCs.
- This can be used with "simple", custom companions created in the GECK and added to the game - you don't have to make or deal with any scripts/packages/dialogue at all.
- Hold down the Force-Recruit hotkey (the key is set from the MCM control-panel).
- Point the crosshair at the target NPC/creature until it flashes green.
- Release the key and confirm.
- To dismiss a forced-recruited companion, open the Companion Settings Panel (see below) and select 'Dismiss Companion'.
Manage Equipment - Enables complete control over the equipment companions use. Have a companion (un-)equip a weapon/armor, or use a consumable item (chem/food/magazine), similarly to how it is done with the player character - via the inventory menu. The companion's equipment is "locked", preventing him from switching equipped items independently.
How to use:
- Open the companion's inventory (use the 'Open Inventory' command).
- Highlight an item, then right-click (or press the 'X' button - if using a controller).
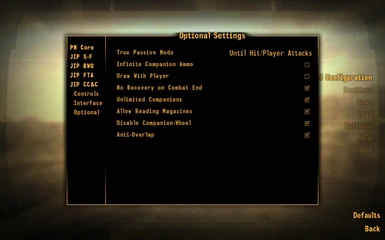
True Passive Mode - With this option enabled, a companion that is set to 'Be Passive' will become truly passive in combat - he will draw his weapon and remain close to the player (or stay put if told to wait), but will not engage enemies at all. There are five optional settings:
- OFF (vanilla behaviour).
- Remain passive until taking damage.
- Remain passive until the player attacks an enemy.
- Remain passive until either taking damage or the player attacks.
- Remain passive always.
Infinite Companion Ammo - With this setting enabled, companions will no longer consume ammo when not using their default weapons. Note that a companion must still carry at least one round of the required ammo type in order to equip a weapon.
Unlimited Companions - With this enabled, you will be able to recruit as many companions as you like, and will no longer be restricted to having a maximum of two companions (one humanoid, one critter) at a time. This option can be switched on/off from in-game, at any time.
Draw with the Player - Toggling this option will make companions draw/holster their weapons when the player does.
No Recovery on Combat End - With this setting enabled, companions will no longer fully-recover health and limb injuries when combat ends. When regaining consciousness, companions will recover only 15% of their total health.
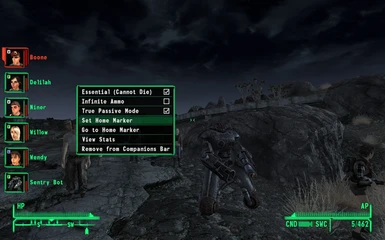
Companion Settings Panel - Various settings can be configured from this panel for each companion, individually:
- Essential - Prevents the companion from dying when reaching 0 health. Only applicable in hardcore mode.
- Infinite Ammo - Whether the 'Infinite Companion Ammo' option will apply on the companion.*
- Manage Equipment - Whether the option of the same name will apply on the companion.*
- Set Home Marker - Marks a specific location as the companion's "home".
- Go to Home Marker - Self-explanatory.
- View Stats - Displays the companion's statistics and attributes, including current location, experience level, SPECIAL, skill level, damage threshold, damage resistance, encumbrance rate and limb condition.
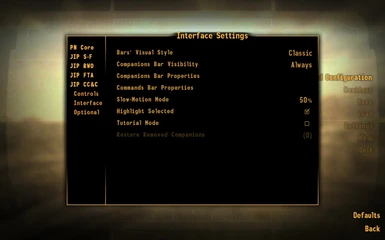
- Remove from Companions Bar - Self-explanatory. Removed companions can be restored by selecting 'Restore Removed Companions' in the 'Interface' sub-menu in MCM.**
* This enables to turn off this feature only for specific companions (rather than completely) if it is found to cause issues with them.
** Useful when having more than sixteen companions (the maximum the mod can control) and wanting to make room for others.
Additional notes on Home Markers:
- Setting a Home Marker will not change the location where the companion will travel when leaving the party.
- The only way to send a companion to his Home Marker is via the Go to Home Marker option.
- Sending a companion to his Home Marker is not the same as dismissing him, and will not remove him from the party.
Can control up to sixteen companions. If you have an entourage of more than sixteen companions, you can select which sixteen are controlled (see above) - the rest will be ignored.
Can display up to ten companion-avatars. You can select which companions are displayed.
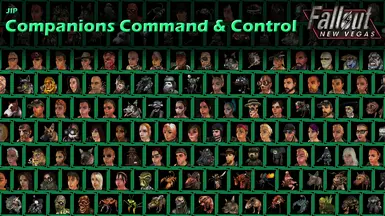
Includes unique avatar (portrait) images of more than 150 companions (see 'Miscellaneous' below for a list of mods). Where no unique avatar is available, a generic, placeholder image will be used instead. Adding new avatars is fully-supported, and very simple. An in-depth guide is available from the files tab, which demonstrates, step by step, how you can create your own avatar images.
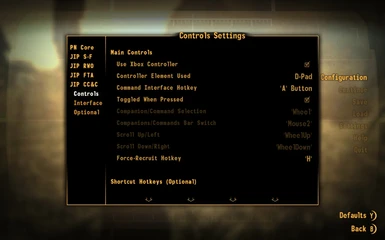
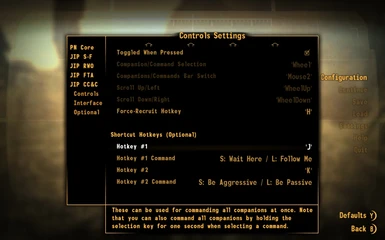
MCM Control-Panel - Most aspects of this mod, including controls, display properties and optional features, can be configured according to your preferences.
Controls
The following is a summary of the controls used in this mod and their different functions in each of the three bars/menus.
(M/K = When using a mouse & keyboard, CT = When using an Xbox controller)
Activating the CC&C interface - M/K: Hold 'C' key, CT: Hold 'A' button for one second.
SELECT - M/K: Mouse wheel button, CT: D-Pad right.
SCROLL - M/K: Mouse wheel up/down, CT: D-Pad up/down.
SWITCH - M/K: Right mouse button, CT: D-Pad left.
* The above are the default controls. Different controls can be configured via the MCM control-panel.
Companions Bar:
- Scroll between companions - SCROLL
- Open the Commands Bar - SELECT
- Open the Companion Settings Panel - Hold SELECT for one second
- Move a companion up/down - SCROLL while holding SWITCH
Commands Bar:
- Scroll between commands - SCROLL
- Select a command - SELECT
- Command all companions - Hold SELECT for one second
- Move a command up/down - SCROLL while holding SWITCH
- Return to the Companions Bar - SWITCH
Companion Settings Panel:
- Scroll between settings - SCROLL
- Select a setting - SELECT
- Go one menu back - SWITCH
Miscellaneous:
- All companions are automatically added and managed - no need to equip them with a special "token" item and such.
- The mod includes unique avatars for all vanilla companions (including DLCs), as well as for companions added by the following mods: Caesar's New Regime, ARES Project, Baby Deathclaw Commander, Bella's Bunker, Benny Returns, Beyond Boulder Dome, Cyan, Delilah, Desmond Harper, Four Legged Friends, If It Wasn't for Betsy, Jocelyn Child Companion, Katie NPC, Marcus, Melissa Lewis, Milton and Hans, Miria, More Perks, New Vegas Bounties II, Niner, Pitbull Dog Companions, Project Brazil, Radiation Weapons Kit - Sonia NV Edition, Reunited And It Feels So Good, RobCo Certified, Russell, Rusty the Bear, Sarah Conner, Sunny Smiles, Tess, The Inheritance, Ulysses, Wendy Gilbert, Willow, All Fallout 3 companions (requires Tale of Two Wastelands).
- This mod was designed to be as lightweight as possible, with a minimal game footprint, and should not have any adverse effects on performance (including on slow machines).
Requirements
- The New Vegas Script Extender (NVSE) version 5.0b2 (or newer), installed and loaded with the game.
- JIP LN NVSE Plugin version 48.50 (or newer).
- The Mod Configuration Menu
Installation
Using the Nexus Mod Manager/Fallout Mod Manager/Mod Organizer:
Install in exactly the same way you would install any other mod.
Install manually:
Extract the contents of the .7z file into your Fallout: New Vegas 'Data' folder, then open what mod manager you use and make sure “JIP Companions Command & Control.esp” is ticked.


