


0 of 0


About this mod
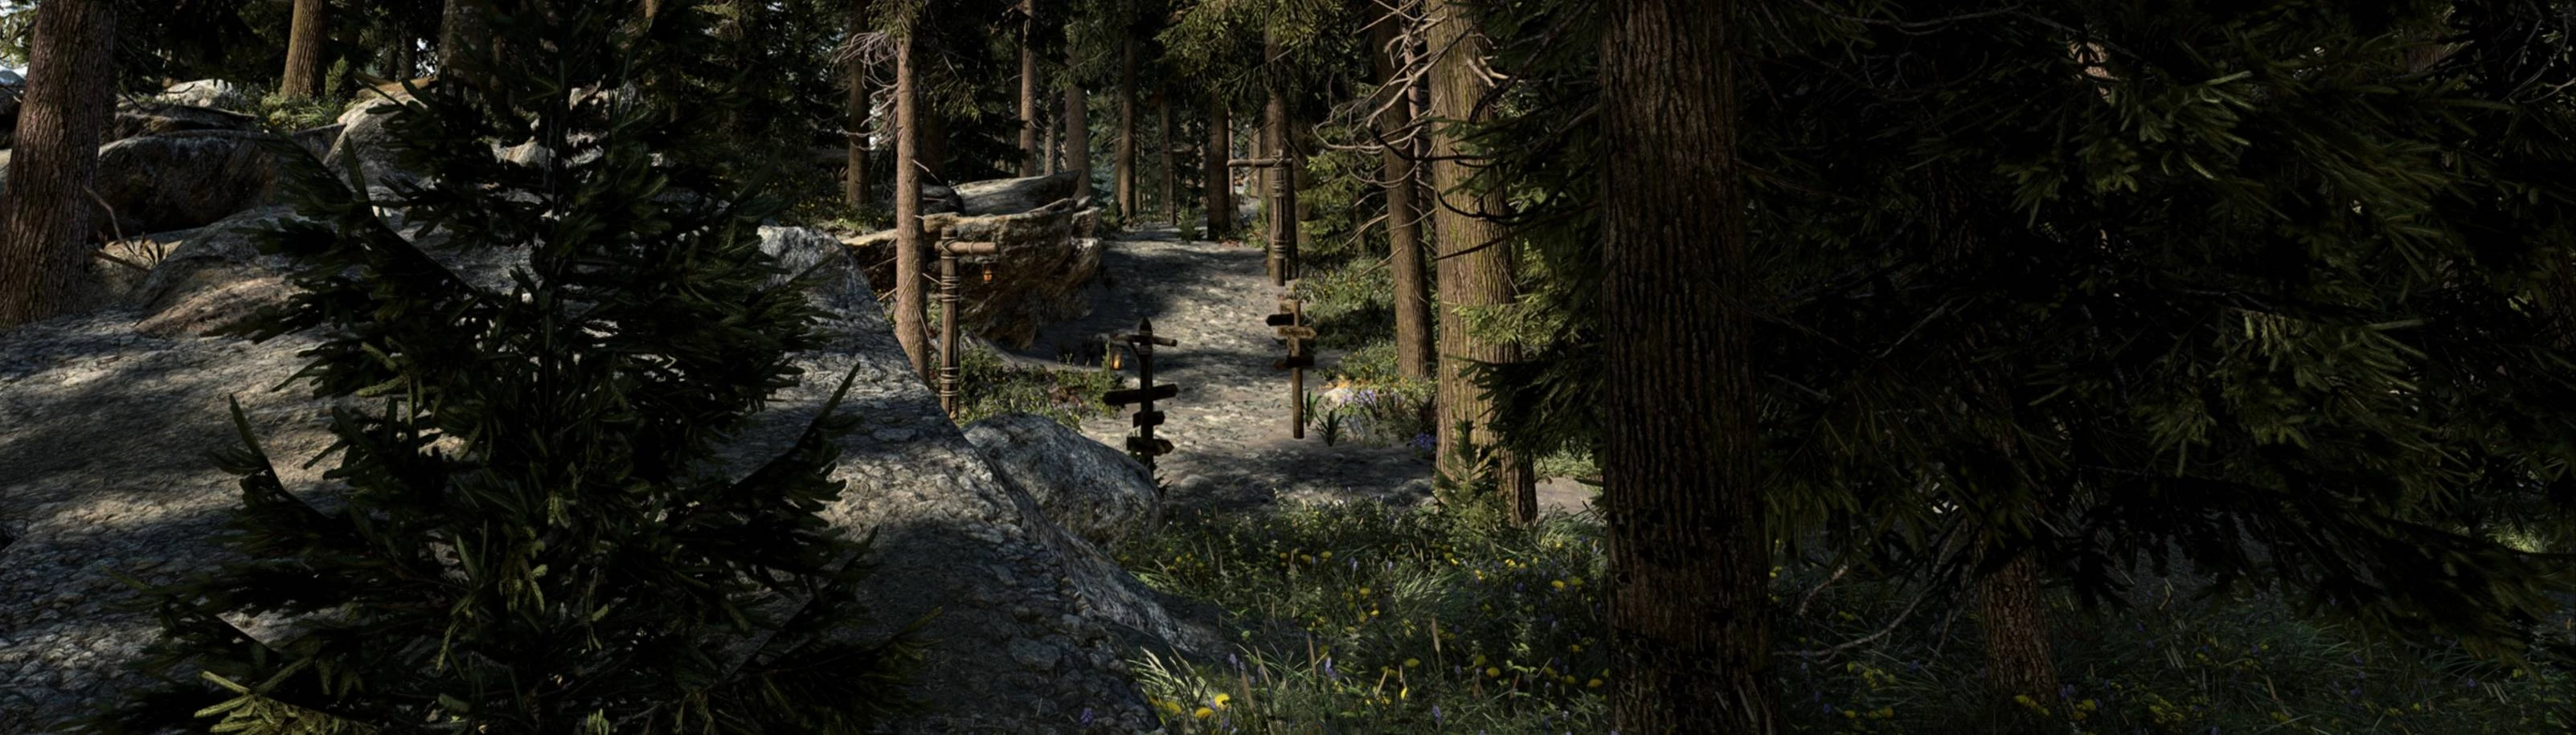
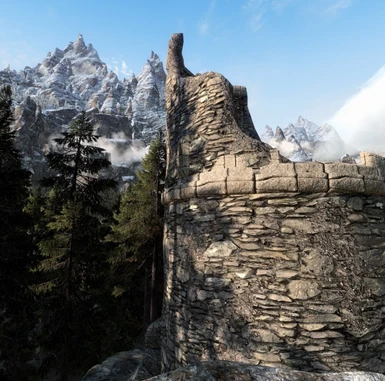
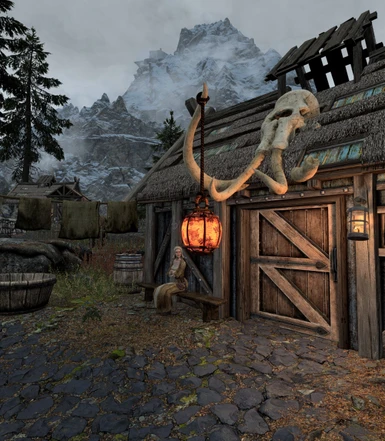
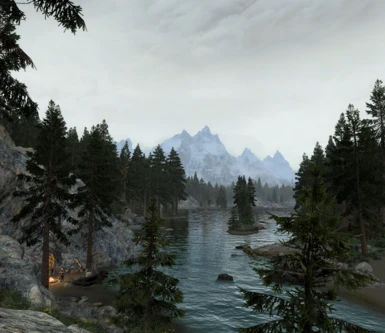
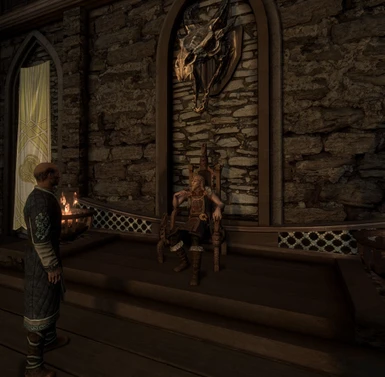
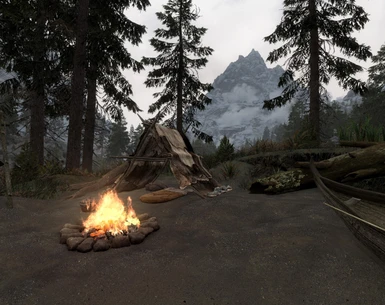
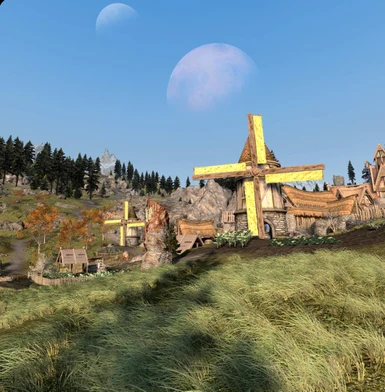
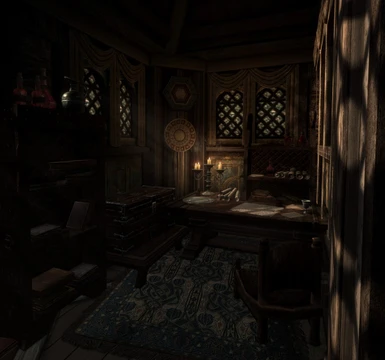
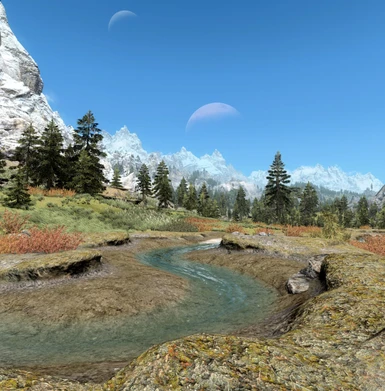
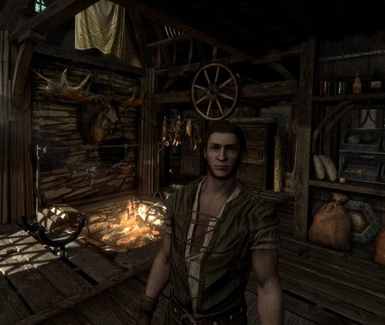
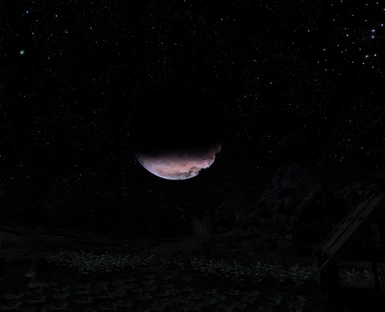
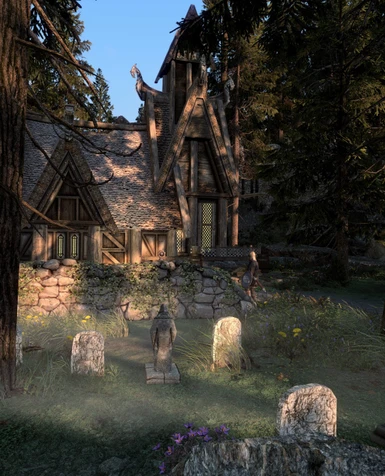
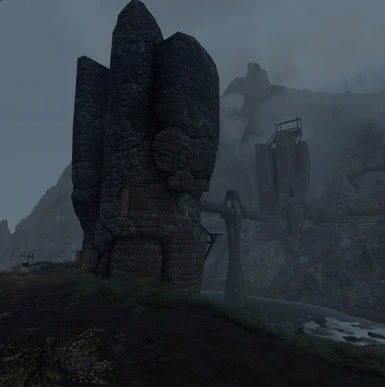
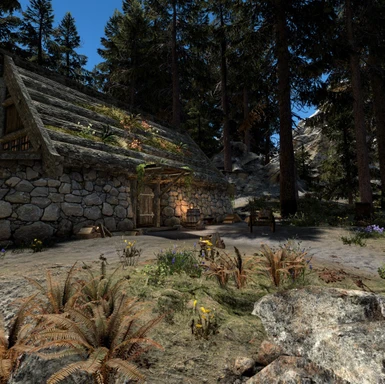
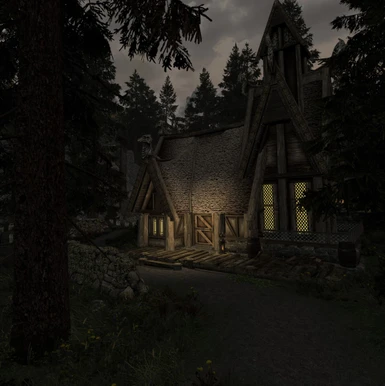
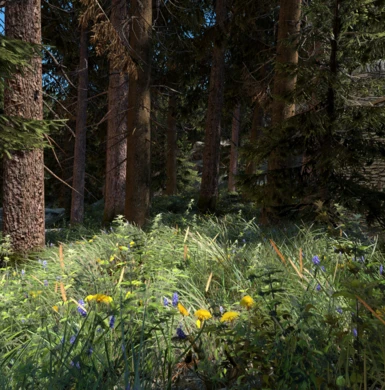
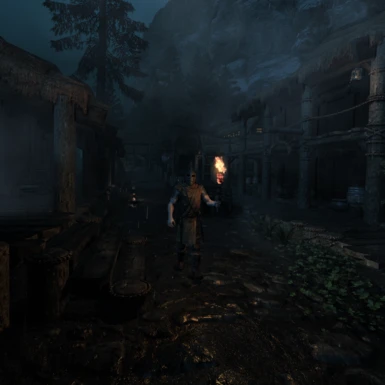
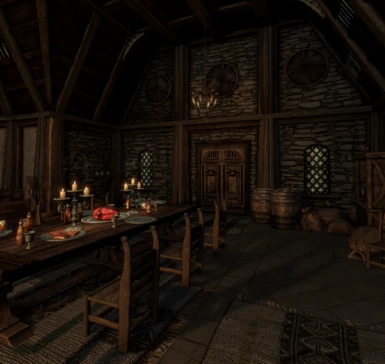
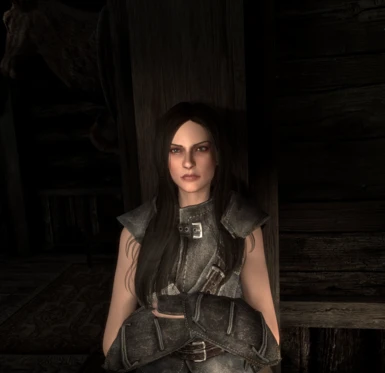
This is a Reshade preset designed to be used alongside NAT standalone weather and Community Shaders, primarily for VR. This preset can be used to replace the built-in Skyrim bloom with a subtle yet significantly higher quality version via post processing. Also includes a sharpener and Glamarye shader for performance friendly AO.
- Requirements
- Permissions and credits
- Changelogs
- Donations
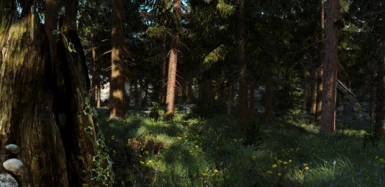
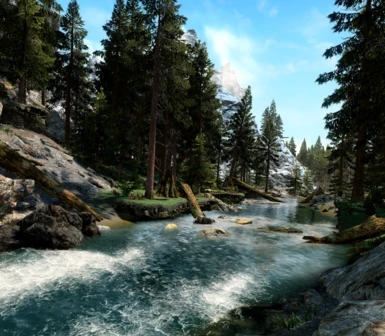
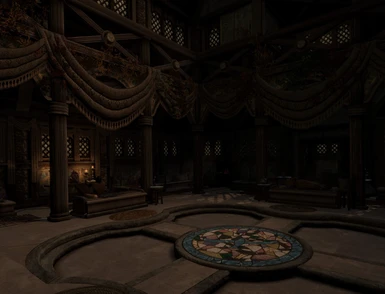
A simple 3 shader preset I put together to help with my transition from ENB to Community Shaders and still retain much of the visual feel I was used to. This is intended for use in VR with NAT 0.4.2c (aka NAT Standalone), but it can be used with other weathers as well. The order is designed to reduce visual artifacts as much as possible.
My advice is to tweak this for your VR headset, because they all have different display characteristics. Some are brighter, some or more vivid, some are blurrier, some better contrast, etc. This was setup for my Quest Pro which should have very similar display characteristics as the Quest 3. Everyone also has different personal preferences, so it's worth playing around with the settings and learning how these tools work to find your personal favorite.
Multi Pass Bloom
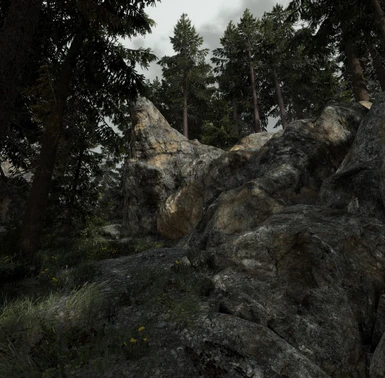
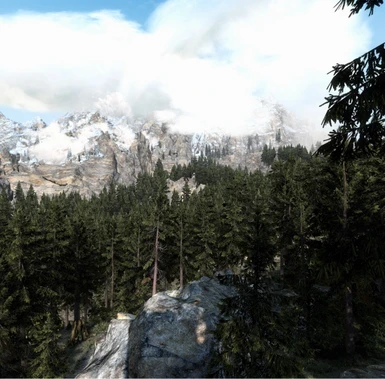
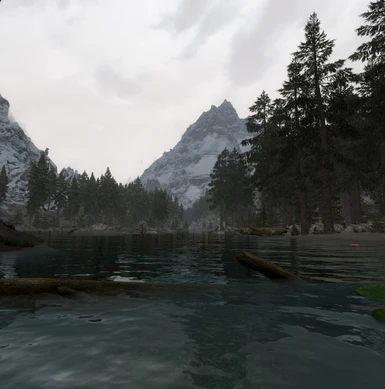
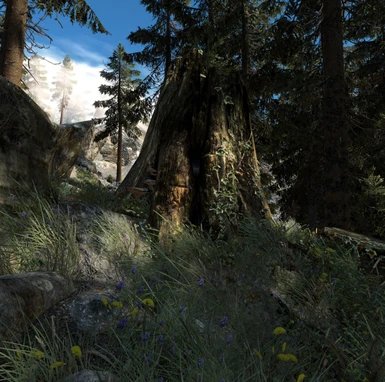
The first shader is to tweak the lighting using prod80's bloom which is what I settled on after testing just about every Reshade bloom shader out there. It is the best balance of performance and looks came across. I have it set to 2 in the pre-processor definitions for maximum performance, and set to focus a subtle bloom only on the brightest parts of the image. This won't make your whole screen blurry, and remind you of the Oblivion days. If you prefer no bloom you can disable this one.
Sharpen
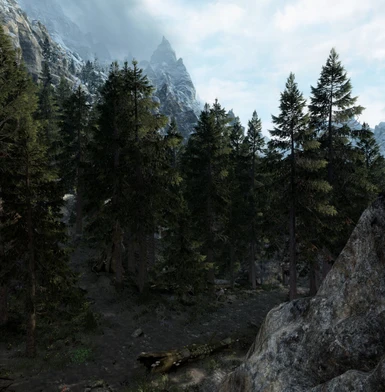
The second shader is vrtoolkit from Retrolux which provides a sharpener(CAS or Filmic Anamorph) and dithering to remove the banding that can occur with gradients from the bloom stage. You can disable the dithering to improve image quality if you don't mind seeing occasional banding. Make sure to adjust the mask size to your HMD and personal preference. I prefer the look of the filmic anamorph sharpener but it can start to create subtle artifacts at high values if you're stacking it with a different sharpener like CAS. CAS at medium to low values is good, but at higher values can really start to change the overall look of the image and provide too much sharpening to textures. The sharpener runs before AO because you don't want to sharpen Glamayre. It uses a shading technique that has a dithered pattern and becomes more apparent if it's sharpened.
On Link/Airlink I additionally use Link Sharpener set to Quality. On Virtual Desktop, use the CAS sharpener there. If using DLAA/DLSS from the upscaler, consider the sharpener there as well because it has a good look to it, but watch the performance hit from it.
If you use a LUT file, load it in this shader.
AO and GI
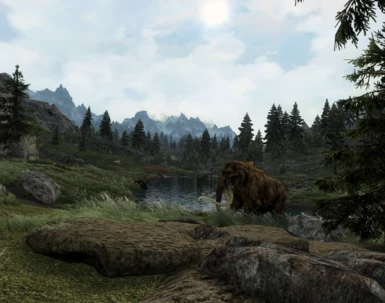
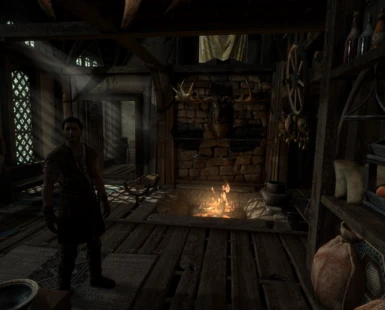
The last shader is rj200's Glamayre of course for performance friendly AO(Ambient Occlusion) and GI(Global Illumination). I tried a lot of other options but none of them came close to the performance of this one. It focuses on smaller detail rather than large scale AO, and is only used near distance to avoid fog and water overlay. It reduces AO in bright areas using the global illumination data. This requires your depth buffer to be functional in Reshade, so make sure you confirm that is working first. I have it set to 10 sample points in the pre-processor definitions which is the maximum the shader author recommends for it. If you're on a potato pc, lower to 8 or even down to 6. Depth Buffer Guide
Install:
Download, place into your Skyrim VR directory. Run the Reshade installer and select this preset for it download the shaders required.
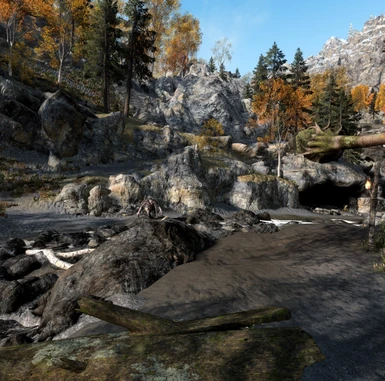
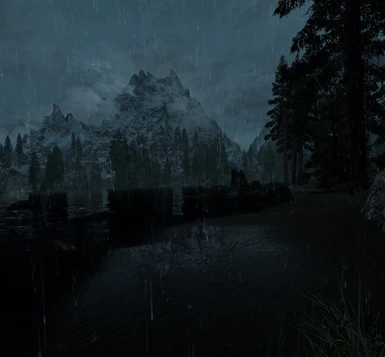
If you are using NAT standalone, I recommend disabling all of it's graphics options except for interiors and the torch. Each one creates visual anomalies that I found quite distracting. For color correction I use it's built-in saturation boost of 50%. You can adjust nights to your liking but I kept the default.
To disable the built in Skyrim bloom, I included an ESL flagged patch that is the result of a modified Imagespace Neutralizer xedit script in the misc files section to just change bloom values and leave the rest of the imagespace settings of NAT intact.
Check optional files for more VR tweaks.
Performance will vary based on your render resolution and GPU primarily.
V1.1 Update
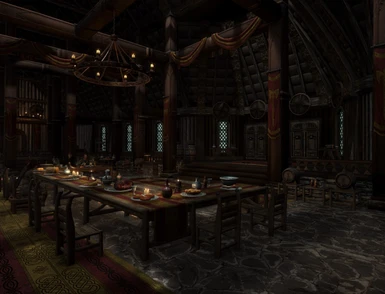
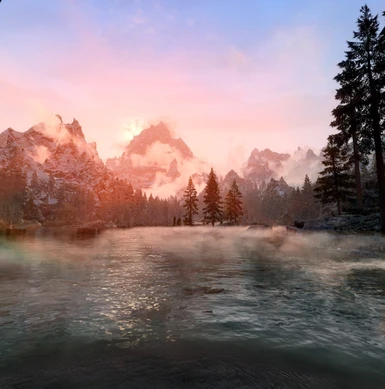
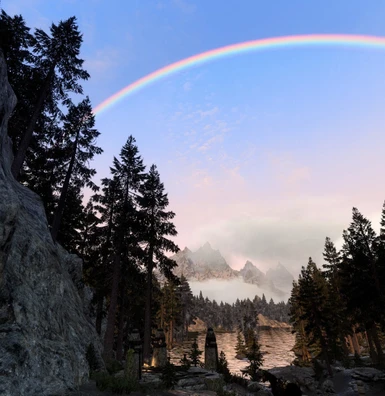
Switched to using Vanilla HDR tonemapper since it's release for VR. Interiors have the biggest change. I no longer needed LUX "Even Brighter" template. Bright sunlight outdoors will appear more desaturated than the previous version due to the new tonemapper and I think it gives a more realistic look. Gone are the crushed blacks from the default engine tonemapping. This will look stylistically a little different than plain NAT. If you prefer NAT's original look, stick with v1.0 still in the files section.
Install Vanilla HDR VR
Overwrite with the VHDR configuration file in Optional Files section
Move the LUT .png file to reshades folder for textures in SkyrimVR\reshade-shaders\Textures
v1.1 preset will automatically load the LUT if it is found in the folder.
vrtoolkit.fx which was included for sharpening now adds the LUT at basically no performance cost.
Adjust Dithering strength as needed if you encounter banding on gradients.
Recommended:
NAT 0.4.2c
Community Shaders
Reshade Toggler
SkyrimVR Upscaler
Truestorms (No Fog Version)
NAT Truestorms Compatibility Patch (Dark and Stormy version)
Splashes of Storms
Splashes of Storms VR
Minty Lightning
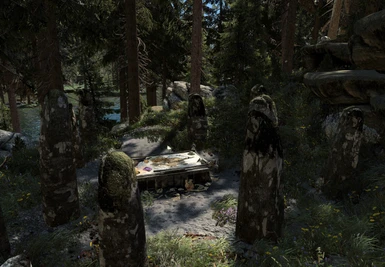
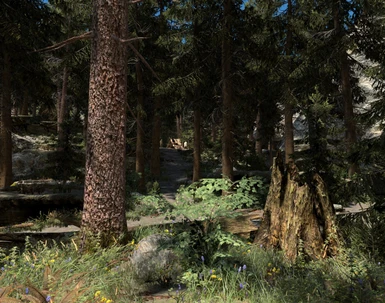
Fabled Forests
Skoglendi Grass Mod (Include tree retexture for Happy Little Trees)
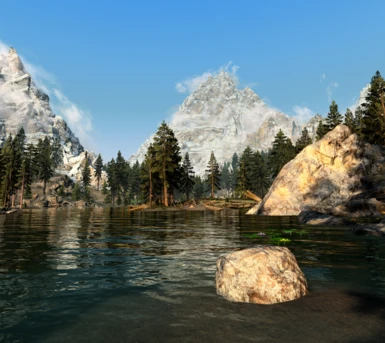
Majestic Mountains Complex Material Parallax
Lux (Even Brighter template)
Embers XD
Morning Fog
Skygazer Moons(No Glow version)
Bears of the North
My advice is to tweak this for your VR headset, because they all have different display characteristics. Some are brighter, some or more vivid, some are blurrier, some better contrast, etc. This was setup for my Quest Pro which should have very similar display characteristics as the Quest 3. Everyone also has different personal preferences, so it's worth playing around with the settings and learning how these tools work to find your personal favorite.
Multi Pass Bloom
The first shader is to tweak the lighting using prod80's bloom which is what I settled on after testing just about every Reshade bloom shader out there. It is the best balance of performance and looks came across. I have it set to 2 in the pre-processor definitions for maximum performance, and set to focus a subtle bloom only on the brightest parts of the image. This won't make your whole screen blurry, and remind you of the Oblivion days. If you prefer no bloom you can disable this one.
Sharpen
The second shader is vrtoolkit from Retrolux which provides a sharpener(CAS or Filmic Anamorph) and dithering to remove the banding that can occur with gradients from the bloom stage. You can disable the dithering to improve image quality if you don't mind seeing occasional banding. Make sure to adjust the mask size to your HMD and personal preference. I prefer the look of the filmic anamorph sharpener but it can start to create subtle artifacts at high values if you're stacking it with a different sharpener like CAS. CAS at medium to low values is good, but at higher values can really start to change the overall look of the image and provide too much sharpening to textures. The sharpener runs before AO because you don't want to sharpen Glamayre. It uses a shading technique that has a dithered pattern and becomes more apparent if it's sharpened.
On Link/Airlink I additionally use Link Sharpener set to Quality. On Virtual Desktop, use the CAS sharpener there. If using DLAA/DLSS from the upscaler, consider the sharpener there as well because it has a good look to it, but watch the performance hit from it.
If you use a LUT file, load it in this shader.
AO and GI
The last shader is rj200's Glamayre of course for performance friendly AO(Ambient Occlusion) and GI(Global Illumination). I tried a lot of other options but none of them came close to the performance of this one. It focuses on smaller detail rather than large scale AO, and is only used near distance to avoid fog and water overlay. It reduces AO in bright areas using the global illumination data. This requires your depth buffer to be functional in Reshade, so make sure you confirm that is working first. I have it set to 10 sample points in the pre-processor definitions which is the maximum the shader author recommends for it. If you're on a potato pc, lower to 8 or even down to 6. Depth Buffer Guide
Install:
Download, place into your Skyrim VR directory. Run the Reshade installer and select this preset for it download the shaders required.
If you are using NAT standalone, I recommend disabling all of it's graphics options except for interiors and the torch. Each one creates visual anomalies that I found quite distracting. For color correction I use it's built-in saturation boost of 50%. You can adjust nights to your liking but I kept the default.
To disable the built in Skyrim bloom, I included an ESL flagged patch that is the result of a modified Imagespace Neutralizer xedit script in the misc files section to just change bloom values and leave the rest of the imagespace settings of NAT intact.
Check optional files for more VR tweaks.
Performance will vary based on your render resolution and GPU primarily.
V1.1 Update
Switched to using Vanilla HDR tonemapper since it's release for VR. Interiors have the biggest change. I no longer needed LUX "Even Brighter" template. Bright sunlight outdoors will appear more desaturated than the previous version due to the new tonemapper and I think it gives a more realistic look. Gone are the crushed blacks from the default engine tonemapping. This will look stylistically a little different than plain NAT. If you prefer NAT's original look, stick with v1.0 still in the files section.
Install Vanilla HDR VR
Overwrite with the VHDR configuration file in Optional Files section
Move the LUT .png file to reshades folder for textures in SkyrimVR\reshade-shaders\Textures
v1.1 preset will automatically load the LUT if it is found in the folder.
vrtoolkit.fx which was included for sharpening now adds the LUT at basically no performance cost.
Adjust Dithering strength as needed if you encounter banding on gradients.
Recommended:
NAT 0.4.2c
Community Shaders
Reshade Toggler
SkyrimVR Upscaler
Truestorms (No Fog Version)
NAT Truestorms Compatibility Patch (Dark and Stormy version)
Splashes of Storms
Splashes of Storms VR
Minty Lightning
Fabled Forests
Skoglendi Grass Mod (Include tree retexture for Happy Little Trees)
Majestic Mountains Complex Material Parallax
Lux (Even Brighter template)
Embers XD
Morning Fog
Skygazer Moons(No Glow version)
Bears of the North