


0 of 0
About this mod
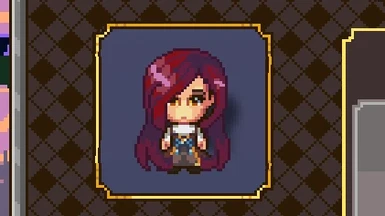
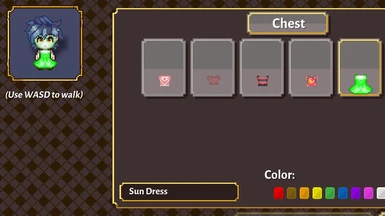
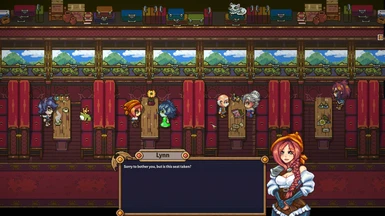
Lets you replace pretty much any texture in the game.
- Requirements
- Permissions and credits
- Changelogs
- Donations
Basic Instructions
To use this mod, place custom textures in the BepInEx\plugins\CustomTextures folder.
The mod should now work with most every texture in the game, though I haven't done thorough testing.
Detailed Instructions
Extracting Game Textures
Installation
Code is at https://github.com/aedenthorn/SunHavenMods.
If you want to complain or ask for help or help me test my mods, you can visit my Discord server.
To use this mod, place custom textures in the BepInEx\plugins\CustomTextures folder.
The mod should now work with most every texture in the game, though I haven't done thorough testing.
Detailed Instructions
- Install BepInEx (see below).
- Install this mod (see below).
- Extract the game's character textures from the file Sun Haven_Data folder using Asset Studio (see below).
- Edit and export the png file you want to replace with a program like GIMP.
- Place your edited png file in BepInEx\plugins\CustomTextures. Don't change the name of the file.
- Run the game and you should see the replaced texture.
Extracting Game Textures
- Download Asset Studio (you want the file that starts with AssetStudio.net472).
- Run Asset Studio.
- Load the Sun Haven_Data folder using File -> Load folder...
- Wait until it loads the folder completely.
- Switch to the Asset list tab.
- Click on Type to sort by type.
- Highlight all entries of type "Texture2D".
- Right click and choose "Export selected assets".
- Pick a place to export the files. They will be in a folder called Texture2D.
Installation
- Install BepInEx. You can use the BepInEx Unity Installer to install it.
- Place this mod's dll file in BepInEx\plugins.
Code is at https://github.com/aedenthorn/SunHavenMods.
If you want to complain or ask for help or help me test my mods, you can visit my Discord server.