


0 of 0
) + Nearly Complete Community Shaders bundle")


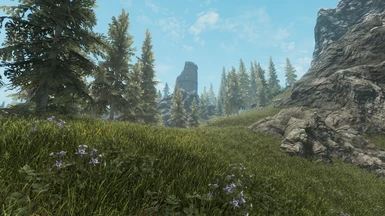
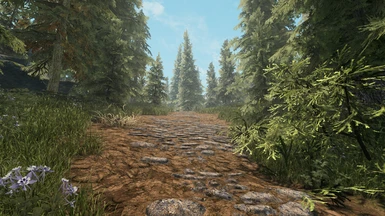
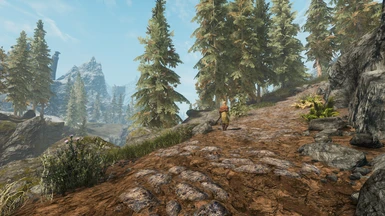
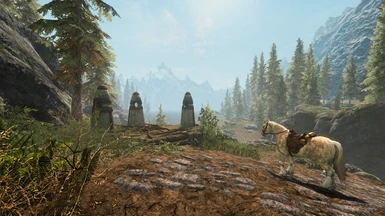
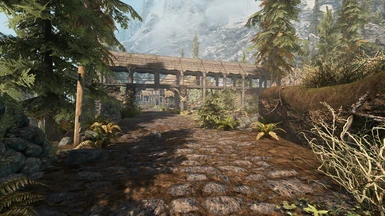
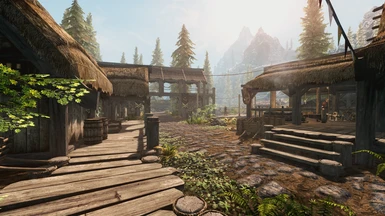
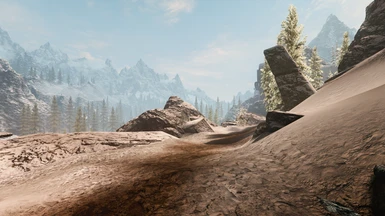
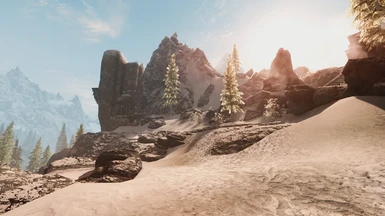
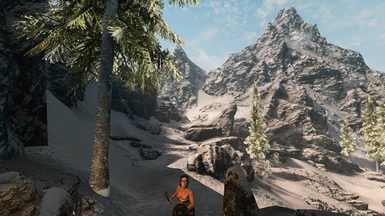
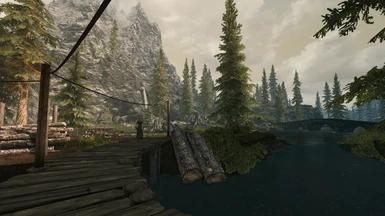
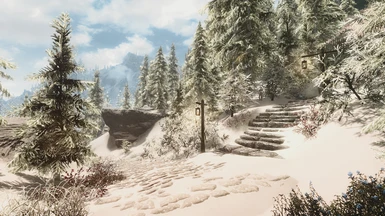
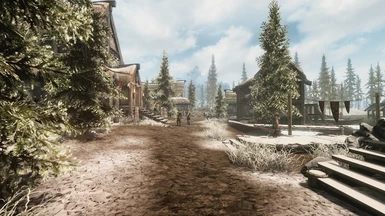
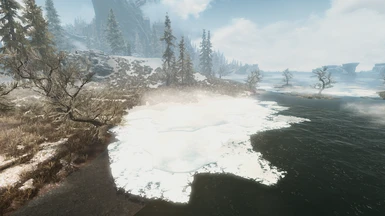
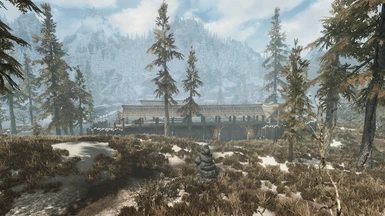
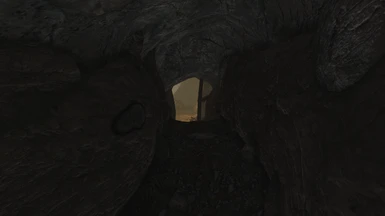
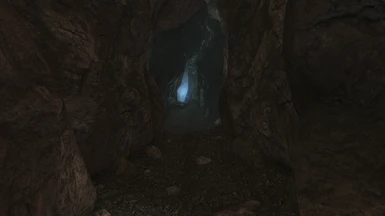
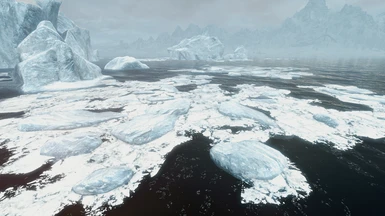
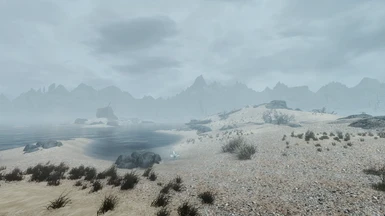
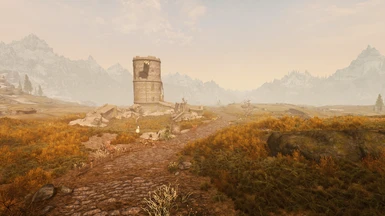
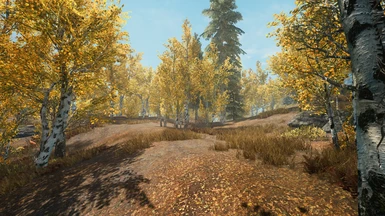
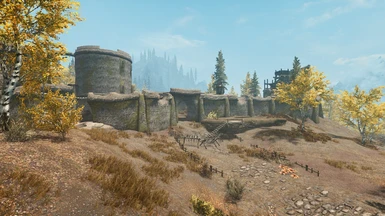
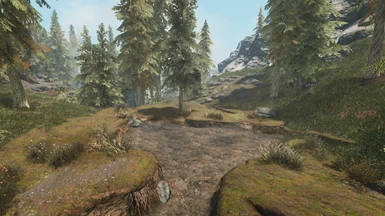
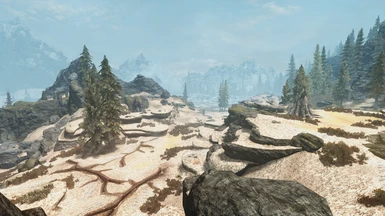
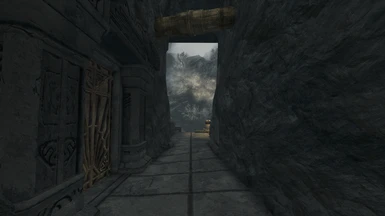
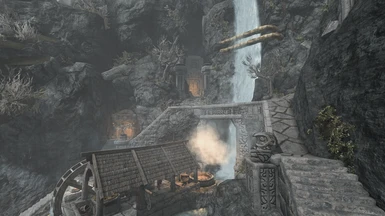
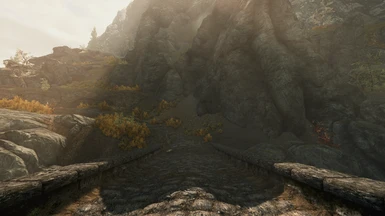
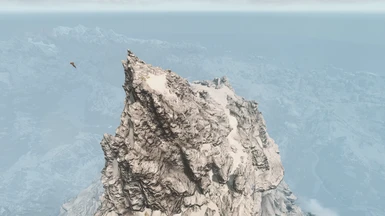
. More screenshots on the collection page.")


")
")


")

")
")
.")
")


About this mod
Includes 2 presets, one for Cathedral (+CS) and the other for Wander weather mod. Some tweaks I was making for myself. Including stuff like Sharpening, Eye Adaptation, Bloom and LUT.
- Requirements
- Permissions and credits
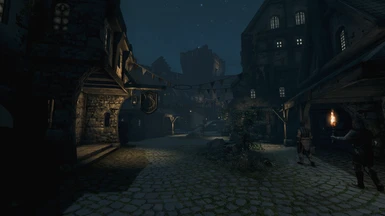
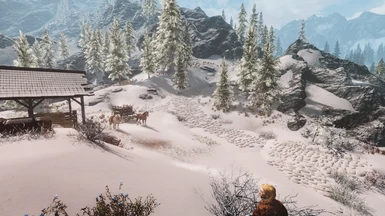
This reshade has basically turned into a hub of my: let's fix this thing that annoys me, kind of thing. And all changes were based off that. It may seem that this reshade got a lot of downloads, but most of them got the dated blurry flawed version that tries to combine Wander Weather Mod and Vanilla HDR, which kinda made me giggle.
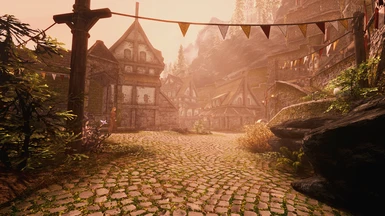
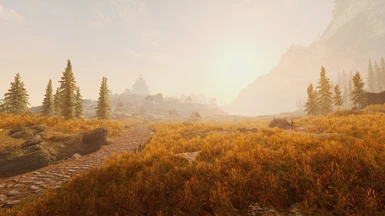
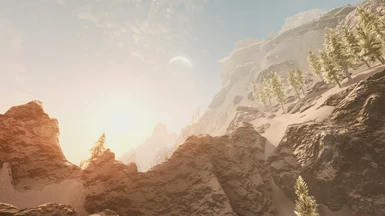
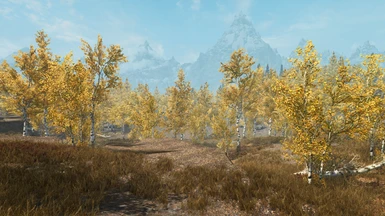
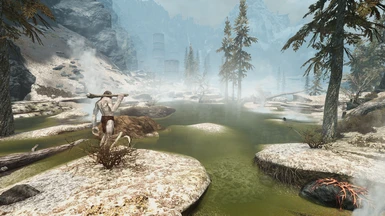
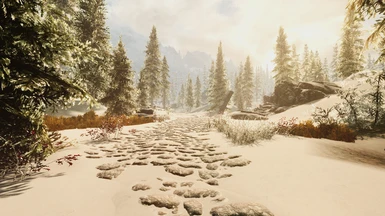
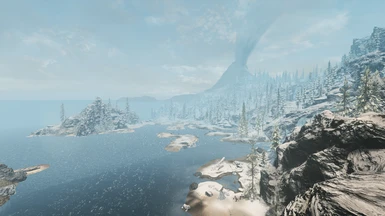
This is one is basically meant to be plug and play and recommended to be used either with Wander Weather mod or vanilla weather, it gets a bit better if you add new textures to it. What this preset does: It adds a bit of additional bloom, along with minor lens effect(using Ambient Light shader), it uses Bonus LUT Pack, preset was picked to not stray too afar from the default color palette, also adds a bit of sharpening(I could use better sharpening though) to clear out vanilla blur a bit, on top of that it has Eye Adaptation, which helps with overall visibility, also uses Filmic Pass Shader to reduce overall game contrast to make the image look smoother. I forgot to mention Vibrance, yeah it also uses Vibrance to lightly boost multiple colors, orange in particular, I was designing it with "sunnier look" in mind, I no longer do any updates to this version, because I no longer use it.
Each preset is basically "quick fix" or a "minor enhancement" in this mod.
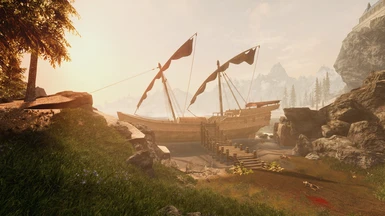
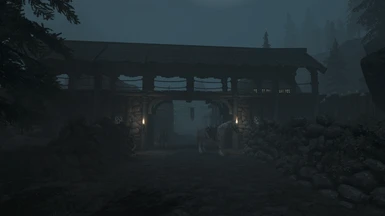
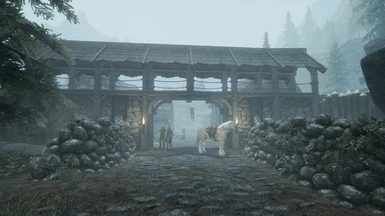
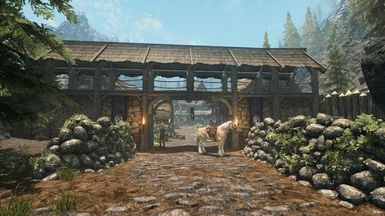
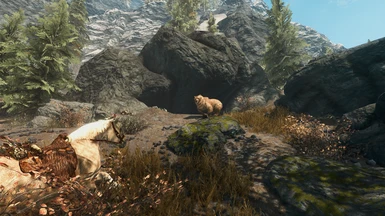
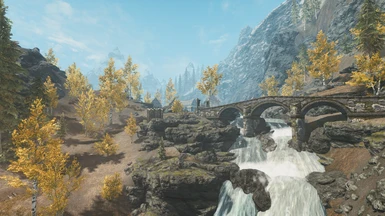
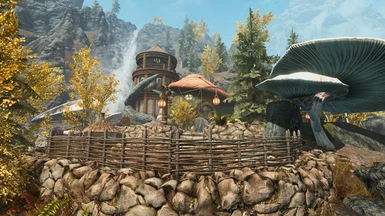
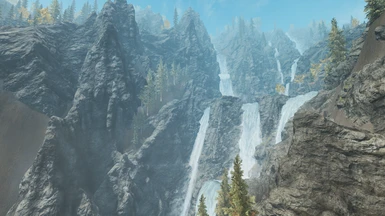
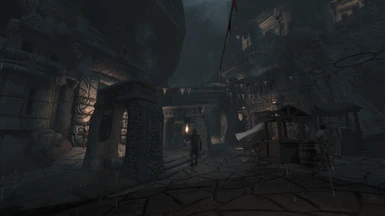
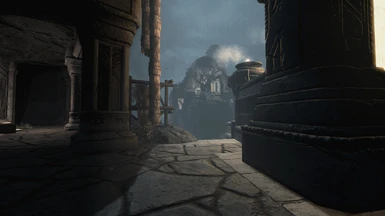
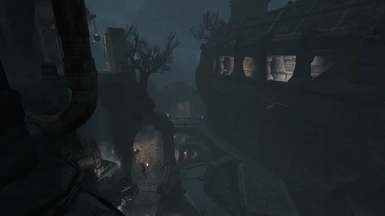
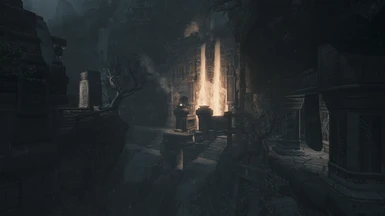
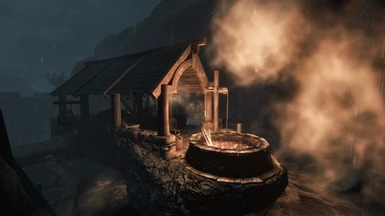
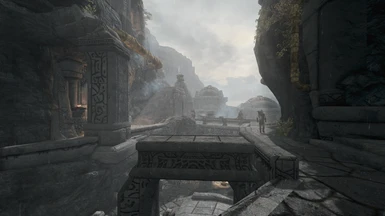
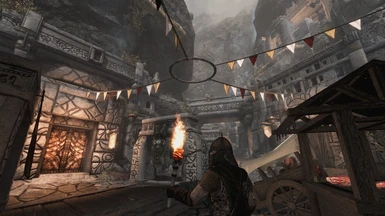
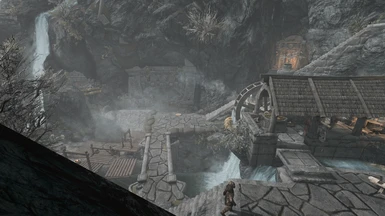
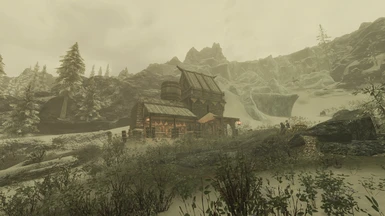
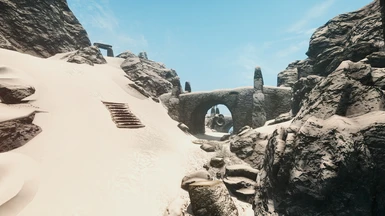
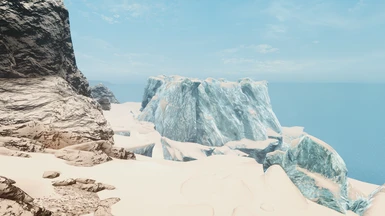
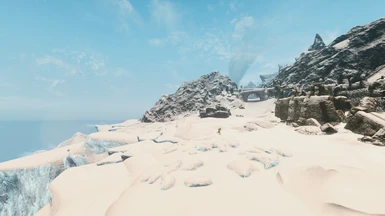
More screenshots of the Cathedral version here.
More screenshots of the Cathedral version here.
There are 2 presets:
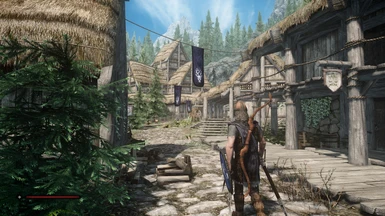
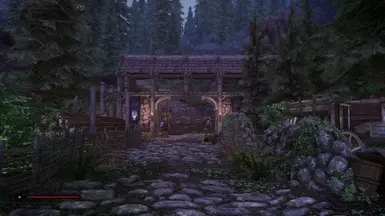
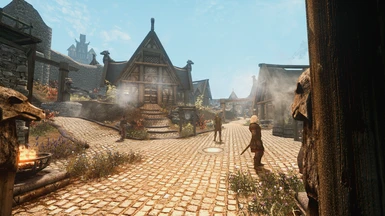
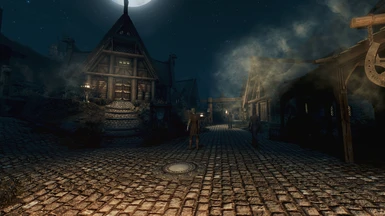
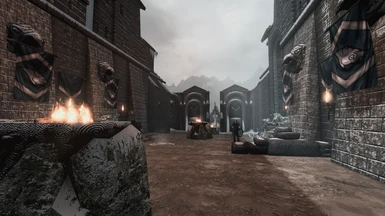
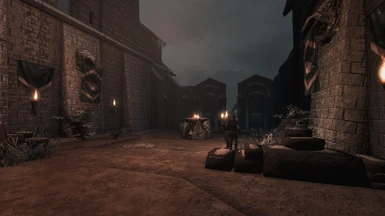
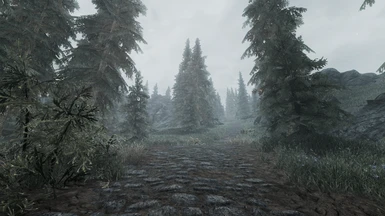
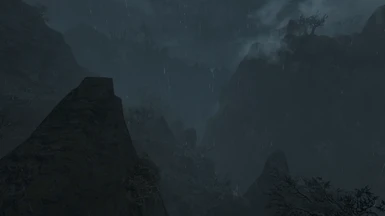
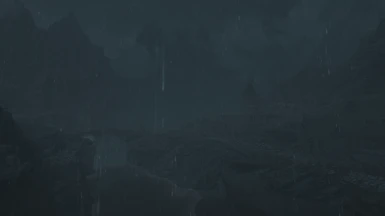
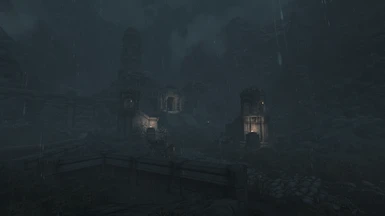
1 - Wander:
This is one is basically meant to be plug and play and recommended to be used either with Wander Weather mod or vanilla weather, it gets a bit better if you add new textures to it. What this preset does: It adds a bit of additional bloom, along with minor lens effect(using Ambient Light shader), it uses Bonus LUT Pack, preset was picked to not stray too afar from the default color palette, also adds a bit of sharpening(I could use better sharpening though) to clear out vanilla blur a bit, on top of that it has Eye Adaptation, which helps with overall visibility, also uses Filmic Pass Shader to reduce overall game contrast to make the image look smoother. I forgot to mention Vibrance, yeah it also uses Vibrance to lightly boost multiple colors, orange in particular, I was designing it with "sunnier look" in mind, I no longer do any updates to this version, because I no longer use it.
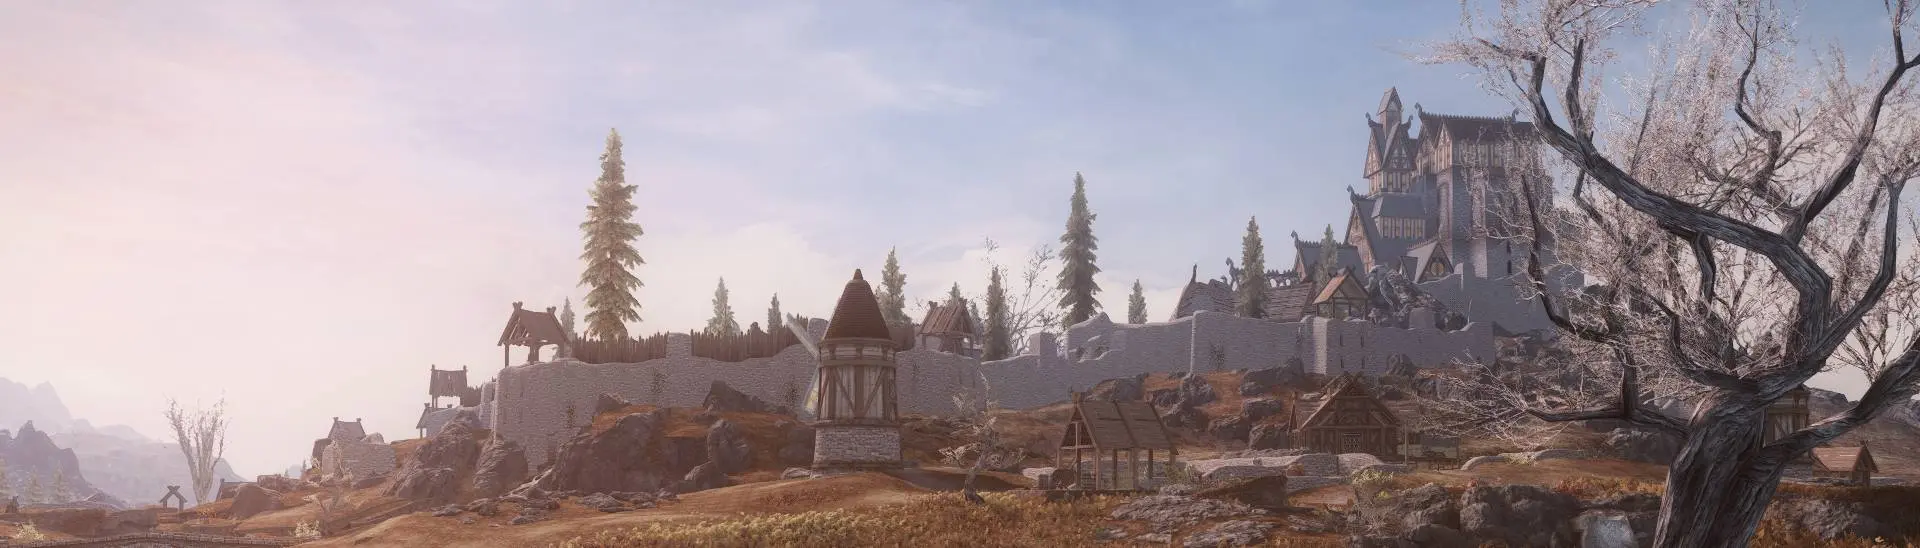
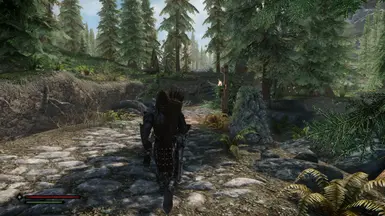
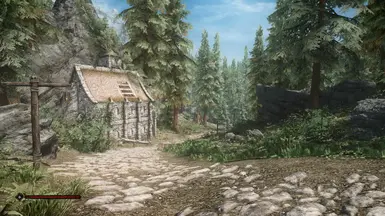
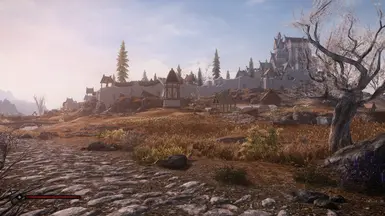
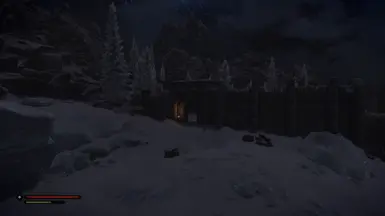
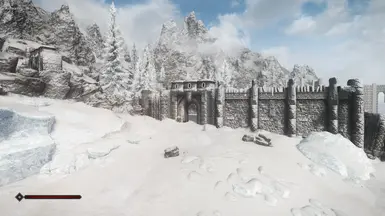
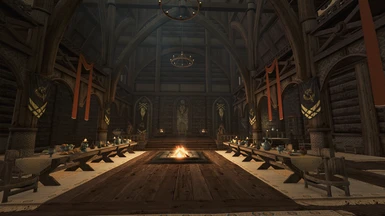
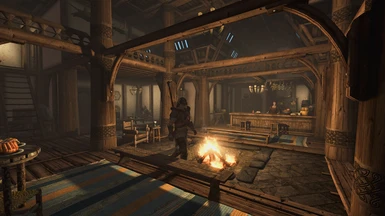
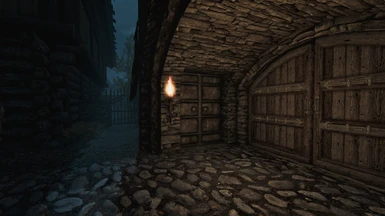
2 - Cathedral:
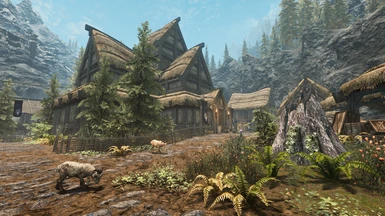
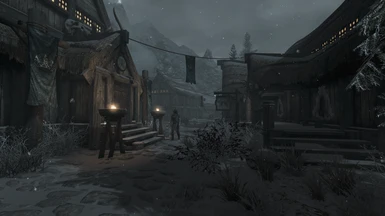
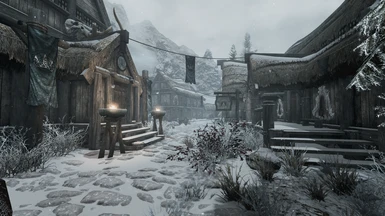
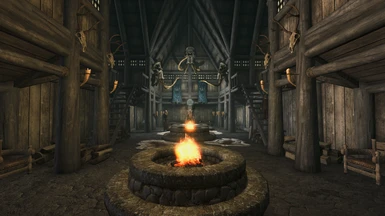
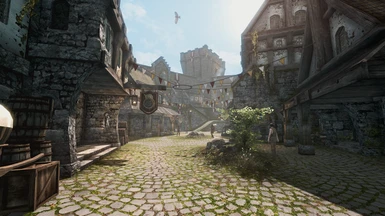
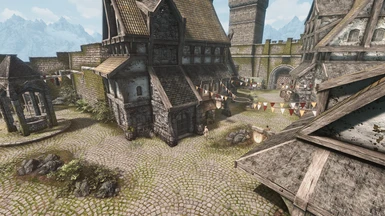
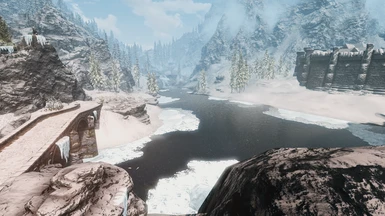
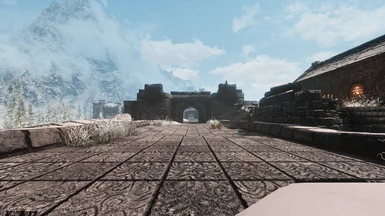
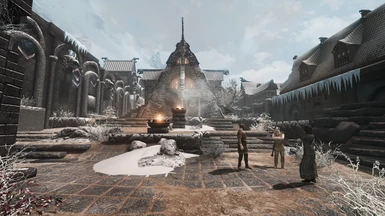
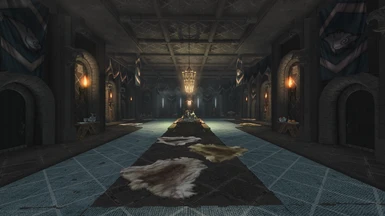
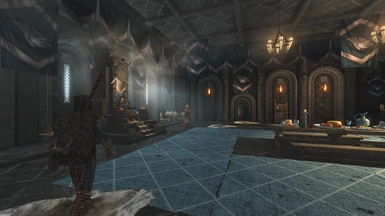
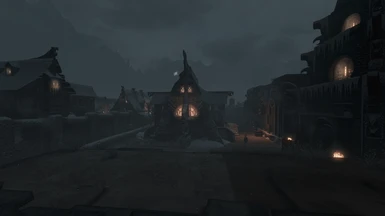
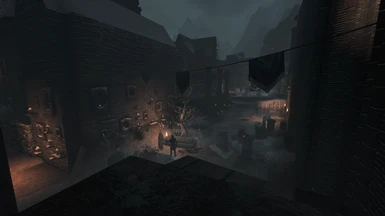
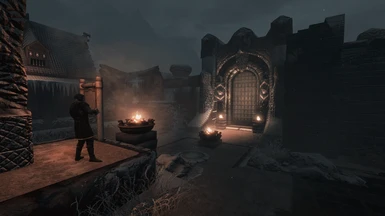
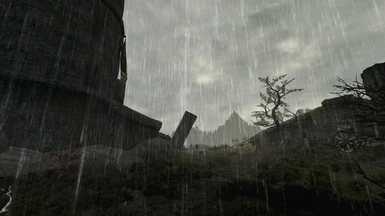
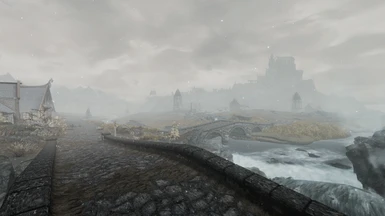
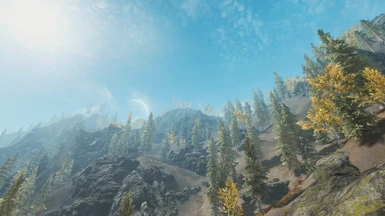
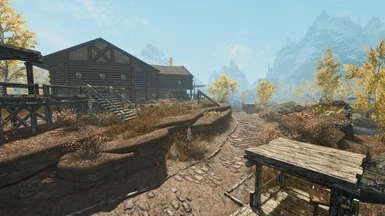
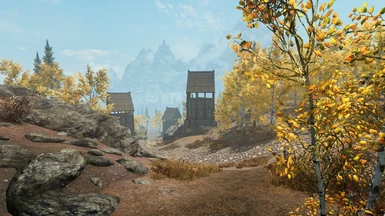
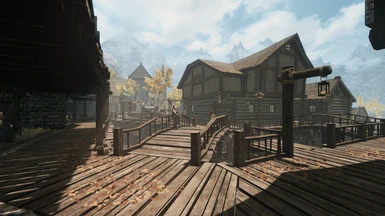
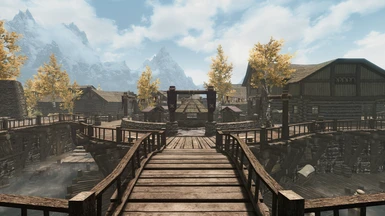
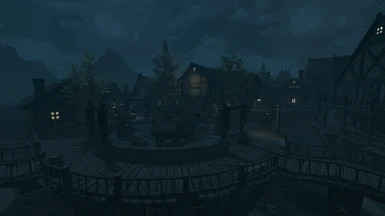
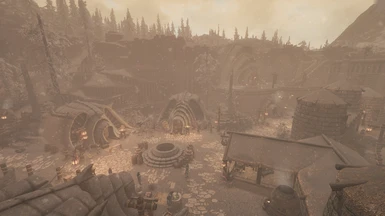
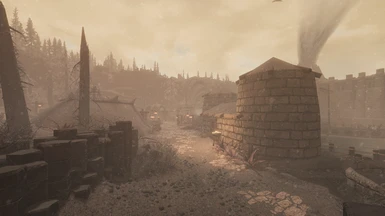
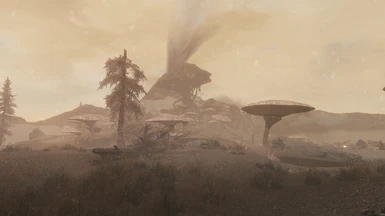
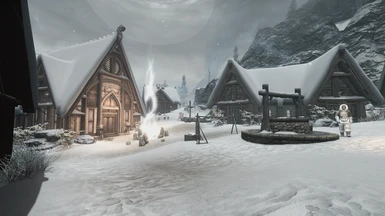
This is the version that's meant to be used with Cathedral Weathers, Community Shaders(List of shaders by Doodlum, my config for the shaders, also recommend mods that add particle lights, out of all of these I would only ignore Grass Sampler Fix, because we don't always want sharper grass.), and make some use of Vanilla HDR mod, initially was created as a "quick fix" for Vanilla HDR looking too dim and gray and was simply adjusting brightness and adding eye adaptation, eventually I tweaked it a bit more. This version needs SSE Reshade Helper because it alters the image a lot.
So what it currently adds:
Eye Adaptation
(helps with visibility),
Ambient Light
(more of a leftover from the previous preset),
Bloom
(meant to make the lighting softer and image brighter),
Light Room
(a powerful tool to tweak multiple different image settings, used here for tonemapping and exposure configuration, also adds a subtle vignette effect),
Sharpening
(This time I used smarter sharpening shader and it's pretty subtle).
Bonus LUT Pack:
Only used to adjust contrast a little.
Also comes with Vanilla HDR config file which reduces max saturation slider because it comes with an excessive amount of blur which kinda spoils the image(especially at night), also reduces contrast a little.
Installation instruction:
*Unpack the ZIP file.
*Download Reshade.
*Launch Reshade setup.
*Pick the game's .exe file(SkyrimTogether.exe for multiplayer)
*Pick DirectX11.
*Pick the Vende's Reshade.ini preset file.
*Wait till the download finishes.
*Done.
HOME button should activate the overlay. Otherwise either I didn't explain the process clearly or you did something wrong.
You can also switch presets easily within menu if you picked the wrong preset on accident.
Keep in mind that you can't just switch between them on the go, because they use different shader libraries, unless you installed libraries for both.