


0 of 0


Mod articles
-
NOVICE LEVEL: CHRON, trapdoor start
TRAPDOOR START ON BLEAK, this is a novice team level called "CHRON" which consists of four missions, Mission 1, Mission 2, Mission 3 and Mission 4 which are in order of difficulty
$A find the trapdoor in the middle of RUINS level$B you notice that it is closed. walk past it to the brink of the pavement but don't drop into the water. Archers will be firing arrows at you from the opposite stage$C turn around, go back to the trapdoor, it's now open OR just come back to it later$D descend the Trapdoor to the adjacent Beach, looking through the trees you see the Launch Beach$E find the stairs down at the Eastern shoreline, descend the rocky stairs to Dungeon (CHRON LEVEL)$F find the obvious lever on the Eastern wall, now look for t... -
Advanced Play__Castle North_Super Mission
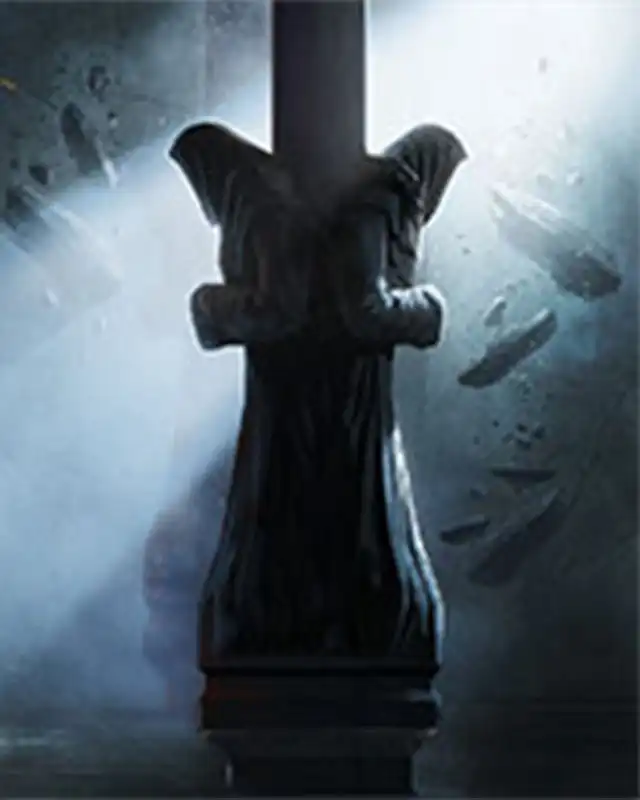
STEP 80 LOST LEVEL, see STEP 38 - if you did not defeat all the Ice Guardinas in THE MINE, now is a good time to return there and do thatSTEP 81 a secret doorway opens in the ICE GUARDIANS LAIR as the last one is slain. This reveals a TRAPDOOR DOWN to LOST LEVEL (use MINE KEY found nearby) STEP 82 you come to a caged area with long grass, before entering that section look behind you, a secret door there is the entrance LATER IN THE GAME to a swimming pool STEP 83 place an item through the gates to open them. place an item just before the next gates to open them. at the end of the passage see the double length of wall, this is FAKE, move through itSTEP 84 see STEP 64 remember when you "fully explored" through the fake wall in THE TOMB? well now you see that the passages yo...
-
medium level play_THE CEMETARY_GEAR LOCK MISSION
STEP 70 after the Tomb Battle described at STEP 69, descend the stairs to the rapier Swords TELEPORTER STATIONSSTEP 71 there are two teleporters that send you on missions, at the end of which, you eventually find a Rapier Sword.STEP 72 the missions can be done in any order, however one mission invloves ETHERALS. the other mission contains a holy stantion which if used correctly, will damage EtheralsSTEP 73 so for maximum effectiveness do the mission first that you find the ACOLYTE STAFF, CAREFUL do not move from the tree yet, you might need to turn around, the Acolyte Staff is behind the tree, GRAB IT!STEP 74 Teleporter S takes you to SWAMP and the Acolyte Staff, Teleporter N takes you to a dungeon level where Etherals have taken over a passagewaySTEP 75 if you take the Teleport...
-
medium level play_THE RAPIER SWORDS
STEP 60 use your Tomb key to proceed W to the TOMB ENTRANCE. either Tomb Lock will activate a magic bridge across the flooded passages (could be a temporary bridge) STEP 61 enter THE TOMB, note the Serpent Bracer alcove, this is right next to an important exit/ entrance to the CATACOMBS LEVEL, this is currently locked but automatically unlocks later on STEP 62 descend to the ground floor level, FIND ANOTHER TOMB KEY on ground levelSTEP 63 use the next TOMB KEY to exit onto Tomb CentralTIP look to your left, you see a messy dirty floor - this indicates a FAKE WALL right there, move straight through the fake wall (VERY IMPORTANT)STEP 64 fully explore through the fake wall, then ascend up double height ladder back to starting point of Tomb Level, descend and go to where you fo...
-
STEP 50 as per STEP N enter THE FOREST to get back to "THE CASTLE"STEP 51 use the ladder to Skull Lock 1, move past that to Skull Lock 2STEP 52 insert your Skull Key and enter THE CEMETARY - you will see a partially obscured ILLUMINATED pressure plate, almost buried in the ground earth, just one edge can still be seenSTEP 53 lure any undead that you encounter onto this pressure pad which then OPENS the nearby Stone Gate. exit through Stone GateSTEP 54 move around to the right and find second pressure plate in long grass, you need to lure an undead onto this pressure plate tooSTEP 55 TIP don't worry if the Stone Gate closes down stopping undead from following you, it will soon open again STEP 56 as soon as undead go onto the 2nd pressure plate an IRON GATE opens, thi...
-
medium level play_THE CEMETARY
STEP 40 if you killed all the Ice Guardians in the Mine then great! shotcut through the Secret Mine hall to the Adv Castle and activate Plate 5 as per Step 26STEP 41 if you didn't kill all the Ice Guardians simply get back to Adv Castle via step 24, there isn't a loty of differenceSTEP 42 either way enter the Night Forest from the NE corner of the Skeleton Commanders' WatchtowerSTEP 43 when you get into the centre of the Night Forest take ALL the items, obviously the Tomb Key but all lesser items too STEP 44 when you get to the S tree walk way and the pair of dogs, there is a secret cache here, you can climb up the lightning struck oak and move over itTIP if you find the secret cache you can just climb up to the tree walk way by moving towards it, but collect the War...
-
early_play FIGHTING INSIDE THE MINE
INSIDE THE MINE, how to fight the Uguardians and the Ice Guardians
STEP 21 head to N wall and move around until you see a huge hulking magma golem standing by the N wallSTEP 22 jump on top of the golem to kill it, ALSO the Mine Key is on the ground where the Golem was standingSTEP 23 now ascend from the Mine Arena through a strange looking incessed mine wall that you can climb upSTEP 24 use Mine Key to open Gates to Advanced Castle, the Skeleton Commanders' WATCH TOWERSTEP 25 note the FIVE ground pressure plates, KEEP OFF the end pressure plate, this opens the wooden door on the E wallSTEP 26 avoiding the fifth pressure plate, familiarise yourself with the other 4 which only monsters can activate so you can freely move over themSTEP 27 now lure the Skeleton Commanders... -
early_play_GETTING TO THE MINE
STEP 22 jump on top of the golem to kill it, ALSO the Mine Key is on the ground where the Golem was standingSTEP 23 now ascend from the Mine Arena through a strange looking incessed mine wall that you can climb upSTEP 24 use Mine Key to open Gates to Advanced Castle, the Skeleton Commanders' WATCH TOWERSTEP 25 note the FIVE ground pressure plates, KEEP OFF the end pressure plate, this opens the wooden door on the E wallSTEP 26 avoiding the fifth pressure plate, familiarise yourself with the other 4 which only monsters can activate so you can freely move over themSTEP 27 now lure the Skeleton Commanders or their Minions onto the 4 pressure plates, they get imprisoned, when all 4 are set, nearby trapdoor unlocksSTEP 28 only THEN can you set off Pressure Plate 5 but no need to y...
-
FOOD LOCATIONS, LOW ON FOOD? if you are in Blue Stones (Ruins NE) then check the launch beach, Turtles sometimes swim around the coast and descend onto the beach half a dozen at a time!MAIN KEYS KEY LOCATION DOES WHAT? IRON RUINS: Centre unlocks first basic areas in RUINS LEVEL BRASS Ruins: S unlocks trapdoor at Ruins N IRON Ruins: N unlocks trapdoor at Ruins S GOLD Swamp: N unlocks trapdoor Herder Island Skull Swamp: N unlock Archers Barrracks: Ruins: S Ornate Ruins: N unlock Castle entrance : RUINS: S Gold Castle: W unlocks trapdoor Herder Island Skull NW Swamp unlocks Archers Barrracks: Ruins: S IRON Cemet...
-
MAIN KEYS KEY LOCATION DOES WHAT? IRON RUINS: Centre unlocks first basic areas in RUINS LEVEL BRASS Ruins: S unlocks trapdoor at Ruins N IRON Ruins: N unlocks trapdoor at Ruins S GOLD Swamp: N unlocks trapdoor Herder Island Skull Swamp: N unlock Archers Barrracks: Ruins: S Ornate Ruins: N unlock Castle entrance : RUINS: S Gold Castle: W unlocks trapdoor Herder Island Skull NW Swamp unlocks Archers Barrracks: Ruins: S IRON Cemetary W unlocks Castle Ramparts Tomb Ruins NW unlock Tomb Level Tomb Ruins NW unlock Tomb Level Tomb Tomb Rec E unlock Tomb Rec S...