Documentation
Readme
View as plain text
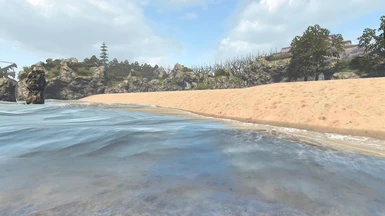
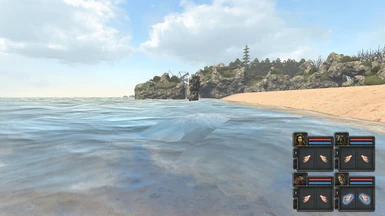
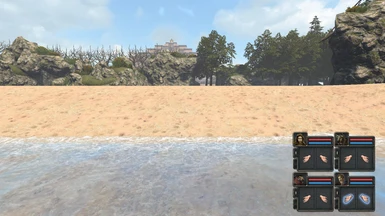
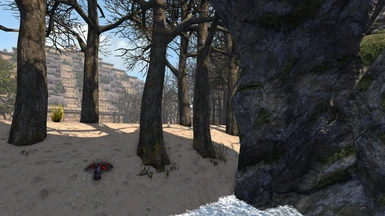
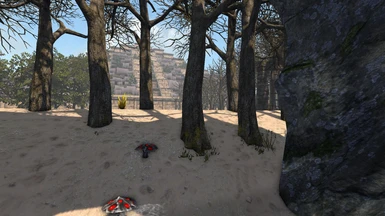
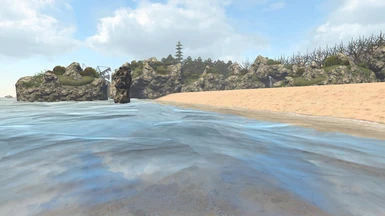
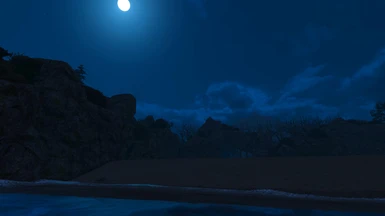
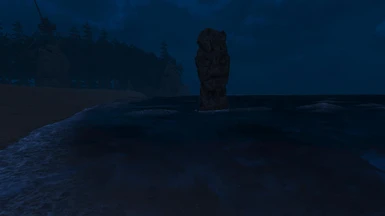
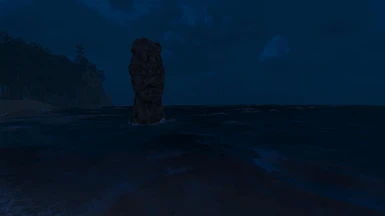
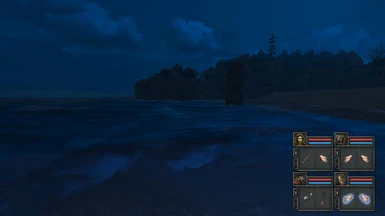
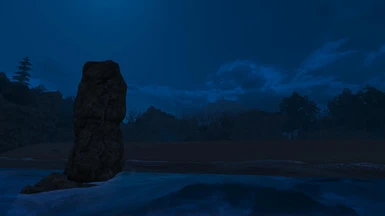
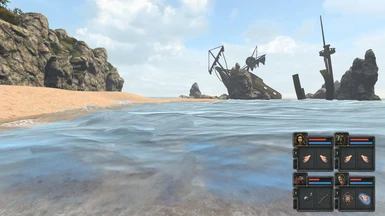
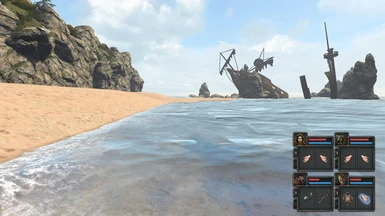
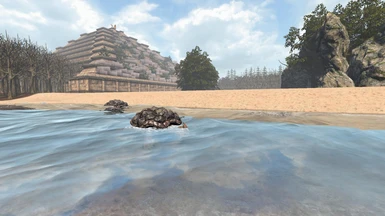
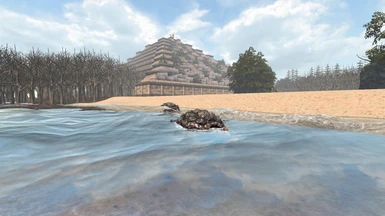
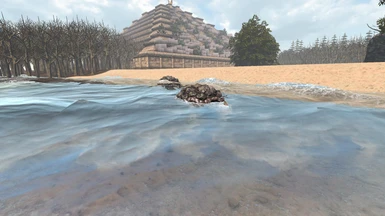
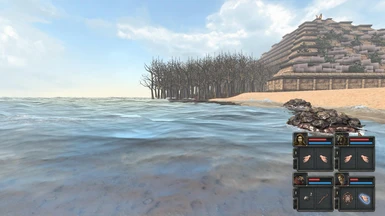
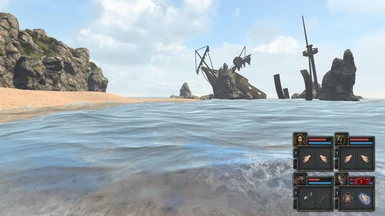
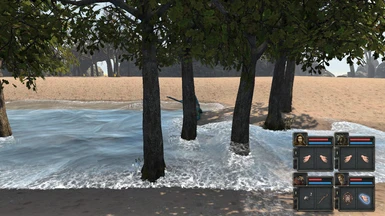
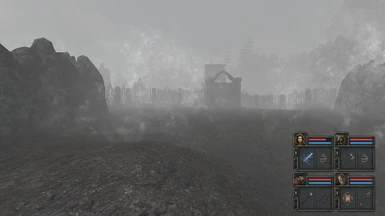
Your schooner hit rocks further along the beach after a bad storm and your crew were washed up onto a deserted shoreline, surrounded by boulders and trees.
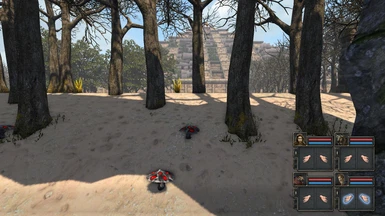
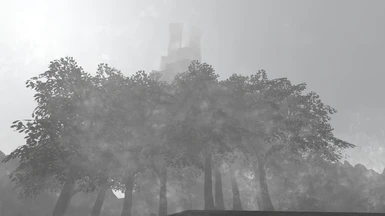
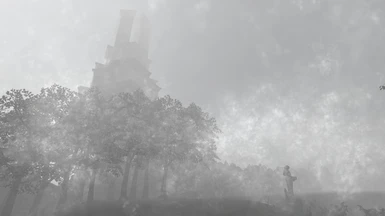
In the distance a huge building rising several stories above the tree line can faintly be made out. And at first, the crew are at a loss to see any exit
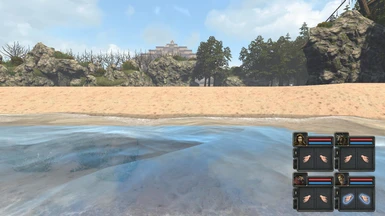
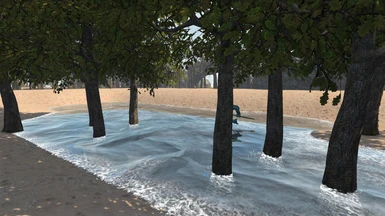
off the beach or any way to reach the building, but soon your Minotaur spots a hidden trapdoor in the shallow tide coming onto the shore.
Sadly, even with his impressive strength, the trapdoor could not be prised open! The following morning your Sorcerer finds that in one corner of the
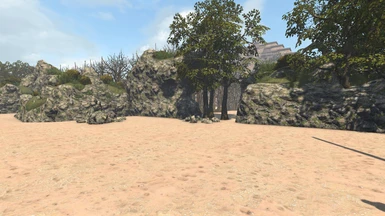
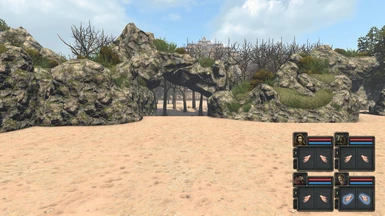
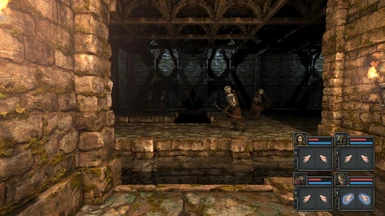
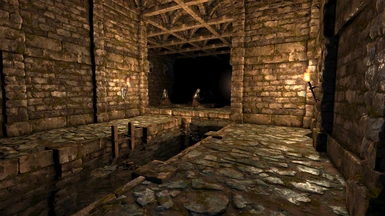
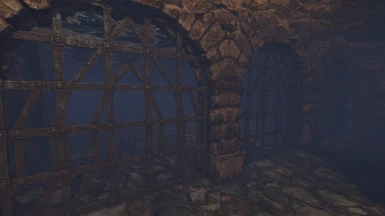
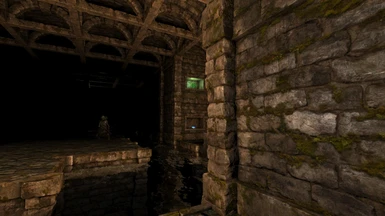
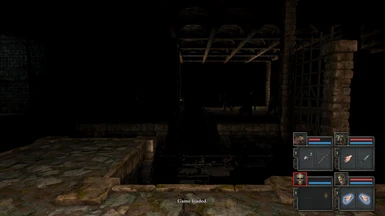
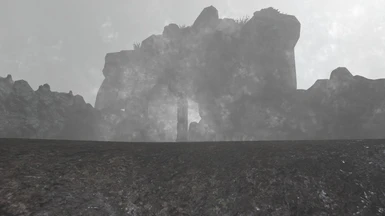
rocky beach wall, a person can pass through the apparently stony barrier! Through the rock face he finds a stairway down, to flooded dungeon passages of
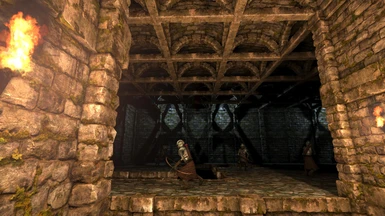
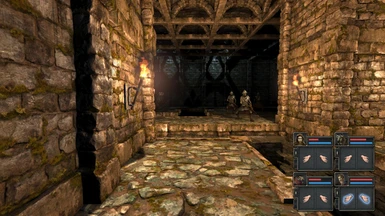
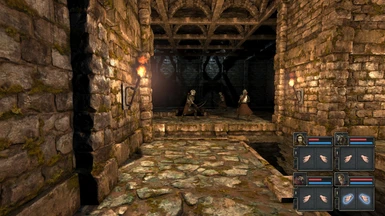
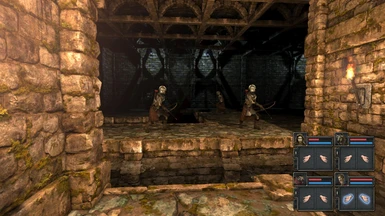
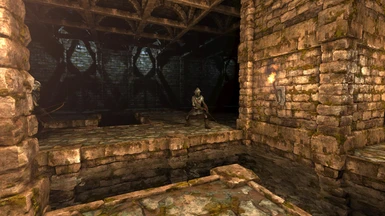
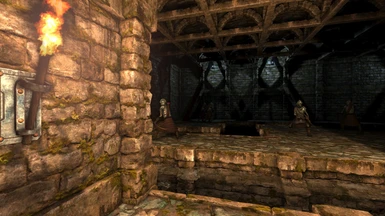
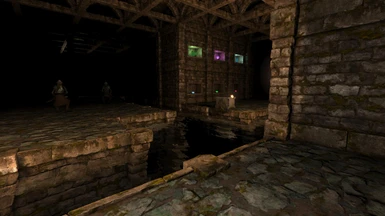
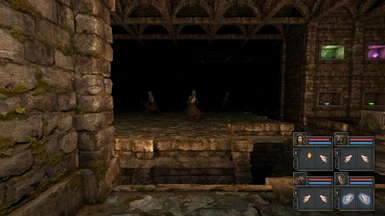
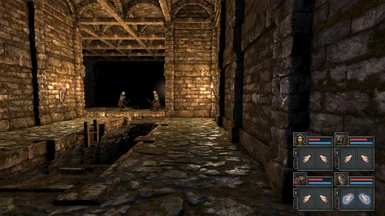
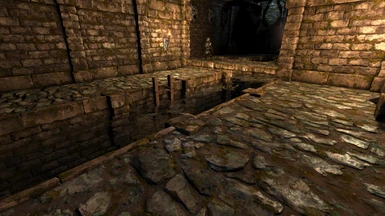
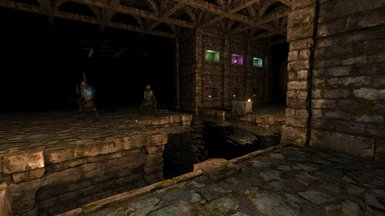
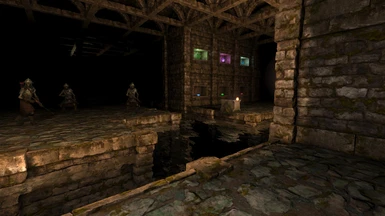
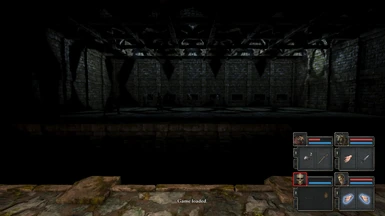
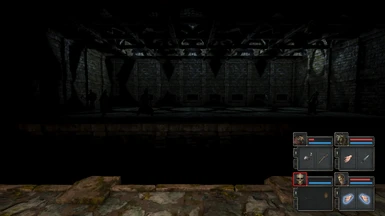
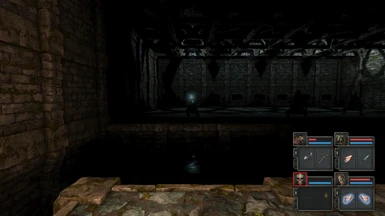
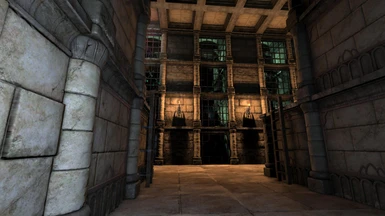
mystery and horror. Eerie skeleton archers patrolling the passages, fire arrows of death at anything that comes near.
STEP A move along the seashore WEST
use TAB to get a map of the Beach
STEP B
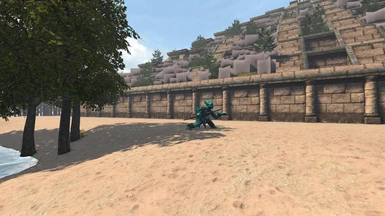
look at the map, MID WEST of the beach shows a rocky wall
move along until a corner of the wall goes at right angles
STEP C you see some sand has blown into a huge crevice
Move West through the fake beach wall
STEP D you find stairs down
move down the stairs to the flooded dungeon
STEP E save the game now, as this is a test of speed
Your team will drown if you are too slow, so save/ load it several times
STEP F look out for the "Mortar & Pestle" but find the ladder up
if most of your team has survived move South from the ladder
STEP G drop back into the water, NOTE the iron lock 1, now find the deeper trench
it is quite small but find the ladder
STEP H a secret wall button unlocks the entrance to a permanent sanctuary resting zone
return to this zone in future and be careful not to fall into the deeper trench after the Secret Button was pressed (as it's just wasting time)
STEP I find the iron key 1
it's close by, use the sanctuary area to recover and get someone in the team to muster some potions!
STEP J find the brass key
it's close by, use the sanctuary area to recover, NOTE the iron lock 2 by the Trapdoor S, get someone in the team to muster some potions!
STEP K use the Iron Key 1 in Iron Lock 1
find the Trapdoor N, note the brass lock
STEP L use the brass key in the brass lock. Trapdoor N unlocks, find iron key 2 adjacent.
descend Trapdoor N
STEP M most of your team DIE during the descent
do not worry!! This is part of the game, hopefully you have some potions made by your Alchemist before he died!
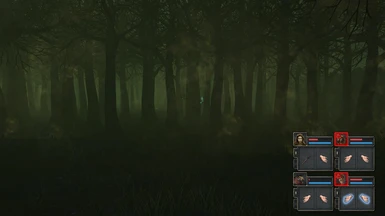
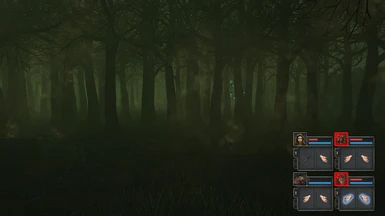
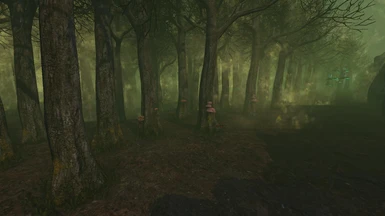
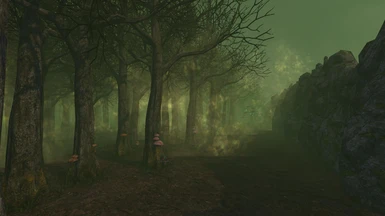
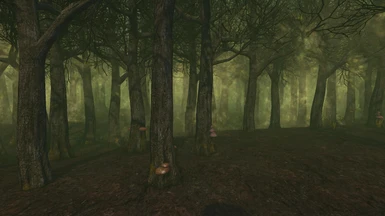
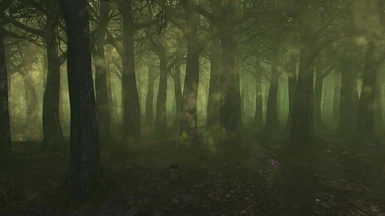
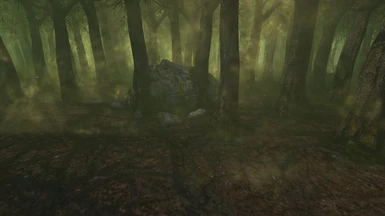
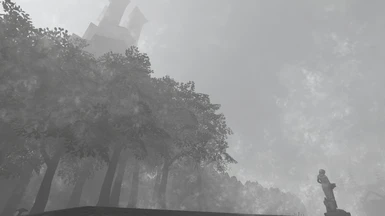
STEP N with your surviving crew set off into the Bewildering Forest - caution VICIOUS DOGS!
exit from the forest back to the Dungeon. note the ORNATE LOCK which unlocks the Castle Entrance
STEP O NOTE then that the Trapdoor N leads to the Castle
using Iron key 2, you can now unlock the Trapdoor S which leads to the Outer Forest, Caution : Mosquitos, be ready!
STEP P the Eastern Forest stairs lead you to flooded passages and a choice of routes. you must decide which way you go
Each route is achievable
STEP Q if you proceed N in shallow water act fast, pick up blue and green crystals and THE ORNATE KEY, ascend ladder as per step F
remember where you saw the Ornate Lock, check step N
STEP R use Trapdoor N as per STEP L to make your way to the Ornate Lock as you now have the Ornate Key
at Ornate Lock (as per Step N) note the Ladder, ascend the ladder to check Wooden door next to SKULL LOCK, note location
STEP S use Ornate Key, enter castle, SAVE THE GAME
in Castle Reception, the most threatening creatures are the Mosquitos and the Flame etheral
STEP T take down the least threatening creature first
this gives you a "safe room" to retreat back to
STEP U now engage the most threatening creatures, the Mosquitos and the Flame etheral to get them out of the way
take down remaining creatures
STEP V now pull the 2 levers, find the SECRET BUTTON that unlocks the W portcullis
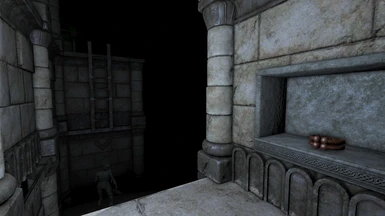
PLACE an item on the alcove, next portcullis opens
STEP W descend W trapdoor to S STAGE in Ruins level
weave through Archers to flooded passage OR enter Bleak Forest
STEP X you can retreat from Bleak Forest back to S STAGE if you need to
either way now descend Trap Door S as in step O
STEP Y again choice of routes. you must decide which way you go
Each route is achievable, if you did not explore 1 route before perhaps now is the time
STEP Z if not, as per STEP Q proceed N, you now see that previously locked portcullises have raised
ENTER THE NEW AREA
see STEP P, you must decide which way you go, this guide deals with deep water route
STEP 1 you must get organised for this route! PREPARATION
preparation steps, ideally choose 3 items now that you no longer want
STEP 2 place the 3 unwanted items on hands of the team very easy to get to
enter deep water, place each of the 3 unwanted items onto alcoves adjacent to trapdoor
STEP 3 trapdoor opens, descend to Forest area
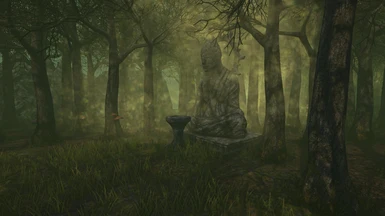
find 2 forest statues with stone plates, choose 2 further items youi no longer want
STEP 4 place 1 unwanted item onto the plate, do not try and get it back
nearby a valuable key appears onto the Pressure Plate, take the key
STEP 5 do not retrieve unwanted items from statues
you gain 1 Gold key, 1 Skull key
STEP 6 check out STEP R that mentions location of Skull Lock
move to the Skull lock location, use Skull key
STEP 7 enter new dungeon area, NOTE location of 2nd Skull Lock
