Create your own FPS-friendly and beautiful graphics setup with day of time/Int/Ext seperation - without an ENB! - New Version in the works thx to Marty McFly!
Other user's assetsAll the assets in this file belong to the author, or are from free-to-use modder's resources
Upload permissionYou are not allowed to upload this file to other sites under any circumstances
Modification permissionYou must get permission from me before you are allowed to modify my files to improve it
Conversion permissionYou are not allowed to convert this file to work on other games under any circumstances
Asset use permissionYou must get permission from me before you are allowed to use any of the assets in this file
Asset use permission in mods/files that are being soldYou are allowed to use the assets in this file in mods/files that are being sold, for money, on Steam Workshop or other platforms
Asset use permission in mods/files that earn donation pointsYou must get permission to earn Donation Points for your mods if they use my assets
Author notes
This author has not provided any additional notes regarding file permissions
File credits
Reshade.me Marty McFly
Donation Points system
This mod is opted-in to receive Donation Points
Changelogs
Version 2.1
Removed color levels (now the original colors from your game will be used)
Adjusted Parallax and Sharpness for little more depth
Balanced AO for better performance
Version 2.0
Updated all shaders
Updated all shaders
added parallax occlusion mapping shader
reworked colors, light, AO
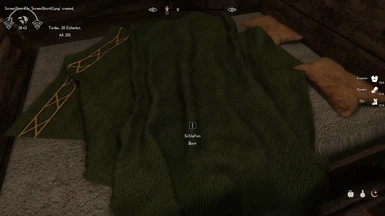
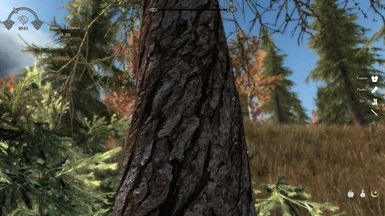
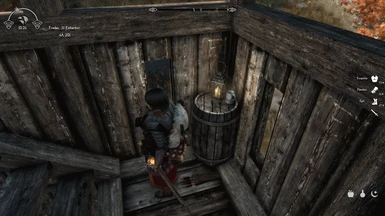
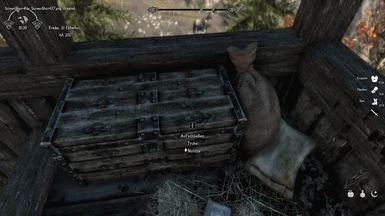
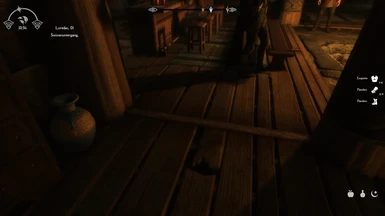
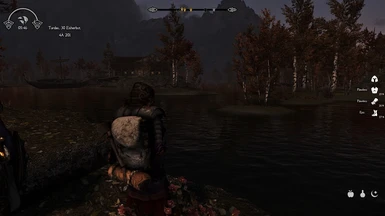
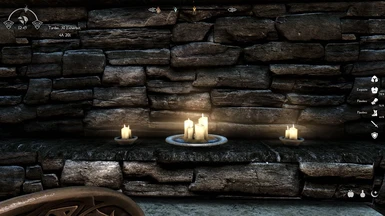
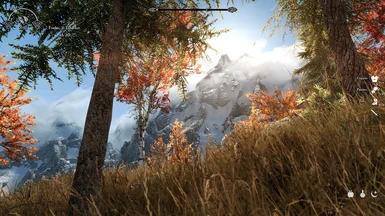
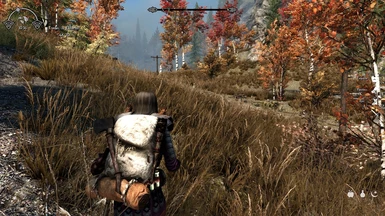
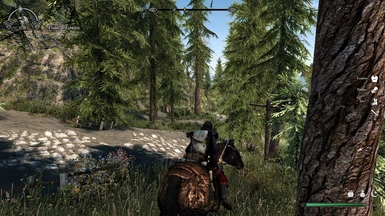
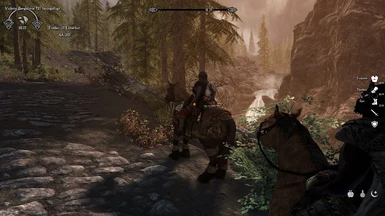
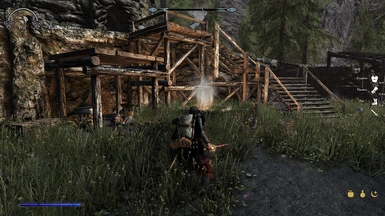
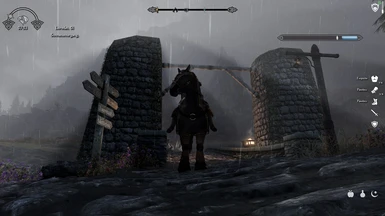
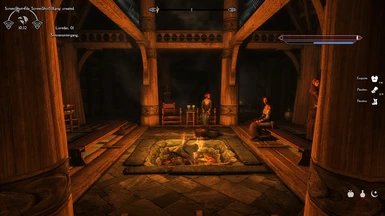
DETAILING SKYRIM
ATTENTION! Please check the below section about the POM effect shader. Thx to Marty McFly we got a new and better version of the Emboss shader that now greatly simulates Parallax Occlusion Mapping! Updating soon... Mods used: Detailing Skyrim preset, Dynamic Display Settings, Subsurface Scattering Shader, Dynavision, Obsidian Weathers, ELFX + Enhancer, Veydosebrom Grasses, EVT, Majestic Mountains, and many more... Performance is always around 50-60 FPS everywhere (AMD FX-6300, Radeon RX480, 16 GB RAM)
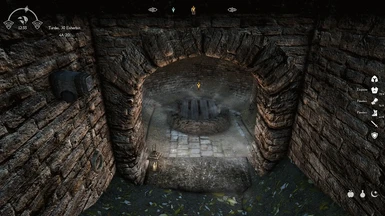
No color changes, just a little bit more power to lights, but subtile though. This preset is not supposed to change the overall look, but to bring out more details on textures and objects and also provide more depth thorugh the alpha parallax and ambient occlusion shaders, while keeping the vanilla performance. To improve the overall image I suggest to use mods like Obsidian Weathers, ELFX, etc.
There are two essential mods to be used with this in addition to create a nice setup featuring daytime- and interior/exterior seperation and subsurface scattering for skins. The links and informations are shown below at the installation instructions.
Upcoming: There is a custom Reshade module available which provides seperate rendering of effects behind the UI, so DOF won't blur the inventory or other screens anymore. The same coding could be enhanced to implement more SSE specific features into Reshade - similar to ENB, but less performance hungry. That's what I'm trying next when I have some time to spare..
Current features:
Performance friendly
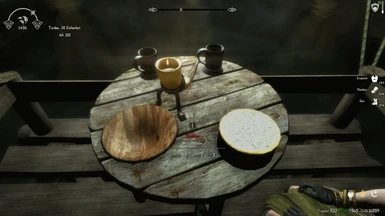
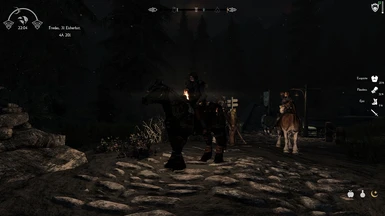
Bring out more details on textures, objects, etc
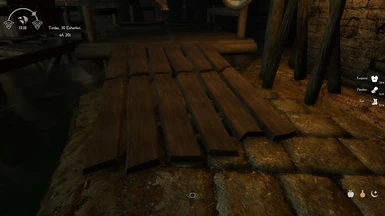
ALPHA Parallax Occlusion Mapping SIMULATING method (credits to Marty McFly)
Marty McFly's Ambient Obscurance
sharper textures
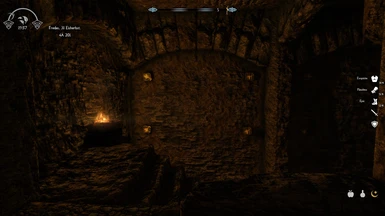
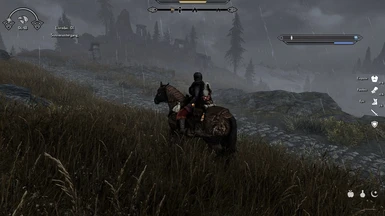
Daytime/Interior/Exterior detection to set different coloring, birghtness, bloom and DoF depending on time and location (DDS mod required)
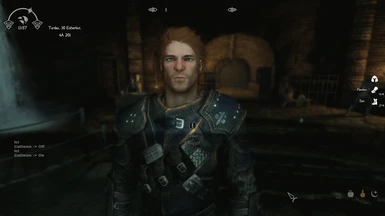
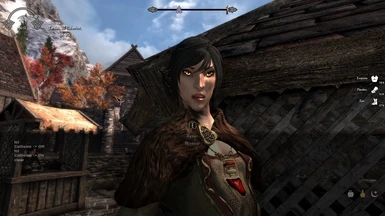
Subsurface Scattering on skins (SSS mod required)
compatible with everything except Reshade presets!
Alternate option for better depth of field by Dynavision (I wrote a quick instruction on how to port it from Oldrim)
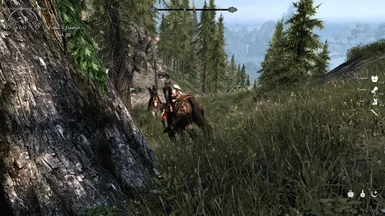
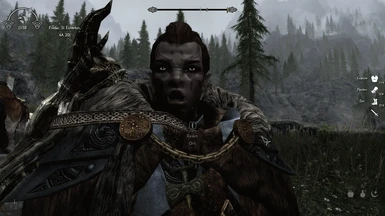
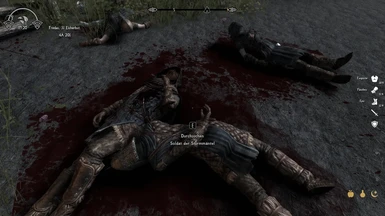
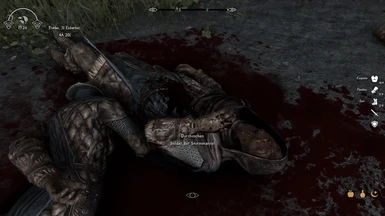
Please just take you 5 minutes to test it yourself! Nothing can explain it better. Screenshots quality isn't the best.. I hope you enjoy it. If you have suggestions or ideas don't wait posting it. If you like it please endorse!
If anyone wants to make some comparison screenshots, I'll post them asap. Thx
ALPHA Parallax Occlusion Mapping SIMULATION
First, it's actually an "ancient" emboss shader that really does nothing else than just calculate pixel differences in one direction and emphasises them. Thanks Marty McFly for clarification! He ported it from a Doom GLSL mod, and then someone from LL took it (obviously without permissions) and distributed it as something else (Parallax Occlusion Mapping Proof of Concept).
After I had a chat with Marty McFly he improved the Emboss shader so we now can have a much better Parallax simulation. New update coming soon..
If you want to play with its settings, set Reshade to "configuration mode" and adjust the values under "Parallax Occlusion Mapping":
Depth Angle Check - samples the normal map/depth info to avoid artifacts at object borders.
Depth cutoff - preserves object edges to prevent artifacts
Power - strength of the "parallax" effect
Offset - the pixel offset of the "parallax" pixels. This is hard to explain but it somewhat controls the pixel shift of the "parallax", some laterally, some on the Z plane.
Angle - controls the angle of the "parallax". I recommend sticking to 45/90/180. Adjust to your taste.
As it affects the whole image and cannot be seperated to single textures or surfaces it must be adjusted to look good at all - you can of course push the street texture to more "depth", but it will also affect everything else and will look very weird then.
I've set the values to something that I think is ok so far. Maybe you find a better setting for your taste. If someone is skilled with shader development (just the fx files actually) and thinks he could improve it, go on. Would be grreat to include an Fadeout option to limit the effect to a defined distance.
More info:
Original conversation: https://reshade.me/forum/shader-suggestions/898-simple-emboss-shader LL thread about "POM" (but the same shader): https://www.loverslab.com/topic/80225-parallax-occlusion-mapping-for-sse-proof-of-concept/
Click on "Select Game" and browse to your Skyrim SE main folder
Select the Skyrim.exe
Click on "DirectX 10+"
Select "YES" when asked to download shaders and in the window displaying the shaders select "Uncheck ALL", click "OK"
Finish and close the setup
Download my file
Extract the content into your Skyrim SE main folder and overwrite everything it asks for
Run the game
In the main menu of Skyrim press "Shift + F2"
in the upcoming GUI window click on "Continue"
Expand the bar near the "+" symbol
Select DSSE.ini
At the bottom of the GUI window click "Continue", also click "Continue" on the next screen (where a red screen appears), in the settings tab you micht want to make sure Reshade runs in "performance mode" and then "Finish" and close the GUI screen by pressing "Shift + F2" again (That's important, otherwise you won't be able to use the TAB key ingame!)
Install DDS (link below) and set your prefered taste for colors, saturation, contrast, brightness, bloom and DoF seperated for time of day, interiors and exteriors - similar to ENB ToD detection.
Install SSS (link below)for subsurface scattering on skins
OPTIONALLY you can use my SkySE DoF mod if you want to have an alternate dynamic depth of field effect (or port DYNAVISION from Oldrim by resaving ESP in CK and unpack BSA to get the loose files, just pack everything and install with NMM, works fine. Ingame set DoF slider to the lowest in the main menu.)
OPTIONAL: If you wanna check the exact differences from what it does, set a effect toggle key in the GUI window (under "Settings" tab) and then ingame just toggle the effect on/off while looking somewhere (like grasses, walls, lights, etc.) You will see the difference.
It is recommended to use this with TAA and Ambient Occlusion (SSAO) ENABLED but not required. However, it de-blurs the TAA related "washed" look on textures.
I suggest to use this with the mod Dynamic Display Settings! It is similar, but much better than IMAGINATOR. It can additionally tweak the settings seperated for day times, nights and interiors/exteriors. Give it a go, click here: DDS - DYNAMIC DISPLAY SETTINGS
SSS - Subsurface Scattering Shader
Another visual improvement to make skins look more realistic. Get it here: SUBSURFACE SCATTERING
TIPS FOR PERFORMANCE
Spoiler:
Show
First of all you need THIS !!! This will improve your FPS a LOT in case you're struggeling with performance.
Someone with a similar rig I'm playing on asked me about performance and how I was able to run my game stable without performance losses. Well, I have to say that I'm using on my current playthrough exactly 449 mods. There are 343 ESP/BSA files at all. The maximum for SSE is 355 (255 ESPs, but together with BSAs it cannot be more than 355). But when I hit the maximum of 355 my savegames become temporary corrupt after an hour of playing (I don't use quicksave or autosave) and only thing I can do is restart the game - which I find very annoying! So I get back to a count of 343 ESP/BSA files together and it works.
I won't go into detail about modding and how to get many mods running werll together as there are many guides available.
On my other Nexus page I posted a summaried guide how to get the best out of your rig for SSE. I have a good GPU but a weak CPU atm. And it took me months of trying around until I figured that I'm able to run Skyrim very solid at 45 - 60 FPS in exteriors. 60 solid in all interiors. Here is a summary of my guide from the other Nexus page which is a quoted comment from myself (if you want to know more about it, check my other Nexus page by clicking the link above):
Ok, As you might have seen in my other Nexus page I'm playing on a Radeon RX 480 and a FX-6300 CPU. So it's definately your CPU which causes a Bottleneck. Yours is actually the same as mine with other/higher rate. The GPU is comparable with my older GPU, the Radeon R9 270X OC (2GB) - and my SKyrim was running slightly slower, but mostly the same like now - that's because my CPU is slowing the whole process down as my GPU is much faster than the CPU can handle the data. The same case is it for your system I guess. I am always setting BethINI like that:
- Using Medium preset - Then setting manually shadows to 2048 resolution, distance view to 3000 near and 6000 far - left trees receive shadows disabled - enable grass on shadows - set SSAO FULL - in the SkyrimPrefs.ini I enable the 64 bit rendering - Use improved snow shader with AO on snow ENABLED (because using the Majestic Mountains included snow with the complimentary texture pack) - slightly increase distance view for grasses - In my driver settings I set texture filtering to HIGH as on standard setting it runs slower for some reason.. (AMD)
I might have forgotten something, but that are most of my "tweaks" and the games runs very good. So you might want to use BethINI medium setting and set some stuff manually to your liking.
I'm also using a custom INI file which sets:
- rendering trees 80 (I think BethINI sets this to 75 by medium preset) - using the large cell setting with the Dolomite weathers values - You can find all these settings in the Dolomite Weathers download section. Pick the "recommend INI settings file" and adjust these values in your ini if you don't use that mod. But DON'T use those settings which are commented as "performance impact" or similar (only use those with e.g. "negligible performance impact). Each setting is commented and explained.
- There is one thing which gave me the best performance boost including better visuals: Don't use mods like SFO! This is very FPS taxing! I use "Vanilla Vegetation Overhaul" which is very very easy on performance and looks amazing! In combination I'm using: "Majestic Mountains" with LODs pack, "REALly Blended Roads" (from Blended Roads download section. That's similar to Real Roads but much better on performance!
and also "Terrain LOD Redone" - all mods with LOD pack (when available. Vegetation Overhaul includes Billboards) - and then I use DynDOLOD with MEDIUM preset (this is only very slightly different from HIGH preset). Well, this combination increased my overall performance and visuals a LOT!
Hope I could help you a bit
Edit: Forgot sth: Most important too! Set Godrays to Medium everywhere in BethINI. And in your driver settings Tesselation to 16x. That will save noticeable performance.