


0 of 0

File information
Created by
Wasteland Ghost aka wghost81Uploaded by
wghost81Virus scan
Safe to use
Documentation
Readme
View as plain text
Preparations Mod for the Next Gen Edition v.0.9NGE
==================================================
by wghost81 aka Wasteland Ghost
===============================
This mod is for v4.0 of the game also known as the "Next Gen Edition" (NGE).
Description:
============
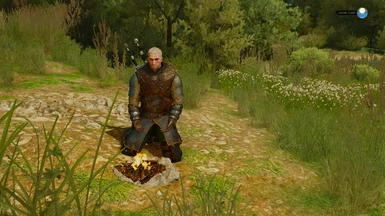
General idea of the mod is to turn meditation into more meaningful process: it's no longer used to simply skip time and auto-refill your potions and bombs, you need meditation/campfire to manage your character skills, equipment and alchemy.
The mod works both with vanilla meditation and with Friendly Meditation mod. The use of the latter is recommended for better, more immersive experience.
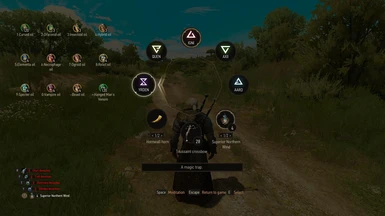
By default with the mod installed you can no longer buy or rearrange skills and mutagens in your skill tree while not meditating/not at a campfire. Same is true for performing alchemy and for repairing and upgrading your equipment. You can configure these restrictions via in-game menu.
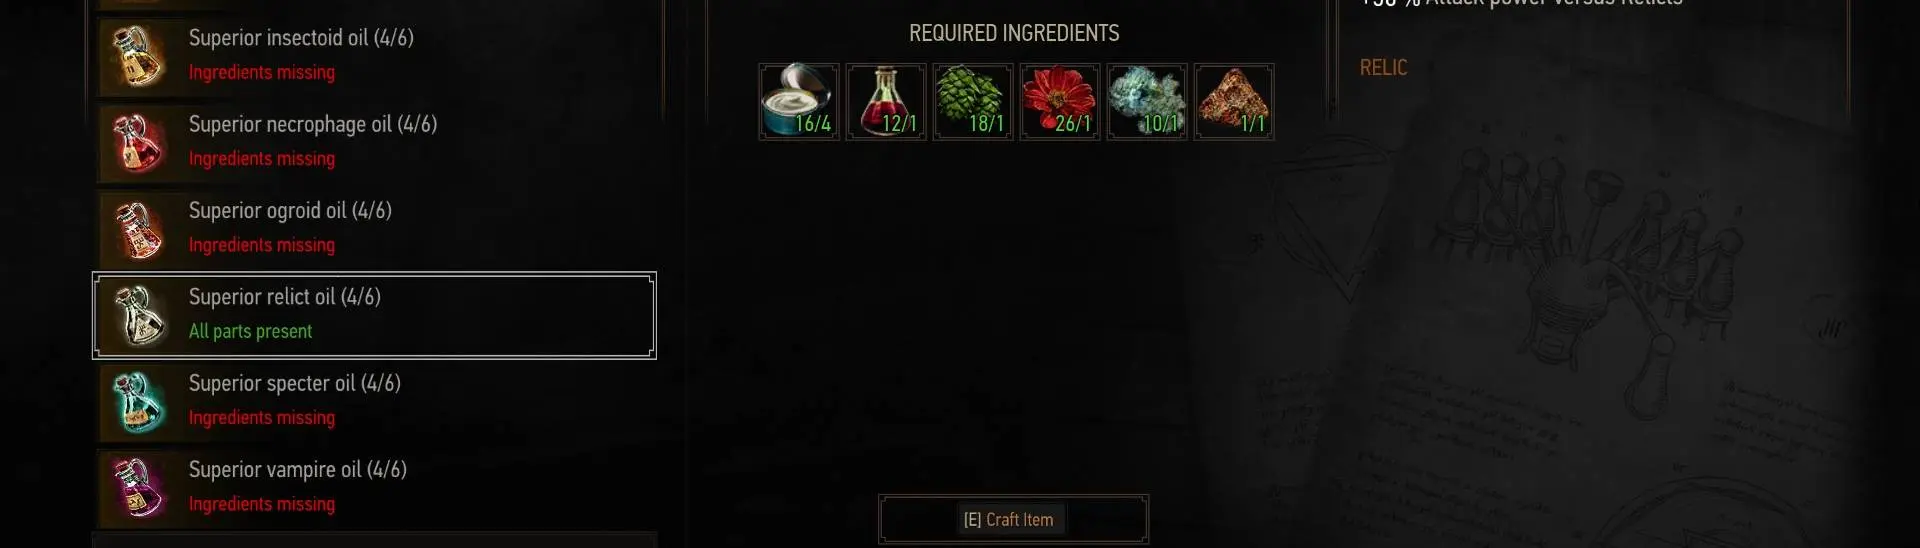
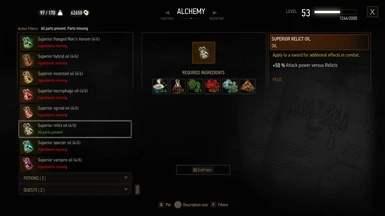
The larger part of the mod is related to how you refill your alchemy items: you now need to do it on per item basis using alchemy menu while meditating (requires Friendly Meditation) or while near a campfire. By default refilling one item (restoring all its "charges") requires the same alchemical "base" you used to create it in the first place: Alcohest or Saltpetre, for example. Oils also have limited amount of usages and are refilled in the same way using corresponding base. Refill mode is configurable via in-game menu: you can set it to "full recipe" and refilling will require full set of ingredients (excluding lower tier version of the same item), "exclude mutagen" (for mutagen potions), set one single refill item per alchemy item type or switch the system off and return to vanilla auto-refill.
Meditation requirements and restrictions are also configurable via in-game menu: by default meditating away from fire is disallowed and you need to either use an existing campfire or, if you have Friendly Meditation installed, spawn a campfire of your own using timber. You can remove timber requirements or disable campfire requirements completely to be able to meditate anywhere at any time. And you can also set up harder requirements like disallow player spawned campfires to only use pre-existing ones, or disable meditation in interiors, in settlements, near non-allied NPCs.
Managing your skills and alchemy while meditating is not instantaneous and takes time: 15 game minutes by default to brew or refill a potion, buy or equip a skill, repair or upgrade an item. Time intervals are also configurable via in-game menu.
By default the mod also disallows eating and drinking in combat - both from the inventory menu and from quick item slot. And you can no longer apply oils in combat - use your witcher senses to prepare for what's ahead. You can disable both of these options in the menu or switch on even harder option - completely disallow inventory access in combat.
Note: The mod is compatible with existing saves, you can install and uninstall it at any point of the game with no risk of breaking your saves.
Configuration:
==============
All mod options are configurable directly from in-game menu - look for "Mods" and "Preparations" entries.
If you're using the mod together with Friendly Meditation mod, go through all menus and apply "Friendly Meditation" preset (or configure the options manually to your liking).
Installation:
=============
Since v.4.0 (Next Gen Edition) TW3 handles menus differently and has two separate config files for dx11 and dx12 versions of the game. If menus are not shown in game for you or options are not set - check the manual install section below (steps 3 and 4 in particular).
It's recommended to use The Witcher 3 Mod Manager (TW3MM) available on Nexus for installing the mod.
Note that Vortex (former Nexus Mod Manager) is known to have troubles installing some mods, so if you're using it and something is not working, check manual install first before reporting a bug.
Restarting the game after scripts compilation (IMPORTANT!)
==========================================================
For an unknown reason loading the game right after compiling scripts sometimes does weird things to alchemy item charges - they might go down to zero or even to -1. Never start playing the game right after you've installed a new mod and saw script compiler running and compiling scripts - close the game after it's fully started and run it again to avoid the problem.
Resolving conflicts with other mods
===================================
If you have other mods installed, use Script Merger to find and resolve conflicts. Note that some of the mods on Nexus might not support the latest patch and thus are incompatible nor with this mod not with the current game version in general. Also note that you need to re-merge all your merges after updating any of the mods to a newer version.
Manual installation:
====================
1. Creating backups (optional)
If you have vanilla version of the game, backup your "[Path To The Witcher 3]\bin\config" folder as some of the mods (including this one) make changes to configuration files and it won't hurt to have vanilla version in case you will need to quickly clean up all your mods.
2. Installing core mod files
Install core package by unpacking the mod and copying an entire "modPreparations" folder to "[Path To The Witcher 3]\Mods" folder. If "Mods" folder doesn't exist, create it first.
3. Installing in-game menu
For in-game menu to work you need modPreparationsConfig.xml to be in your "[Path To The Witcher 3]\bin\config\r4game\user_config_matrix\pc" folder. As well as the entry modPreparationsConfig.xml; to be in dx11filelist.txt and dx12filelist.txt files.
If you have no other mods installed, simply copy "[Path To The Witcher 3]\Mods\modPreparations\bin" folder into your "[Path To The Witcher 3]" folder to install the menu (overwrite existing files when prompted).
If you have any other mods with menus installed, copy "[Path To The Witcher 3]\Mods\modPreparations\bin\config\r4game\user_config_matrix\pc\modPreparationsConfig.xml" file into "[Path To The Witcher 3]\bin\config\r4game\user_config_matrix\pc". Then open your existing "[Path To The Witcher 3]\bin\config\r4game\user_config_matrix\pc\dx11filelist.txt" file and add modPreparationsConfig.xml; to the end of it (see the example in "[Path To The Witcher 3]\Mods\modPreparations\bin\config\r4game\user_config_matrix\pc\dx11filelist.txt"). Do the same for the other file named dx12filelist.txt.
4. Initializing mod default settings
For DX11 version mod settings are stored in "C:\Users\[Your Username]\Documents\The Witcher 3\user.settings".
For DX12 version mod settings are stored in "C:\Users\[Your Username]\Documents\The Witcher 3\dx12user.settings".
To initialize default settings open both "C:\Users\[Your Username]\Documents\The Witcher 3\user.settings" and "[Path To The Witcher 3]\Mods\modPreparations\user.settings.part.txt" file from the mod, select everything inside "user.settings.part.txt" and copy and paste it at the beginning of "user.settings" file. Do the same for dx12user.settings. Note that if you miss this step, most of the mod's options will be off and the mod will appear to be not functioning properly.
5. Resolving conflicts with other mods
If you have other mods installed, use Script Merger to find and resolve conflicts. Note that some of the mods on Nexus might not support the latest patch and thus are incompatible nor with this mod not with the current game version in general. Also note that you need to re-merge all your merges after updating any of the mods to a newer version.
Updating:
=========
It is always safer, both when updating manually and with TW3MM, to remove previous mod version (and make sure "[Path To The Witcher 3]\Mods\modPreparations" folder was indeed deleted) and install it anew. No other steps but installing core mod files are needed, if changelog for the new version has no new menu options and no new bindings mentioned.
If there were changes to menu options in a new version, safest way to upgrade is to delete your "C:\Users\[Your Username]\Documents\The Witcher 3\user.settings" (dx12user.settings), run the game once to create a default one and then repeat steps 3 and 4 of the install process, described above.
Warning! Deleting user.settings (dx12user.settings) file will reset your game settings to defaults, so you'll need to restore your preferred setting after doing so!
If you have other mods installed, un-merge your existing merges in ScriptMerger and re-merge everything again.
Uninstallation:
===============
If you've installed the mod using TW3MM, open it up and choose the uninstall option.
Do not forget to run Script Merger to fix your merged files.
Manual uninstallation:
======================
1. Uninstalling core mod files
You can either uninstall the mod with Vortex or manually delete "[Path To The Witcher 3]\Mods\modPreparations" folder.
2. Uninstalling menu
To remove in-game menu you need to delete modPreparationsConfig.xml from your "[Path To The Witcher 3]\bin\config\r4game\user_config_matrix\pc" folder. Then remove the modPreparationsConfig.xml; line from dx11filelist.txt and dx12filelist.txt.
3. Conflicts with other mods
If you have this mod merged with the others, you will need to re-merge remaining mods after uninstalling this one.