


0 of 0

About this mod
A Daedric quest in which you enter the nightmares of three ex-cultists of Vaermina. Includes nightmare-themed spells, enchanted artifacts, and an Atronach Forge-style trading system.
- Requirements
- Permissions and credits
-
Translations
- Spanish
- Russian
- Portuguese
- Polish
- Mandarin
- French
- Changelogs
- Donations
Vaermina lights the sky of our world! Vaermina is the stars of our world! Her thousand truths are a thousand lights in the night sky!
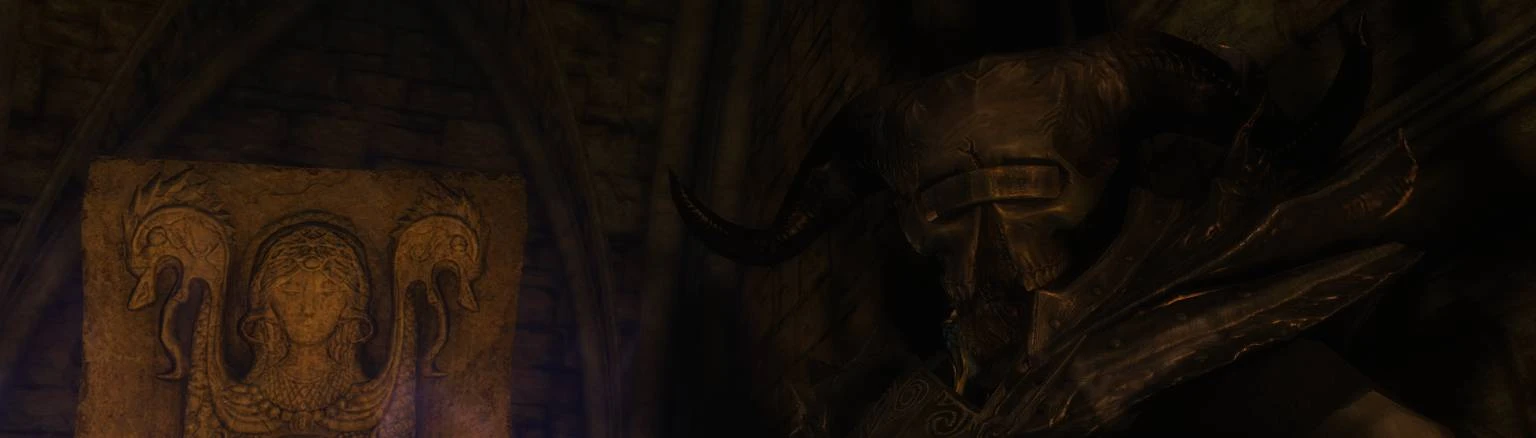
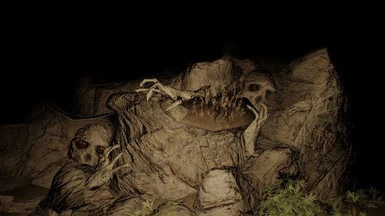
Demon of Dream is an unmarked quest centered around 3 ex-cultists of Vaermina, all trapped in their own minds after an attempt to get back at the Mistress of Dream. Encounter several unique enemies, including Vaermina's own minions: The Omen.
Whether it be to end their suffering, or to find valuable artifacts and spells, you decide to venture into their minds and defeat their worst nightmares.
Like TES 4's Oblivion Gates, and Dragonborn's Black Books, these explorable dreams are small, dungeon-like pockets of Oblivion. Each of the three dreams are designed to match their dreamer: Both their fears and desires are present within the dream, holding you hostage until you conquer them on behalf of the dreamer. You cannot leave the dream until it is resolved.
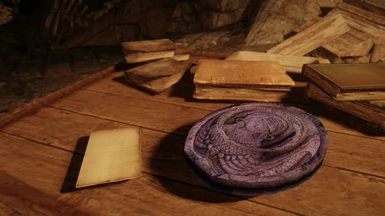
The quest begins with the acquisition of the Idol of Vaermina, within Cragwallow Slope. There, you will find a note next to the artifact, explaining how it works and where the dreamers can be found.
The dreams can be tackled in any order, but the one at Greenwall is designed to be the final of the three.
Recommended level: 15+
Guide
Travel to Cragwallow Slope and obtain the Idol of Vaermina.
Read the note beside it for lore on the dreamers, the Idol, and to mark their locations on your map.
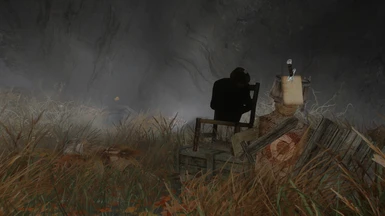
(Riverside Shack - The Courier)
Spoiler:
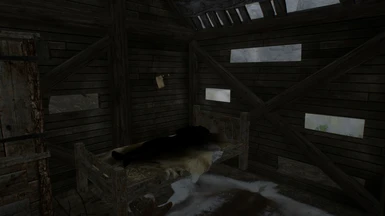
Travel to the Riverside Shack.
Read the note next to the body, then activate the body with the Idol of Vaermina in your inventory.
Grab the Delivery Bag, and follow the long trail of torches.
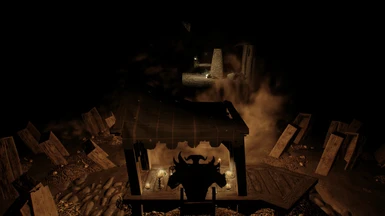
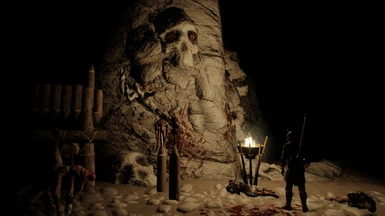
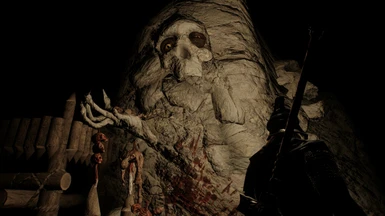
Trade the Delivery Bag to the Omen of Possibilities.
Sit in the Throne of Trade in front of him to exchange items found within the dreams for various items and artifacts.
Exit through the ladder next to him to return to Tamriel.
Use the "Dreamstride (Courier)" spell to return to this dream once a day.
On the bed, the body will be replaced with a key. Grab it.
Show
Travel to the Riverside Shack.
Read the note next to the body, then activate the body with the Idol of Vaermina in your inventory.
Grab the Delivery Bag, and follow the long trail of torches.
Trade the Delivery Bag to the Omen of Possibilities.
Sit in the Throne of Trade in front of him to exchange items found within the dreams for various items and artifacts.
Exit through the ladder next to him to return to Tamriel.
Use the "Dreamstride (Courier)" spell to return to this dream once a day.
On the bed, the body will be replaced with a key. Grab it.
(Autumnshade Clearing - The King)
Spoiler:
Travel to Autumnshade Clearing.
Read the note attached to the practice dummy, then activate the body same as before.
Read the note on the throne, then head to the hallway to the West.
From the hallway, go North down the stairs.
Take note of the locked door, by the South end of the table. This leads to the Castle Depths mentioned in the throne's note.
Enter the abandoned bedroom (to the West of the Dining Room), defeat the Lesser Omen, and grab the key from its body.
Enter the room of straw (to the North of the Dining Room), pull the lever, and head to the stairs opposite the room of straw.
Defeat the Lesser Omen here, and grab the key from its body.
Return to the locked hallway, South of the dining table.
Unlock the doors, grab the key from the Gatekeeper to the East, and continue to the Depths.
Continue through the Castle Depths as normal.
Enter the second abandoned bedroom, next to the gated doorway in the collapsed hallway.
Open the dresser closest to the door, and pull the lever.
Enter the newly opened doorway at the end of the collapsed hall, and continue to Hroldar's Keep.
Continue down through Hroldar's Keep.
At the bottom floor, take note of the blocked off room to the West.
Go down the South hallway.
Enter the door to the West to reach the third and final abandoned bedroom.
Read the note, and pull the lever.
Go down the stairs, into the giant flooded room, and enter the Abandoned Garden (Southwest cave).
Acknowledge the unusable chair, and pull the lever.
Head back to the beginning of the bottom floor. A path to the treasury has opened.
Enter the treasury, defeat the Omen of Abandonment, and grab Hroldars head and crown.
Return to the Abandoned Garden, and activate the chair.
Exit through the portal to return to Tamriel.
Use the "Dreamstride (Hroldar)" spell to return to this dream once a day.
On the chair, Hroldar's body will be replaced with a key. Grab it.
Show
Travel to Autumnshade Clearing.
Read the note attached to the practice dummy, then activate the body same as before.
Read the note on the throne, then head to the hallway to the West.
From the hallway, go North down the stairs.
Take note of the locked door, by the South end of the table. This leads to the Castle Depths mentioned in the throne's note.
Enter the abandoned bedroom (to the West of the Dining Room), defeat the Lesser Omen, and grab the key from its body.
Enter the room of straw (to the North of the Dining Room), pull the lever, and head to the stairs opposite the room of straw.
Defeat the Lesser Omen here, and grab the key from its body.
Return to the locked hallway, South of the dining table.
Unlock the doors, grab the key from the Gatekeeper to the East, and continue to the Depths.
Continue through the Castle Depths as normal.
Enter the second abandoned bedroom, next to the gated doorway in the collapsed hallway.
Open the dresser closest to the door, and pull the lever.
Enter the newly opened doorway at the end of the collapsed hall, and continue to Hroldar's Keep.
Continue down through Hroldar's Keep.
At the bottom floor, take note of the blocked off room to the West.
Go down the South hallway.
Enter the door to the West to reach the third and final abandoned bedroom.
Read the note, and pull the lever.
Go down the stairs, into the giant flooded room, and enter the Abandoned Garden (Southwest cave).
Acknowledge the unusable chair, and pull the lever.
Head back to the beginning of the bottom floor. A path to the treasury has opened.
Enter the treasury, defeat the Omen of Abandonment, and grab Hroldars head and crown.
Return to the Abandoned Garden, and activate the chair.
Exit through the portal to return to Tamriel.
Use the "Dreamstride (Hroldar)" spell to return to this dream once a day.
On the chair, Hroldar's body will be replaced with a key. Grab it.
(Fort Greenwall - The Leader)
Spoiler:
Head to Fort Greenwall.
Enter the cave, either through the sidepassage or the well inside the fortress.
Inside the cave, look for the trapdoor leading to the Greenwall Hideout.
In the Hideout, read the note on the table and then approach the cell.
Open it with one of the keys found on the previous two dreamers, or lockpick it if you want to get in early.
Activate the body, same as before.
Kill Nilarion, he swung first.
Read the note on his corpse, and escape the dream.
Grab Nilarion's Skull to trade it to the Omen of Possibilities. Or use it as decoration, if you don't feel like submitting what's left of Nilarion's mind to Vaermina.
Show
Head to Fort Greenwall.
Enter the cave, either through the sidepassage or the well inside the fortress.
Inside the cave, look for the trapdoor leading to the Greenwall Hideout.
In the Hideout, read the note on the table and then approach the cell.
Open it with one of the keys found on the previous two dreamers, or lockpick it if you want to get in early.
Activate the body, same as before.
Kill Nilarion, he swung first.
Read the note on his corpse, and escape the dream.
Grab Nilarion's Skull to trade it to the Omen of Possibilities. Or use it as decoration, if you don't feel like submitting what's left of Nilarion's mind to Vaermina.
Compatibility
This mod uses Cragwallow Slope, Fort Greenwall, Riverside Shack, and Autumnshade Clearing. Any mods that interfere with these areas might affect Demon of Dream, such as:
Evolving Locations - Riverside Shack
Known Issues
Spoiler:
The Servant's Mask only uses one model, no matter your race, sex, or weight. I just couldn't get it to work any other way. To make up for it, you can trade your masks in for an enchanted sword at the Omen of Possibilities. NOW FIXED. All credit goes to CharderoTheLupe for designing functioning models for the helmet!
If two different casters use Warm Slumber on the same person before the effect wears off, the slowness effect can stack in reverse and speed up attack animation for a few seconds. Until I find a fix just pretend this is intentional and actually represents fear caused by a hallucination or something.
Show
If two different casters use Warm Slumber on the same person before the effect wears off, the slowness effect can stack in reverse and speed up attack animation for a few seconds. Until I find a fix just pretend this is intentional and actually represents fear caused by a hallucination or something.