


0 of 0


Documentation
Readme
View as plain text
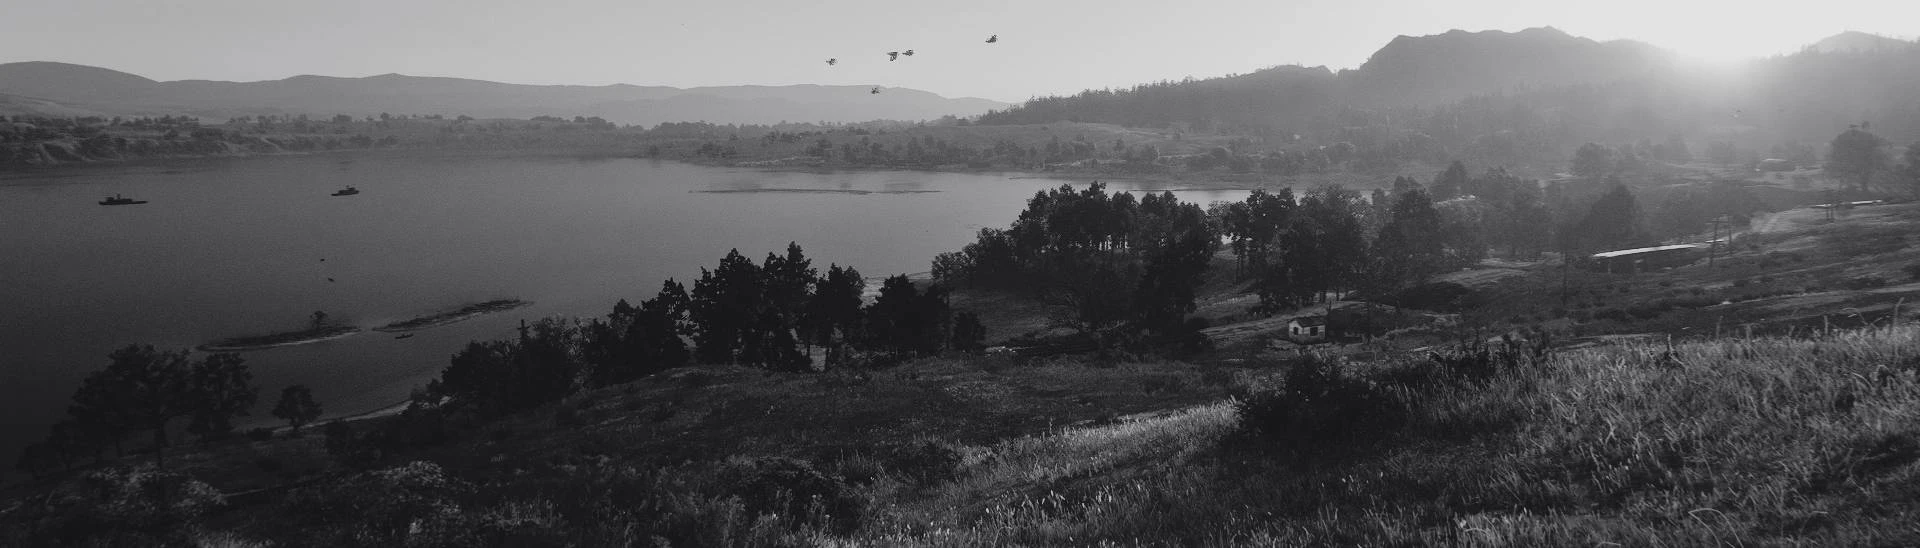
Filmic Clarity ReShade v4.2 by Voltamage
For Red Dead Redemption 2
This ReShade preset was built with ReShade 4.9.1
Link to ReShade: https://reshade.me/#download
Features:
· Filmic tonemapping
· Proper white balancing
· Vignette removal
· Extra texture detail
· Bloom reduction outside
· Clearer days
· Darker nights
· NEW Gameplay and screenshot presets, for every performance configuration
· NEW Shaders reordered for more physical accuracy
· NEW Full filmic process emulation, from lensing to film stocks, development, scanning, and aspect ratios
· NEW Film stocks, 81 base presets with over 1600 possible configurations
· NEW Extra global illumination for Ultra presets
· NEW Experimental subsurface scattering
· NEW Comprehensive guide, making sure you can configure things just the way you like it
Filmic Clarity is an advanced ReShade preset, aiming to deliver the most accurate representation of
film processing for RDR2.
The default preset is configured for smooth gameplay and neutral color grading on recent system
configurations.
There are performance presets for every machine, along with variations just for screenshots.
Performance was benchmarked on an older machine, with a 3570k CPU and a 1060 GPU, so results may
vary, probably for the better. Advanced lighting effects are also possible, with global illumination
and experimental subsurface scattering. All relevant options are documented in the guide, for
maximum user control and tweaking.
A comprehensive shader list first corrects the vanilla game image, with effects such as sharpening,
contrast, and color correction to remove washed out tones, then it emulates real life film processes.
First with lensing, then a massive range of film stocks. There are over 80 base film presets, and
over 1600 total configurations. Finally, film development and scanning are emulated.
I sincerely hope you enjoy this preset, gaming or taking screenshots with a fresh look,
customized just for you.
Installation:
If you already have an existing ReShade preset you would like to clean uninstall before this,
including previous versions of this preset, you should delete these folders and files if you
have them in your game directory. Then just skip to step 6.
· reshade-RDFilmicPresets
· reshade-shaders
· dxgi.dll
· dxgi.ini
· dxgi.log
· ReShade.ini
· ReShade64.log
· Any .ini files that are identifiable as ReShade presets
1. Download ReShade from the link here: https://reshade.me/#download
2. Run the installer. If you are running RDR2 on the Vulkan API, I personally recommend
enabling ReShade globally in Vulkan, otherwise you will have to run the installer and keep
it open every time you run your game for ReShade to work. A notable side effect however is
that ReShade will then be enabled in every Vulkan game on your system.
3. Click the button to select a game, and select your RDR2.exe executable. You should see it
automatically, but if not, you can browse for it.
4. Select the rendering API you are currently using. This preset was tested on Vulkan, however
it is confirmed working on DX12, albiet with a visual glitch seen sometimes in menus when
RadiantGI is enabled.
5. When you get to the "Select effects packages to install", skip it.
Important: In previous versions of this preset, the screenshot folder was named
"reshade-RDFilmicScreenshots", with the new name being "reshade-screenshots". To keep screenshots
consolidated, make sure to rename your screenshot directory to "reshade-screenshots" before
copying the update.
6. Copy these folders and files into the main Red Dead Redemption directory with the RDR2.exe
and overwrite any files.
· reshade-screenshots
· reshade-shaders
· ReShade.ini
This preset was built with the default gamma calibration in mind, make sure you have your
monitor calibrated.
If you experience flickering on the Ultra preset, copy the commandline.txt from the Optional
folder inside reshade-shaders into the main game directory. This stops RDR2 from running in
online mode, allowing the depth buffer to be analyzed uninterrupted for Radiant.fx. The
downside to this however, is RDR2 wants to communicate with Rockstar at least once a day, or it
will not load into the game. This means that the commandline.txt has to be moved or deleted
from the game directory once a day, so the game can boot normally in online mode. If this is
bothersome, there are unofficial ReShade versions on Marty McFly's discord modified to allow
depth buffer effects, even in online modes. Take extra care not to accidentally load into an
online game with this, as your chances of being banned are higher.
Keymapping:
· "Print Screen" takes screenshot
· "Insert" toggles depth of field
· "Delete" toggles ReShade effect
· "End" opens the ReShade overlay
· "Page Down" reloads ReShade
· "Left Shift + Left/Right Arrow" cycles through presets
Many thanks to:
· akgunter for kindly giving me advice on directory structures
https://github.com/akgunter
· bluescan for proggyfonts, used in both ReShade itself, and the guide accompanying this preset.
https://github.com/bluescan/proggyfonts
· BlueSkyDefender for RadiantGI.fx, kindly helping me learn and debug, and timely shader updates
https://github.com/BlueSkyDefender/AstrayFX/blob/master/Shaders/RadiantGI.fx
· Brimson for alerting me that my warning was actually a bug, dither explorations, and other help
https://github.com/Brimson
· CeeJay.dk and friends for SweetFX, an absolute staple of the ReShade community
https://github.com/CeeJayDK/SweetFX
· crosire for ReShade, the program that made all of this possible
https://reshade.me/
· Deadfyre for friendly advice, explaining clarity, and helping track down a pesky depth buffer bug
· Evil Blunt and Three-Socks for Red Dead Freecam, making my screenshots easy
https://www.nexusmods.com/reddeadredemption2/mods/60
· Fubax for Letterbox.fx and SimpleGrain.fx, helping me achieve that filmic look
https://github.com/Fubaxiusz/fubax-shaders
· iJamesss for Red Dead Trainer, so I could quickly test environments for this preset
https://www.nexusmods.com/reddeadredemption2/mods/190
· Ioxa for the original Clarity.fx, and BlueSkyDefender again for updating it for newer functions
https://github.com/BlueSkyDefender/AstrayFX/blob/master/Shaders/Clarity.fx
· Krita for the painting and image manipulation software used to create the guide for this preset.
https://krita.org
· Loadus for DPX.fx, a shader that allowed me to simulate the scanning of film
https://github.com/CeeJayDK/SweetFX/blob/master/Shaders/DPX.fx
· l00ping for creating an awesome user guide for the amazing FO4 PRC, inspiring me to create my own
https://www.nexusmods.com/fallout4/mods/6796
· Lord of Lunacy for being a very helpful teacher of ReShade, and sharing programming knowledge
https://github.com/LordOfLunacy
· Marty McFly for qUINT, permission to use his shaders, and kindly answering all my many questions
https://github.com/martymcmodding/qUINT
· Mysid for creating the Insertpad.svg.png image used in the guide
https://commons.wikimedia.org/wiki/File:Insertpad.svg
· prod80 for Color effects, patient bug hunting help, and friendly answers to all my questions
https://github.com/prod80/prod80-ReShade-Repository
· Ray Larabie and Typodermic Fonts for Chinese Rocks, the font similar to the Red Dead title
https://typodermicfonts.com/chinese-rocks-minor-update/
· seri14 and Marot Satil for additions to Layer.fx that allow coordinate manipulation
https://github.com/CeeJayDK/SweetFX/blob/master/Shaders/Layer.fx
· SLSNe and friends for CAS.fx, a port of AMD's FidelityFX Contrast Adaptive Sharpening
https://github.com/CeeJayDK/SweetFX/blob/master/Shaders/CAS.fx
· supra107 for giving me an excellent automated LUT cropper
· TheGordinho for tips and tricks on image editing, and for improving the guide
https://github.com/TheGordinho
· TreyM for kindly teaching me about film processing and coding for ReShade
https://github.com/TreyM
· Vagrant Zero for providing me with more solutions to the depth buffer bug