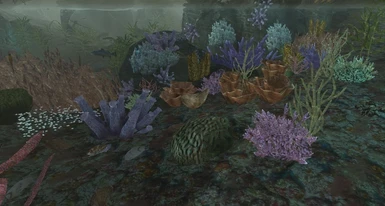
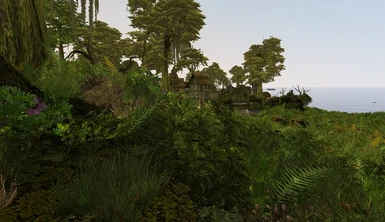
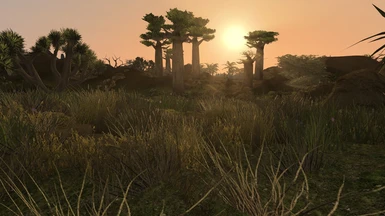
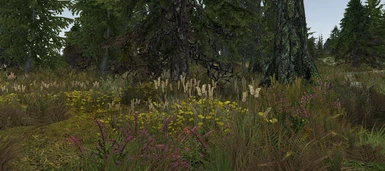
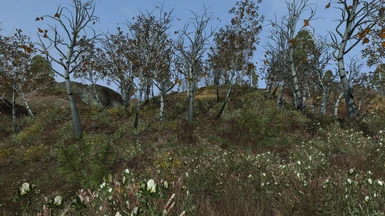
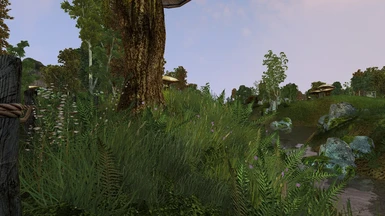
About this mod
vegetation for most regions.
- Requirements
- Permissions and credits
-
Translations
- Donations
Animated grass for the following regions:
* Bitter Coast
* Ascadian Isles
* West Gash
* Grazelands
* Ashlands (separate)
* Solstheim (separate)
Instructions:
copy data files to your /morrowind directory
In MGE go to Distant Land Setup Wizard, tick the Vurt Groundcover .esp and click continue, generate distant land.
Remember that these .esp's should not be ticked in the Morrowind Launcher, they're only for MGE.
Credits: Yacoby (for his Mesh Generator utility), Vality for inspiration/idea, Zackq for helping me get started.
OpenMW install instructions:
- Do not enable the plugin files from your launcher, or at all.
- In openmw.cfg add (anywhere):
groundcover=Vurt's Groundcover - BC, AI, WG, GL.esp
groundcover=Vurt's Groundcover - Reeds.esp
groundcover=Vurt's Groundcover - Solstheim.esp
groundcover=Vurt's Groundcover - The Ashlands.esp - in settings.cfg set (these should be good for most other groundcover mods too):
[Groundcover]
enabled = true
density = 1.0
stomp mode = 2
stomp intensity = 1
rendering distance = 20480
- 6144 (This is the default, groundcovers are rendered only a very short distance in front of you)
- 10240 (Half of my suggested value, should be pretty good for lower end machines)
- 30720 (This is the sweetspot if you use the exponential fog setting, any popping happens deep enough into the fog that you really have to look for it to see it)
- 40960 (groundcover will be rendered extremely far, it is perfect in combination with the exponential fog setting)
- 81920 (Same as max view distance, you should probably never set it this high)
=== TUTORIAL==== (edit 2024: Probably very outdated, but i'll keep it here in case)
How to make Groundcover mod compatible with landscape altering mods.
So you've installed the Groundcover mod and you've noticed an area in the game with floating vegetation. This means you've got a mod activated that alters the landscape, unfortunately this makes my mod incompatible. Fortunately there's a way to fix this, and it's actually quite easy.
Let's say you're in-game looking at the floating grass, here's what to do:
* Go into the console, enter TG then enter. Now you will have the position of the cell where floating vegetation is. Write the position down, or take a screenshot.
* Start TES Construction Set. Go to "File", "Data Files..." and tick Morrowind.esm and Vurt's Groundcover - BC, AI, WG, GL.esp, click "set as active file". You might also want to tick the mod that is affecting the landscape if you want to see how it alter the landscape/grass.
* Click "World", "Go to Cell", enter the cordinates you wrote down, hit enter. This should take you to the affected cell.
* Drag and select the whole area with floating vegetation, it does not matter if you select rocks, trees or houses. Hit the Del key. If you're deleting a whole town for example you'll get a lot of annoying messages where you're supposed to click ok, just hold Enter to skip through all those messages.
* "File", "Save"
* Download TES3CMD: http://mlox.googlecode.com/files/tes3cmd-0.37p-2011.05.23.7z
* extract this exe to the root of c:\ and also copy Vurt's Groundcover - BC, AI, WG, GL.esp to c:\
* copy this text (ctrl+c): tes3cmd delete --instance-no-match GRS_ "Vurt's Groundcover - BC, AI, WG, GL.esp
* Click the start button, write: command prompt in the search field, click its icon.
* enter cd.. (hit Enter) untill you reach the root of C:\ where you copied the .esp
* Right click in the window, paste, and hit enter. This procedure will undelete everything except the floating grass that you removed.
* You now have a compatible .esp. There's no need to ask for my permission to share this file.
Credits: Dragon32 for the tes3cmd instructions.


