


0 of 0
About this mod
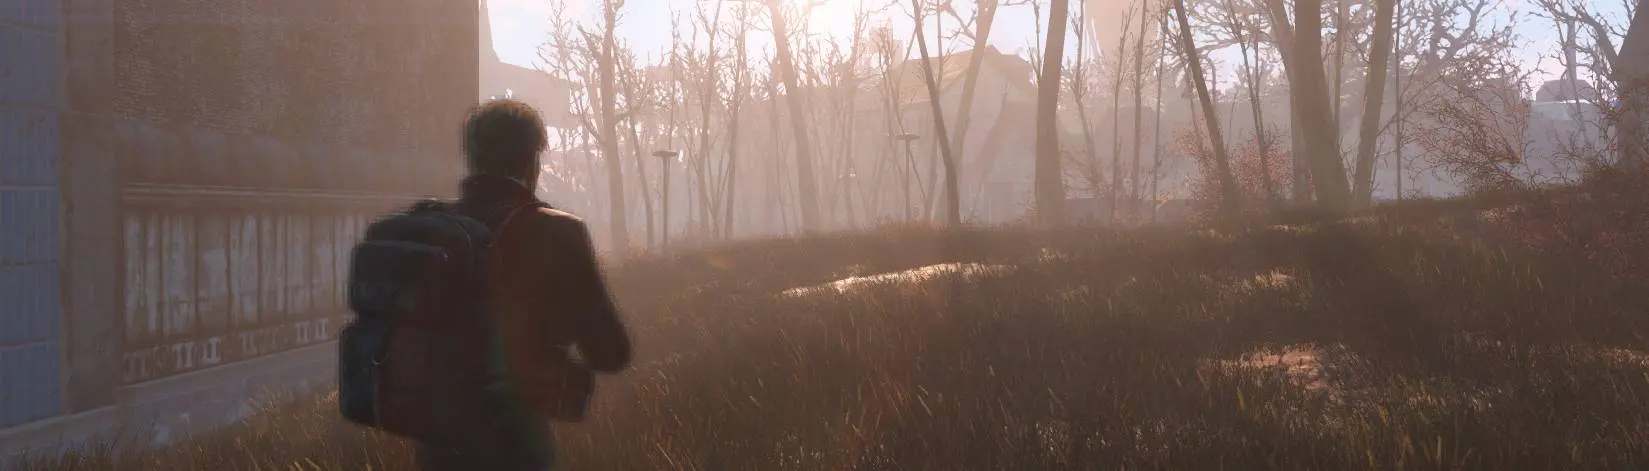
Tired of the vanilla combat, ambient & exploration music? Add your own!
- Requirements
- Permissions and credits
For my other mod FO4 Custom Level up sounds, click here
FO4 Custom Level up Sound
This mod allows you to add your own personalised BGM into fallout 4! Edit combat, daytime exploring, cities, even faction themes!
First thing to note. This is not a replacer. This simply adds to the games BGM to play alongside the existing soundtrack.
Secondly this is a FRAMEWORK, the mod folder is designed to be empty, its up to you to fill this yourself.
Third, there is no esp, esl etc involved, this is intentional and is not required.
--------------------------------------------------------------------------------------------------------------------------------------------------------------------------------------------------------------------------------------------
With that said, please follow the step by step guide below to get started, I will assume you have downloaded the mod with vortex but the same rule applies if you download manually as its just folder editing..
Step 1:
Once you have downloaded the mod, make sure it is disabled on vortex. On vortex, right click it to open the folder.
You should be here at this point in the empty folder. Here's a screenshot and an example of my own file path.
C:\Users\Joel\Documents\FO4 Personalised Music-65684-1-1-1667768036\FO4 Personalised Music\music

Step 2:
You're going to want to find your own music files now. I recommend doing this all in bulk, i.e. having all of your music files ready to go that your going to be using, for all your areas you are editing.
Ideally have them in .wav format.
Once you have gathered your music files your now going to want to start renaming them to where you want them to play. You can use the examples readme that came with the mod but here is an example of a complete list. Bare in mind that the limit to each area/scenario is around 26.
Make sure you rename your files exactly as shown in the readme otherwise it won't work!
Here they are fully renamed, still in their .mp3/.wav format. You have now populated the mod.

Step 3:
We're not done but we're close. we now have to convert them to .xwm format. much easier than it sounds!
Load up Multixwm, the folder will look like this. take note of the "output" folder as this is where your conversions will be.
Your file path will be wherever you put it.

now open up multixwm, you don't need to change any of the settings.

Now hit add file, find your files in the mod itself, highlight them all and press open, so you do it all at once. it will look something like this.

Take note of how many files you have too, then compare it to your output so you know that they all converted. If you have 30 files to convert and it only does 28 of them, you have a problem with two.
Once you have selected them, it should look like this. Hit start.

Once that's done, it'll look like this. open the output folder. Check the files are all converted, I do this again by checking how many there are against what I wanted to convert.

your output folder will look like mine:

Once you have confirmed its all there, go back to the mod folder. move all of the .mp3/.wav in there OUTSIDE of the mod for safe keeping as this can be time consuming to re-do! don't just leave them in there, it won't work if .wav and .xwm files are in the mod it has to be only one. you can delete them if you have them safe but the point is to remove them from the mod.
you can then paste the contents of your output folder, into the mod:

You're done.
With vortex, right click the mod to refresh content. then you can enable it.
If its outside of vortex for the moment or you use something else, just install it as normal.
Thanks for reading, writing guides isn't my strong point so I'll take any feedback!
FO4 Custom Level up Sound
This mod allows you to add your own personalised BGM into fallout 4! Edit combat, daytime exploring, cities, even faction themes!
First thing to note. This is not a replacer. This simply adds to the games BGM to play alongside the existing soundtrack.
Secondly this is a FRAMEWORK, the mod folder is designed to be empty, its up to you to fill this yourself.
Third, there is no esp, esl etc involved, this is intentional and is not required.
--------------------------------------------------------------------------------------------------------------------------------------------------------------------------------------------------------------------------------------------
With that said, please follow the step by step guide below to get started, I will assume you have downloaded the mod with vortex but the same rule applies if you download manually as its just folder editing..
Step 1:
Once you have downloaded the mod, make sure it is disabled on vortex. On vortex, right click it to open the folder.
You should be here at this point in the empty folder. Here's a screenshot and an example of my own file path.
C:\Users\Joel\Documents\FO4 Personalised Music-65684-1-1-1667768036\FO4 Personalised Music\music
Step 2:
You're going to want to find your own music files now. I recommend doing this all in bulk, i.e. having all of your music files ready to go that your going to be using, for all your areas you are editing.
Ideally have them in .wav format.
Once you have gathered your music files your now going to want to start renaming them to where you want them to play. You can use the examples readme that came with the mod but here is an example of a complete list. Bare in mind that the limit to each area/scenario is around 26.
Make sure you rename your files exactly as shown in the readme otherwise it won't work!
Here they are fully renamed, still in their .mp3/.wav format. You have now populated the mod.
Step 3:
We're not done but we're close. we now have to convert them to .xwm format. much easier than it sounds!
Load up Multixwm, the folder will look like this. take note of the "output" folder as this is where your conversions will be.
Your file path will be wherever you put it.
now open up multixwm, you don't need to change any of the settings.
Now hit add file, find your files in the mod itself, highlight them all and press open, so you do it all at once. it will look something like this.
Take note of how many files you have too, then compare it to your output so you know that they all converted. If you have 30 files to convert and it only does 28 of them, you have a problem with two.
Once you have selected them, it should look like this. Hit start.
Once that's done, it'll look like this. open the output folder. Check the files are all converted, I do this again by checking how many there are against what I wanted to convert.
your output folder will look like mine:
Once you have confirmed its all there, go back to the mod folder. move all of the .mp3/.wav in there OUTSIDE of the mod for safe keeping as this can be time consuming to re-do! don't just leave them in there, it won't work if .wav and .xwm files are in the mod it has to be only one. you can delete them if you have them safe but the point is to remove them from the mod.
you can then paste the contents of your output folder, into the mod:
You're done.
With vortex, right click the mod to refresh content. then you can enable it.
If its outside of vortex for the moment or you use something else, just install it as normal.
Thanks for reading, writing guides isn't my strong point so I'll take any feedback!