


0 of 0
About this mod
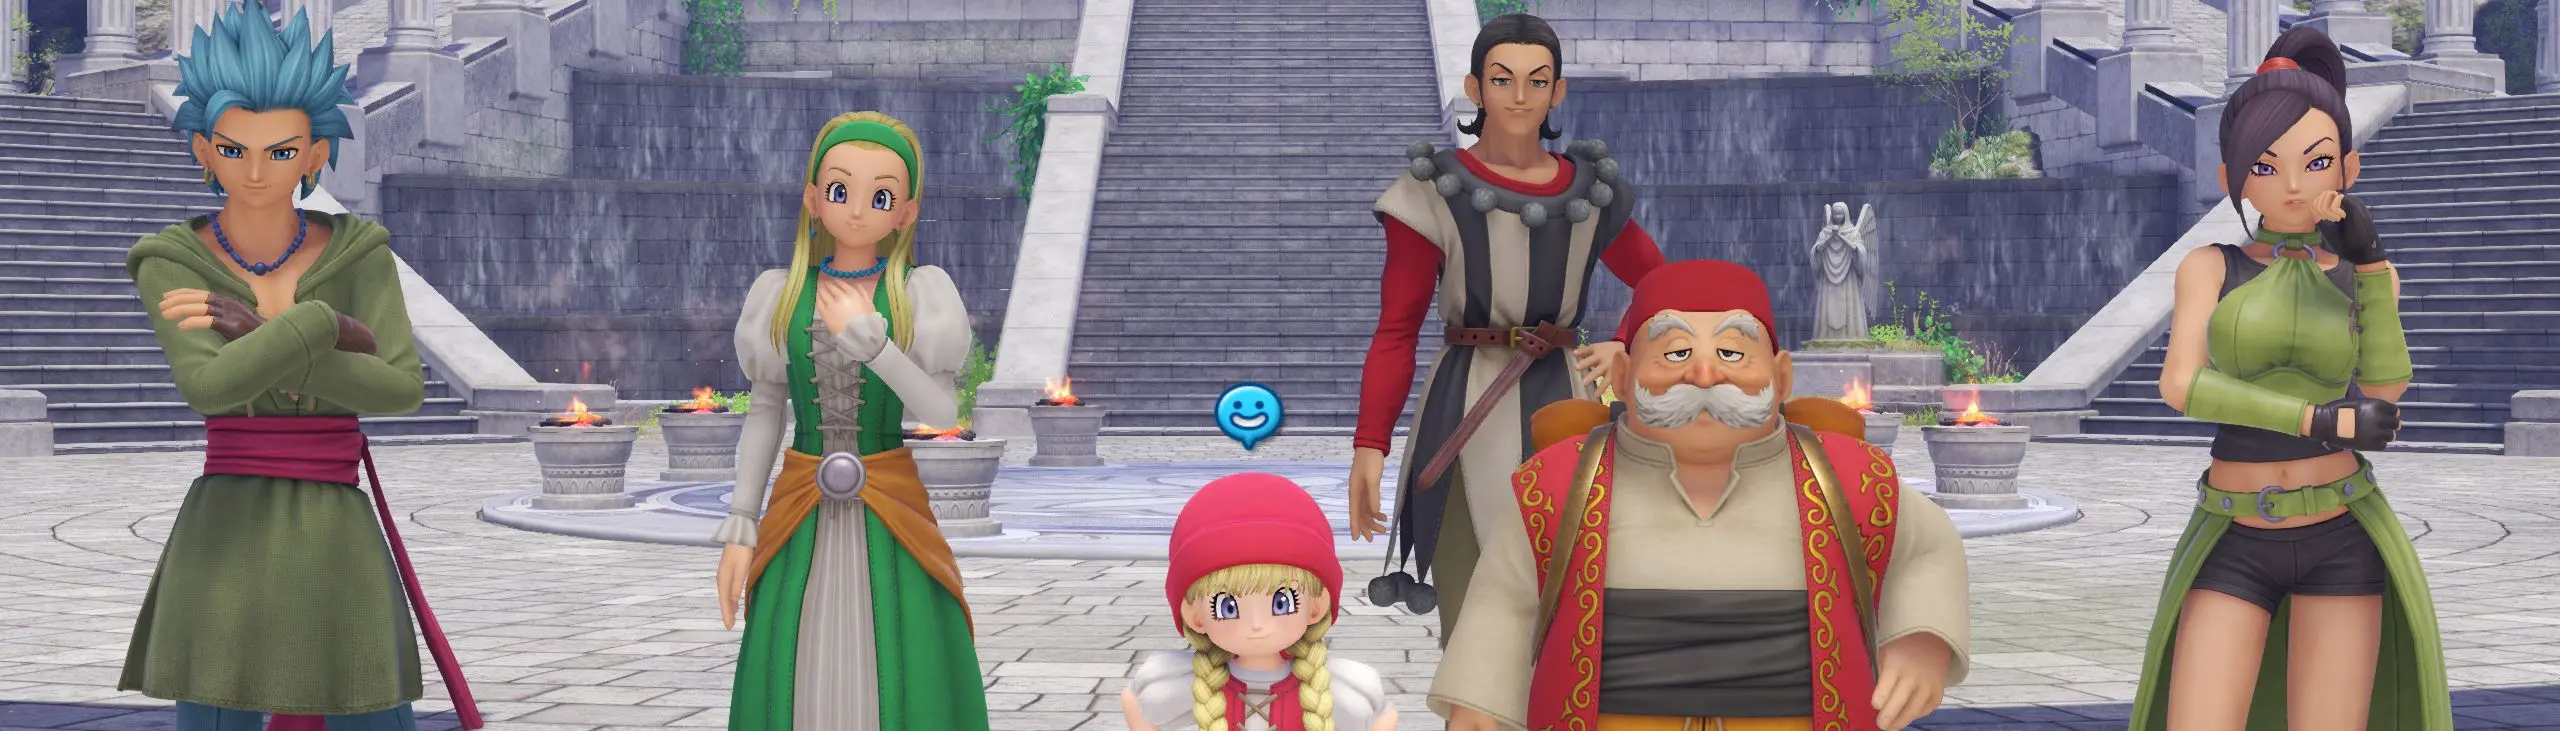
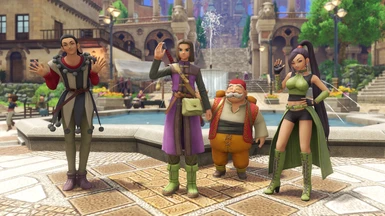
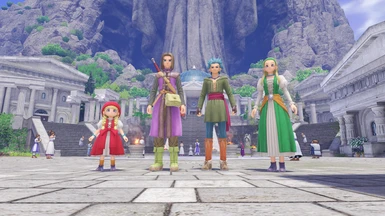
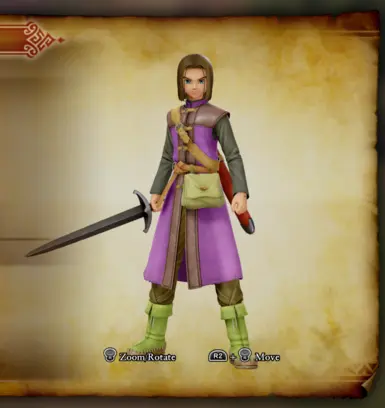
This mod restores the high quality character models and textures from the original (non-Definitive Edition) Steam version of the game.
- Requirements
- Permissions and credits
- Changelogs
- Donations
Installation instructions at the bottom
When Square Enix created the Definitive Edition of the game for Nintendo Switch, they reduced the quality of the game's models and textures, such that the game would be playable on the console. However, when porting the Definitive Edition back to PC, they did not restore the high quality assets from the original game, causing the game to be visually inferior to the original, but with extra content. Project Rebuild is a joint effort within the DQXIS modding community to restore much of the detail lost in the Definitive Edition.
Due to the vast quantity of work required to complete Project Rebuild, it is being attempted in small chunks that will each provide a meaningful improvement to the game as a whole. Version 0.0.1 of this mod alone took over 2 months to develop!
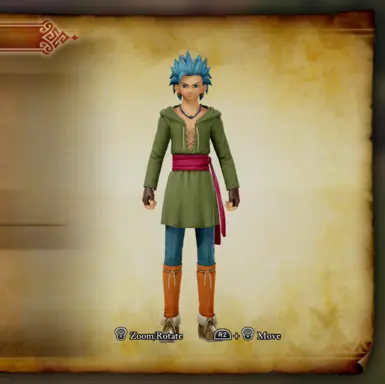
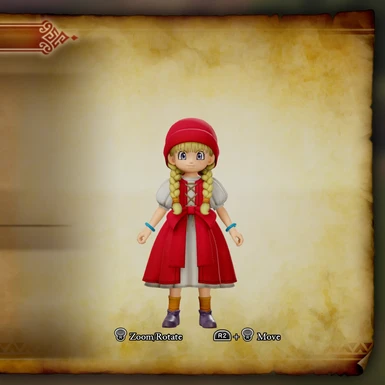
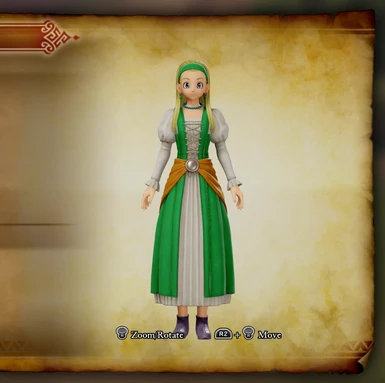
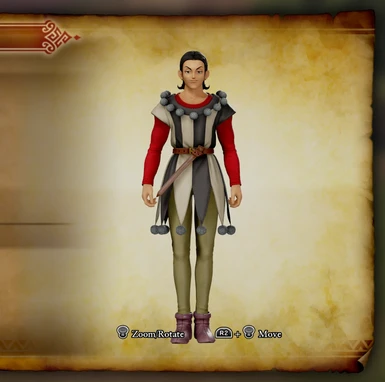
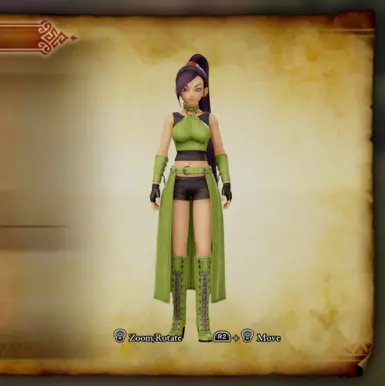
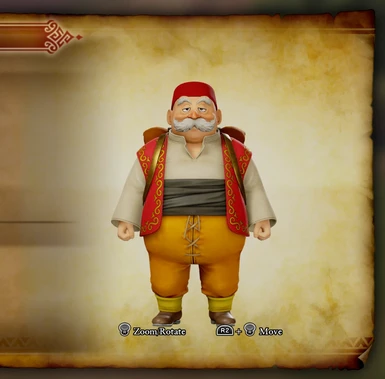
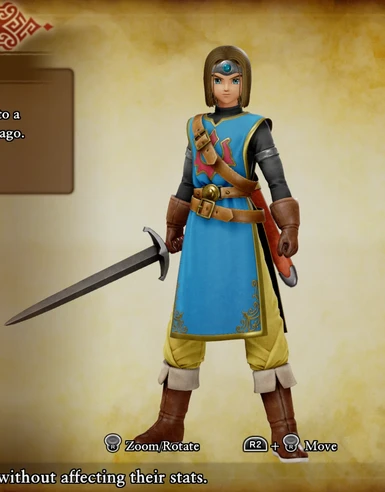
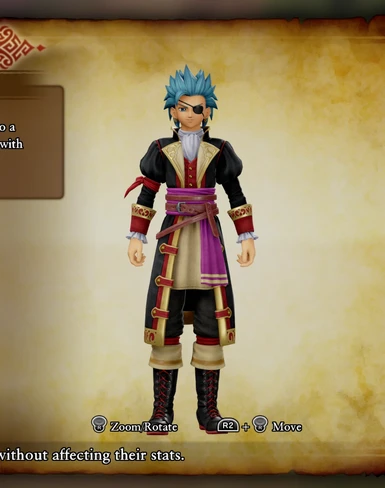
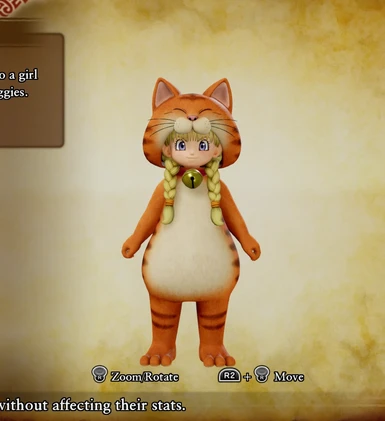
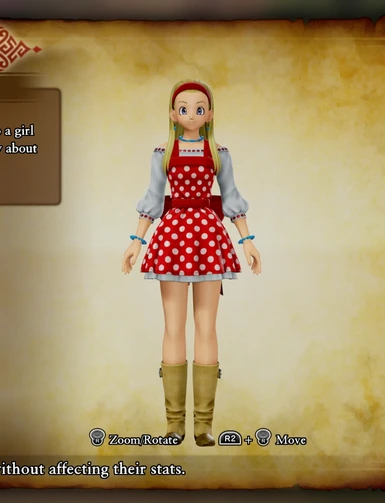
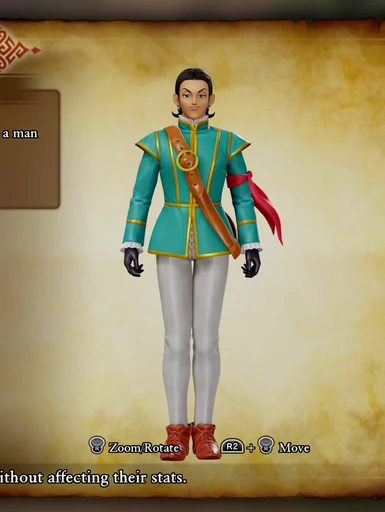
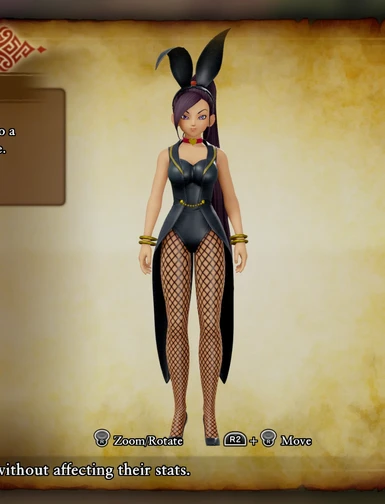
This mod restores all of the player character models from the original game (Hero, Erik, Veronica, Serena, Sylvando, Jade, Rab and 'Character 8') along with all their costumes. All costumes added in the Definitive Edition are still present, as before. Where Definitive Edition costumes are purely texture replacements on existing models, the textures used are taken from mike9k1's Definitive Edition Costumes Pack for the original game (https://www.nexusmods.com/dragonquestxi/mods/98).
Each of the player character models was extracted from the original game, modified to remove unnecessary outline geometry, then cooked in UE4.18. Textures were extracted and cooked in UE4.18. Materials from the Definitive Edition were modified to replace textures, and altered to create new materials to replace those that had been removed.
DQXI Modding Discord: discord.gg/hWcdCpn
Tools used:
Assets Used:
Known Issues
Information for Modders
Helping out:
Creating mods for Project Rebuild:
Thanks
Huge thanks must be given to all the members of the DQXI Modding community for helping uncover the secrets of the game, and enable the creation of mods such as these.
Thanks to all the members of the DQXI Modding Discord, especially komodoxeno and mike9k1, who provide lots of support, and create and maintain the invaluable resources on (http://kmxn.me/dqxi-commands) that were used extensively to create and test this mod.
Thanks to Dennis Stanistan who wrote this extremely helpful article (https://dennisstanistan.com/blog/491/importing-custom-meshes-to-tekken-7-using-blender/), explaining the use of Uasset Renamer in creating compatible materials.
Installation Instructions
(Please only download this mod if you own a copy of both DRAGON QUEST® XI: Echoes of an Elusive Age™ - Digital Edition of Light and DRAGON QUEST® XI S: Echoes of an Elusive Age™ - Definitive Edition)
Steam
Extract the downloaded .zip, and copy the .pak file into {steamapps}\common\DRAGON QUEST XI S\Game\Content\Paks
where {steamapps} is your local steamapps folder, which, on Windows, is usually found under C:\Program Files (x86)\Steam\steamapps
Epic Games Store
Extract the downloaded .zip, and copy the .pak file into {install location}\DRAGON QUEST XI S\Game\Content\Paks
where {install location} is the game's install location, which, on Windows, is usually found under C:\Program Files\Epic Games
Microsoft Store
Extract the downloaded .zip, then follow the instructions here to install the .pak file: https://steamcommunity.com/sharedfiles/filedetails/?id=2723903805
Nintendo Switch
Your Nintendo Switch must be running Atmosphere custom firmware.
Download the latest Nintendo Switch compatible release, designated by the NS version suffix. Extract the downloaded .zip, then copy the "romfs" folder within into {SD Card Root}\atmosphere\contents\01006C300E9F0000\ where {SD Card Root} is the root of your Switch's SD card. Create the "01006C300E9F0000" folder if it does not already exist
Yuzu
Download the latest Nintendo Switch compatible release, designated by the NS version suffix.
On Windows, open Yuzu, right click on the game and click "Open Mod Data Location". Extract the downloaded .zip into this folder
Installation instructions for other platforms may vary. If unsure, please ask in the Discord server linked above
Ryujinx
Download the latest Nintendo Switch compatible release, designated by the NS version suffix.
On Windows, open Ryujinx, right click on the game and click "Open Atmosphere Mods Directory". Extract the downloaded .zip, then copy the "romfs" folder within into the folder Ryujinx opened
Installation instructions for other platforms may vary. If unsure, please ask in the Discord server linked above
When Square Enix created the Definitive Edition of the game for Nintendo Switch, they reduced the quality of the game's models and textures, such that the game would be playable on the console. However, when porting the Definitive Edition back to PC, they did not restore the high quality assets from the original game, causing the game to be visually inferior to the original, but with extra content. Project Rebuild is a joint effort within the DQXIS modding community to restore much of the detail lost in the Definitive Edition.
Due to the vast quantity of work required to complete Project Rebuild, it is being attempted in small chunks that will each provide a meaningful improvement to the game as a whole. Version 0.0.1 of this mod alone took over 2 months to develop!
This mod restores all of the player character models from the original game (Hero, Erik, Veronica, Serena, Sylvando, Jade, Rab and 'Character 8') along with all their costumes. All costumes added in the Definitive Edition are still present, as before. Where Definitive Edition costumes are purely texture replacements on existing models, the textures used are taken from mike9k1's Definitive Edition Costumes Pack for the original game (https://www.nexusmods.com/dragonquestxi/mods/98).
Each of the player character models was extracted from the original game, modified to remove unnecessary outline geometry, then cooked in UE4.18. Textures were extracted and cooked in UE4.18. Materials from the Definitive Edition were modified to replace textures, and altered to create new materials to replace those that had been removed.
DQXI Modding Discord: discord.gg/hWcdCpn
Tools used:
- QuickBMS by Luigi Auriemma (http://aluigi.altervista.org/quickbms.htm)
- QuickBMS unpack scripts by spiritovod
- UModel by Gildor (https://www.gildor.org/en/projects/umodel)
- Uasset Renamer by FluffyQuack (http://www.fluffyquack.com/tools/)
- Texture Cook Fix by mike9k1 (See DQXI Modding Discord)
- DQXIS-SDK by emoose (https://github.com/emoose/DQXIS-SDK/releases)
- Pack script by spiritovod (See Discord)
- Unreal Engine 4.18
Assets Used:
- Original Game Files from my copy of DRAGON QUEST® XI: Echoes of an Elusive Age™ - Digital Edition of Light (Steam)
- Definitive Edition Costumes Pack by mike9k1 (https://www.nexusmods.com/dragonquestxi/mods/98)
- Remade Definitive Edition Costumes by piroshki
Known Issues
The game may crash in certain locations/cutscenes, and some characters/NPCs may have broken textures. Due to the sheer size and length of the game, it has been impossible for me to test all locations, scenarios, and cutscenes. It is highly likely that some portions of the game may crash with this mod enabled, or certain characters may appear to have broken textures. Please report any such issues so that they can be fixed.
After extensive, widespread testing, this mod has reached a state at which it can be considered stable for general use with the full release of the Definitive Edition. While highly unlikely, it is still possible that crashes and broken textures may be observed nevertheless. Please report any issue in the Bugs tab so they can be investigated and addressed.Many of the alternative costume colours added in the Definitive Edition show incorrect colour schemes on accessories such as helmets and capes. This is a current limitation imposed by the way that the Definitive Edition handles alternative texture sets.
All costumes added in the Definitive Edition that previously experienced incorrectly textured accessories should now display correctly.Some costumes relating to specific events may not show correctly with this mod installed. This is due to these texture sets not existing in the original game, and I am yet to find an appropriate substitute.
All alternate texture sets should now be included in this mod. Please report any missing/broken textures in the Bugs tab.- Character texture mods designed for the original game, or for the Definitive Edition, are NOT compatible with this mod. Only character texture mods designed specifically for use with Project Rebuild are compatible. All other mods should be compatible.
Characters may very occasionally not render in cutscenes, such as when meeting Veronica for the first time.- Characters' clothing may very occasionally clip through their body during certain scenes. This is due to differences in the models between the Original Game and the Definitive Edition.
Characters do not render shadows from some point light sources, such as flaming torches.Certain scenes in the game, such as Octagonia Caverns, may lag tremendously with the mod active. This is seemingly related to the lack of shadows from the torches. To progress through these scenes, temporarily disable this mod by renaming the .pak file to change it's file extension from .pak to .bak, eg. "Project_Rebuild_Player_Character_Models_vx.x.x.bak". To re-enable after finishing the affected scene, change the file extension back to .pak as it was before disabling.
Outlines are no longer present on models that have been replaced. This means that, unless your characters are wearing costumes added in the Definitive Edition, they will have no outlines throughout the game. This is currently a limitation imposed by the change in how outlines were implemented between the two games. A version of Project Rebuild including outlines is available, but suffers from many issues, and is not recommended for general use.Outlines have been fixed and added to the main release as of v0.1.0. If you would prefer to play the game with the outlines removed, please install the following mod: Remove Outlines
Information for Modders
Helping out:
Spoiler:
Show
Outlines: In the original game, outlines were added by having each model contain an inner shell, with inward facing normals, to which an Outline material was applied, specific to that character. In the Definitive Edition, however, the models do not contain these inner shells. It appears that instead, Square Enix have modified Unreal Engine to give the Skeletal Mesh class a property called 'Outline Material' that is set to a single outline material, and a series of object specific outline settings such as distance and thickness. I am currently unsure of how to apply this functionality to my new model files. Doing this would probably either require compiling a new version of the UE4 editor with modified classes, or finding a way to add these properties directly to the mesh .uasset files without crashing the game or breaking the models.Outlines have now been added by using a custom source build of the UE4 editor, including the 'Outline Material' property. Preconfigured UE4 source files are available courtesy of emoose: https://github.com/emoose/DQXIS-UE4 . Unfortunately, however, the models do not appear to be inheriting the outline material instance parameters properly, and as such draw in too many locations, and do not scale properly. Any help would be appreciated. Contact me through the DQXI Modding Discord if you have any ideas/work out how to proceed.- Textures:
Some textures in the Definitive Edition do not have versions in the original game, and have not yet been converted as part of other efforts to bring the new costumes to the original game. If you have, or can create these, the help would be much appreciated. Ask in the DQXI Modding Discord to find out more.
Creating mods for Project Rebuild:
Spoiler:
Show
- The .pak file provided as part of this mod can be unpacked using QuickBMS included in the dq11s-tools-pack available on the DQXI Modding Discord, to show the names and locations of all textures used in this mod.
- ALL texture mods designed for the original game's characters should be compatible with this mod after conversion.
- Any new character texture mods should be designed in the same way as for the original game, since the character models and UVs are identical.
- Most textures are in the same location file location as the original game, but many have had to have their names changed and shortened to be compatible. For example, T_P001_Wear_BodyE001_CS01 becomes T_P001_WearBE001_CS01. Please check in the .pak for the required names and locations.
- With the new file names and locations known, textures should be cooked following the guide provided here: https://sites.google.com/view/dqxi-commands/tutorials/creating-mods
- _C textures must be cooked with compression setting: BC7, SRGB: True, and Never Stream: True.
- _N textures must be cooked with compression setting: Normalmap (BC5), SRGB: False, and Never Stream: True.
- _P textures must be cooked with compression setting: BC7, SRGB: False, and Never Stream: True.
- Mods can either be released as a folder of .uasset files for use with DQXIS-SDK, or as a .pak file. If released as a .pak file, the file must be named such that it sorts further down alphabetically than this mod's .pak file, otherwise it will not load.
- Making mods compatible with the Nintendo Swotch release requires further steps. Please ask in the DQXI Modding Discord for help.
- If you're stuck, ask in the DQXI Modding Discord for help.
Thanks
Huge thanks must be given to all the members of the DQXI Modding community for helping uncover the secrets of the game, and enable the creation of mods such as these.
Thanks to all the members of the DQXI Modding Discord, especially komodoxeno and mike9k1, who provide lots of support, and create and maintain the invaluable resources on (http://kmxn.me/dqxi-commands) that were used extensively to create and test this mod.
Thanks to Dennis Stanistan who wrote this extremely helpful article (https://dennisstanistan.com/blog/491/importing-custom-meshes-to-tekken-7-using-blender/), explaining the use of Uasset Renamer in creating compatible materials.
Installation Instructions
(Please only download this mod if you own a copy of both DRAGON QUEST® XI: Echoes of an Elusive Age™ - Digital Edition of Light and DRAGON QUEST® XI S: Echoes of an Elusive Age™ - Definitive Edition)
Steam
Extract the downloaded .zip, and copy the .pak file into {steamapps}\common\DRAGON QUEST XI S\Game\Content\Paks
where {steamapps} is your local steamapps folder, which, on Windows, is usually found under C:\Program Files (x86)\Steam\steamapps
Epic Games Store
Extract the downloaded .zip, and copy the .pak file into {install location}\DRAGON QUEST XI S\Game\Content\Paks
where {install location} is the game's install location, which, on Windows, is usually found under C:\Program Files\Epic Games
Microsoft Store
Extract the downloaded .zip, then follow the instructions here to install the .pak file: https://steamcommunity.com/sharedfiles/filedetails/?id=2723903805
Nintendo Switch
Your Nintendo Switch must be running Atmosphere custom firmware.
Download the latest Nintendo Switch compatible release, designated by the NS version suffix. Extract the downloaded .zip, then copy the "romfs" folder within into {SD Card Root}\atmosphere\contents\01006C300E9F0000\ where {SD Card Root} is the root of your Switch's SD card. Create the "01006C300E9F0000" folder if it does not already exist
Yuzu
Download the latest Nintendo Switch compatible release, designated by the NS version suffix.
On Windows, open Yuzu, right click on the game and click "Open Mod Data Location". Extract the downloaded .zip into this folder
Installation instructions for other platforms may vary. If unsure, please ask in the Discord server linked above
Ryujinx
Download the latest Nintendo Switch compatible release, designated by the NS version suffix.
On Windows, open Ryujinx, right click on the game and click "Open Atmosphere Mods Directory". Extract the downloaded .zip, then copy the "romfs" folder within into the folder Ryujinx opened
Installation instructions for other platforms may vary. If unsure, please ask in the Discord server linked above