Documentation
Readme
View as plain text
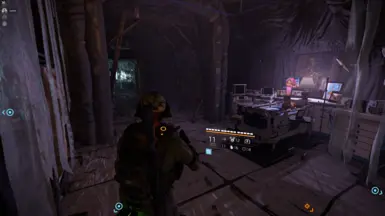
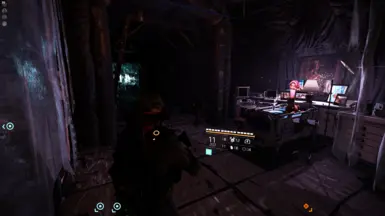
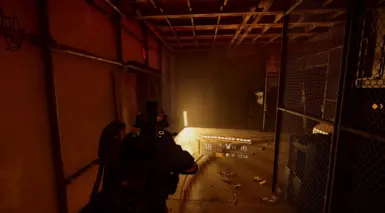
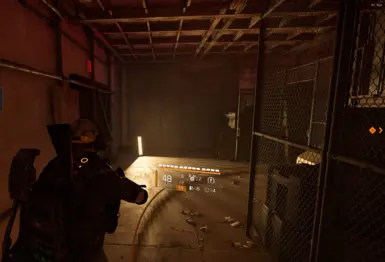
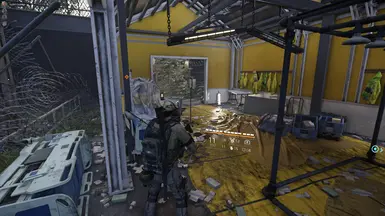
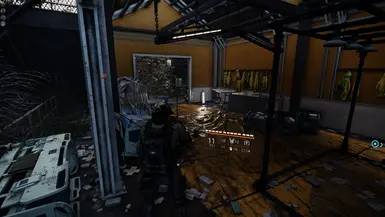
Take a Look on YouTube: ReShade + The Division | RTX 3060 12GB | Stunning Visual Upgrade!
🎯 How to Install and Use the Shader in The Division 2 (or Any Other Game)1. Download and Install ReShadeGo to the official ReShade website: https://reshade.me/
Download and run the
.exe
installer.
2. Locate Your Game’s Executable
Click "Browse" in the ReShade installer.
Navigate to the folder where your game is installed.
Select the game’s
.exe
file (e.g.,
TheDivision2.exe
).
3. Choose the Graphics APIReShade will prompt you to select the graphics API. Choose based on what your game uses:
DirectX 10/11/12 – Common for most modern games like The Division 2.
OpenGL – Used by older or specific games.
Vulkan – If your game supports it (check in-game graphics settings if unsure).
4. Select Shader Packages
Double-click “Uncheck all” to check all shader options.
Confirm and wait for ReShade to download and install the selected shaders.
5. Add the Custom Shader
Take the custom shader file you received.
Copy and paste it into the same folder where the game’s
.exe
is located.
6. Launch the Game
Start The Division 2 (or your chosen game).
Wait for ReShade to load during the game’s launch.
7. Enable the Shader
Press the HOME key to open the ReShade interface.
Skip the tutorial (optional).
Use the search bar to find the custom shader you added.
Enable it by checking the box.
8. Enable Recommended EffectsMake sure the following effects are enabled:
✅ FilmPass
✅ Bloom
✅ DELC_Sharpen
⚠️ Note:You may need to adjust the Gamma setting in FilmPass depending on your monitor.
Each display has different color profiles and brightness levels, so tweak the Gamma to achieve the best visual result for your setup.
