


0 of 0

About this mod
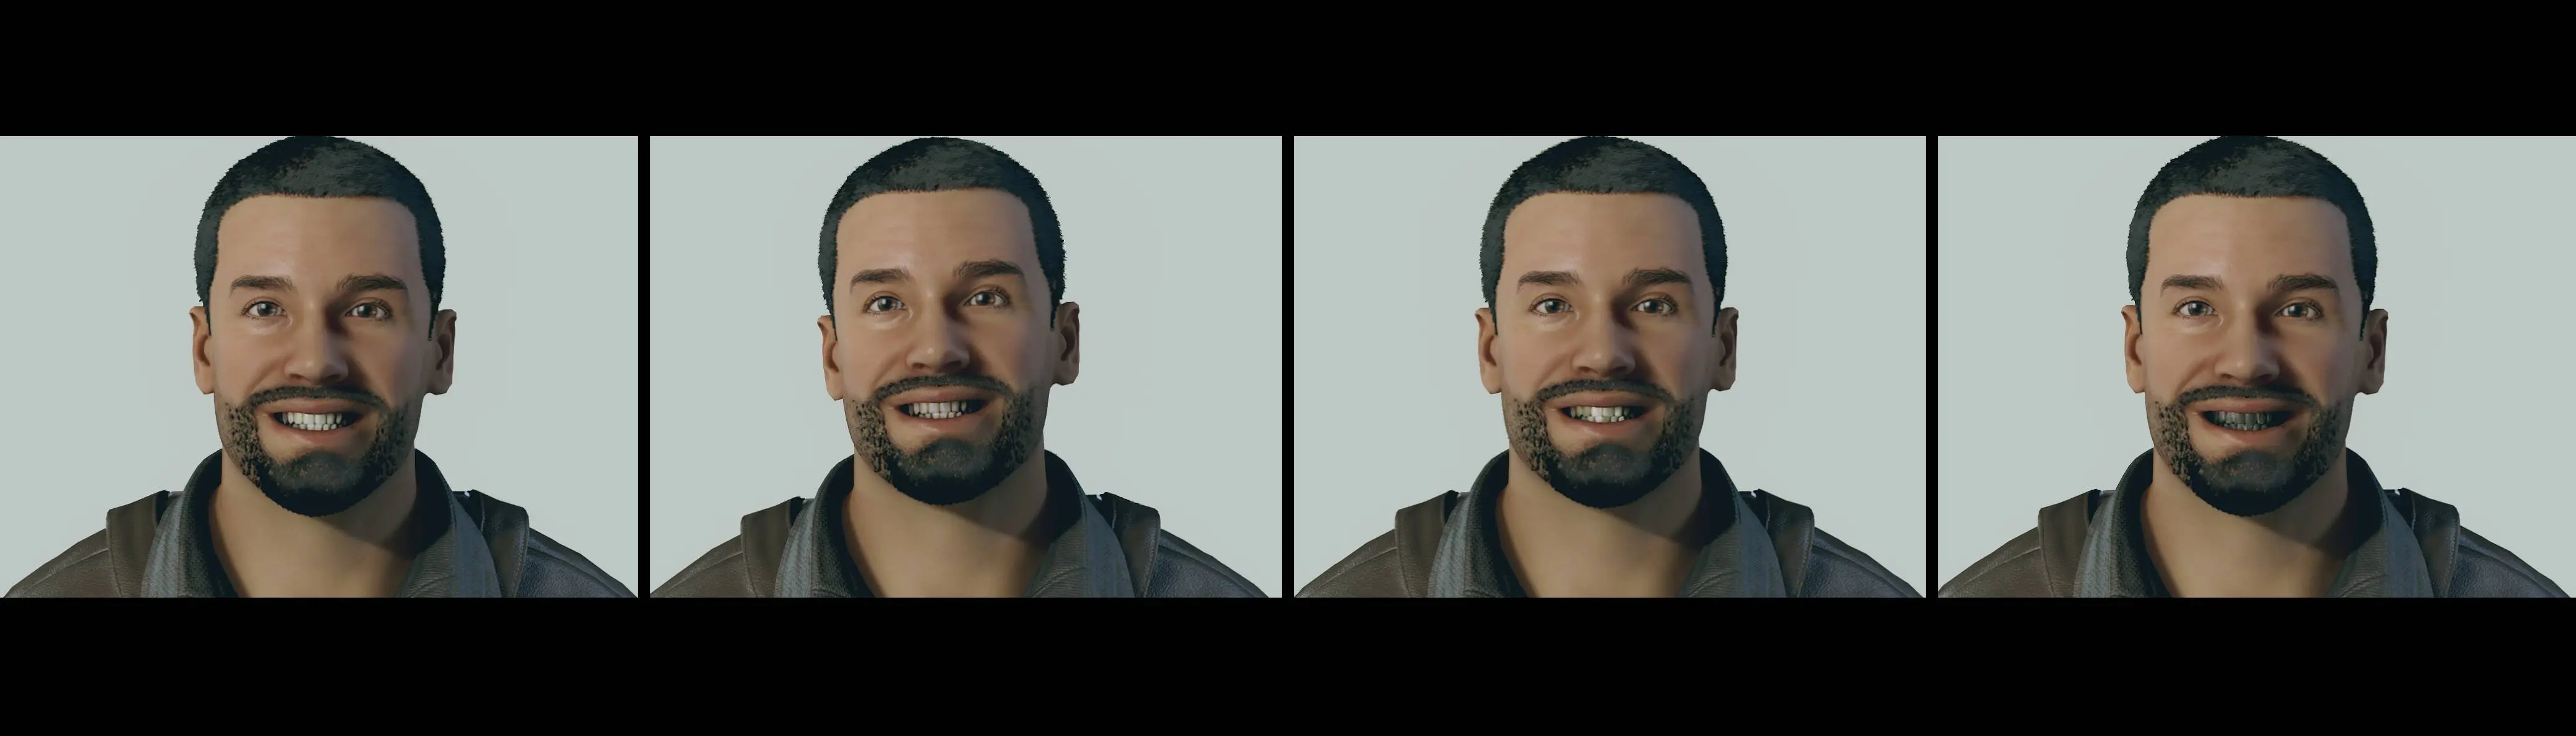
Tones down the chemically bleached look of clean teeth, slightly darkens dirty teeth, removes the bright edges of blackened teeth.
- Permissions and credits
- Changelogs
- Donations
Five minutes into the game the thing that struck me in character creation was that the first teeth option ("clean") makes you look like you just stepped out of a teeth whitening advert. The second option ("dirty") seemed like a much more realistic colour with a slight yellow tone. But it seems like a lot of NPC head morphs use the first teeth option, so I decided to tweak the textures. The vanilla dirty/#2 texture is now the clean/#1 texture. The dirty texture has been darkened a little to differentiate it. Additionally, the third option ("dead") has been left untouched but the fourth option ("blackened") has been tweaked to reduce the bright edges.
Installation: Extract the archive into your game directory. Open My Documents\My Games\Starfield\StarfieldCustom.ini in a text editor and add:
Note that if you have a custom Libraries location, you will (annoyingly) find it instead in C:\Users\<username>\Documents\My Games\Starfield. You can symmlink this folder to your custom Libraries location if desired.
Also note that the game's photomode function stores screenshots in My Documents\My Games\Starfield\Data\Textures. This will break all loose texture mods extracted into the game folder, so if you plan on using photomode a lot you should install all your mods into the game's My Docs folder instead.
Edit: For those with loose texture mods in their game directory, per info from DrDelirium and ravensergio posted by keithvsmith1977, changing your StarfieldCustom.ini to the following:
will prevent photomode and the message of the day on the main menu from breaking them. Note that if you have any existing photos/images in My Documents\My Games\Starfield\Data\Textures you'll want to back those up before deleting them and the Textures folder. If you are already installing mods into your My Docs folder, you can ignore this.
Installation: Extract the archive into your game directory. Open My Documents\My Games\Starfield\StarfieldCustom.ini in a text editor and add:
[Archive]
bInvalidateOlderFiles=1
sResourceDataDirsFinal=
Note that if you have a custom Libraries location, you will (annoyingly) find it instead in C:\Users\<username>\Documents\My Games\Starfield. You can symmlink this folder to your custom Libraries location if desired.
Also note that the game's photomode function stores screenshots in My Documents\My Games\Starfield\Data\Textures. This will break all loose texture mods extracted into the game folder, so if you plan on using photomode a lot you should install all your mods into the game's My Docs folder instead.
Edit: For those with loose texture mods in their game directory, per info from DrDelirium and ravensergio posted by keithvsmith1977, changing your StarfieldCustom.ini to the following:
[Archive]
bInvalidateOlderFiles=1
sResourceDataDirsFinal=
[Display]
sPhotoModeFolder=Photos
[General]
bEnableMessageOfTheDay=0
will prevent photomode and the message of the day on the main menu from breaking them. Note that if you have any existing photos/images in My Documents\My Games\Starfield\Data\Textures you'll want to back those up before deleting them and the Textures folder. If you are already installing mods into your My Docs folder, you can ignore this.