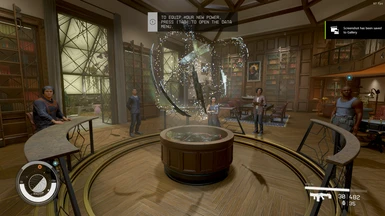
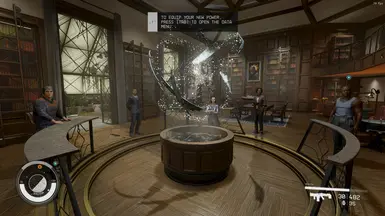
About this mod
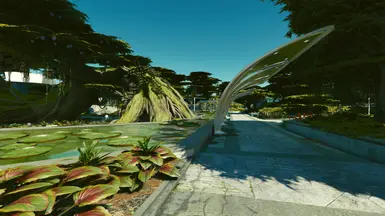
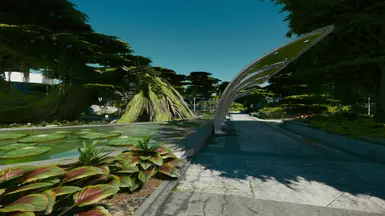
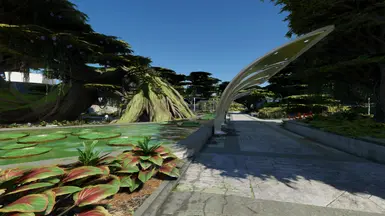
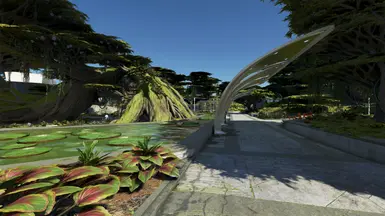
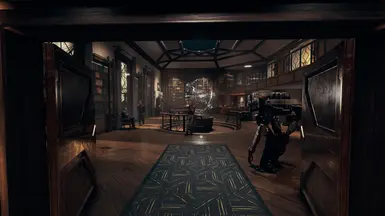
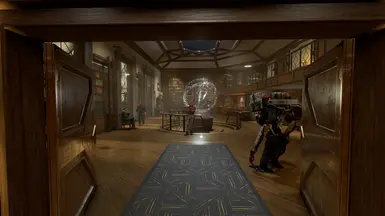
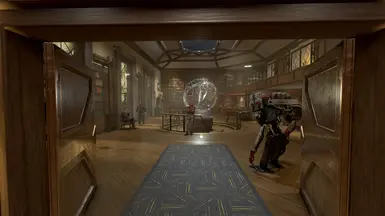
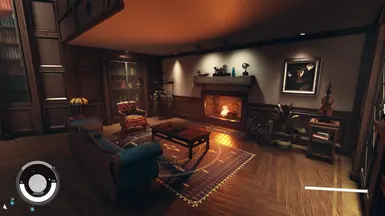
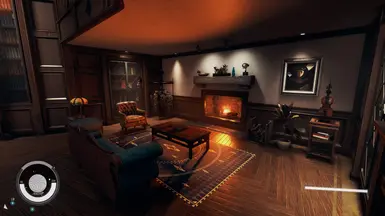
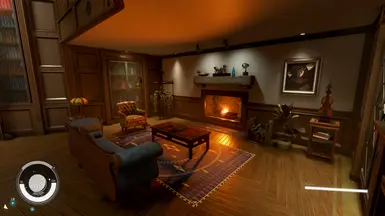
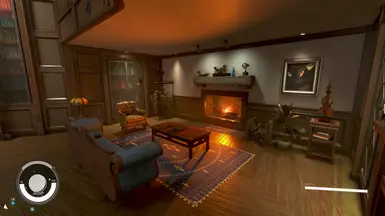
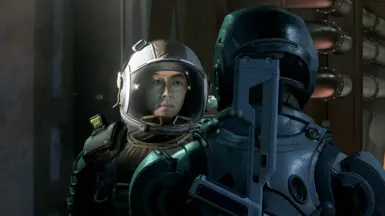
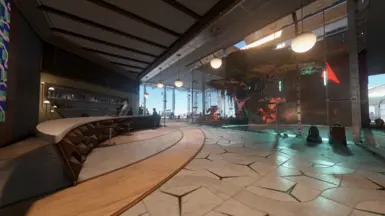
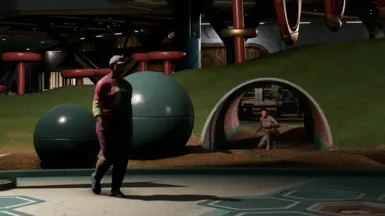
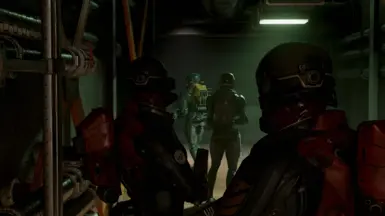
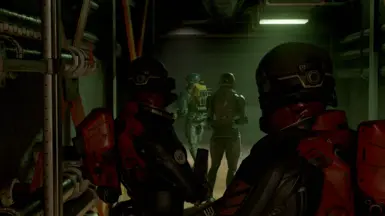
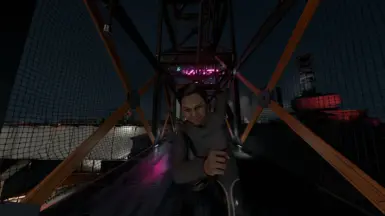
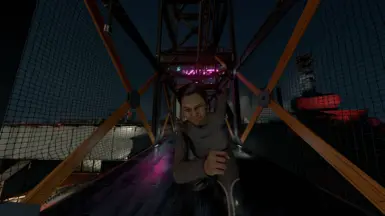
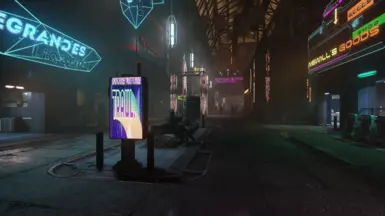
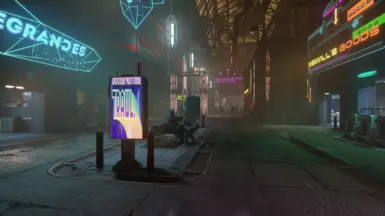
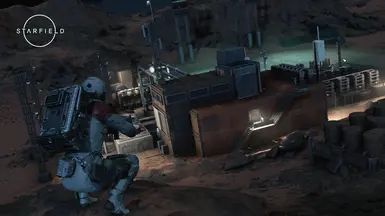
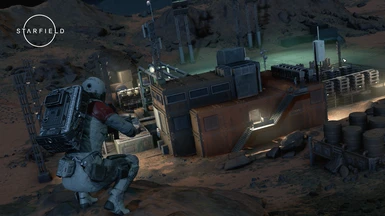
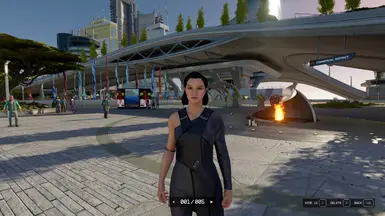
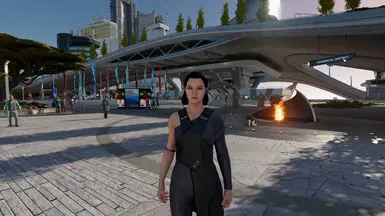
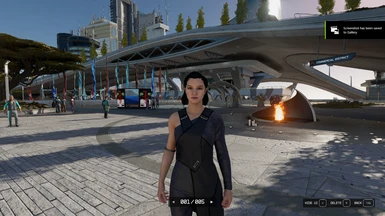
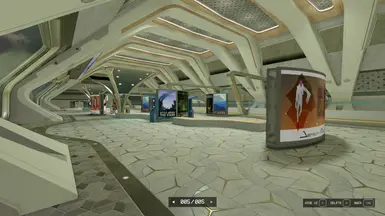
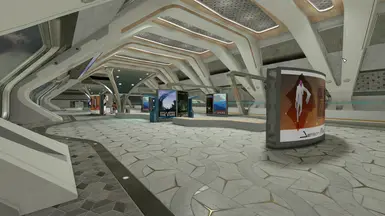
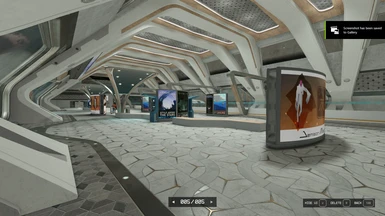
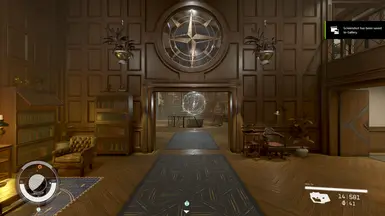
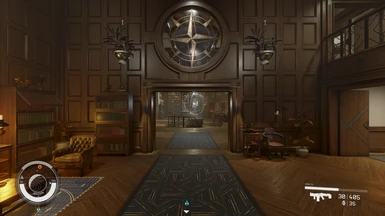
A performance friendly reshade that aims to correct colors, gamma and depth to create a realistic yet immersive and exciting picture. Works with Vanilla, Neutral LUTs, LUMA and SpecialK.
- Requirements
- Permissions and credits
- Changelogs
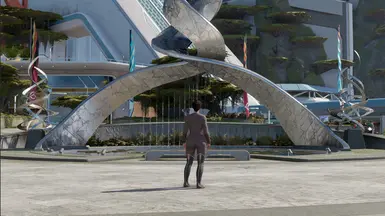
Character Preset: Patricia

Thanks to Elum302 I'ts confirmed it works with Gravity LUTs as well.
(o} DESCRIPTION
This reshade is all about enhancing what's already there. It doesn't try to change the game entirely with a lot of unnecessary FPS loss. It simply just tries to correct certain cons about each different ''outputs'' (Vanilla, LUTS, LUMA etc). The goal is to create a WOW factor and change that slight thing you always wanted to do.
There is about 4 fps loss at higher fps 120+ when using this reshade. There is almost none at 60 fps.
(o} INSTALLATION
SDR:
--> Neutral LUTs Neutral LUTs - No Color Filters at Starfield Nexus - Mods and Community (nexusmods.com) (Install 1.3)
--> Reshade Home (reshade.me).
- Drag PRS into your Starfield main folder that contains the Starfield.exe.
- Download and install Reshade. Select Starfield.exe or in case of GAMEPASS, you need to select gamelaunchhelper.exe.
- Select DirectX12 as your renderer.
- When it asks which packages you want to install, select my preset in the preset selection screen to only download the shaders it needs --OR-- copy the downloaded reshade folder into the game directory.
- Start the game and use Home button to open Reshade menu or whatever button you've set in your Reshade.ini.
- Follow the instructions on the screen to finish the tutorial and during it select the PRS preset.
HDR:
--> LUMA Luma Native HDR
- Follow LUMAs installation guide and install everything it demands.
- Follow SDR guide.
- Press HOME button in game to open reshade menu. Copy the settings as shown in the pictures. Choose either Vanilla+ or OpenDRT Tonemapper:
FOR VANILLA+ TONEMAPPER and LUMA PRS:

FOR OpenDRT TONEMAPPER and OpenDRT PRS (Don't forget to download shaders from my page):

5. Go to Addons in Reshade menu and copy these settings:

4. Restart game.
DONE! Enjoy :D
(o} Optional
Im using an ini tweak (StarfieldCustom.ini) that brings down the brightness of the stars and the outer space to a much more natural look.
here's the ini tweak:
[Display]
fMaxAnisotropy=16
fSpaceGlowBackgroundScale=0.0
fStarIntensity=500.0
fStarSystemFarViewDistance=10000000000.0
fStarfieldBackgroundScale=35.0
fStarfieldStarBrightnessScale=7.0
fStarfieldStarCoordScale=10.0
fSunScale=1.0
Drag PRS into your Starfield main folder that contains the Starfield.exe.Drag PRS into your Starfield main folder that contains the Starfield.exe.Drag PRS into your Starfield main folder that contains the Starfield.exe.Drag Pinto your Starfield main folder that contains the Starfield.exe.Drag PRS into your Starfield main folder that contains the Starfield.exe.Drag PRS into your Starfield main folder that contains the Starfield.exe.Drag PRS into your Starfield main folder that contains the Starfield.exeto your Starfield main
