


0 of 0


About this mod
**The VR Version! ** A guide which is based of 11 years modding, and finding the collection of mods to get the most realistic feel and graphics. What is unique is that is not only a written tutorial, but also supported by video tutorial explanations. And what's even better... we now come with a Wabbajack!
- Permissions and credits
- Changelogs

*** Update 08/August/2023 ***
Like promised, I did create a tutorial video with some mods I like on top of that!
*** Update 12/July/2023 ***
After long research I have decided to step down with developing this modlist, since I find it obsolete vs this new 2023 list: Skyrim VR Minimalistic Overhaul by hitmante.
This list has been developed for modern 2023 systems, and really comes close to what I had in mind as well. I might do some things different, but overall I would really recommend checking into this list, since it works perfectly fine out of the box with the Wabbajack al-in one installer.
I will make a detailed video about this somewhere the next coming weeks, but for now feel free to follow this guide as it will replace my guide.
Thanks to everyone for the amazing support all these years!
*************************************************************************
So this modlist has been discontinued, leaving this page alive for legacy reasons and possible future videos from my end
*************************************************************************
**Update 23/Aug/2022**
Thank you for all the feedback and testers for this VR BETA modlist! :)
It was good to hear a lot of you had fun with it, and also major thanks for everyone who reported their issues.
After checking everything the last couple of weeks, I come to the verdict that this BETA list needs to be reworked properly for the state it is in now. It works oke for most people, but I do notice a lot of big mods have updates and new requirements. Also the biggest issue I personally have is that the performance is not that great with the current set of mods/textures. For that I think drastic changes in the modlist are necessary to still get good and realistic graphics, but without sacrificing the performance so much. Especially for lower systems.
When?
probably after the summer when its not too hot anymore to wear a VR headset here in The Netherlands :)
For everyone who want to try the VR BETA list, check this FAQ of reported issues and solutions. I will keep the list up untill a new one has been created and released:
**********0.9 BETA reported issues and workarounds untill v1.0 release**
**-Helgen intro cart scene not working, or standing next to cart / cart bouncing**
I am not sure which mod is causing this, but there are 2 workarounds for it.
1: Start Skyrim VR normally just to bypass the Helgen cart scene. Then close the game and jump back in with your modded version.
2: Load a savegame, and use the Realms of Larkhan spell to create a new game randomly somewhere. I understood some people also have issues using this mod, and were able to fix this by dragging the Realms of Larkhan.esp in the plugings section all the way to the bottom. Don't have an existing savegame? Then you have to start Skyrim VR vanilla in MO2 until you can use spells after the Helgen scene to start a new game like mentioned above.
**-SkyUI not working or giving errors**
SkyUI requires VRtools now which should be inegrated in my modlist. However people still report issues when downloading the latest version of SkyUI according to the tutorial video. If so please use v1.2.1 here. This seems to fix the errors.
**Realms of Larkhan not working**
Please drag and drop the Realms of Larkhan.esp all the way to the bottom of the load order.
**Performance was oke first, but now I started it the next day again, and all of a sudden I have major slowdowns and FPS drops**
Oke I had this as well, and had no idea why all of a sudden I had this. Tried a lot, and this is how I fixed it:
- Set everything in the VR performance settings (ingame) all the way to the lowest settings. including the sliders.
- Exit Skyrim VR, Exit SteamVR, and Exit MO2.
- Start SteamVR, and then MO2 again
- Load your savegame again, and wait about 10-30 seconds for everything to load in
- then raise your settings again, and it should work fine again.********
**Everything is so bright during the day!**
Go to MO2, rightclick on Vivid weathers mod, and click on reinstall. On here please select a more regular theme. (not summer)
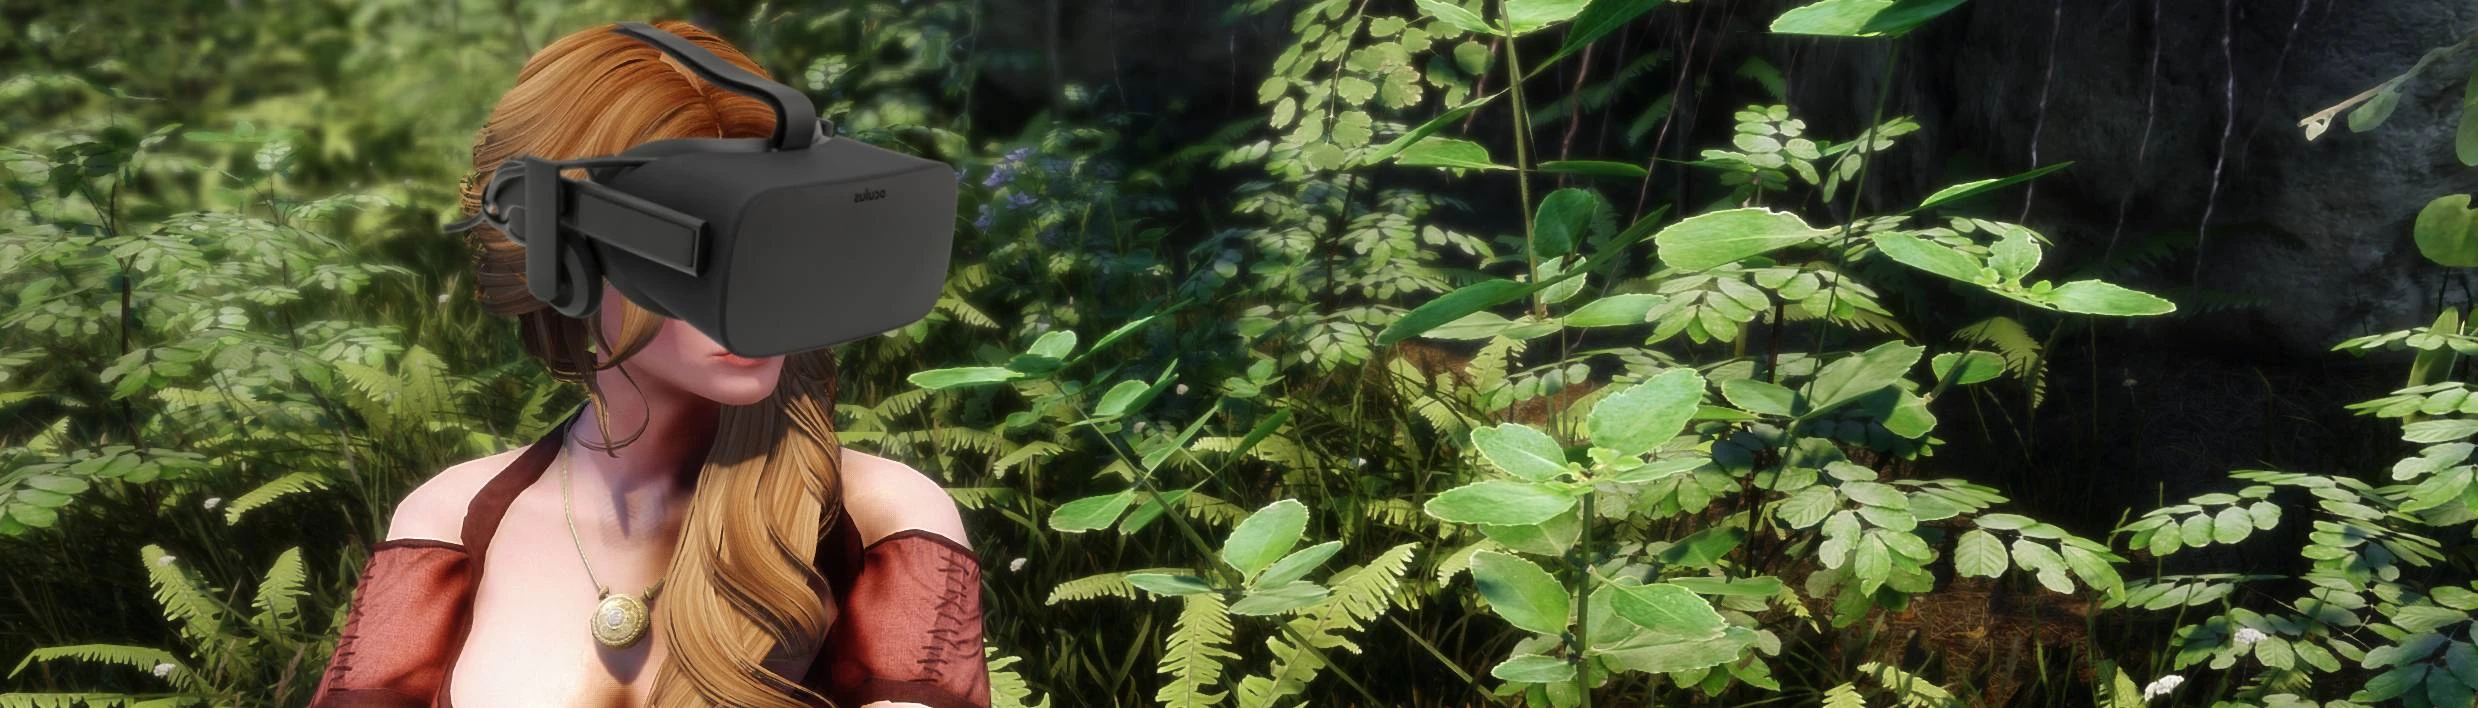
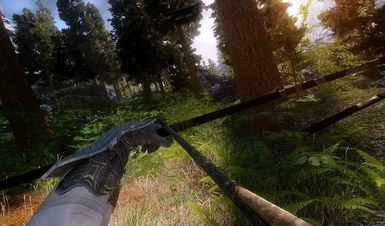
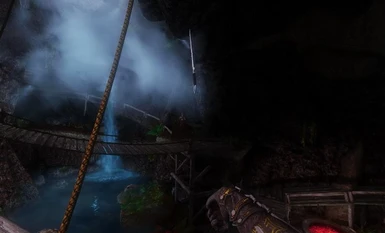
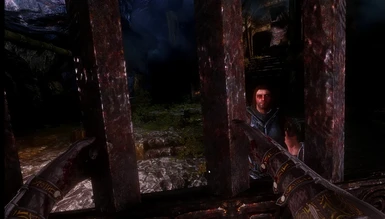
The 11 Years Of Skyrim 2022 Ultimate Graphics ModList 0.9 BETA - For Skyrim VR!
Please Note! BETA! Experiencing any issues? Please report them on our Discord at #skyrimvr2022wabbajack
A Brand New Re-Release With Wabbajack Auto Installer Which Drastically Reduce Install Efforts! Now for Skyrim VR!
Looking for a non VR Version? Click here for the Skyrim AE/SE version.
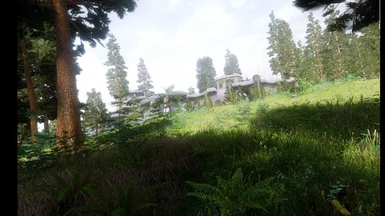
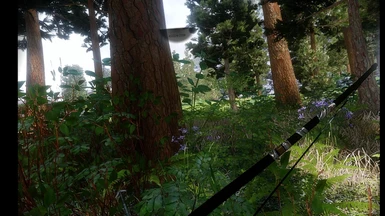
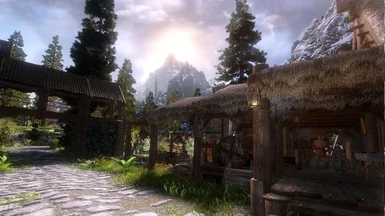
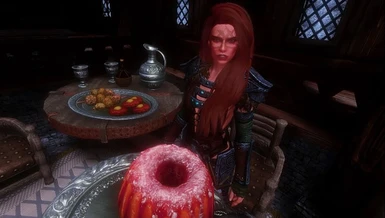
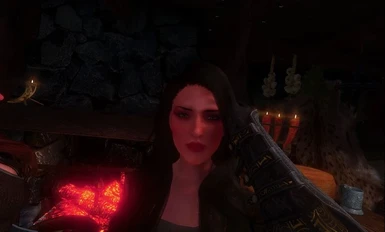
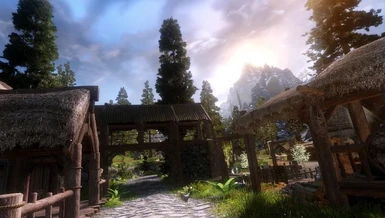
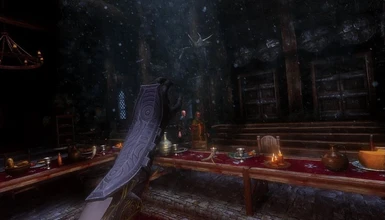
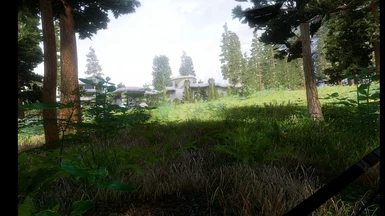
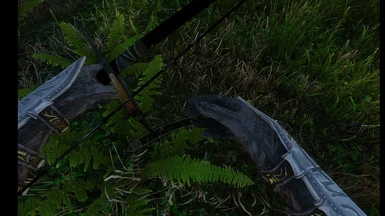
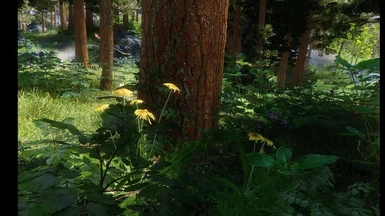
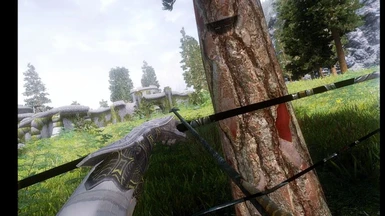
This is a modlist which is based on 11 years of mostly graphics modding, and finding the collection of mods to get the most realistic feel and graphics. The best thing.. most of these mods are compatible with VR! What is unique is that I always created not only a written tutorial version, but also supported everything by video tutorial explanations. This time however for the first time in all these years after so many requests, I can say we finally have a Wabbajack auto installer and the guide is mostly focused on it ! :)
Wabbajack auto-installer? What is that?
Wabbajack is a tool that lets you install automated pre generated big mod lists.
Normally before Wabbajack the manual installs always took a huge amount of time since people had to download every individual mod, and I had to explain how to do the full guide install mod by mod.
This Wabbajack list is an auto installer for more or less 98% of the entire modlist we are going to use, so this means the install/modding effort has been drastically reduced compared with the previous tutorials! After the Wabbajack only a few manual steps have to be done which can be done in 5-10 mins.
But can I still add/remove/edit mods afterwards like I could before?
I would like to point out that Wabbajack is not just a dumb tool which can only download a 1:1 mod package, Wabbajack does literally everything including downloading Mod Organiser 2 and installing everything for you! So my Wabbajack modlist will download Mod Organiser 2 Portable, and will literally install all the mods from this list so you dont have to anymore!
This means that after the Wabbajack auto-installer is complete, feel free to install any mod on top, or change anything you want like you would normally do in Mod Organiser 2!
Will there be a manual tutorial for MO2 users?
I can understand this question, EVEN after I explained it just in the section above :) So I will explain it happilly again: my Wabbajack modlist will literally download Mod Organiser 2 Portable, and will literally also install all the mods from this list so you dont have to anymore. So again, you will end up with a fully set up Mod Organiser 2 with all the mods to change/add/edit anything you like. Originally I planned to do a manual video series, but to be honest I see no reason for this anymore.
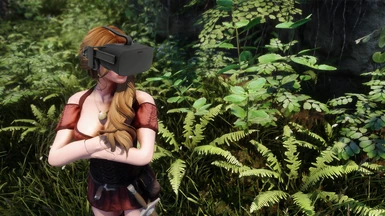
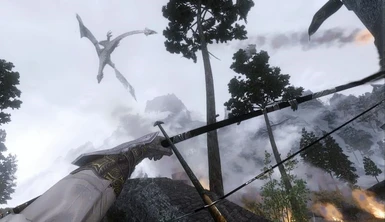
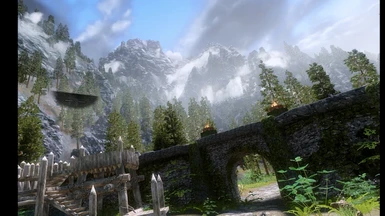
End result video:
If you liked my tutorial, and if you would recommend it to other people please don't forget to endorse it! Thank you! :)

Current version: 0.9 (BETA) (see change log for all the changes)
How to install + requirements
Watch these instruction videos, they will provide you with all the required info from below!
Requirements:
- A clean up to date English version of Skyrim: VR.
- A Nexusmods account.Nexus Premium is not necessary, but definitely recommended a lot since you don't need to confirm everything 1 by 1, and have unlimited download speed. Also you can get premium for just a month only if you want to use it just for this Wabbajack/tutorial.
Minium specs:
CPU: Recent(ish) i5 with decent clockspeed
RAM: 16GB
GPU: RTX 2080TI (RTX 3080 or higher recommended!!!) Or something similar from AMD. Note that in general (older) AMD hardware has a harder time running ENB's and other mods than Intel/Nvidia does. Modern AMD hardware should be more than fine.
HDD/SSD: +-120GB (SSD recommended)
So yes, the VR list is for high end PC's only! Also it depends on your VR headset since a higher resolution requires better hardware.
I tested mine on Oculus Rift S and Oculus Quest 2. (My RTX 3080 had more than enough resources for it.)
Preparation
Make sure your Skyrim: VR is clean before you start! (If this is your first time modding, you can skip this.)
Steps to uninstall properly:
Get rid of your current mod manager
Make sure to first uninstall all mods from your mod manager you are using. (Nexus, Vortex, or Mod Organizer). In case of Mod Organizer(2) the other data you want to have removed might be located in: X*:\Users\*your User*\AppData\Local\ModOrganizer Where X is your Windows drive, (usually C) and *your User* is your windows user account. In my case: C:\Users\PredCaliber\AppData\Local\ModOrganizer
Get a clean version of your Skyrim:VR
Go to your Steam, right-click Skyrim:VR and select uninstall. Delete the remaining stuff in your \Steam\steamapps\common\Skyrim VR folder. (Save the screenshots if you created some ;) )
Clean ini files
Go to your X:\Users\*your user*\Documents\My Games\Skyrim VR , and delete everything there. If you do NOT have the Steam version, just to be sure to make a back-up of your save game folder. If you have the Steam version Steam should automatically create a backup of your save games in the cloud.
Installing Skyrim: VR clean
Then once you have a clean sheet and no trace of an old modded Skyrim VR, you can now safely install Skyrim VR again from Steam. Please do not install it in X:\Program Files (x86) or any C:\Windows folder!
Start the game, and set the settings ingame in the VR performance section to the highest where . , and set everything to max settings in the launcher.Start the game at least once to create required .ini config files. If you have used mods before this tutorial, you most likely have a modded save game as well. If so, then preferably start a new game to be sure you wont get any compatibility issues. Use that new empty save game to test your mods until the end of the tutorial to be 100% sure you can easily troubleshoot if something might go wrong. (At the end of the tutorial feel free to load your old savegames of course.)
Installing the Wabbajack list
Experienced modders, just follow the steps below. New modders, lazy people, and everyone else, just watch the video at the start of the tutorial. Its easier!
Installing Wabbajack
Download the Wabbajack setup file here.
Download the Wabbajack list from the files section on this modpage. (Download link in a new tab here)
Create a new folder somewhere, where you will download and save the Wabbajack.exe.
Please note: Don't create the folder in the Skyrim VR game folder, Program files (x86), C:\Program Files, C:\Users or C:\Windows. Create a shortcut to this folder on your desktop, and create a shortcut to your Skyrim VR game folder as well for quick access. (So your game folder is the \Steam\steamapps\common\Skyrim VR folder. )
Then run the downloaded Wabbajack.exe.
Locate Skyrim VR on the gallery and when ready to install the Wabbajack, click on the big 'install from disk'' button to download the modlist file. In Installation Location select an empty folder that is NOT under C:\Program Files, C:\Users, or C:\Windows.
Do not install this list in your Steam folder, Skyrim VR, or a folder that contains Wabbajack.exe.
The downloads location will auto filled in. This can be changed if preferred, then click the button with the Play Arrow to begin the process.
Accept the Nexusmods API request if asked, after that Wabbajack will now automatically download and install every necessary mod.
If you don't have Nexus Premium, you'll have to manually click download with mod manager for all the mods, but Wabbajack will still install them. When Wabbajack completes you will see either a green Installation Complete screen or a red Installation Failed screen. If successful, proceed with the manual steps after Wabbajack section, if it fails then don't worry and please note the following below:
If your Wabbajack install fails:
It for sure is possible and even normal sometimes that the Wabbajack install fails a couple of times which can be a bit frustrating. This can happen for example because a certain mod link times out or is temporarily not available to connect. But don't worry, everything is cached so you don't have to start all over again with indexing/compiling if Wabbajack fails. Usually the issue is fixed by just restarting Wabbajack, and run the installer again. Good tip is to go to the settings menu, (its the little gear icon in the upper right corner next to the version nr) and check the box: Use network workaround (slow) . This is more reliable and helps for a lot of people. If you are still experiencing errors when installing, click the logout button for NexusMods in the settings menu, wait 5 seconds, and log back in. The last thing you can try is a PC reboot and then try the above steps again.
Once finally successful, you should see a complete screen like this:

DONT START THE GAME YET, IT WILL CRASH WITHOUT THE NEXT STEPS AND MANUAL MODS! SO MAKE SURE TO FOLLOW THE BELOW SECTION FIRST!!!!!!!
Manual steps after Wabbajack
Experienced modders, just follow the steps below. New modders, lazy people, and everyone else, just watch the video. Its easier!
Manual steps:
Oke, 98% of all the mods are now being installed, but we still need to install some mods manually which are not in our Wabbajack list.
Don't worry however, this will not take longer than 5 -10 minutes max.
Open the following :
1: Your Skyrim VR main game folder located at \Steam\steamapps\common\Skyrim VR folder
2: The MO2 program in the installed files from the Wabbajack, called ModOrganizer.exe
3: Create a folder somewhere, and name it manual mods.
1: Installing Skyrim Script Extender (SKSE VR).
Download SKSE from here, (Select VR edition! ) , and install it like you normally would install SKSE. (Watch the video if you don't know how)
2: ENB files
Download the following mods, and copy the files to your main game folder:
- Download the ENB binaries here, then open the archive and copy and paste d3d11.dll and d3dcompiler_46e.dll to your main game folder.
- Download Scenery ENB VR for Skyrim VR here. Also here copy the files from the archive to your main game folder.
- Download the Unofficial Skyrim Special Edition Patch - Pre 1.6.x.x version for Skyrim VR. - The current USSEP only supports Skyrim AE/SSE, which is not the framwork of Skyrim VR anymore. Drag it all the way at the top, above the 'SkyrimVR - USSEP Compatibility Patch'.
- SkyUI - For some reason SkyUI didnt want to compile in my VR Wabbajack and kept giving errors. Drag and drop between SkyrimVR - USSEP Compatibility Patch and VRIK Player Avatar
Having issues or errors? Please use SkyUI.v1.2.1.7z instead.
- Skyrim 2021 Patch - Download the mod, add and activate it in MO2 and drag it in between the mods: Rally's Riekling Outposts and JS Lockpicking UI SE.
Mirror - (valid till 13/aug/2022)
Plugins Sorting:
The last step then is to sort these plugins. Go to MO2, go to the plugins tab, and click 'sort'. Press yes and let MO2 do its work. (see below)
I know the plugins sorting isn't perfect in MO2, but it suits for now.

In the plugins section then drag and drop the Folkvangr and Origins Of Forest .esp plugins almost at the end of the load order, just above NoGrassInCaves.esp.

Once done, I usually always reboot my PC just to be sure to have cleaned everything from my Windows tasks and RAM
Thats it!
Oke, that should be it regarding Wabbajack and the post steps! Good practice now is to make sure to disable Steam overlay, and make sure you put the Skyrim VR auto-update on hold. The reason for this is that SKSE and some other mods will stop working, and need to be updated again, and that can take days. Yikes! So, make sure to disable updates in Steam. Do that by going to Steam, rightclick Skyrim VR , select properties, updates, and select only update this game when I launch it. We will launch game only with SKSE from MO2, Steam does not see that as a 'game launch' since SkyrimVR.exe or SkyrimVR laucher.exe are not being launched.
Setting ''only update this game when I launch it'' in Steam:

To launch the game from now, make sure to only start the game after this with the SKSEVR_loader in MO2!
You can create a shortcut to desktop as well. its the icon at the right side. (See second screenshot above from the plugin sorting)
For the most recent updates, screenshots, and videos, check this page!
For my Youtube channel, go here.
For questions and much more, join our Discord here.
Liked the content? Please consider a donation. :) All the tutorials, Website, video content, Discord, and the rest is pretty much a full time job for me x2. But I will NEVER put my content behind a paywall like some other modders do!!!

F.A.Q
Q: Will this work with Skyrim Special Edition / Anniversary Edition instead of VR?
A: Nope, Grab the non VR modlist here. (there are some specific VR framework mods in this list.)
Q: Can I run other (gameplay) mods with this mod list?
A: Yes, install on top of this graphics modlist in MO2, and make sure they are compatible with the VR framework.
Q: How are LOD's being handled? Are we not using DyndoLOD or SSELODGEN?
A: All the LODS are downloaded and generated already during the Wabbjack So running SSELodgen or DynDOLOD is not needed per se.
Q: Can I run this with CPU xx and GPU xx?
A: Check the system requirements section at the start of this page.
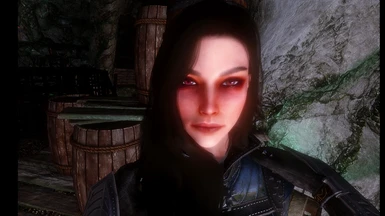
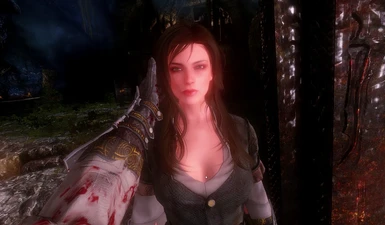
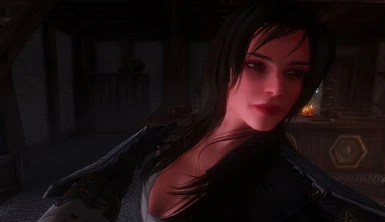
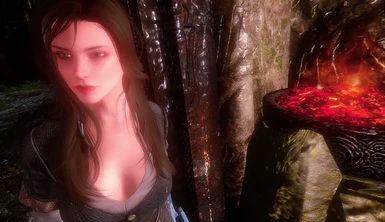
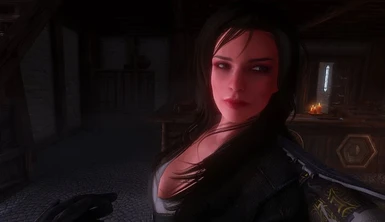
Q: What body types have you used for your NPC's? and can I change this?
A: I used the CBBE bodytype. You can usually change this by right clicking on the specific follower/NPC mod, and then click reinstall to get the options form again. From there select the body type you want. (UNP or vanilla in example)
Have fun with the game!