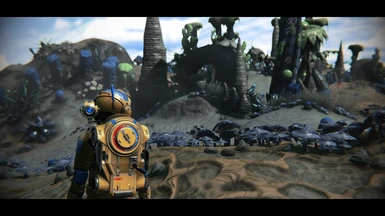
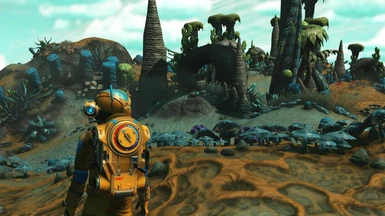
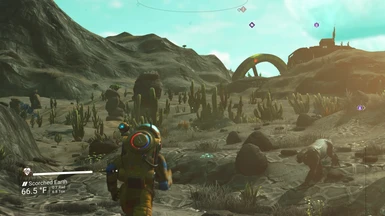
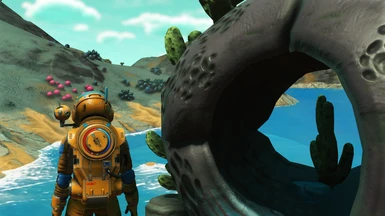
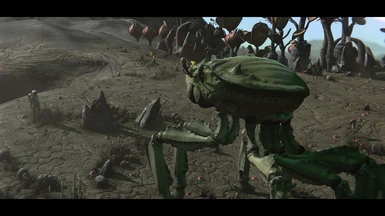
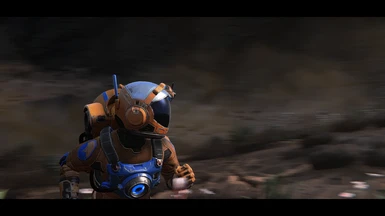
This is a highly-customizable, cinematic, yet realistic-ish ReShade for NMS Next that I've literally put over 100 hours of work into since Next launched. I had many goals with this ReShade, including de-cartoonifying NMS Next to give the game a look that feels more real and gritty while adding a host of well-crafted optional cinematic effects.
Highly recommend to use the "No Scanlines No Chromatic Aberration No Vignette" version of this mod, as I add my own effects. I believe Clean UI does the same thing.
Permissions and credits
Credits and distribution permission
Other user's assetsSome assets in this file belong to other authors. You will need to seek permission from these authors before you can use their assets
Upload permissionYou are not allowed to upload this file to other sites under any circumstances
Modification permissionYou must get permission from me before you are allowed to modify my files to improve it
Conversion permissionYou are not allowed to convert this file to work on other games under any circumstances
Asset use permissionYou are not allowed to use assets from this file under any circumstances
Asset use permission in mods/files that are being soldYou are not allowed to use assets from this file in any mods/files that are being sold, for money, on Steam Workshop or other platforms
Asset use permission in mods/files that earn donation pointsYou are not allowed to earn Donation Points for your mods if they use my assets
Author notes
This author has not provided any additional notes regarding file permissions
File credits
This author has not credited anyone else in this file
Donation Points system
This mod is not opted-in to receive Donation Points
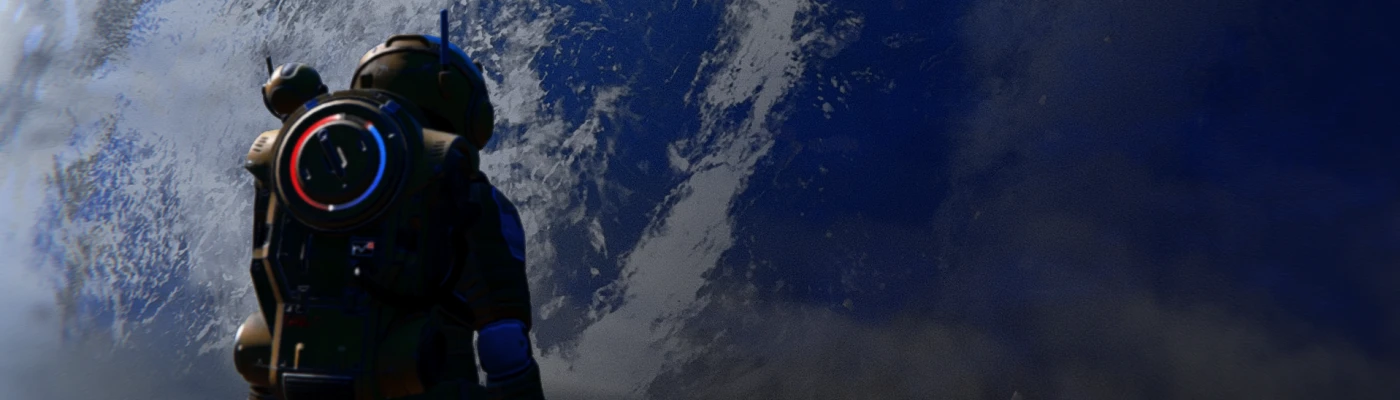
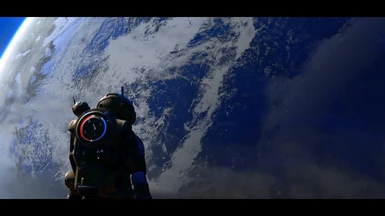
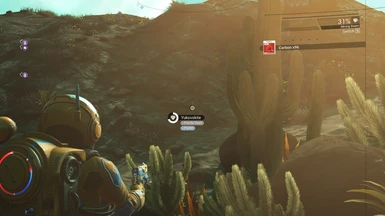
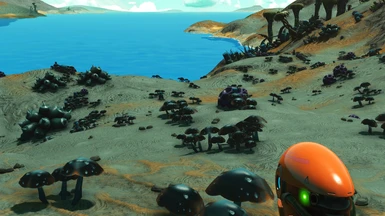
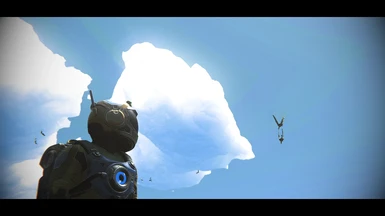
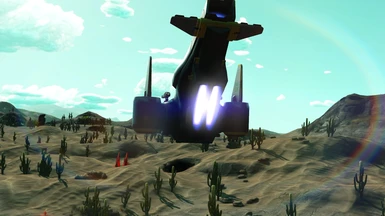
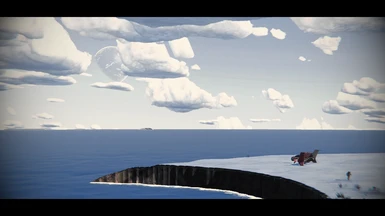
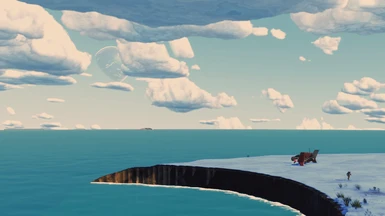
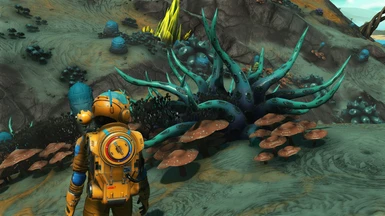
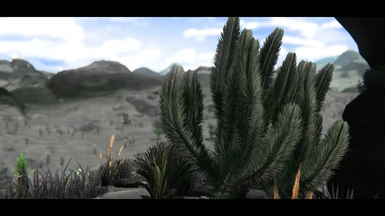
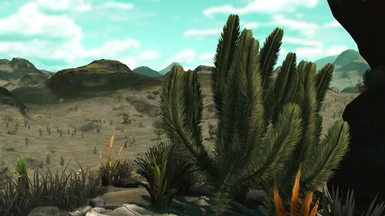
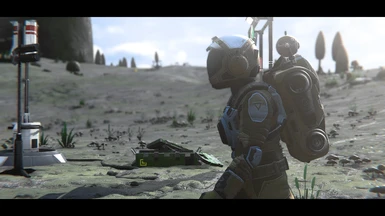
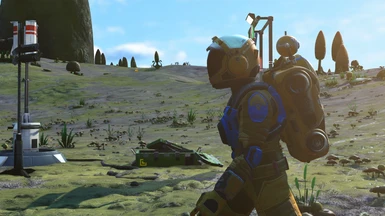
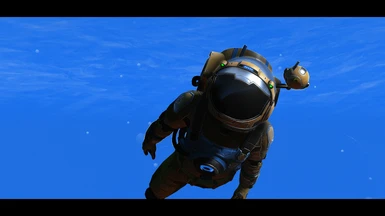
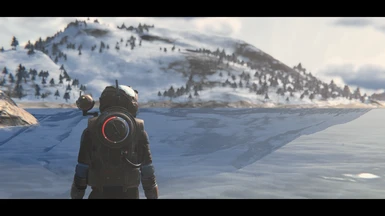
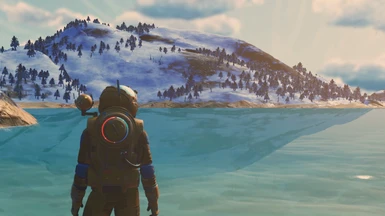
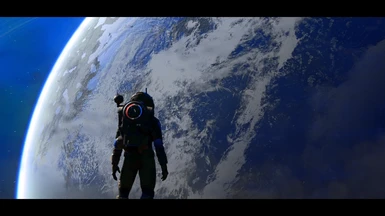
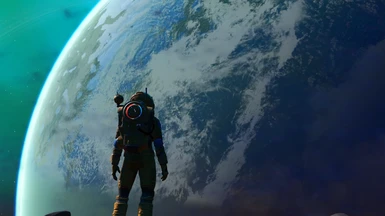
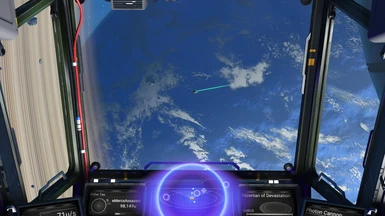
This is a highly-customizable, cinematic, yet realistic-ish ReShade for No Man's Sky Next that I've literally put well-over 100 hours of work into since Next launched. I had many goals with this ReShade, including de-cartoonifying NMS Next to give the game a look that feels more real, gritty, and somber, adding a depth-of-field that would please even Skyrim and Fallout ENB users while finding the right settings to allow quick-and-easy end-user adjustments to DoF strength and closeness to the camera with one slider, adding a host of cinematic effects that, unlike the vanilla scanlines and vignette (imo), leave the user with a look that, at moments, truly emulates photographs or films, and completely eliminating teal skies in favor of rich, blue ones. Before you even ask, "yes," EVERY PART OF THE RESHADE IS OPTIONAL AND CAN BE TURNED OFF WITH HOTKEYS, EVEN THE COLOR CHANGES. To that end, I've included a new vignette that's less harsh and less intrusive than the vanilla one and added tons of other filmic effects like film grain, letterboxing (black bars), chromatic aberration (again less harsh and more filmic than the vanilla one which seemed to only apply to the top of the screen in a very odd way), slight lens warping, and the aforementioned DoF.
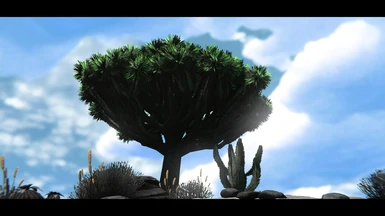
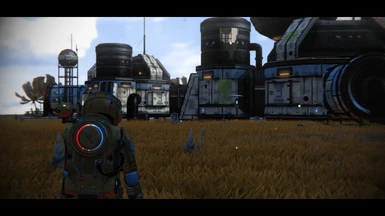
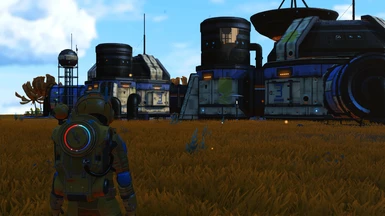
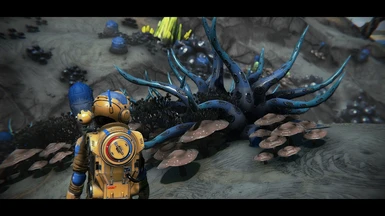
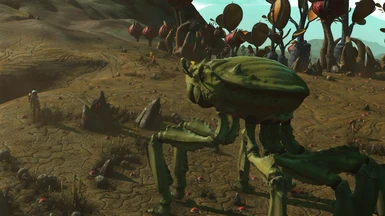
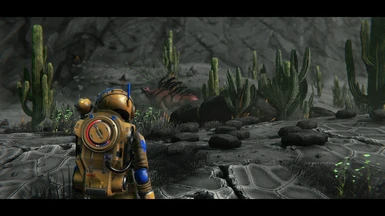
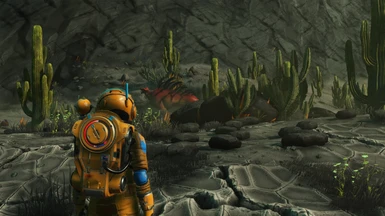
I also didn't want to simply desaturate the image to achieve a more gritty look, because one of the coolest things about No Man's Sky Next is how colorful it is. However, the vanilla game's very liberal use of color makes colors, in general, feel less special. So, I spent a TON of time rebalancing every single color in the game to achieve a look that makes colors pop in certain circumstances while also keeping the over-colorful feel of the vanilla game at bay, leading to a more intentional and mysterious feeling when encountering bold colors.
Hotkeys for turning off/on every effect I've added without ever pausing the game are below.
Install Instructions:
*Run your game and ensure NMS is set to borderless mode first. Close your game and proceed. (Note to advance users: Setting the game to borderless-windowed mode is randomly unnecessary for some people, so if you really like fullscreen-exclusive mode for some reason, go ahead and leave it that way, I guess. But if your game CTD's on launch, then try making it borderless without the ReShade files installed then follow the steps in the "Part Two" section again.
Part One
1. If you have mods installed already, delete any mod that changes the game's filters. So if you have a mod that forces the game to use the vintage filter, default filter, filmic filter, etc., delete that. 2. Go to your NMS PCBANKS folder, found here, "...\Steam\steamapps\common\No Man's Sky\GAMEDATA\PCBANKS" and delete the file called DISABLEMODS.TXT." 3. If you do not have one already, create a folder in that same PCBANKS folder called "MODS" 4. Download the contents of this mod, containing a zip file "Mercs Here Be Dragons Release 1-0" and open the zip file using winrar or 7zip (I use 7zip, cause it's free and easy). 5. From that zip file, copy only the file "MercRealisticwinterLUT_8012.pak" into the new "MODS" folder you just created in "PCBANKS".
Part Two
1. Download the latest version of ReShade from here: https://reshade.me/ 2. Run the ReShade .exe and Chose your NMS.exe, found here, "... C:\Program Files (x86)\Steam\steamapps\common\No Man's Sky\Binaries" 3. Select the Vulkan for the API 4. Select yes when it ask if you want do download a collection of effects 5. Deselect all but one of the effects, doesn't matter which one (you'll be deleting it in a second) 6. Go to your No Man's Sky binaries folder, where the game's .exe is, go to your "reshade-shaders" folder and delete the "Shaders" and "Textures" folders 7. Go back to the .zip file "Mercs Here Be Dragons Release 1-0" and open the zip file. 8. Copy the files "Here Be Dragons Release 1-0", "opengl32.ini," and the "reshade-shaders" folder into your NMS folder where your game's NMS.exe is, "... C:\Program Files (x86)\Steam\steamapps\common\No Man's Sky\Binaries". Overwrite anything it ask, if it asks, (don't worry, you're just overwriting ReShade files, not your game files) 9. Open the "opengl32.ini" file and make sure these three lines match your game's install paths:
If your install paths are not the same as mine in the bolded portions (which is where Steam and the game would be installed if you never changed your Steam install folders), you must change them or ReShade will be looking for its textures and shaders where none exist.
10. Launch the game. Don't press anything until the game loads up pass the splash screen, you should see the ReShade notification in the top-left of the screen in a big grey box telling it's loading its effects. If you click anywhere on your desktop as the game is initially loading, it'll likely open in a non-borderless window, which you don't want. If this happens just close the game and relaunch it. 11. Open reshade menu with "F4" and select Here Be Dragons Release 1-0.ini from the drop down menu.
Download the 1.3 update and the Project VI beta files and paste the contents of their .zip files into your binaries folder.
Select the preset .ini file you wish to use from the ReShade drop-down menu you wish to use.
You can toggle the entire reshade on and off with the "END" key. You can take screenshots with "F10".
12. Profit?
Hotkeys:
Toggle Full Preset on/off - END Toggle ReShade Menu open/close - F4 Toggle New Advanced Depth of field - / (division key) on the numberpad Toggle Old DoF - (left the old DoF in reshade for now, but moved it's hotkey) 7 on the numberpad (off by default. Don't have both DoFs on at once unless you hate you FPS and self) Toggle Film grain - 3 on numberpad Toggle Letterboxing (Black bars) - 0 on numberpad (made the letterbox ratio the same size as the milestone letterboxing, for consistency) Toggle Anamorphic lens distortion and chromatic aberration at the edges of the screen - 2 on the numberpad Toggle Bloom and lens dirt- 6 on numberpad Toggle Vignette - * on numberpad Toggle Guassian Blur (off by default)(an image softening effect, nothing to do with DoF) - 9 on numberpad Toggle Sharpening - 5 on numberpad (I suggest turning on Guassian Blur, instead of disabling sharpening, if you feel the image is too sharp, that way you retain the benefits of detail enhancements from sharpening while still getting a very natural looking blending of all materials and objects, like IRL.) Toggle all color and lighting changes (use vanilla colors instead) - 4 on numberpad
FAQ - Tweaking, Crash Fixes, & Performance Tips:
Depth of Field (issue resolution and fine-tuning guide)
You need Reshade framework version 3.4.1 or newer for the Advanced, film-grade DoF to work.
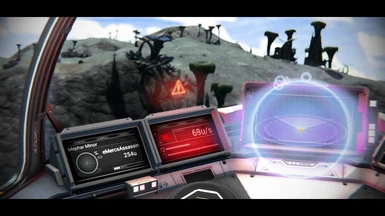
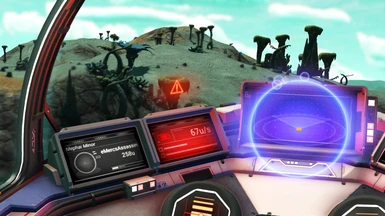
EDIT: FOUND A WAY TO AVOID EVEN THIS ISSUE, for the most part. Use a mod that increases scanning speed that drastically reduces the time it takes to scan things. Let go of the scan button the second the object finishes scanning and the depth buffer wont usually change, thus avoiding the little issue I mention next:
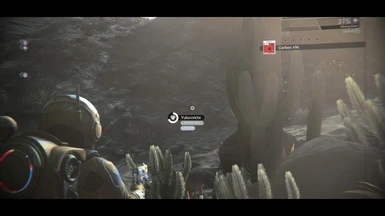
While the new Advanced DoF I implemented in version 1.3 is better in almost every conceivable way to the old one I was using, it seems impossible to make the game stop blurring the whole outer-rim of itself right after you scan a new object for the first time, sometimes. I think the trade off is worth it as you can still see how many units received and the name of the creature and then just immediately unscope the scanner and bring the scanner back up the second after the Depth-Buffer clears itself (the inconvenced only last as second). Since the new DOF is not twitchy like the last one and has gorgeous big filmic/phtographic bokeh circles, this is the one I have enabled by default. If it's really driving you nuts, you could make the DOF toggle the same key as you use to bring up the scanner (if playing with a mouse and keyboard), or you could use the old DoF (Matso), since it does not have this particular problem but does have many others.
Additionally, I strongly reccomend a camera overhaul for the ships in third person. Either Rayrod's Flight Overhaul (not camera overhaul since it'll mess with the DoF settings) or Improved Third Person Ship Camera: https://www.nexusmods.com/nomanssky/mods/769
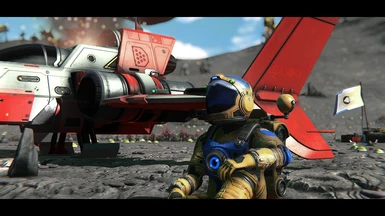
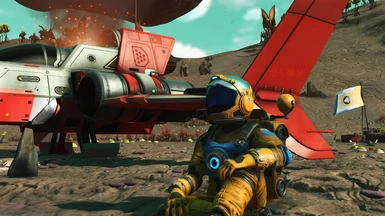
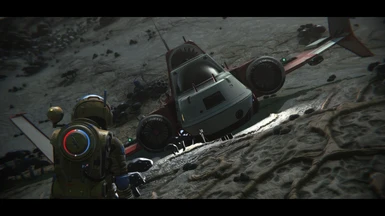
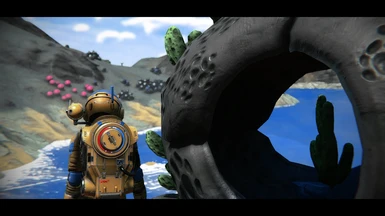
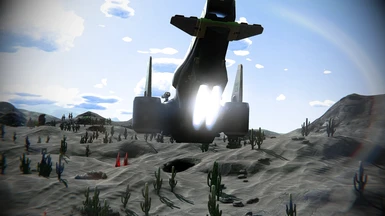
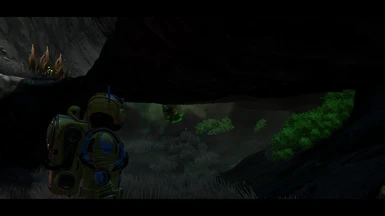
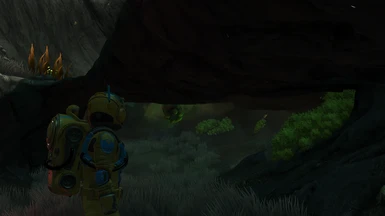
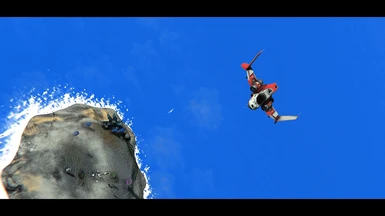
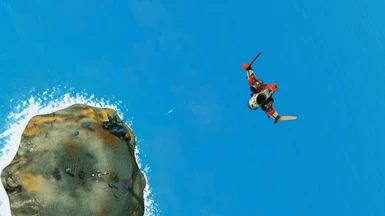
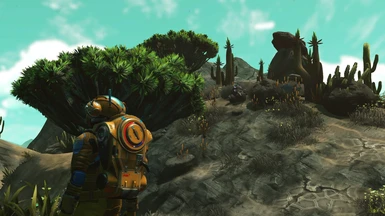
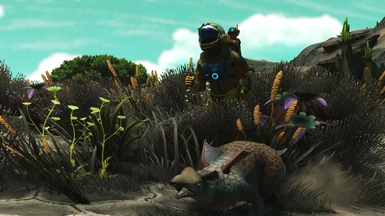
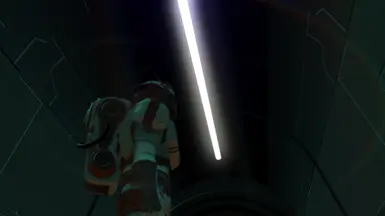
With the old DoF (Matso), to get the cool-looking and subtle foreground DoF that's in some of my pics (where the player character is slightly out-of-focus) adjust "DOF_NEARBLURCURVE" to "1.5" This will slightly blur the UI, which is why I don't have it on by default, but you can still see the UI fine enough to use it during gameplay. This will also make your ship slightly out of focus in third person and your dash in first person will get a cool light blur until you look down at it.
To make DoF weaker and push it further from the character/camera, increase "DOF_FARBLURCURVE". I suggest a value no higher than 4.0, but do what you want. If you want to return to this mod's default value, I have it at "2.040".
Crash Fixes
If you have a laptop, you have an integrated graphics card (as I do), and your game probably CTDs on launch when you try to use ReShade with this game. BlueStar over on the NMS modding Discord gave me the tip that disabling my integrated graphics card from my device manager will force things to work properly and for me and him has fixed the CTD issue with this game with ReShade.
Performance
DoF is the most performance-hungry effect. Disable it if FPS is a problem for you with this reshade installed. Bloom is next in line for performance usage. I would personally disable bloom first over disabling DoF, but that's all personal choice. Adaptive sharpen is next, though the performance impact is very minimal.
The other effects take so little performance that you may as well leave them on if you like the way they look. The backbone of this ReShade, Lightroom, has next to 0 performance cost. Lightroom controls all the color and lighting changes in this ReShade.
I Like Feature A, but Don't Want Feature B (even the color changes)
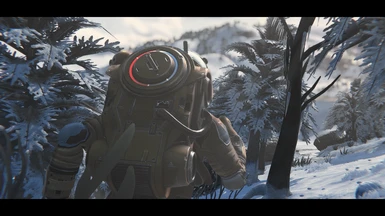
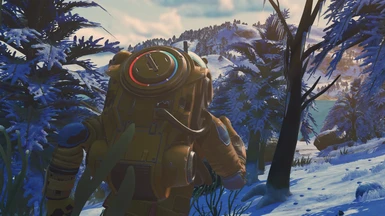
There's nothing stopping you from using this reshade without the .pak file and thus keeping the game's use of the many different planet biome filters. Your game won't look anything like it does in my pics if you do this, but you should still have a decent look (disable my bloom on winter planets if you don't use the .pak file). You could even just use all the cinematic effects I've included like Depth of field, film grain, bloom and lens flares, etc., and just disable the color and lighting changes by toggling off Lightroom (with 4 on the numberpad) to keep the vanilla look but with many more cinematic flares.
This reshade is all about user choice.
I would still recommend disabling the vanilla cinematic effects with either Clean UI or the No Scanlines, Vignette, or Chromatic Aberration mod I link to in the required files section.
Future Plans:
The ReShade framework just got an update today that allows us to use MartyMcFly's new Advanced Depth of Field. With this new DoF, I will be able to add true film-grade DoF to this Reshade that is also even more gameplay-friendly than what is included now. Because the new Advanced DoF is so much more robust than what we had access to previously, I will be adding 3 new depth of field presets to this Reshade; light, medium, and heavy. I may do a an insane option too that's for screenshots only. We'll see. It will take a day or three to do this, since it's a completely new shader and I need to configure the settings from scratch.
Cheers, Merc [8/11/2018]
The new DoF implementation is taking longer than I expected and free time has been limited this week. So this is still coming, but it's coming "soon", as opposed to in a specific time period. Hope you understand.
Cheers, Merc [8/16/2018]
Credits:
Myself, your neighborhood friendly MercsAssassin aka AssassinsDecree - for creating this ReShade preset itself
CosmoDerp7 (on the NMS Modding Discord, Seekker here on Nexus) - for creating a LUT on winter planets to keep them from looking overblown, completely blue, and blinding w/this ReShade. Also for removing the vanilla filters for different biomes and ensuring storms still had their filters (to maintain variety) so I could push my changes through w/ReShade.
The thegamer3006 -or- moddinaccount (@gamer#9804 on the NMS Modding Discord)- for creating the original Default Filter Swap mod which allowed me to see how a ReShade like mine would be possible.
Crosire - for creating the ReShade framework itself
MartyMcFly - for a creating a host of ReShade's shaders and effects, including Lightroom, which is the backbone of this ReShade.
I don't know who made all the other ReShade shaders, but a huge thanks to them. If anyone knows, I'll happily credit indivual shader authors. The creator of Matso DoF in particular has a huge thanks from me.
@Oppressor11 (from the NMS Modding Discord) - for helping me test the ReShade and providing screenshots throughout development
Special and MASSIVE thanks to @BlueStar on the NMS Modding Discord - Without him I would have likely never got ReShade running with NMS. He let me know that disabling my integrated graphics card would ensure the game loaded properly on my main graphics card.
Recommended Mod List:
1. Clear Screen (removes native scanlines, vignette, and chromatic aberration from the game) - https://www.nexusmods.com/nomanssky/mods/616?tab=files 2. 20-20 Clouds (this reshade will be optimized around this cloud mod going forward, but I used Better Clouds (https://www.nexusmods.com/nomanssky/mods/665) for the majority of development and most of the screenshots are using Better Clouds, so it shouldn't be a big deal which cloud mod you use) - https://www.nexusmods.com/nomanssky/mods/735?tab=description 3. Dark Environment Scanner NEXT - https://www.nexusmods.com/nomanssky/mods/492?tab=description 4. Better HD Clouds for Next (these affect clouds as seen from space and is compatible with other mods that modify the in-atmosphere clouds. Most of my pics are using this as well) - https://www.nexusmods.com/nomanssky/mods/693 5. (NO LONGER NEEDED SINCE TESSELLATION IS IMPLEMENTED OFFICIALLY NOW) Tessellation Fix for 1.58 (performance monster, but well worth it if you can handle it) - https://www.nexusmods.com/nomanssky/mods/826 6. Crescent Worlds (used in all my pictures basically)- https://www.nexusmods.com/nomanssky/mods/358 7. Less Intrusive Rings (used in all my pictures basically)- https://www.nexusmods.com/nomanssky/mods/676 8. Jetpack Enhanced (makes the game infinitely more fun and is still pretty balanced as you'll nearly kill yourself if you don't pay attention, which is how I imagine real jetpakcs will be in the future)- https://www.nexusmods.com/nomanssky/mods/891?tab=description 9. Hide All Notifications (this godsend of a mod gets rid of the horrendous, massive blue text box that never seems to go away for long enough for Next) - https://www.nexusmods.com/nomanssky/mods/914 10. No Crosshair or Dot (nope_cross) - https://www.nexusmods.com/nomanssky/mods/757?tab=description 11. Shaidak's Generation (I use the medium option. Makes flora denser, larger and with varying sizes, seemingly more diverse. Flipping great really) (incompatible with Better Planet Generation and Enhanced Worlds) - https://www.nexusmods.com/nomanssky/mods/407 12. Fantastic Beasts - https://www.nexusmods.com/nomanssky/mods/682 13. Asteroid Reduction (balanced and less frustrating/more realistic. Wins all around, no seeming FPS hit) - https://www.nexusmods.com/nomanssky/mods/637 14. Longer Days (I use the 4-times option) - https://www.nexusmods.com/nomanssky/mods/629 15. Coastal Waters - https://www.nexusmods.com/nomanssky/mods/803 16. Starship Out of Range and Faster Scanner for Next (makes starship not out of range at a redicuously close [or long depending on what option you choose] distance anymore) - https://www.nexusmods.com/nomanssky/mods/641?tab=description 17. Rayrod's Flight Overhaul (if for nothing more than you really need to use a camera mod for the third-person ship flying bits for my new DoF not to be a problem. Plus it's just a great mod. I use the unrestricted low flight version) - https://www.nexusmods.com/nomanssky/mods/614 OR Improved Third Person Ship Camera (works with 1.57. Use this or Rayrod's Flight Overhaul for better ship cameras with my ReShade DoF) - https://www.nexusmods.com/nomanssky/mods/769 18. Megaliths (which is compatible with Shaidak's Megaliths) - https://www.nexusmods.com/nomanssky/mods/336 19. Extrapolated Sunsets - https://www.nexusmods.com/nomanssky/mods/814 20. Enhanced Worlds (incompatible with Shaidak's Generation and Better Planet Generation) - https://www.nexusmods.com/nomanssky/mods/823/?tab=description 21. Better Planet Generation (incompatible with Shaidak's Generation and Enhanced Worlds) - https://www.nexusmods.com/nomanssky/mods/797 22. Big Things 4 - https://www.nexusmods.com/nomanssky/mods/100 23. Diverse Environments for Next (not compatible with Shaidak's Generation) - https://www.nexusmods.com/nomanssky/mods/493 24. Subtle Palette Extension - https://www.nexusmods.com/nomanssky/mods/807 25. Constructs (adds GARGANTUAN human[?] structures to planets) - https://www.nexusmods.com/nomanssky/mods/323?tab=description 26. Jetpack Afterburner (changes the sound of the jetpack to be less like static and more like a rocket) - https://www.nexusmods.com/nomanssky/mods/871 27. Planet Filter Fix (fixes odd colored lighting in space stations and other areas in space) - https://www.nexusmods.com/nomanssky/mods/874?tab=description 28. Redmas' Spaceships Generation - https://www.nexusmods.com/nomanssky/mods/906
If you want to see what I'm working on Next (SUBTLE WINK) then I strongly encourage you to subscribe to my Youtube channel, as I usually post previews of my upcoming work there: https://www.youtube.com/channel/UCn5KAZuLeVmeQLXSMJNBMcA