About this mod
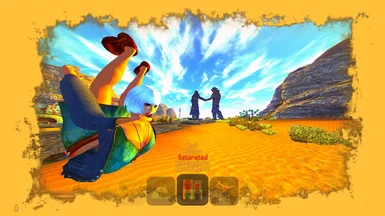
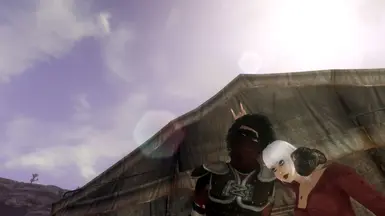
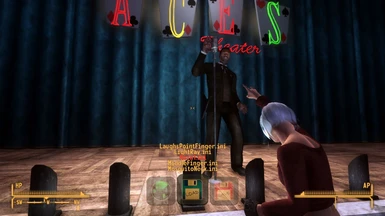
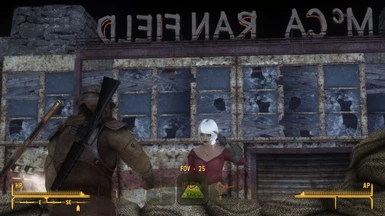
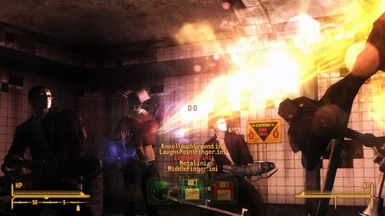
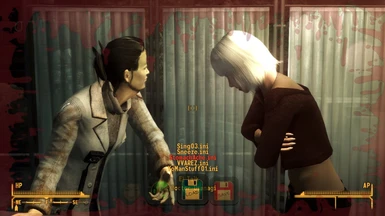
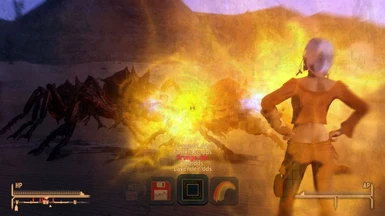
An ingame tool with few helpful features for screenshots, as well as the ability to create your own poses, save them, grab them from npcs, or modify to your heart's content.
- Requirements
- Permissions and credits
- Changelogs
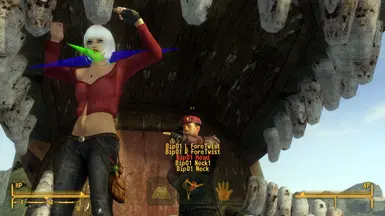
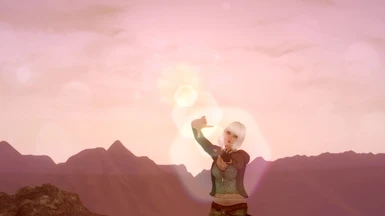
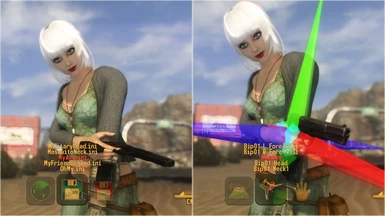
With this mod you can grab, modify and apply a pose to an actor (actually only humans, but potentially creatures too) for screenshot purposes,I uploaded a couple of videos under Video tab to show how it works. You can modify the rotation of every bone in the skeleton and then save the result on a file. Note that the file you generate works only for this mod, it's not a KF file. However, you can easily copy these files out and send them to your friends, and they will have your poses. Or you could still convert them to something else, eventually.
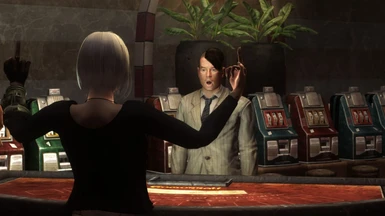
It provides also few helpful tools for screenshoots, like changing the Field of View, colour the screen, apply a picture as frame.
Keys
In general, making poses in a software like Blender is not easy, it takes some time to be accustomed. Doing it in game through this mod maybe can give a better perception of how the pose really appears inside the whole environment, but on the other hand it requires a good amount of hotkeys to use the tools (which, by the way, can all be changed via MCM). I did my best to keep things easy but the subject "poses" is not easy per se.
- Menu Key (default ALT)
If you press it, the main menu with icons will come out on the bottom of the screen. If you press it again, the menu will go away.
- Edit Key (default NumPad Enter)
Even if you can browse through the icons in the menu, you won't be able to select any option nor interact with the mod (with the exception of FEEL, see below) if you're not in EDIT MODE. To go in EDIT MODE, press the Edit Key: the mod will kick you in third person, the game will freeze and the fly cam will be enabled (TFC 1). At this point, you'll be able to move the camera with WASD, and in the meantime you'll be able to interact with all the options in the mod menu. To go out from the EDIT MODE, just press the Edit Key again. CAREFUL: everytime you go out from EDIT MODE, the pose you didn't save will be erased!
NOTE: don't do manual TFC via console, or the mod could not work correctly.
- Arrow Keys
They are the main way to browse through the options.
>>> If you are on the icon menu, Left / Right will allow to browse through the various icons.
>>> If you want to select an option, you can press either Up or Down arrow
>>> If the option is a one-time one, then it will be selected. If it has other sub options, then a textual Sub Menu will appear over the icons.
>>> When the Sub Menu is open, you can browse through it using the Up / Down arrows
>>> To select an option on the Sub Menu, you can press Left / Right
>>> To quit the Sub Menu and go back to the icon menu, you can press Alt
- Pose Keys
These are 6 extra keys to edit the poses
>>> Num Pad 7 == It will increase the value on the X axis
>>> Num Pad 4 == It will decrease the value on the X axis
>>> Num Pad 8 == It will increase the value on the Y axis
>>> Num Pad 5 == It will decrease the value on the Y axis
>>> Num Pad 9 == It will increase the value on the Z axis
>>> Num Pad 6 == It will decrease the value on the Z axis
To understand which axis you need to rotate, check the colors on the cursor: Red = X, Green = Y, Blue = Z
When you're on the Move/Traslate option, these will be used to move the Target along the 3 axis.
- Extra Keys
>>> Num Pad - : It will trigger the console command TM, which will hide all the UI elements. This means that also your frame will be hidden. To hide only vanilla elements and keep your frame, I suggest to retain on specific mods that allow that (i.e. oHud)
>>> Num Pad + : It will reset the bone you're actually editing to the starting value it had when you selected it. This is useful if you made a mistake when rotating it, and want to easily come back to the begin. Careful, however: you can only reset while editing it, once you move it'll be saved as it is. So, if you modify a bone, then change and go over another bone, and then you go back to the previous one, you won't be able to reset it anymore.
new Left Shift : Keeping it pressed, it will slowdown the movement and the rotation in both Pose editing and Traslation, from 10 to 1, allowing fine tweaking. When you release it, the speed will go back to 10.
Menu Icons
- Pose (that little person dancing): it allows to edit your pose. You can modify all your vanilla bones, except the hands, these have a separate option to not clutter too much the menu
- Hand: same as the Pose icon, but only for hands bones. By default, the cursor is half scale compared to when you're on Pose.
new Fish: same as the Pose icon, but introduces extra bones located in \Data\Config\Pio\Skeletons\Specials.ini. By default, I added few extra bones from the NV Compatibility Skeleton. This feature is more for those who are already familiar with the mod and how it works. Be aware that the special bones probably won't be resetted when you exit Edit mode, but no worries because everything resets when you quit the game.
- Move (the small man with 4 arrows on his feet): same as the Pose icon, but only for hands bones.
- Cursor (that green star): it allows to change the scale of the cursor. Useful when during the editing you think it's too invasive.
- FOV: it allows to change the Field of View. It will reset when you go out from the Edit mode.
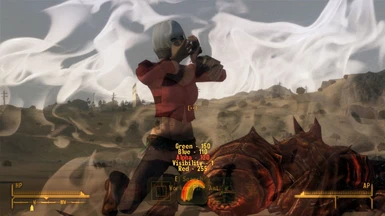
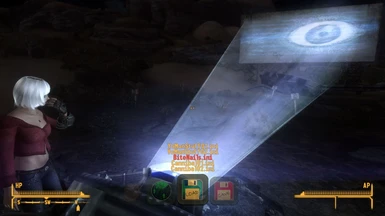
- Frame: it allows to choose an image file to put over your UI. These .dds files are located inside \Data\textures\Interface\aPIO\Frames and their resolution is 1712x960. The FullWhite.dds is the default one, it's a full white image that can be modified properly to add a coloured mask to the game. For example, if you want some greenish image, just raise the Green and lower Red and Blue, then modify the Alpha value to your heart's content.
NOTE: the frame will automatically HIDE when you go out from the Edit mode.
- Tint (the rainbow icon): it allows to modify Alpha and the three primary colours for the Frame. The parameter Visibility allows to hide / unhide the frame temporarily.
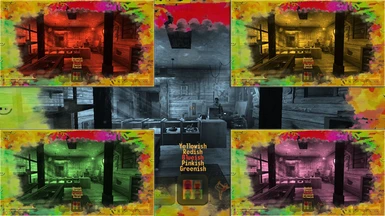
new IMOD (the Warhol-like icon): it adds colour to the screen, using a game IMOD (Imagespace Modifier). The difference with a coloured mask made with Frame: 1) This won't be disabled when you hide the UI with the NumPad - ; 2) It works separated to the Frame, it can be used together; 3) The colours can't be modified in game, I decide these inside the .esp, there's a total of 14; 4) IMODs can't be seen correctly using a ENB, it's an engine thing. Colors won't change, few effects like blur will still be applied but the final result is not as good as without ENB.
IF FOR SOME REASON AN IMOD WILL REMAIN "STUCK" ON YOUR CHARACTER EVEN WHEN YOU GO OUT FROM THE MENU, GO BACK IN THE IMOD MENU, APPLY A NEW ONE AND QUIT THE MENU AGAIN, TRY THIS MORE TIMES IF IT DOESN'T SOLVE, AND NOTIFY ME PLEASE.
- Scanner / Target: it allows to scan the surroundings and choose the npc you want to pose. You understand if it's the right NPC because you'll see the Cursor on its feet. It will also pick dead bodies, however these have very little ways to be modified. If you don't choose any target, usually the player is the target by default.
- Load / Save: pretty explicit. When you save, just put a filename on the box, with no extension, and do not press Enter but click over OK. The poses are saved inside \Data\Config\Pio\Poses
new If you don't use some of these options, there's a section on the MCM which allows you to select / remove some icons, to make things smoother. Keep in mind all the options related to poses are mandatory and can't be unchecked.
MCM
Not much to say, it mainly contains the options to redefine hotkeys.
Other than that, it allows to disable / enable the mod and the debug mode (do not use if not necessary).
new Now any changes that you make are stored inside the file Data\Config\Pio\Settings.ini. So, if you start a new game, you still will have the old options.
FEEL
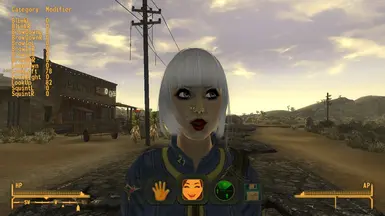
If you have FEEL installed (LATEST VERSION!), a new icon will appear on the icon menu (a woman smiling). FEEL keys will be automatically changed so that the four directions will become the same ones than those you chose in Take a Picture, and FEEL's Edit key will be disabled because you'll use the icon on the menu now.
Other than that, to make them live together, it's imporant to understand how they work: FEEL works in TFC 0 (fly cam, time not freezed), Take a Picture works in TFC 1 (fly cam, time freezed). So, to take a picture with a certain facial expression, you'll have FIRST to edit your facial expression, then quit FEEL Edit mode (triggering the smiling lady option again) and THEN press NumPad Enter to go into Take a Picture's Edit Mode and make the pose. I made a video under the Video tab which shows exactly that, first I edit the expression and then I edit the pose.
Requisites
- NVSE
- JIP NVSE
- UIO
- (Optional) MCM
Installation
You can use a mod manager or install it manually. You only need the main file to make the mod work.
The optional files are a collection of 100ish poses (mostly made with AnimTool) and a collection of 14 example frames. Every frame is 2 Mb so I preferred put them separated only if someone is really interested in trying those.
Poses are located inside \Data\Config\Pio\Poses
Frames are located inside \Data\textures\Interface\aPIO\Frames
When you uninstall or update the main file, I strongly suggest to make a clean save. Optional files don't require a clean save.
Credits
Nessa gave me a sheep
VVAREZ and Franz for testing


