Documentation
Readme
View as plain text
STEP BY STEP ON OBLIVION
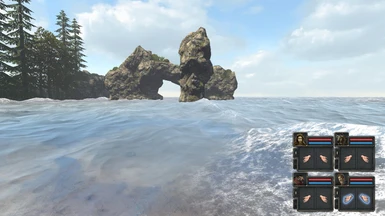
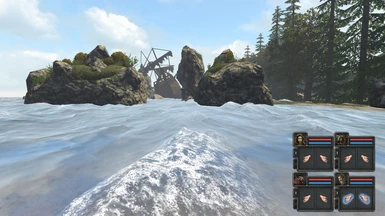
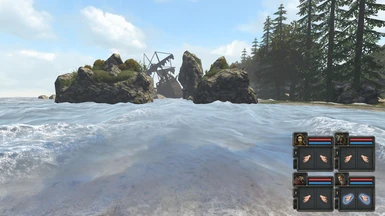
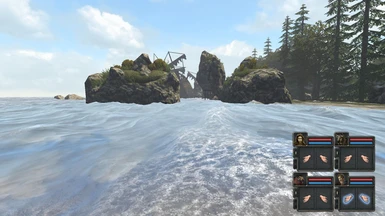
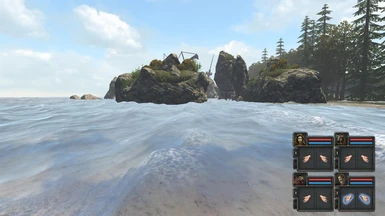
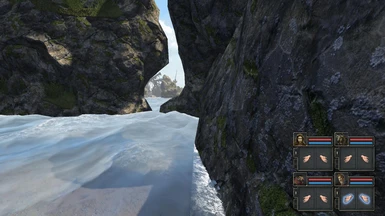
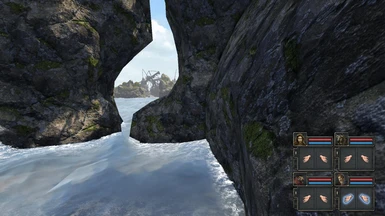
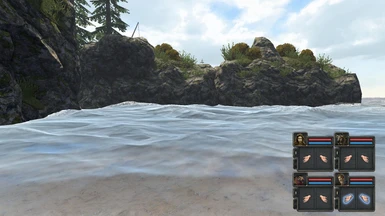
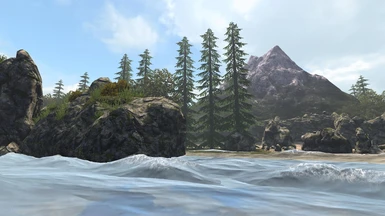
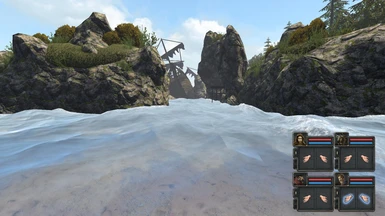
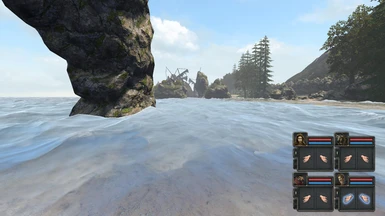
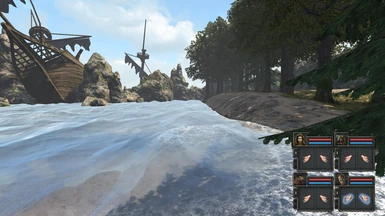
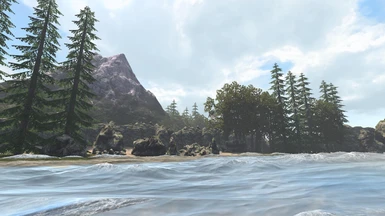
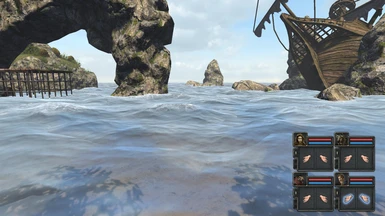
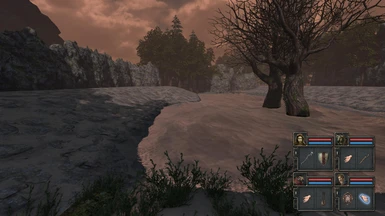
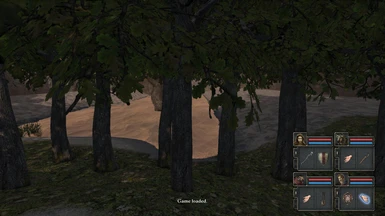
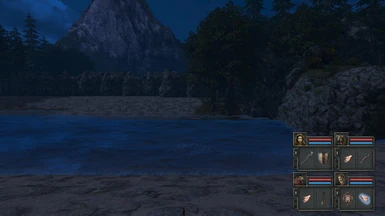
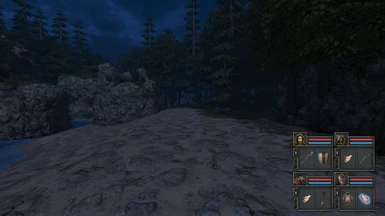
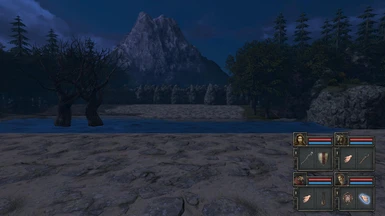
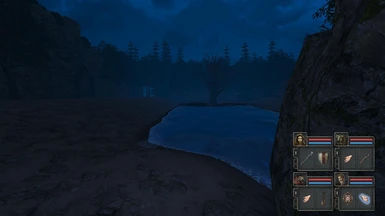
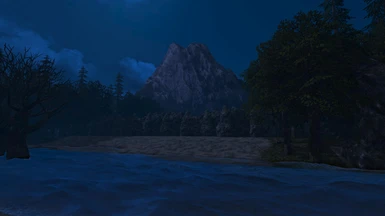
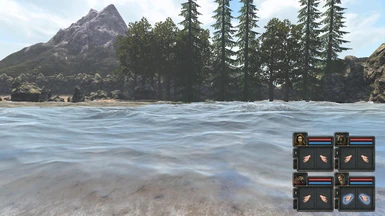
Backstory, your crew survived a horrendous crash of their schooner right up the rocks on the beach where you find yourself now.
Your crew are cold and soaking wet, what can they do now on this God forsaken shoreline?
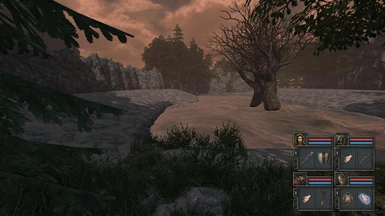
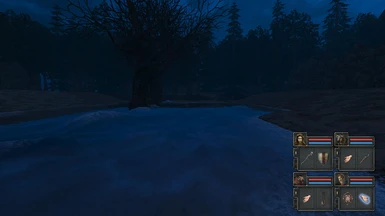
STEP 1. look for items along the shoreline
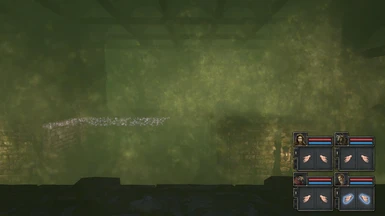
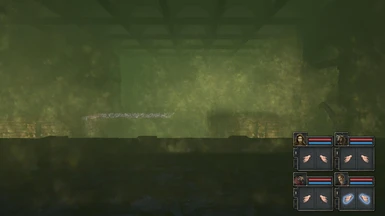
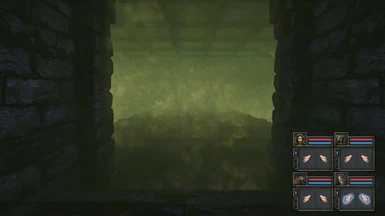
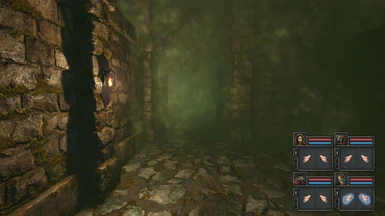
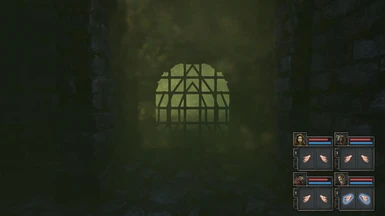
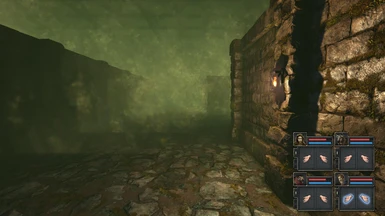
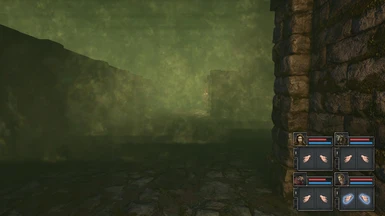
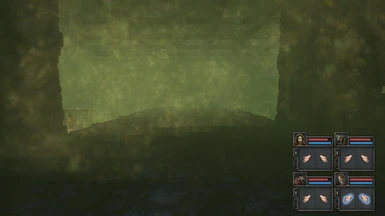
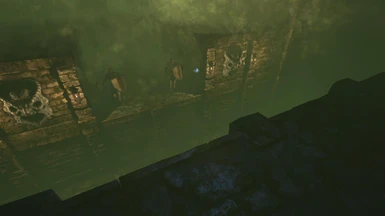
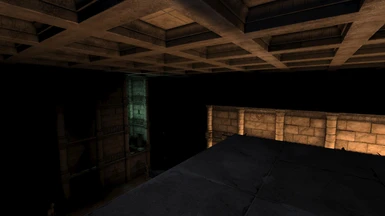
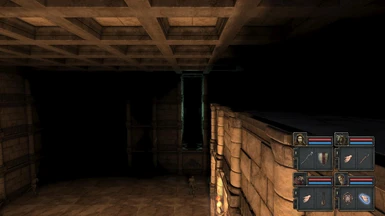
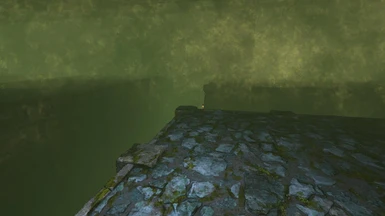
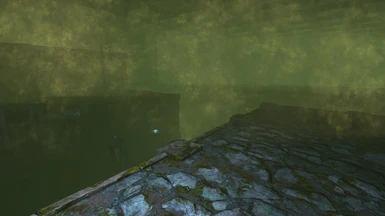
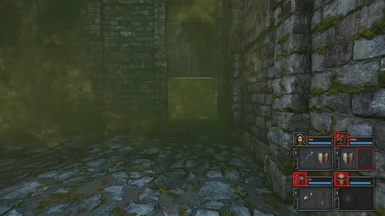
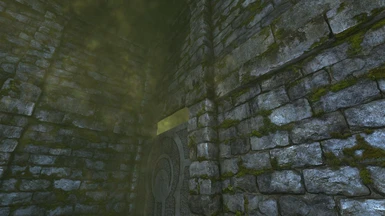
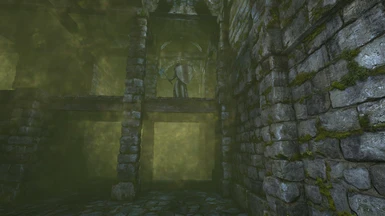
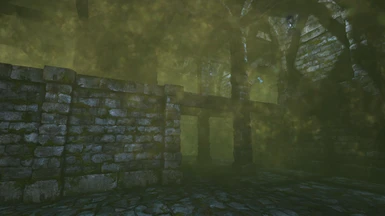
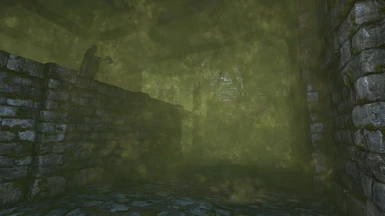
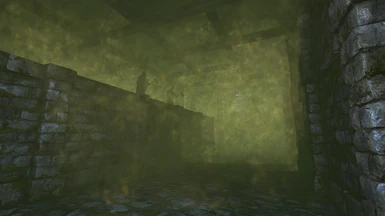
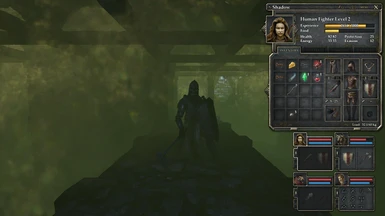
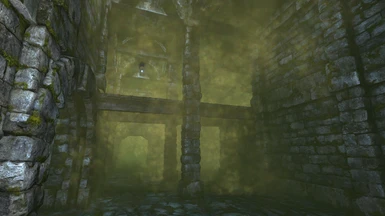
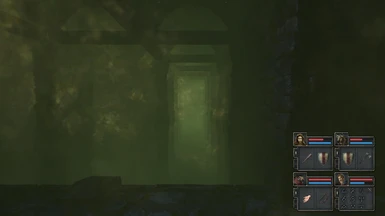
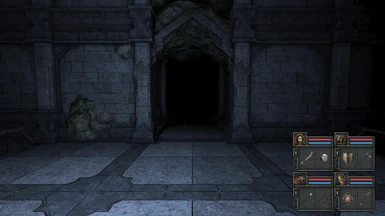
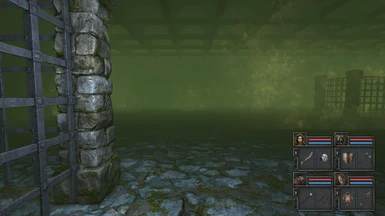
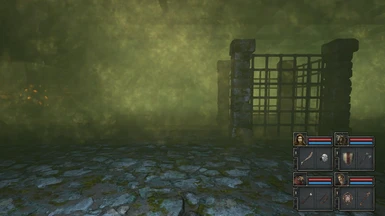
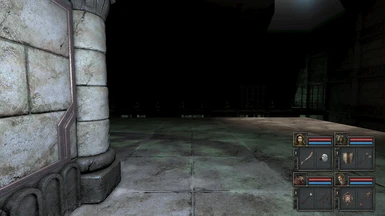
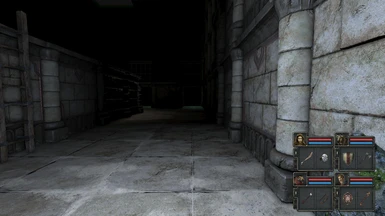
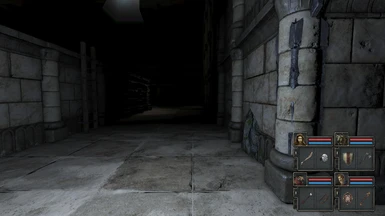
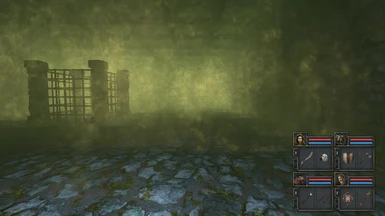
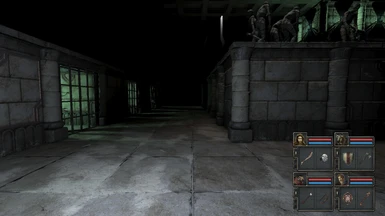
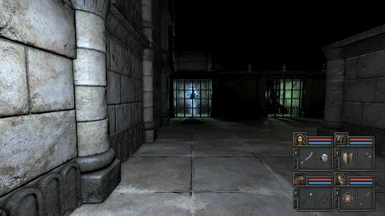
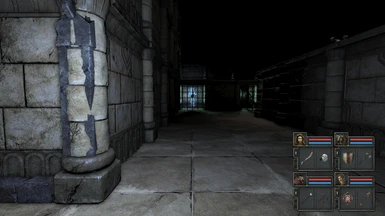
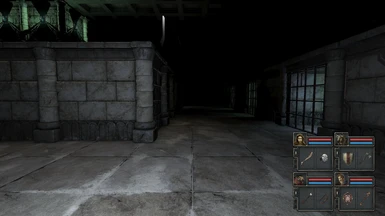
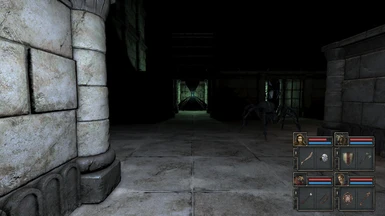
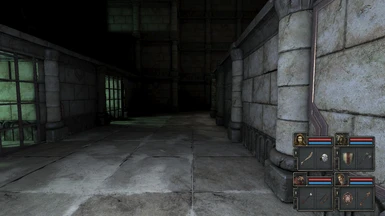
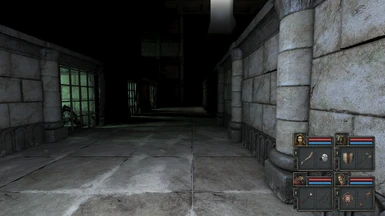
STEP 2. descend rocky stairs to a fetid dungeon below, jokingly named "Revelations" by Minotaur
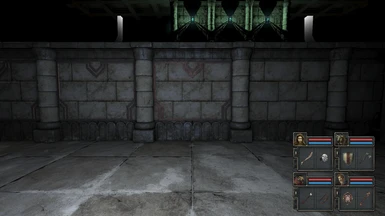
STEP 3. locate central paving slabs, these stand out from the dungeon floor
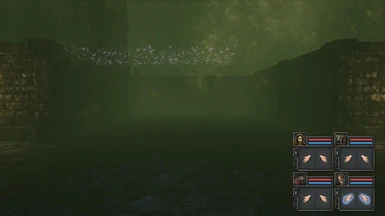
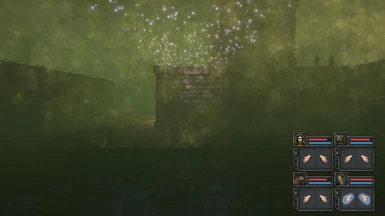
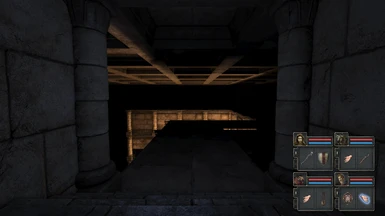
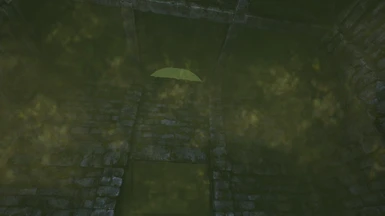
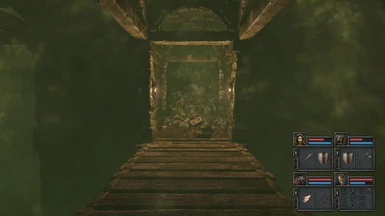
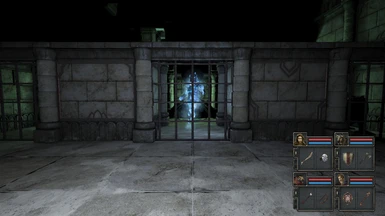
STEP 4. throw a suitable item from the central paving slabs ONTO the majic bridge before it fades
STEP 5. wooden door opens, help yourself to alcoves behind it - IRON KEY found (later!)
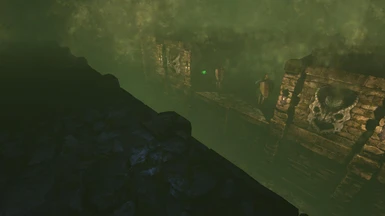
STEP 6. use ladder to ascend back area, walk around to other side where magic bridge seemed to stretch to
STEP 7. walk off edge as if to move back onto magic bridge (magic bridge re-energises)
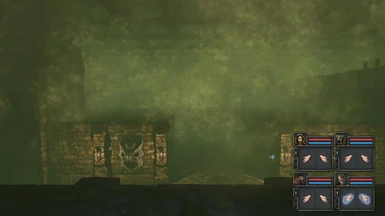
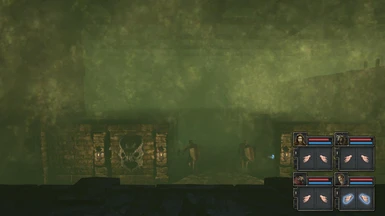
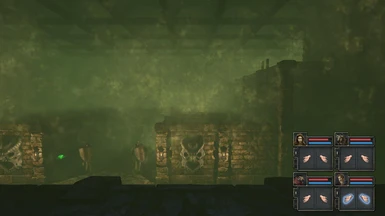
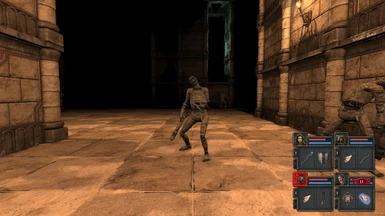
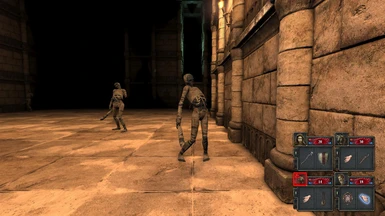
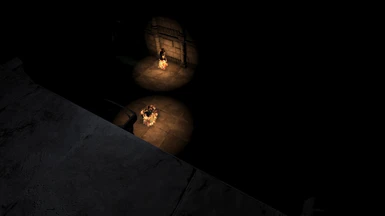
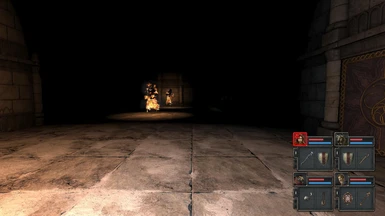
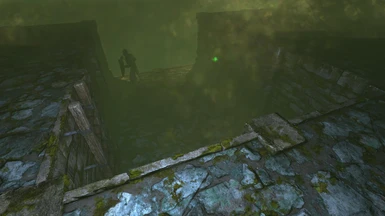
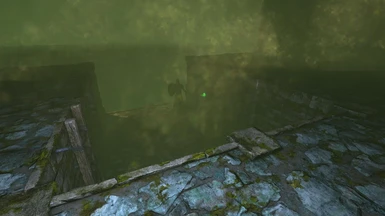
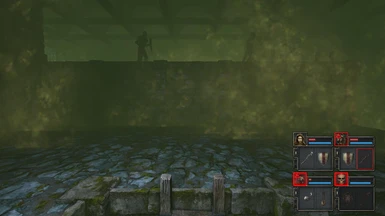
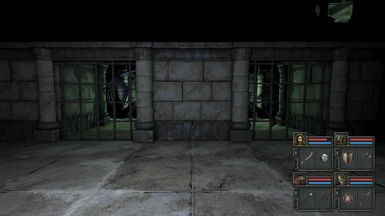
STEP 8. walk around to where you can see the two Skeleton Soldiers, you need to kill one of them!
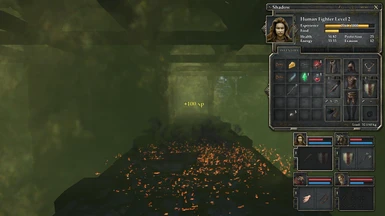
STEP 9. the solution is to stand on the magic bridge (now re-energised) and lob fire bombs at them
TIP! sack of firebombs on shoreline Western edge, look carefully!
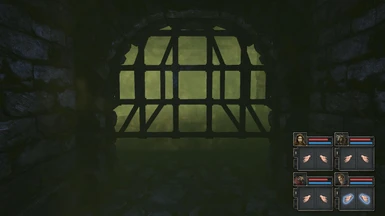
STEP A. when one of the soldiers dies an iron gate opens allowing your crew further access into the fetid dungeon
STEP B. the bad news is that even more soldiers are on their way, so prepare
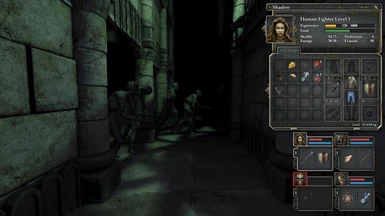
STEP C. as you look around the new area of the dungeon you find new Soldiers approaching you, kill one of them to see another nearby door open
TIP! just around the corner from the new door that opened, is a section of wall with missing bricks, locate it, fake wall right there
TIP! just around the corner from there is a dead end passageway, see the IVY growing? this is yet another fake wall!
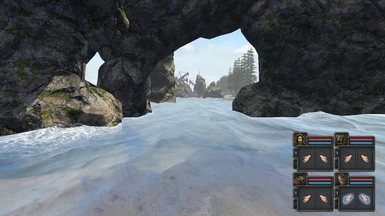
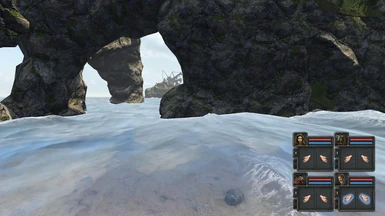
STEP D. next use the rocky tunnel out to the gorgeous Sanctuary Beach, there is a fabulous rock pool and of course STAIRS DOWN
TIP! before going out to the gorgeous Sanctuary Beach, there is an opportunity now to familiarise your crew with three important nearby locations
TIP just South of your position are two sets of Triple gates, the first is obviously a place your crew could "take over" as a base "THE BLUE STONES"
TIP also note a little further South the second set of Triple Gates, the adjacent ORNATE LOCK should be noted! (You need an Ornate Key!)
TIP in the vicinity of the two triple gates is also a GOLD LOCK next to a STONE DOOR, you need the Gold Key for this
STEP E. descend the Stairs to THE TOMB, you see areas below you, locks in those areas need a Brass Key on one side and a Tomb Key on the other
STEP F. move along the Tomb high path that you are on, to the flooded Castle, Tomb Key is there
TIP! if you jump off the Tomb high path down into the Ugiuardians Base, then you had better have a Brass Key (or there is effectively no exit out of there)
TIP! if you jump off the Tomb high path down into the Mummies Base, then you had better have a Tomb Key (or there is effectively no exit out of there)
STEP G. with the Tomb Key return along the Tomb high path and jump down to fight the Mummies, exit using Tomb Key
TIP! bear in mind that in one CORNER of the Mummies Base there is a secret button (CACHE!) up to you when you explore that, but you must have 1 Tomb Key to exit
STEP H. follow the exit route to the alcoves, 2 Brass Keys found, now return to the Tomb Level, you see areas below you, with the Brass Key jump down to weave through or fight the Ugguradians
TIP! after using the Tomb Key to exit and then ascending the Tomb Stairs up to Revelations, DID YOU SEE the 2nd secret button at the botttom of the stairs?? (LOOOOT!)
TIP! just after finding the Brass Keys return to where you saw the first Magic Bridge, a secret door has temporarily opened!
TIP! just after evading/ fighting the Uguardians, exit back to Revelations, now look for a secret button on a corner wall!
STEP I. ascend the ladder in Revelations to the Dungeon High Path and walk all along to the Dungeon CAVE IN, jump down, find Ornate Key
TIP! you find 2 alcoves on jumping down from the cave in, try this process: Remove item 1 from alcove, place on floor, Remove item 2 from alcove, place on floor, alcoves now empty, NOW place each item back onto its own alcove: nearby secret door opens!
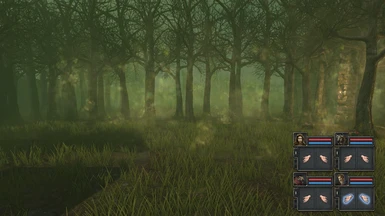
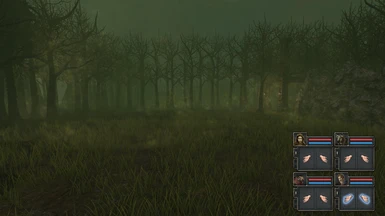
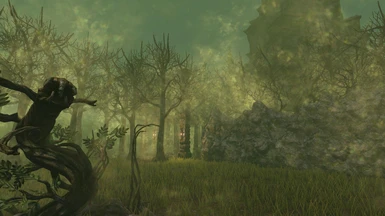
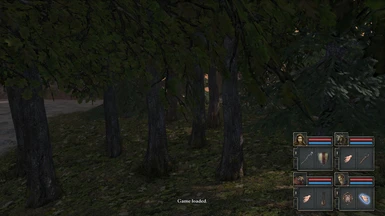
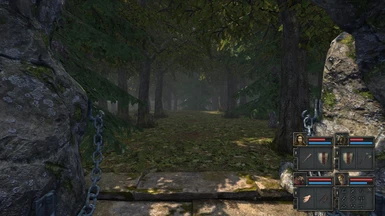
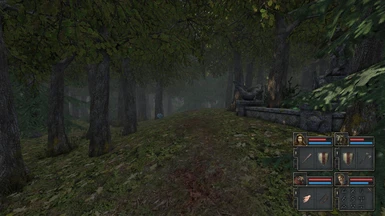
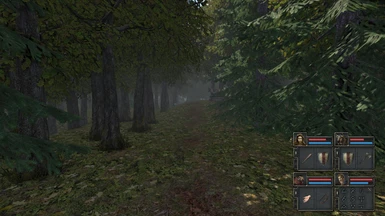
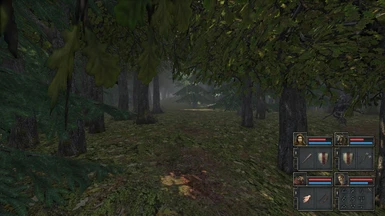
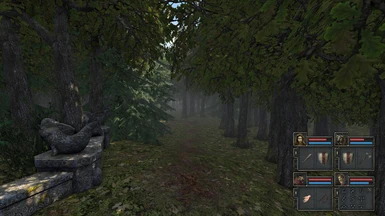
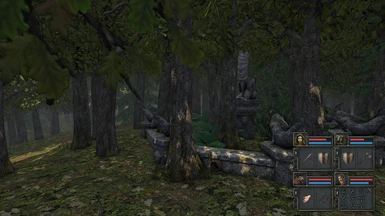
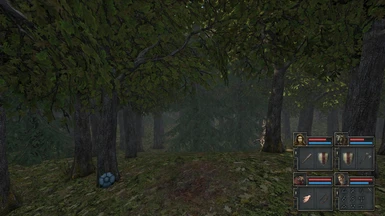
STEP J. you now enter a scary FOREST full of strange Forest Dwellers and not much else
STEP K. you wind up back at the Tomb, the Uguardians base, this could be tricky, work out how to exit or you're stuck at this point
TIP! If you're stuck at K then you need to kill 1 Uguardian at this point, the gate will then re-open, so always leave 1 Uguardian alive for this section of the game!
STEP L. make your way back to the Revelations level and find the triple gates with the Ornate Lock (SEE STEP D and the following TIPS!)
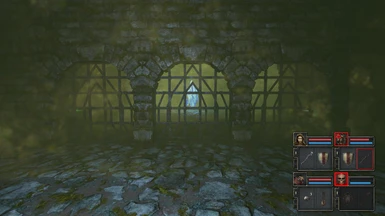
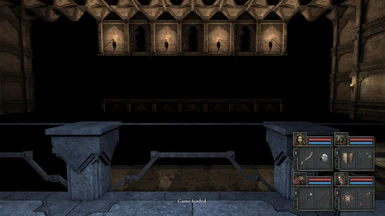
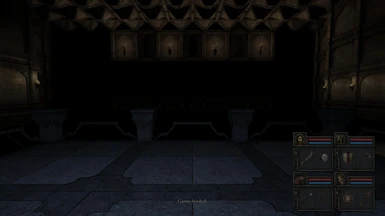
TIP! explore the massive medieval hall, look carefully, you find a section of wall with two wall Lanterns! the wall Lanterns are UNLIT! this marks a SECRET DOOR
TIP! to open that secret door, carefully carry out this procedure: select three items YOU DO NOT NEED, preferably useless items. Place each of the three items onto the floor inside the three gratings structures you see, the Secret Door Opens
TIP! do not retrieve any of the items you placed down, the Secret Door could then lock closed, but even worse, a horde of local mean and twisted Barracks Dwellers become alerted to your presence and then begin hunting your crew down
STEP M. so, use the Ornate Key - the triple gates open admitting you to the spacious strange medieval hall. carefully have a look around
STEP N. essentially there are two routes to progress from here, advanced Castle Mission, Advanced Tomb Mission, take either
STEP O. say you go for the Tomb Misssion, quite simply you pull 6 or more Levers up on the raised platform and go to the Fancy Gate at the SE Corner
STEP P. once you have done that, you find that Uguardians Office is locked at the other end. KILL one of the Uguardians, the office door opens!
STEP Q say you take the Castle Mission one, it is important to note that there are 3 submerged TELEPORTERS in here, one of them takes you to SWAMP, kill the Skeleton Commander and gain the Gold key (he carries it!)
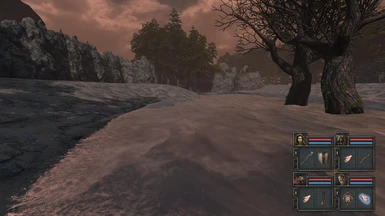
TIP when in the Swamp look out for the Green Slime. This Green Slime inhabits the Old Ruined Tower Look Out Post. If you see the Green Slime, this immediately means that you can now go to the Old Ruined Tower Look Out Post. Do so, you can then exit the level
BASIC KEYS LIST ON OBLIVION
Iron Key chuck over a light item from the highlighted tiles ONTO the magic bridge in Revelations
TOTAL STORY
During a violent storm, the ship's crew were unable to save the schooner from hitting shoreline rocks! Rapid currents and whipping winds hurled the craft onto the coastal rocks, splitting the ship clean in two. As dawn breaks, only 4 of the crew survived and find themselves, bruised and cuts, grateful to be alive, they turn to see a huge mountain on one side and the now calming seas on the other. After a few hours, your Sorcerer spots an enclave in the rock wall near to where your Ship crashed - STAIRS DOWN to a fetid dungeon!! now the crew quickly stumble, as they spot a number of locked doors in the dungeon, there seems to be no way through, although a strange purple platform appeared for a few seconds, WHY? Heading back to the beach Minotaur finds a SACK in the corner beach wall! To his amazement some Fire Bombs inside the sack, would they still work after all this time? At the same moment your Ratmeister exclaims "Two Skeleton Sentries! down in that dungeon!" As your crew descends back to the dungeon with the Fire Bombs, Shadow spots the sentries, she says "Let me have a couple of those bombs, let's try taking one of these guys out!"


