


0 of 0


About this mod
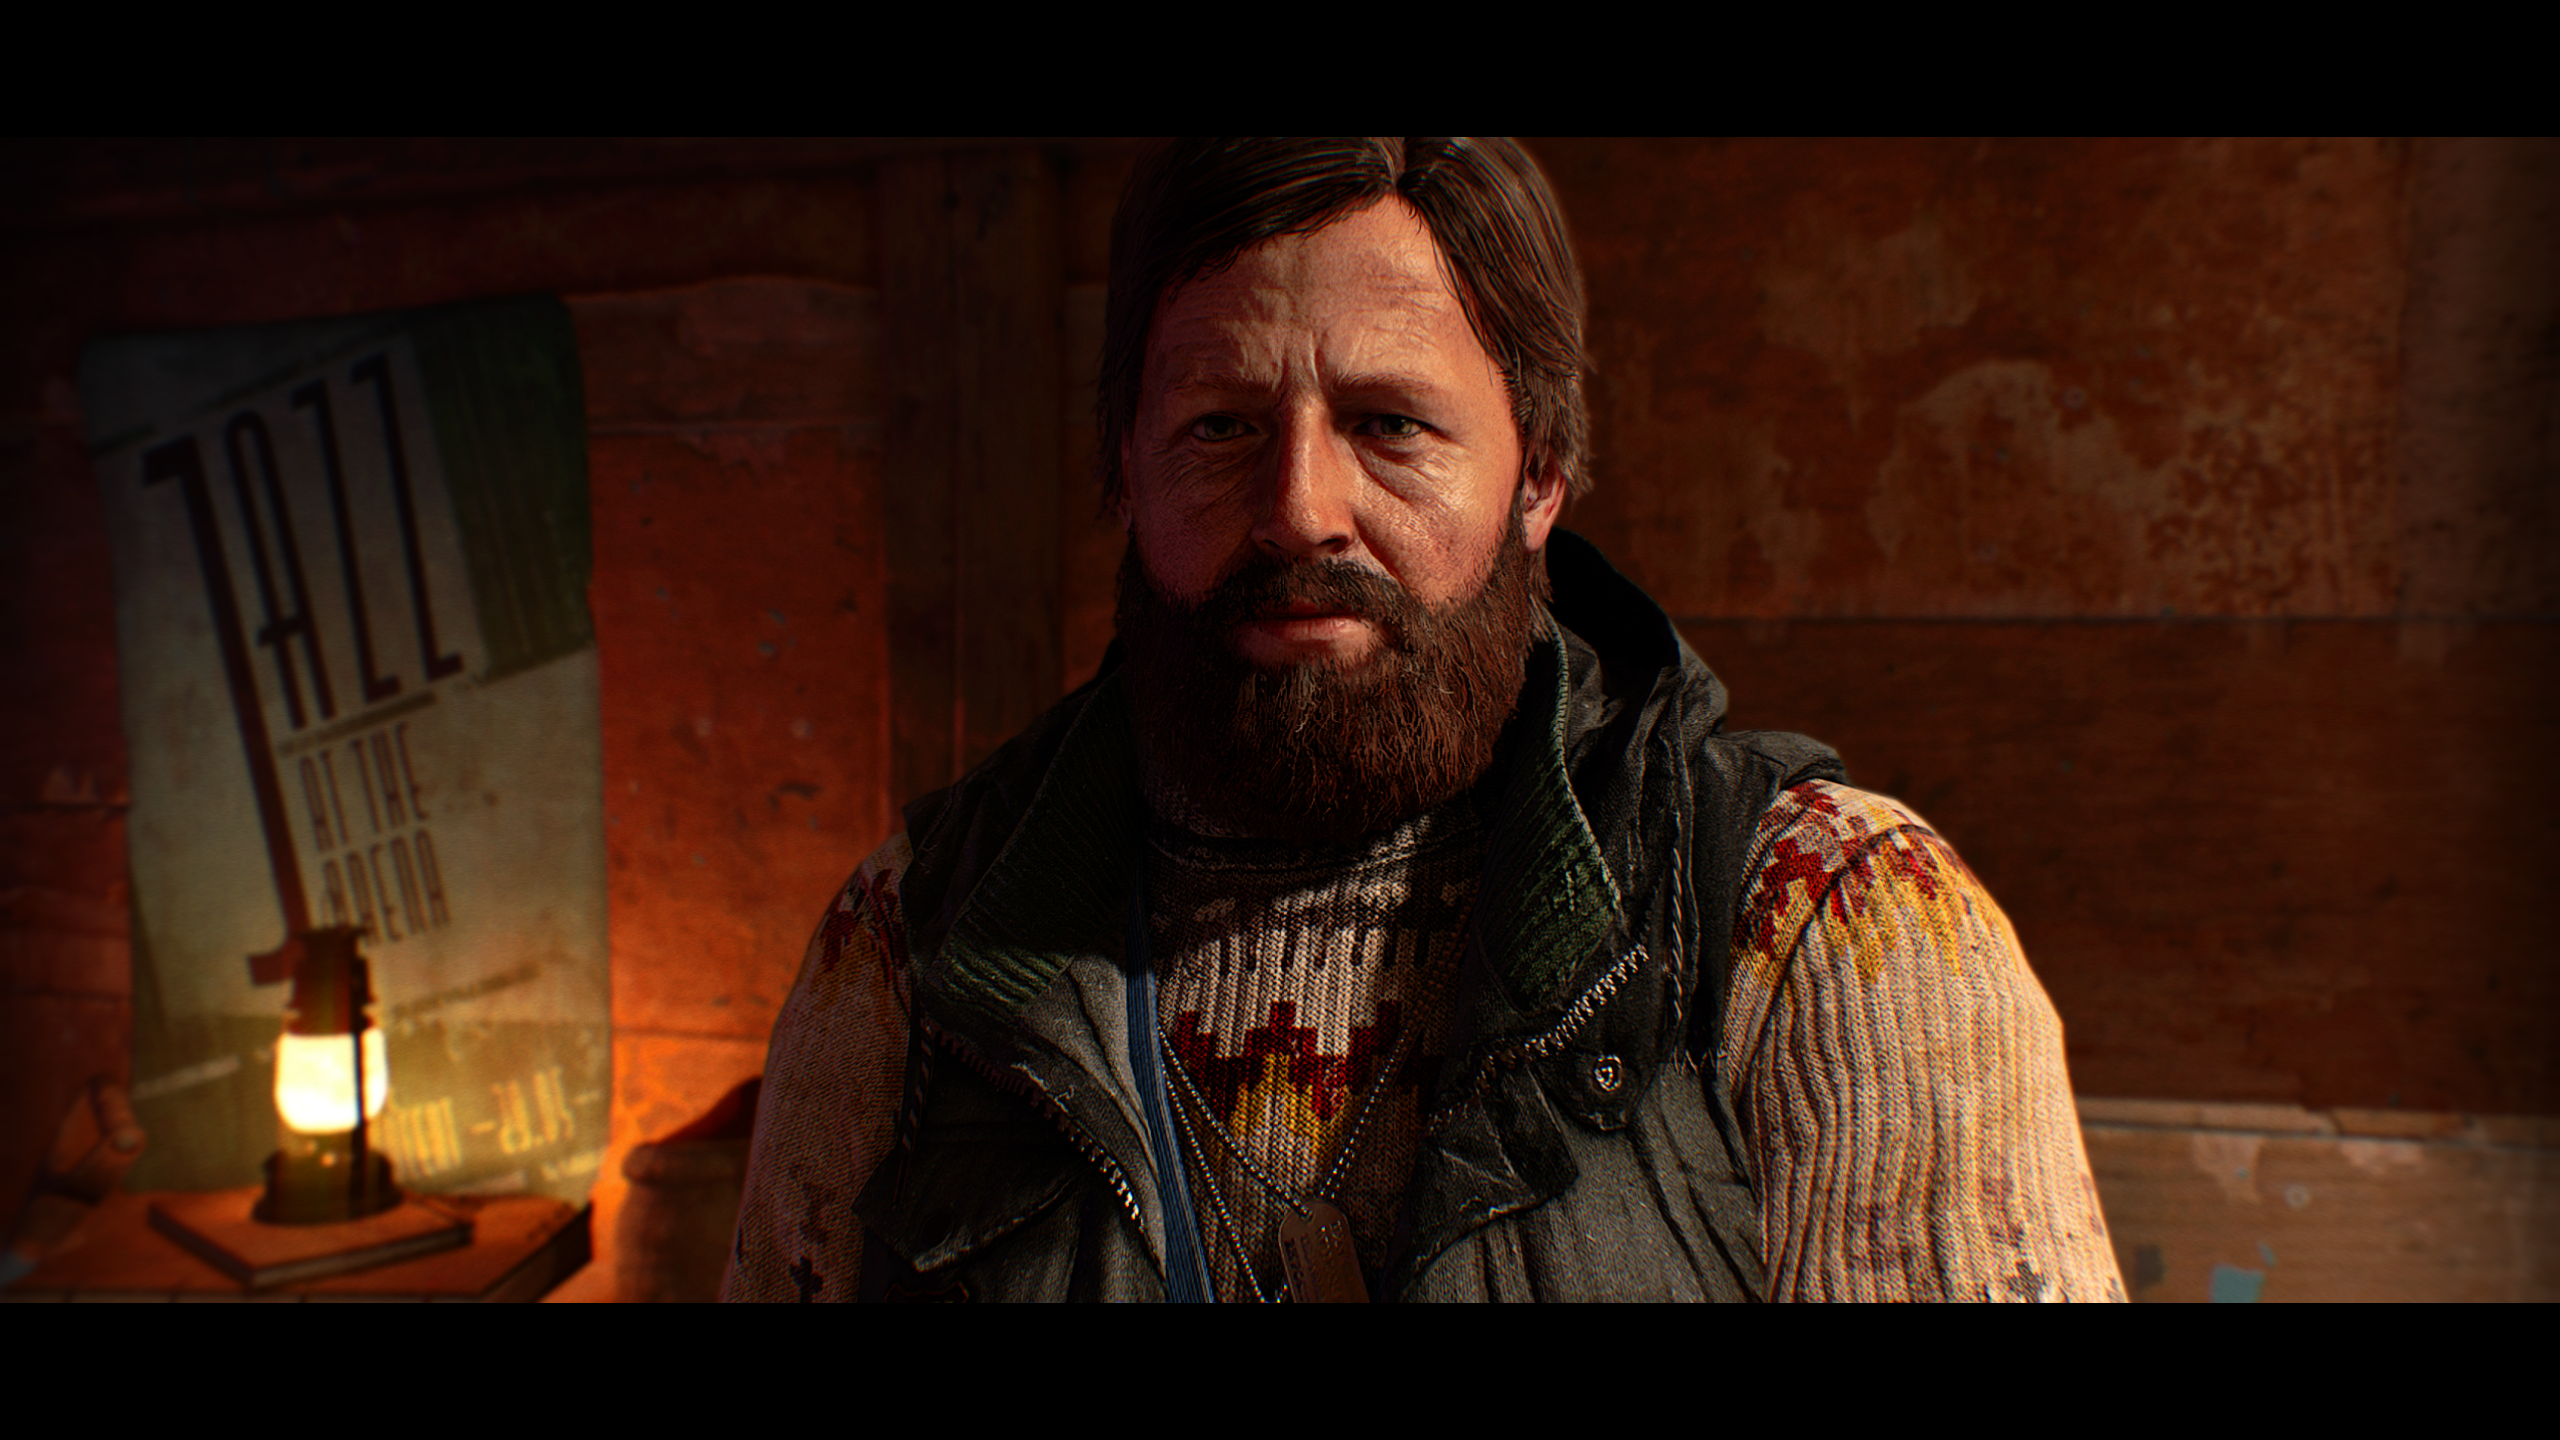
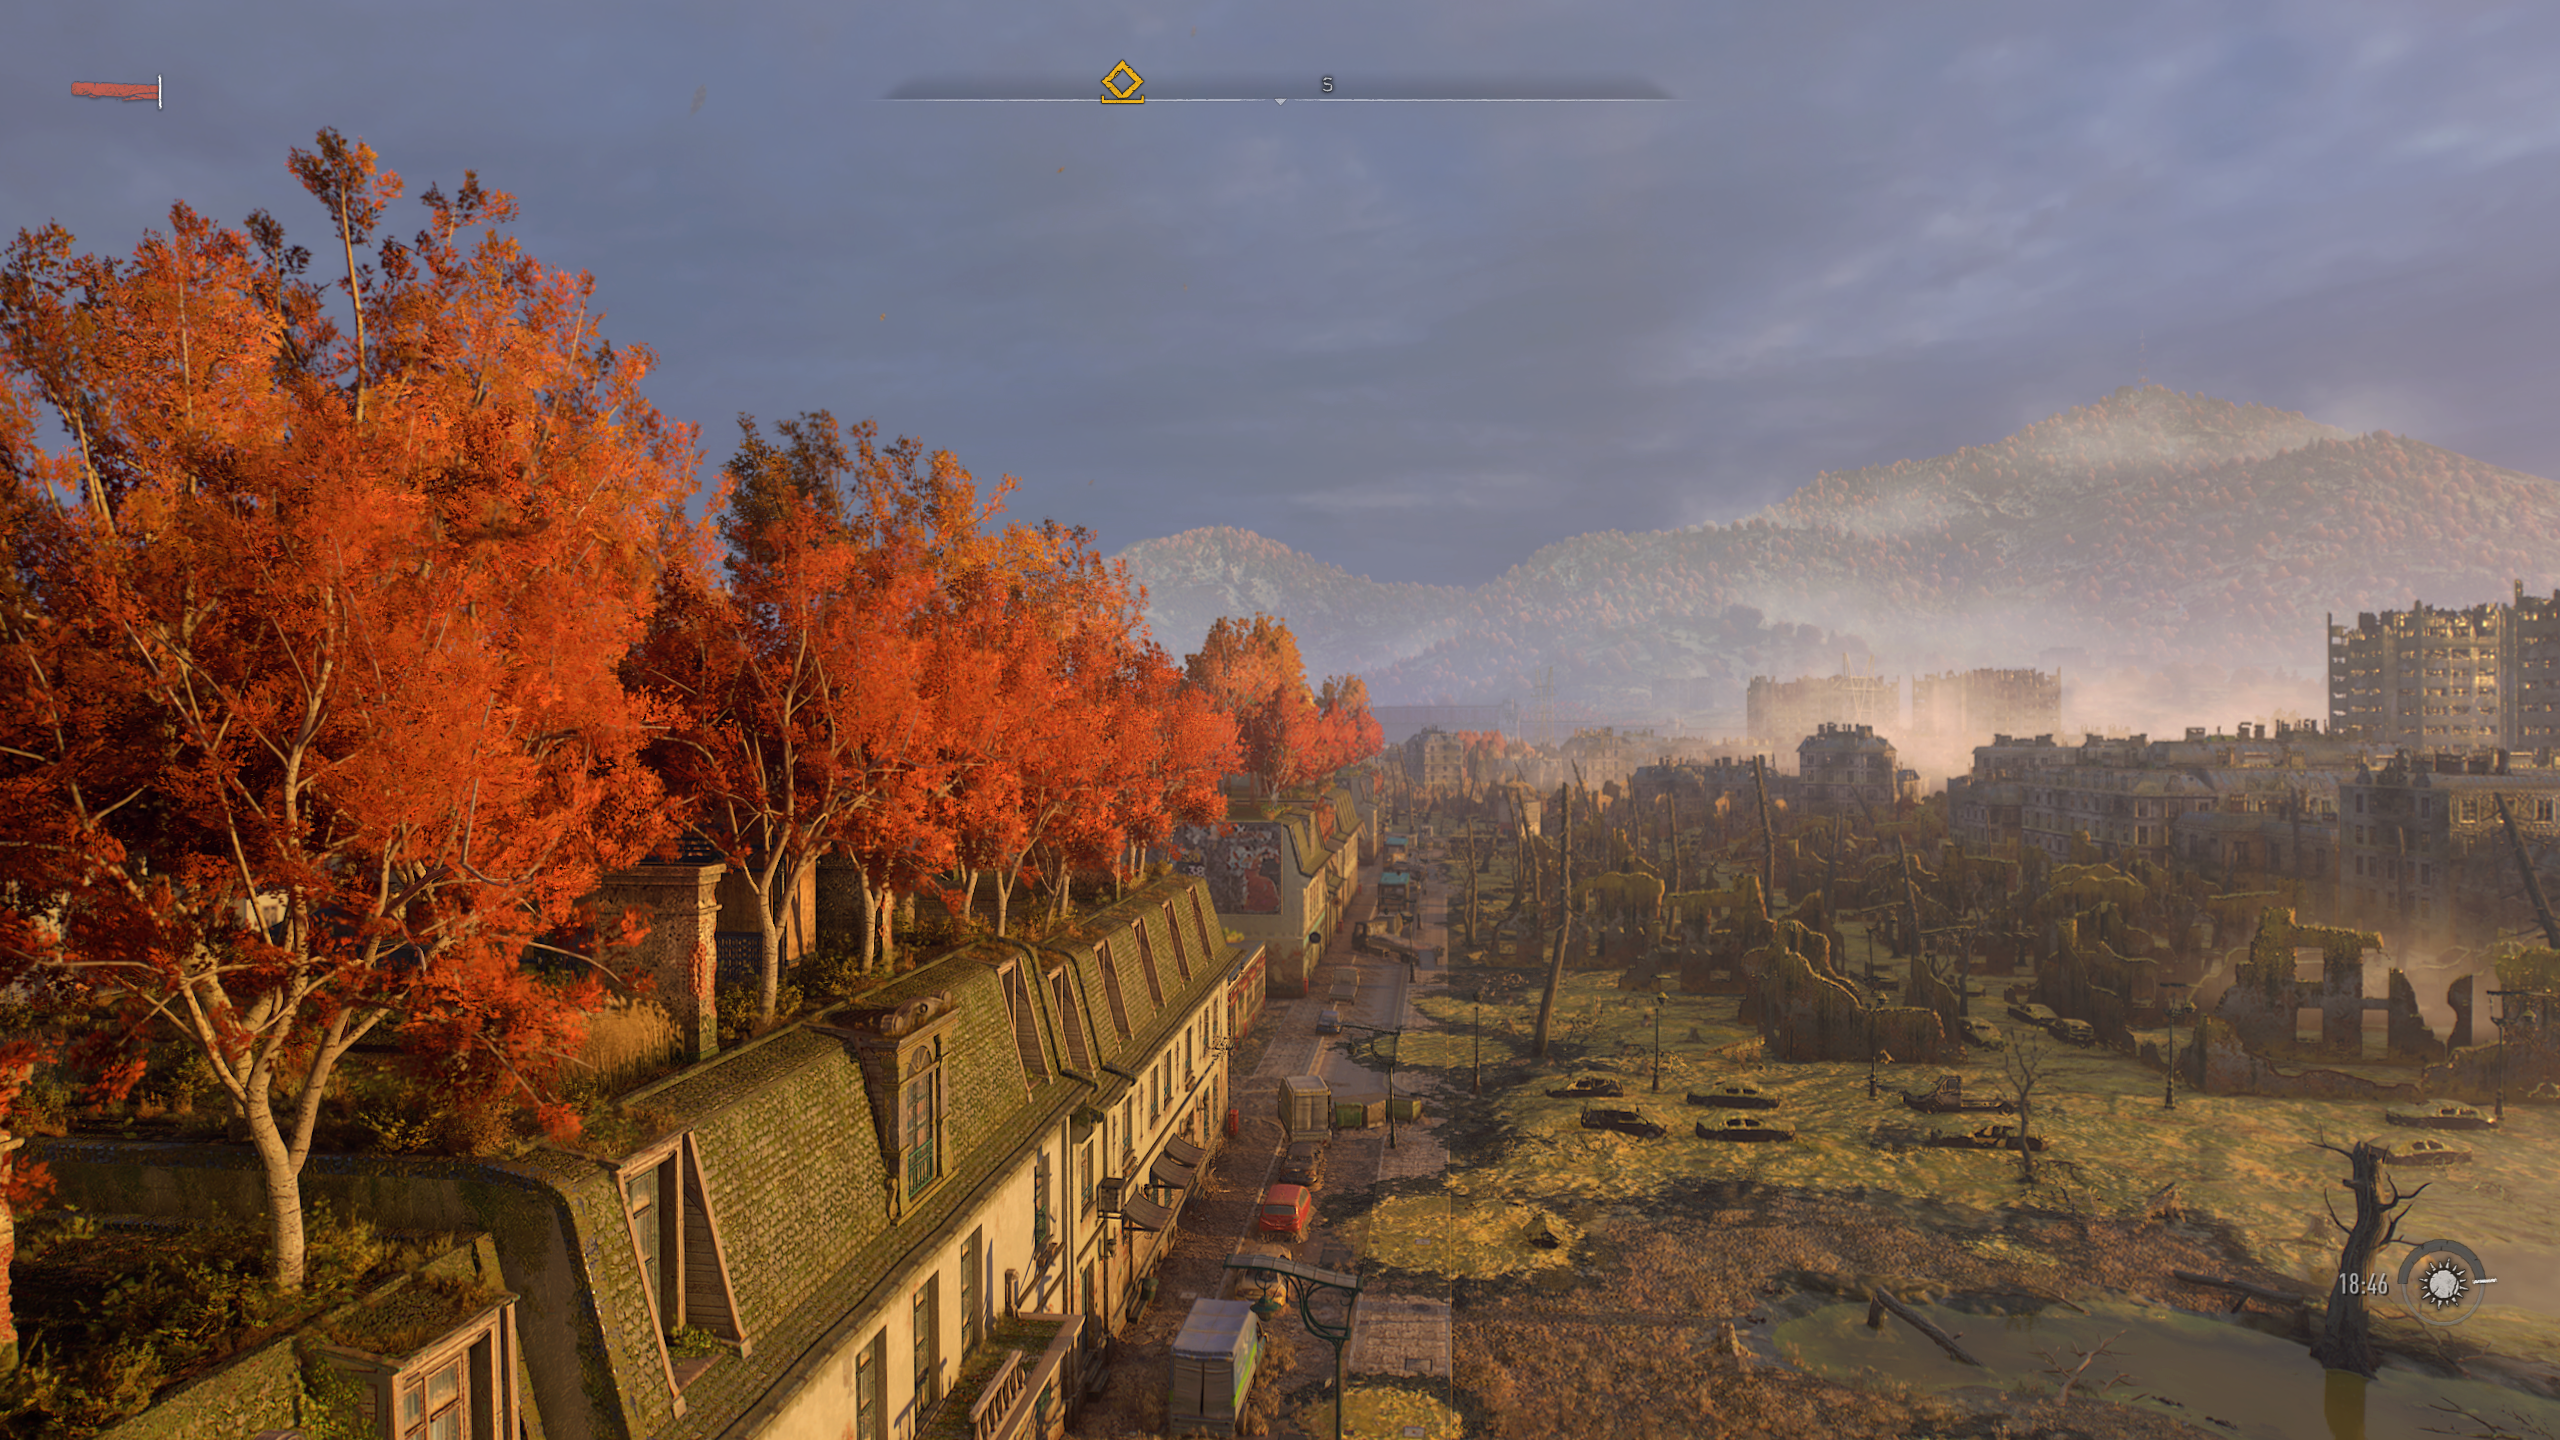
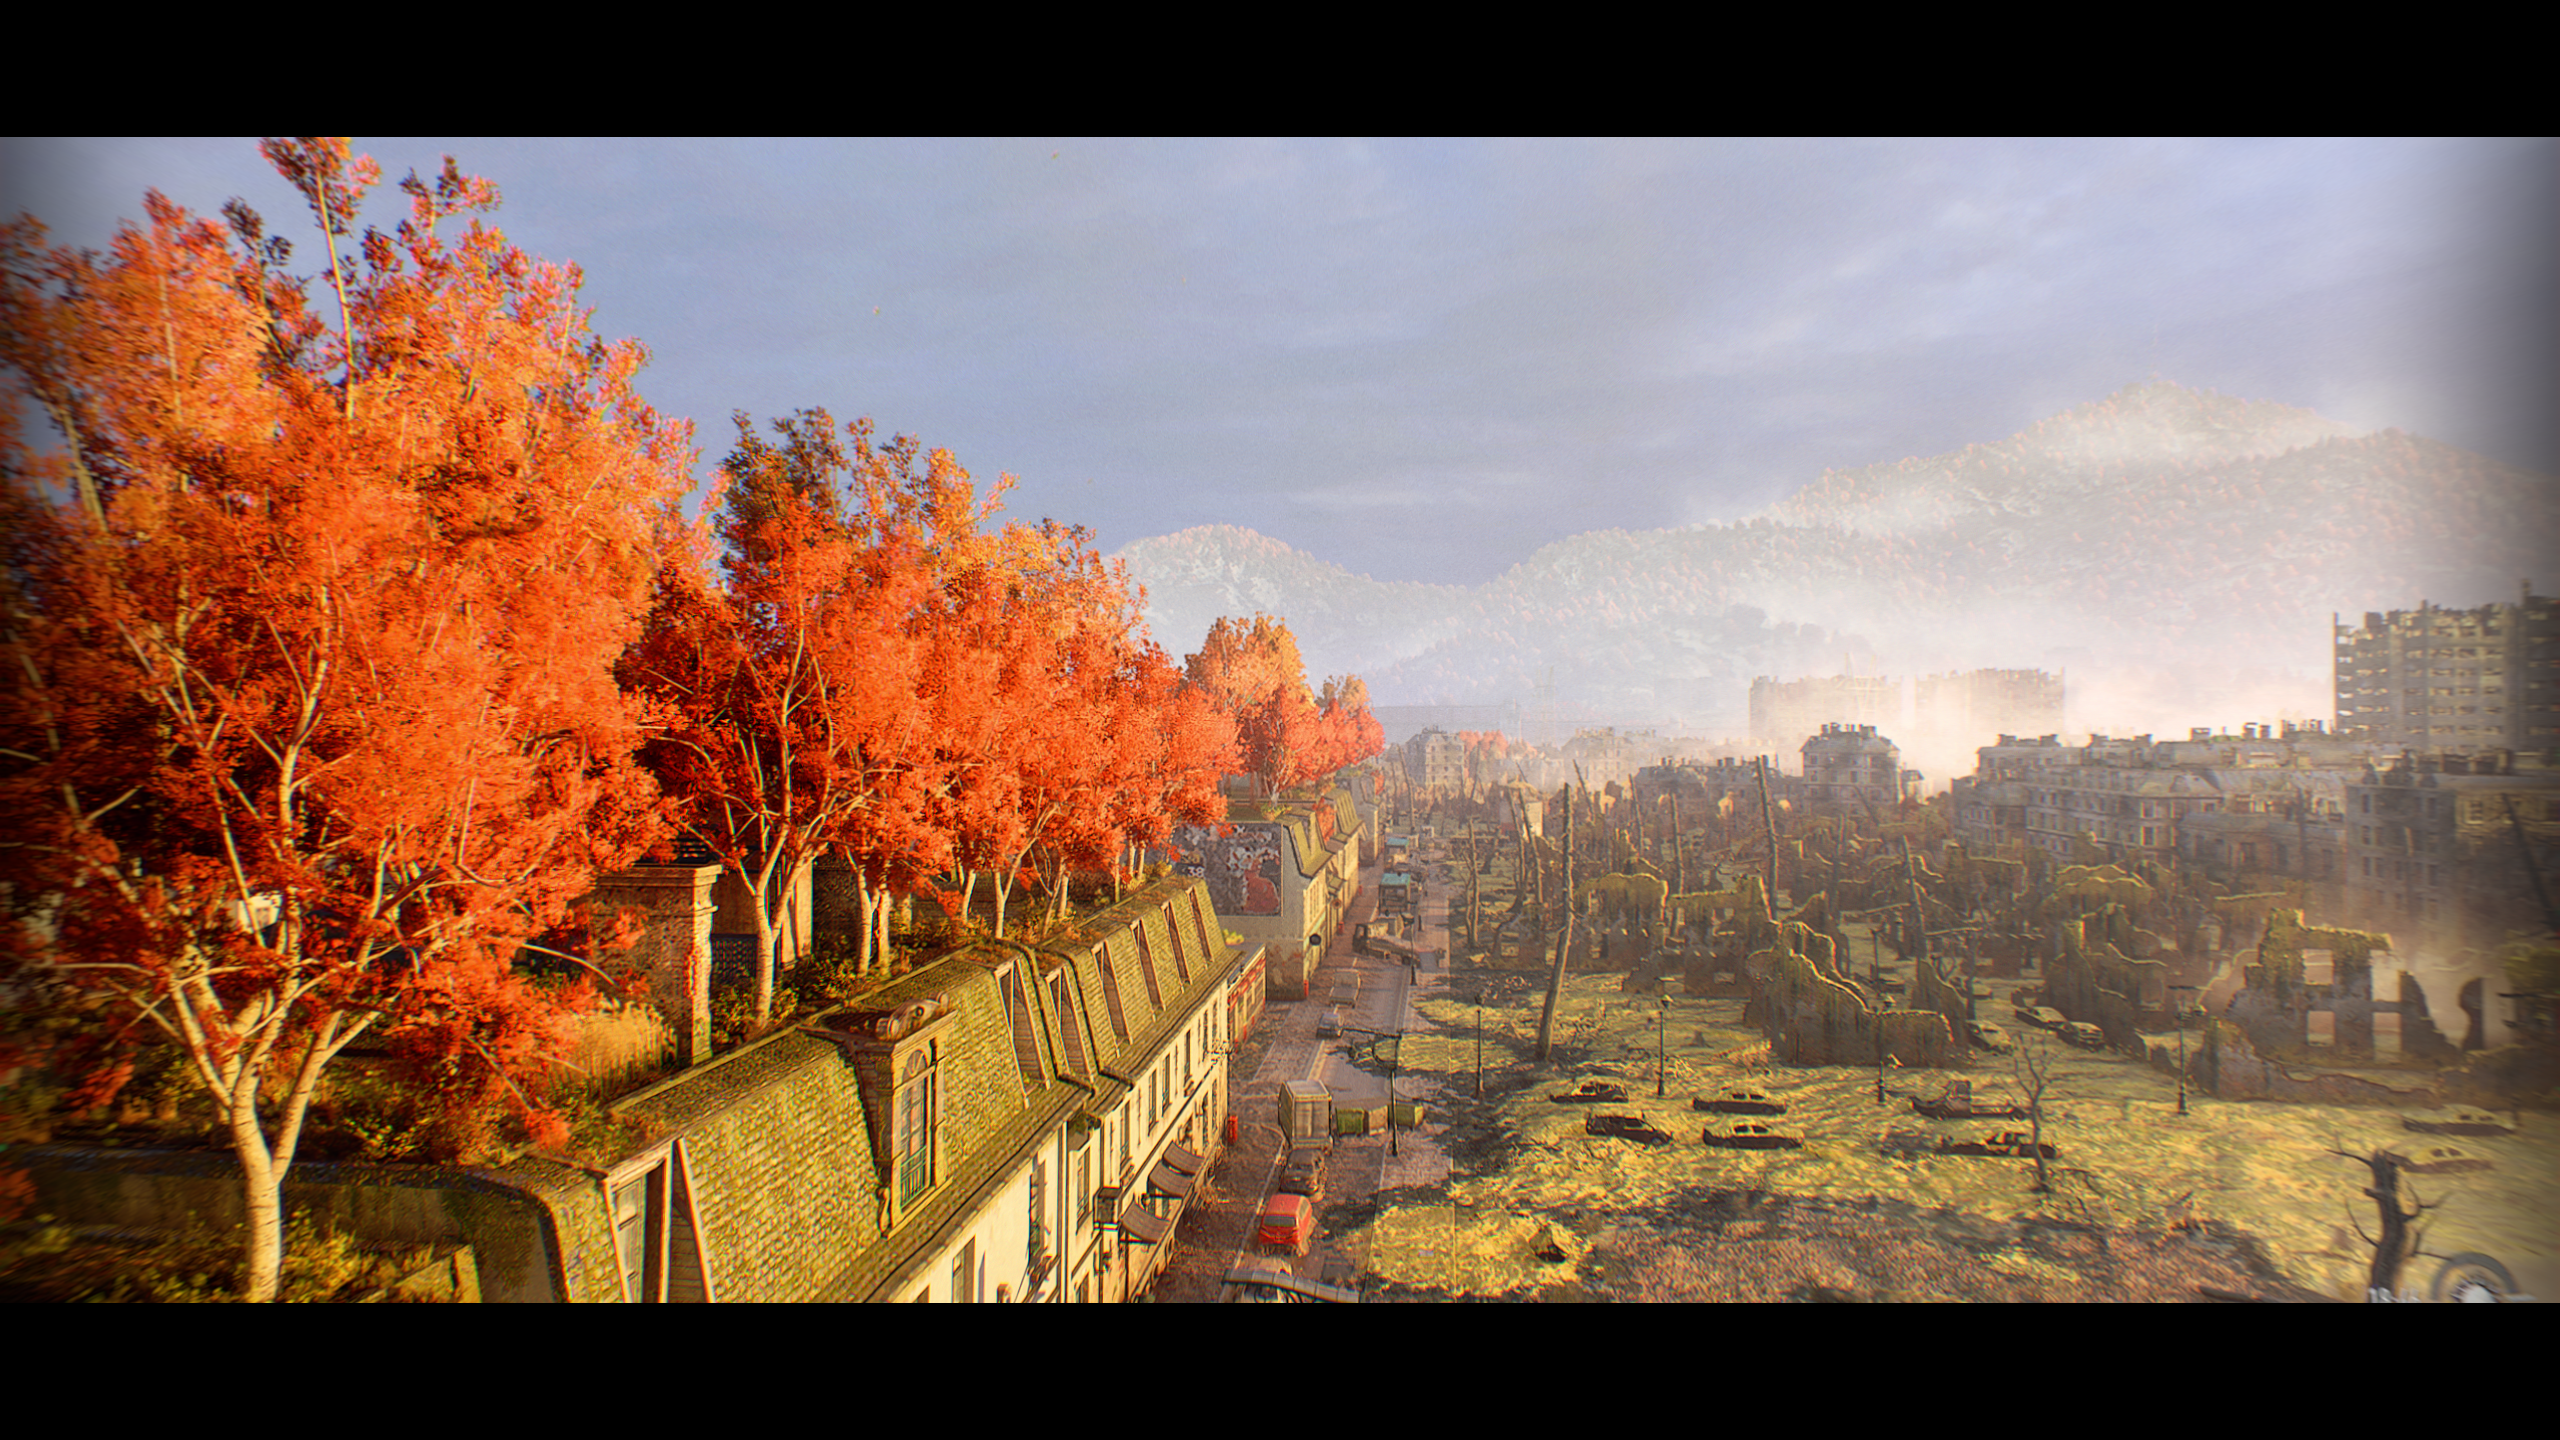
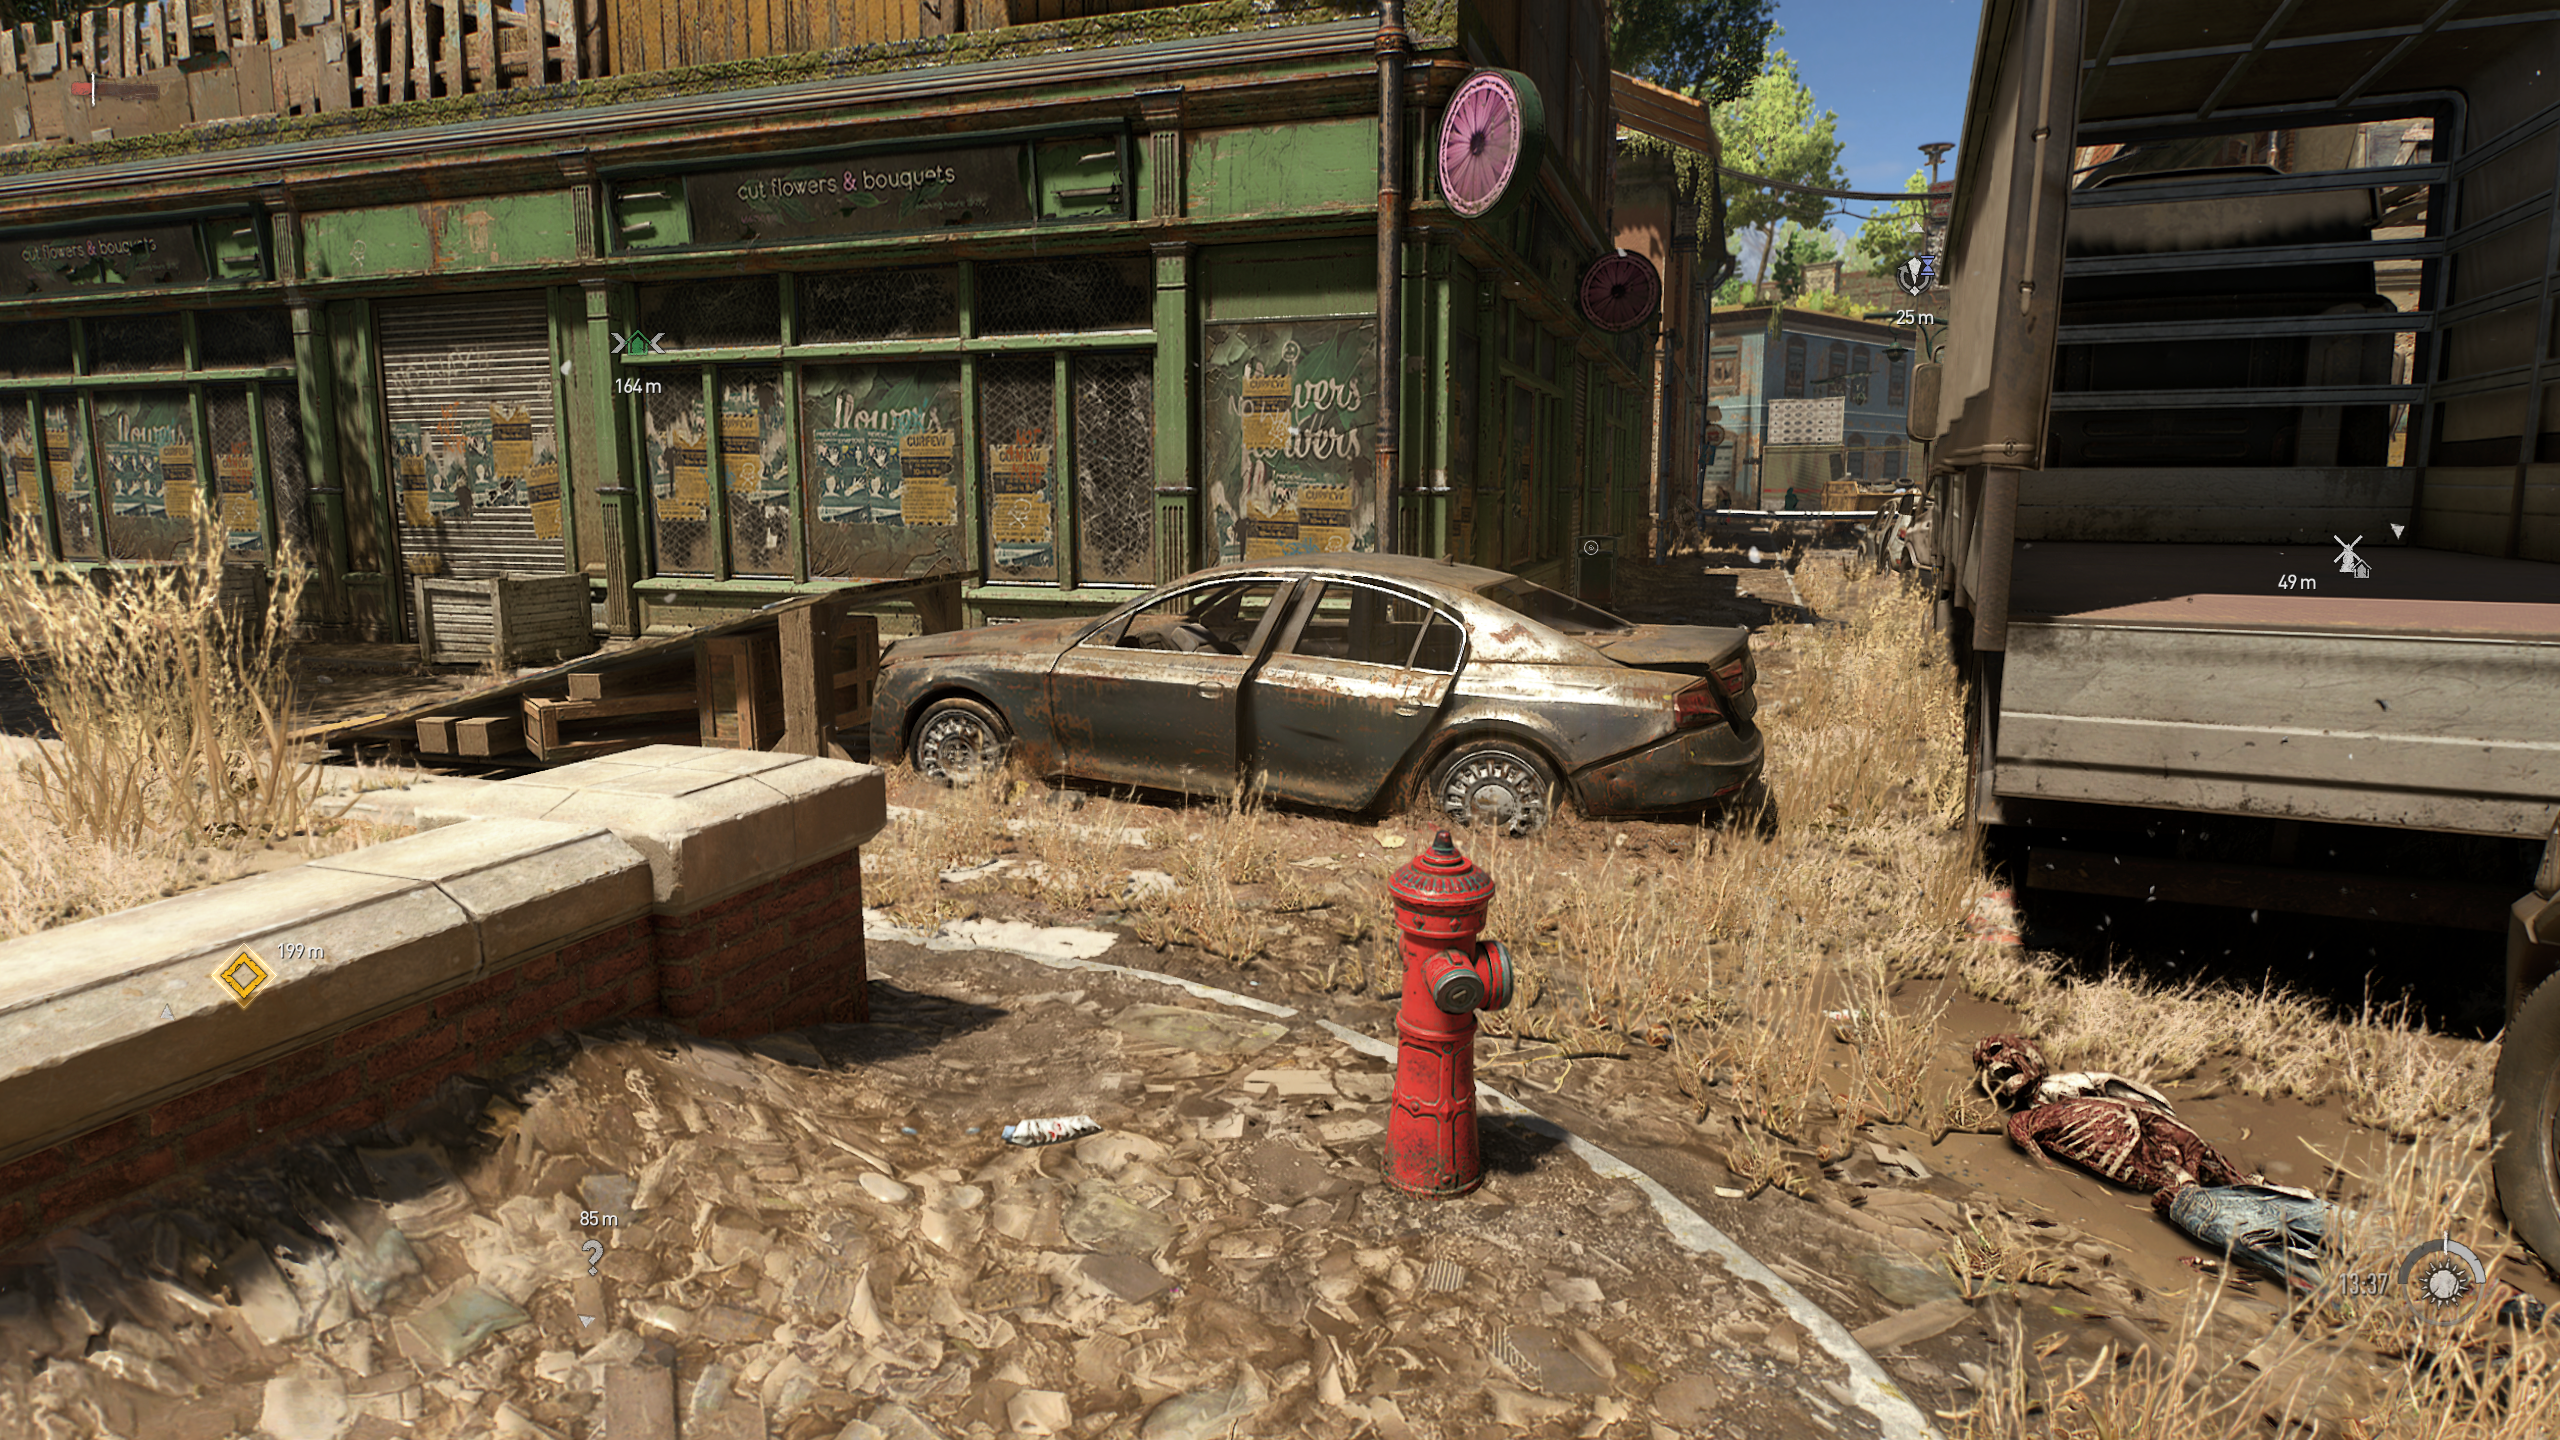
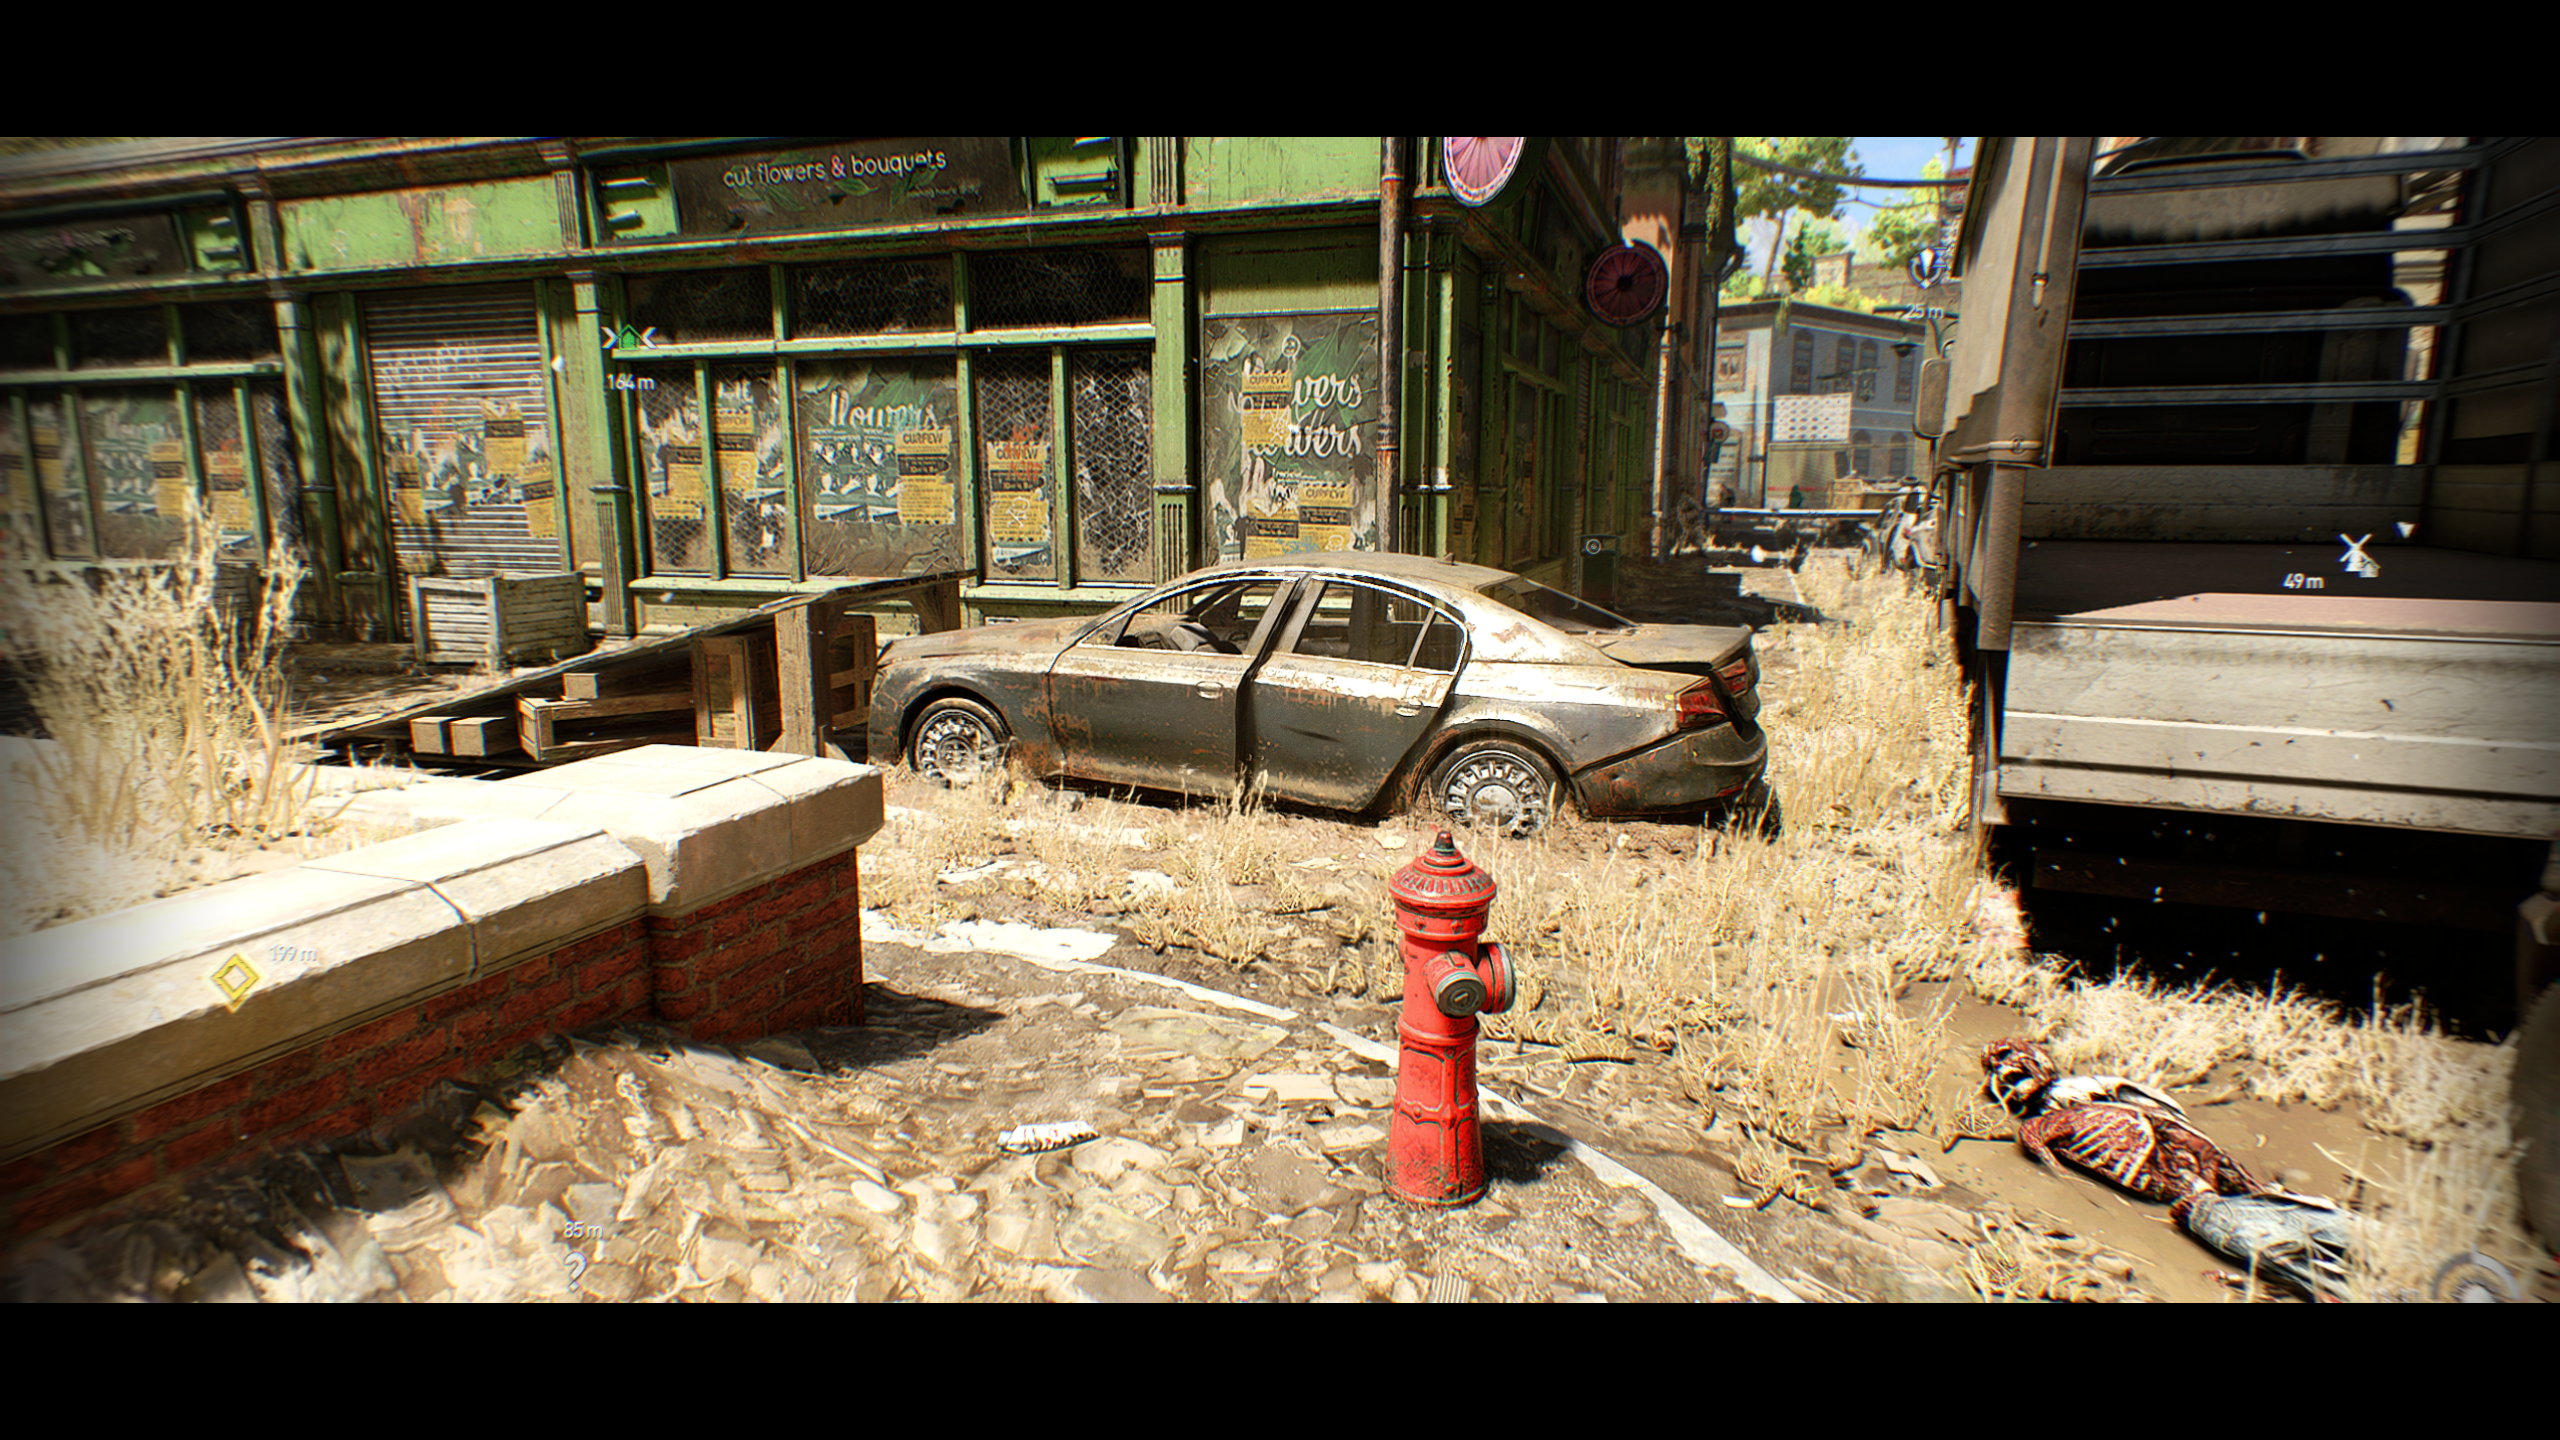
Photorealistic Lighting & Cinematic Color Grading with OPTIONAL balanced filmic effects including depth-of-field, anamorphic camera lens warping, vignette, film grain, and chromatic aberration.
- Permissions and credits
- Changelogs
*If you like this, please feel free to come back and hit that endorse button (top right) if you get a chance. Means a lot to me, thank you so much! Cheers.


WHAT IS THIS?
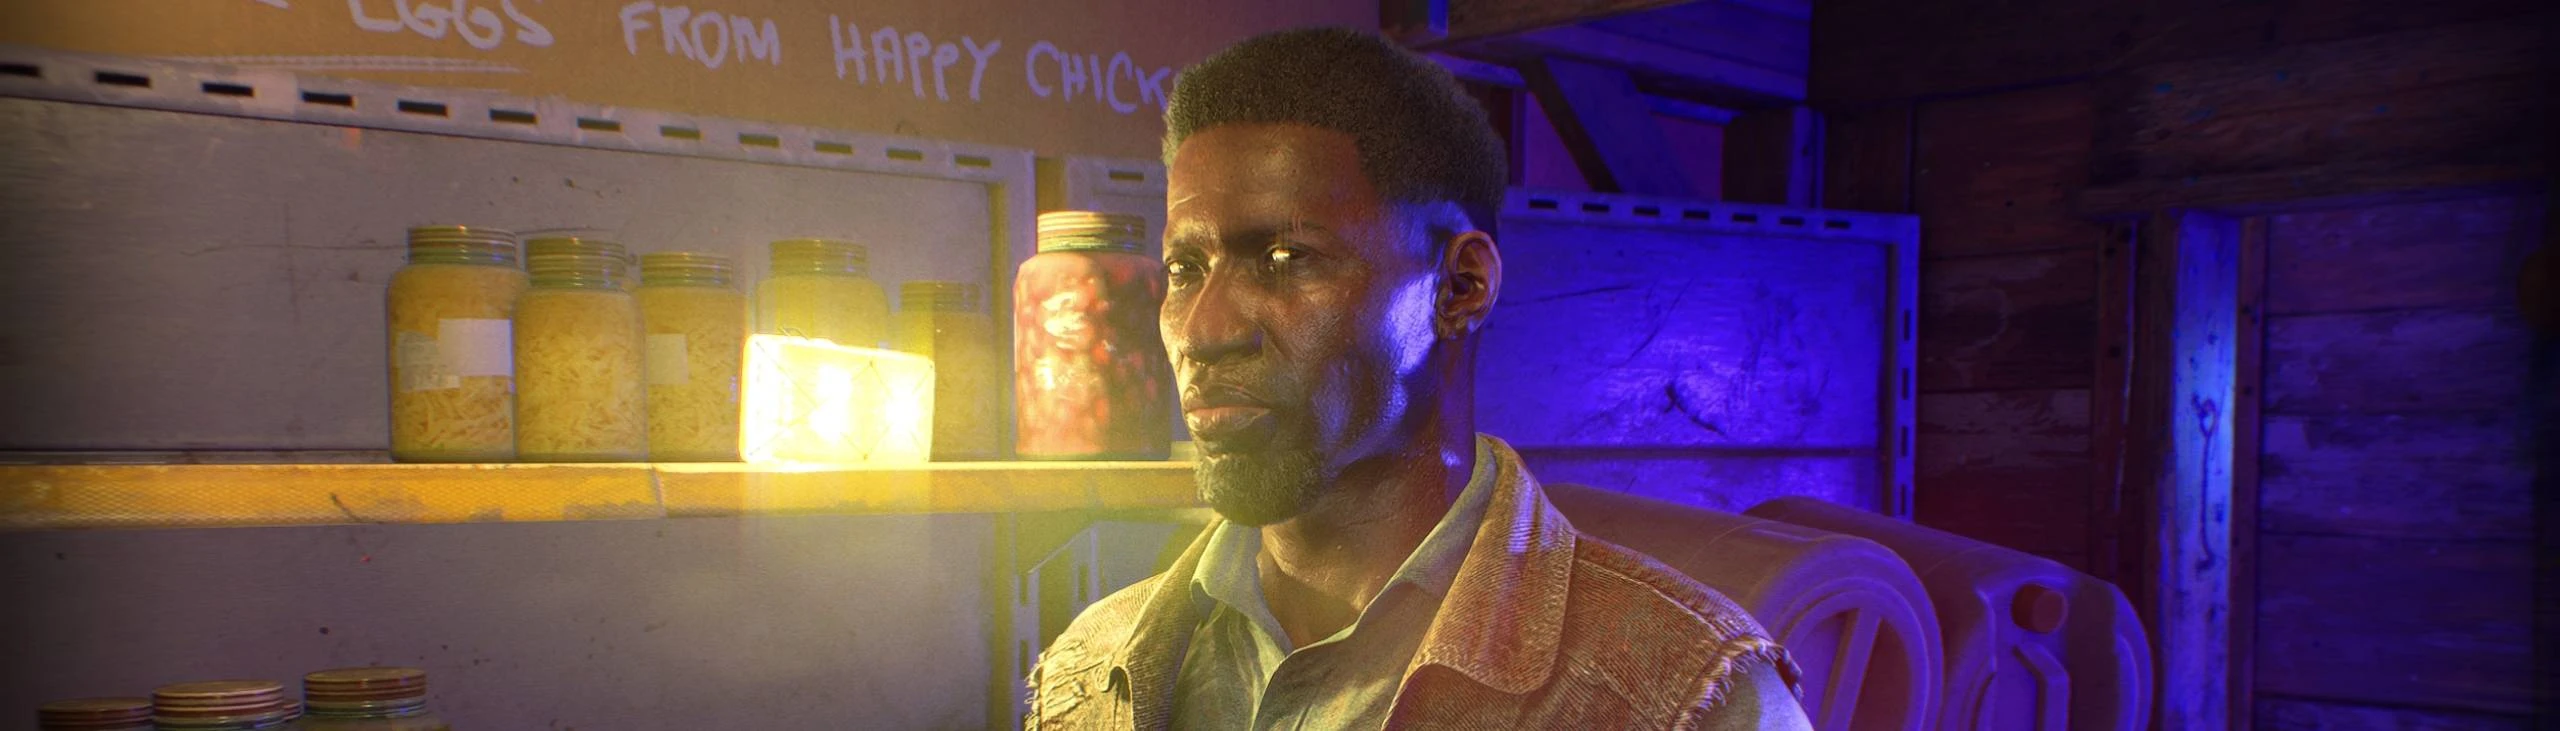
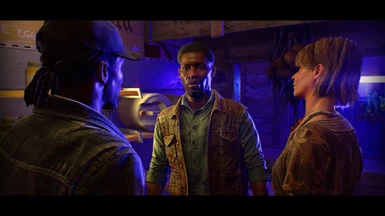
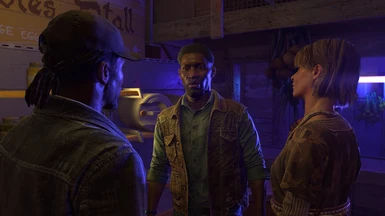
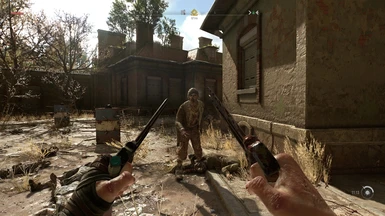
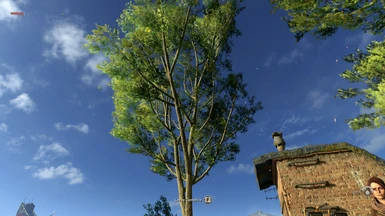
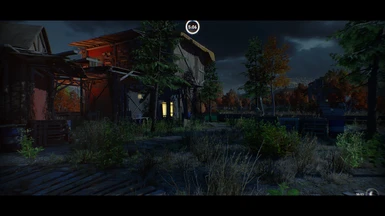
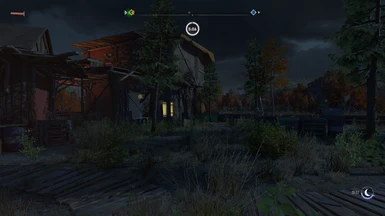
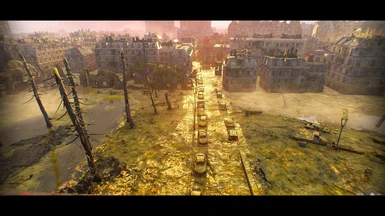
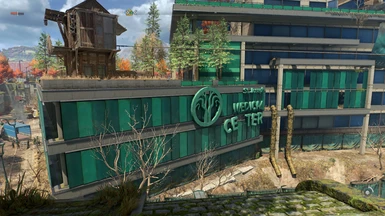
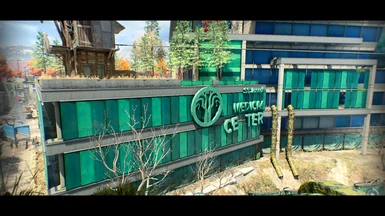
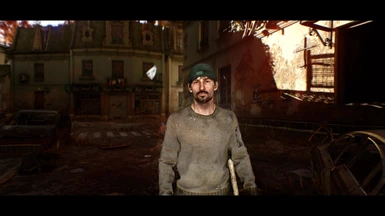
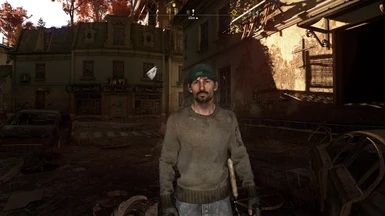
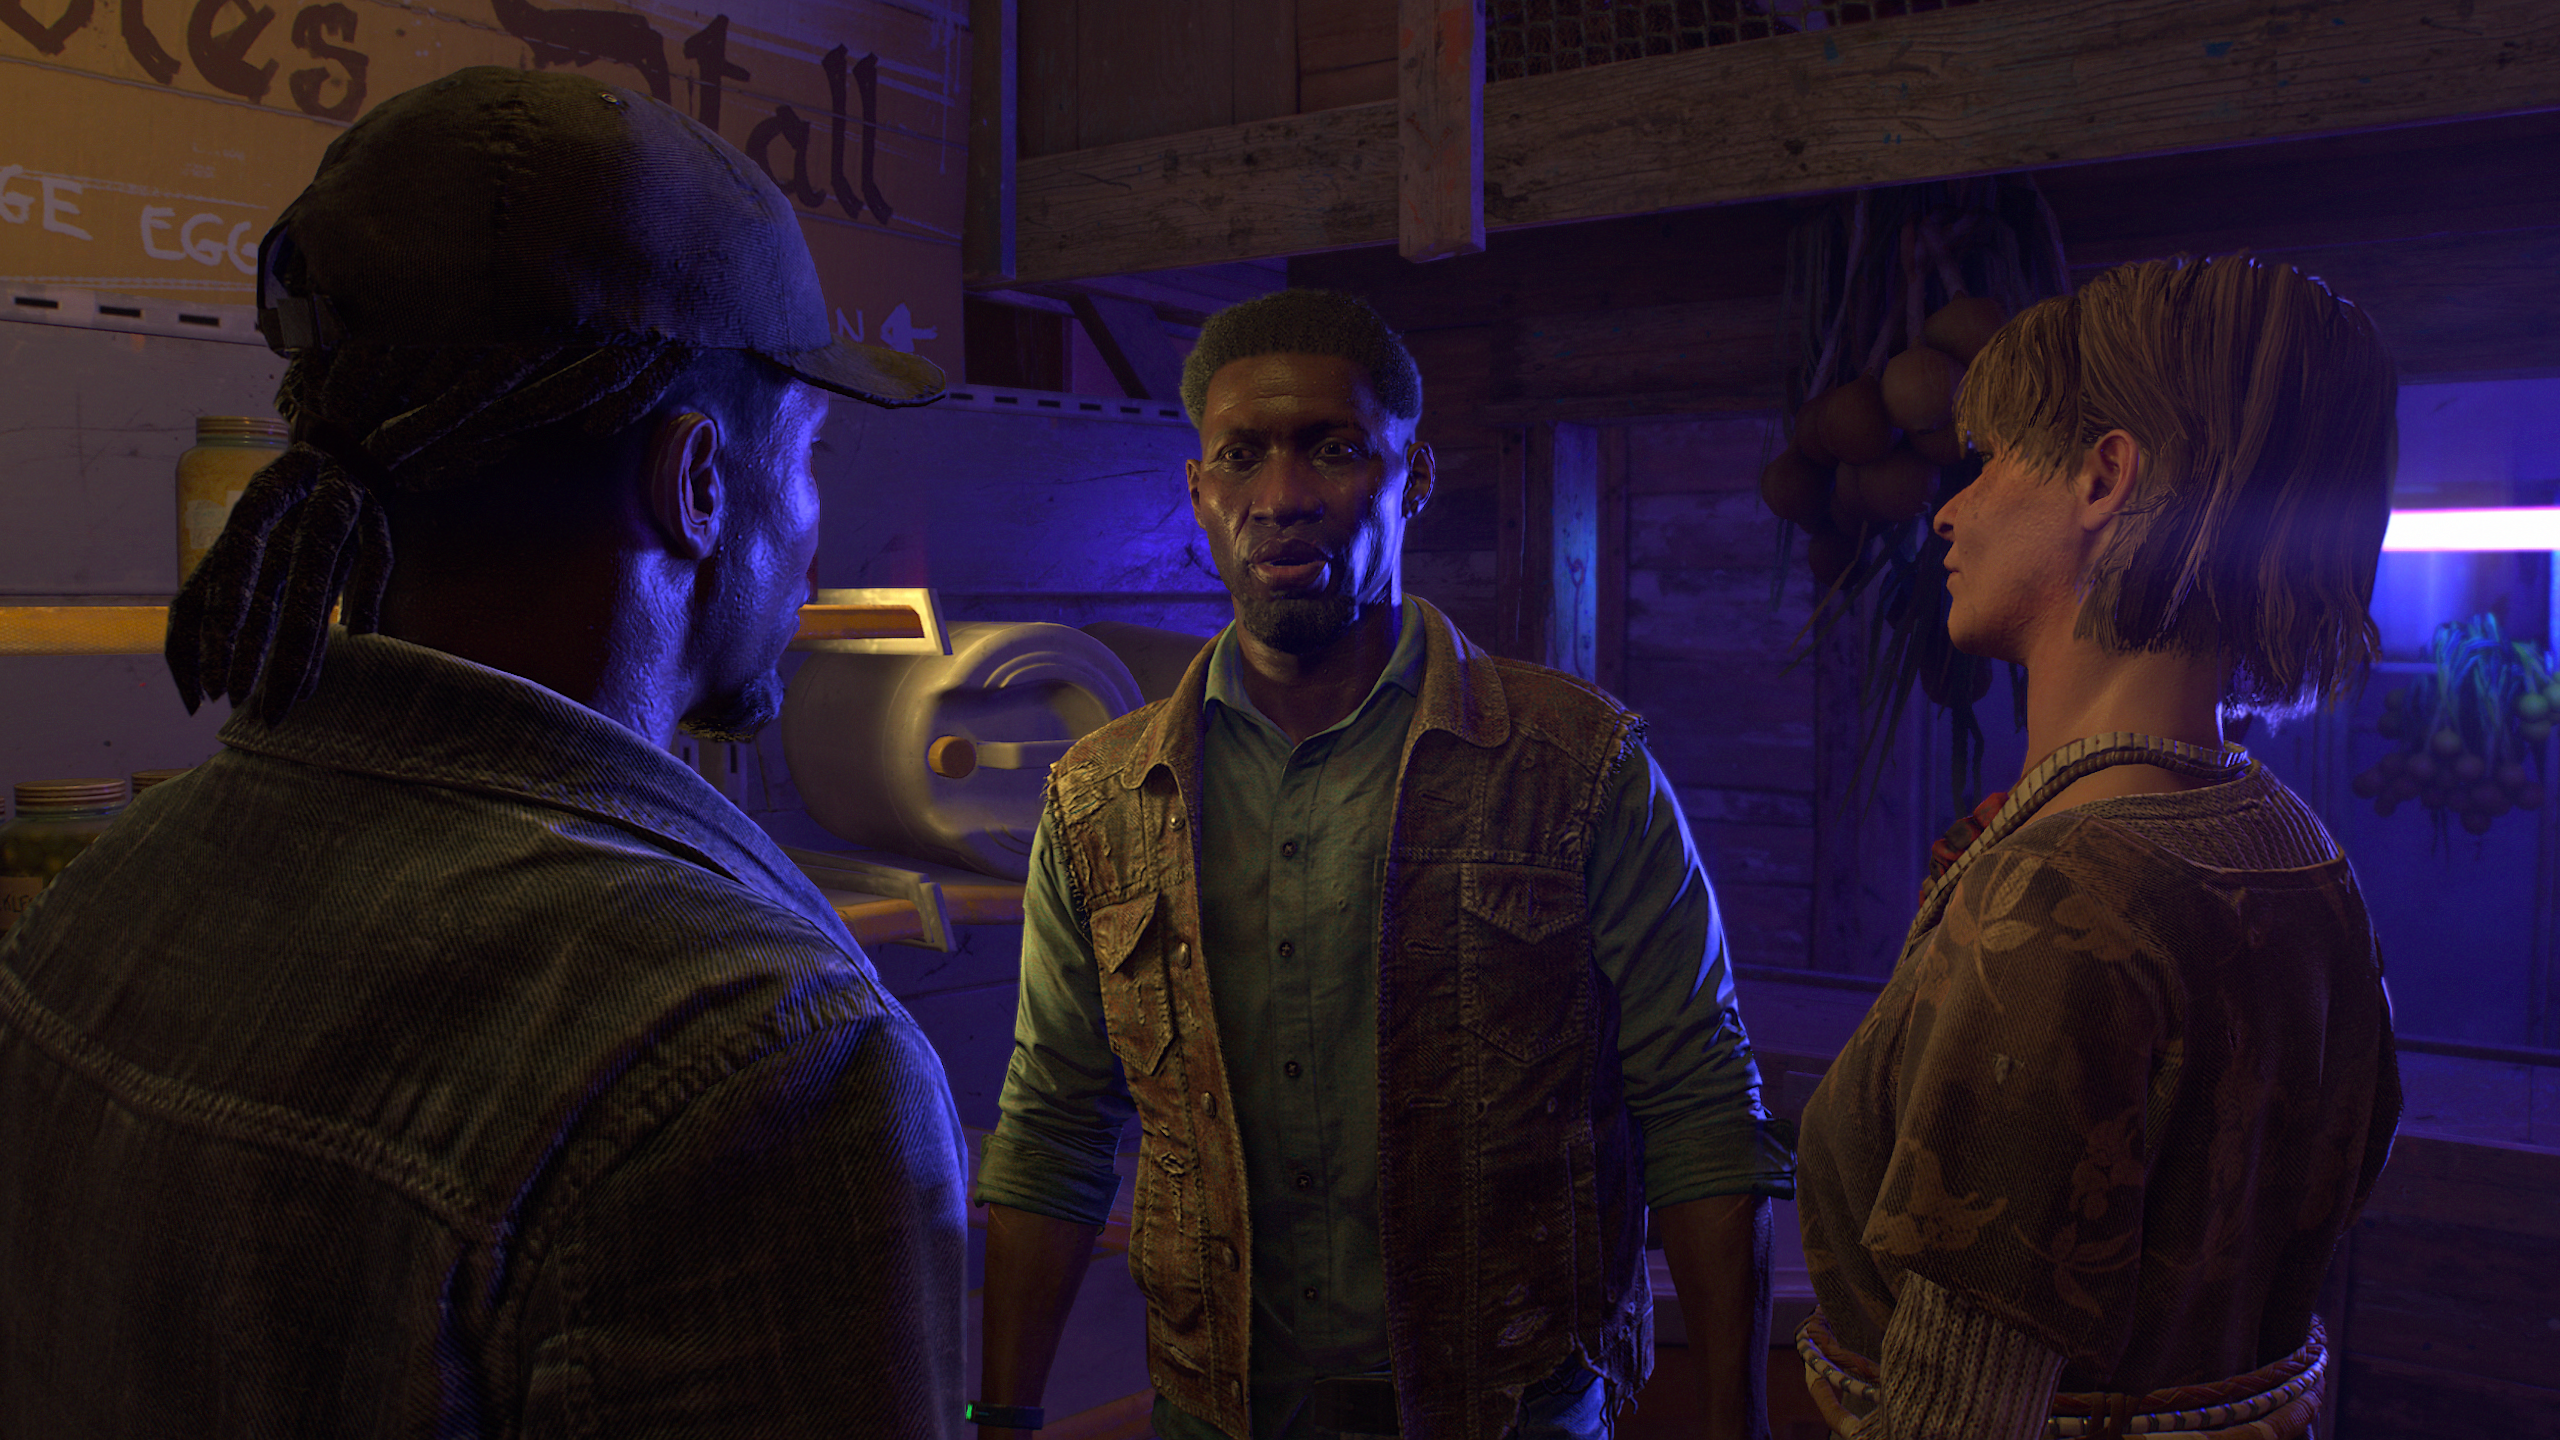
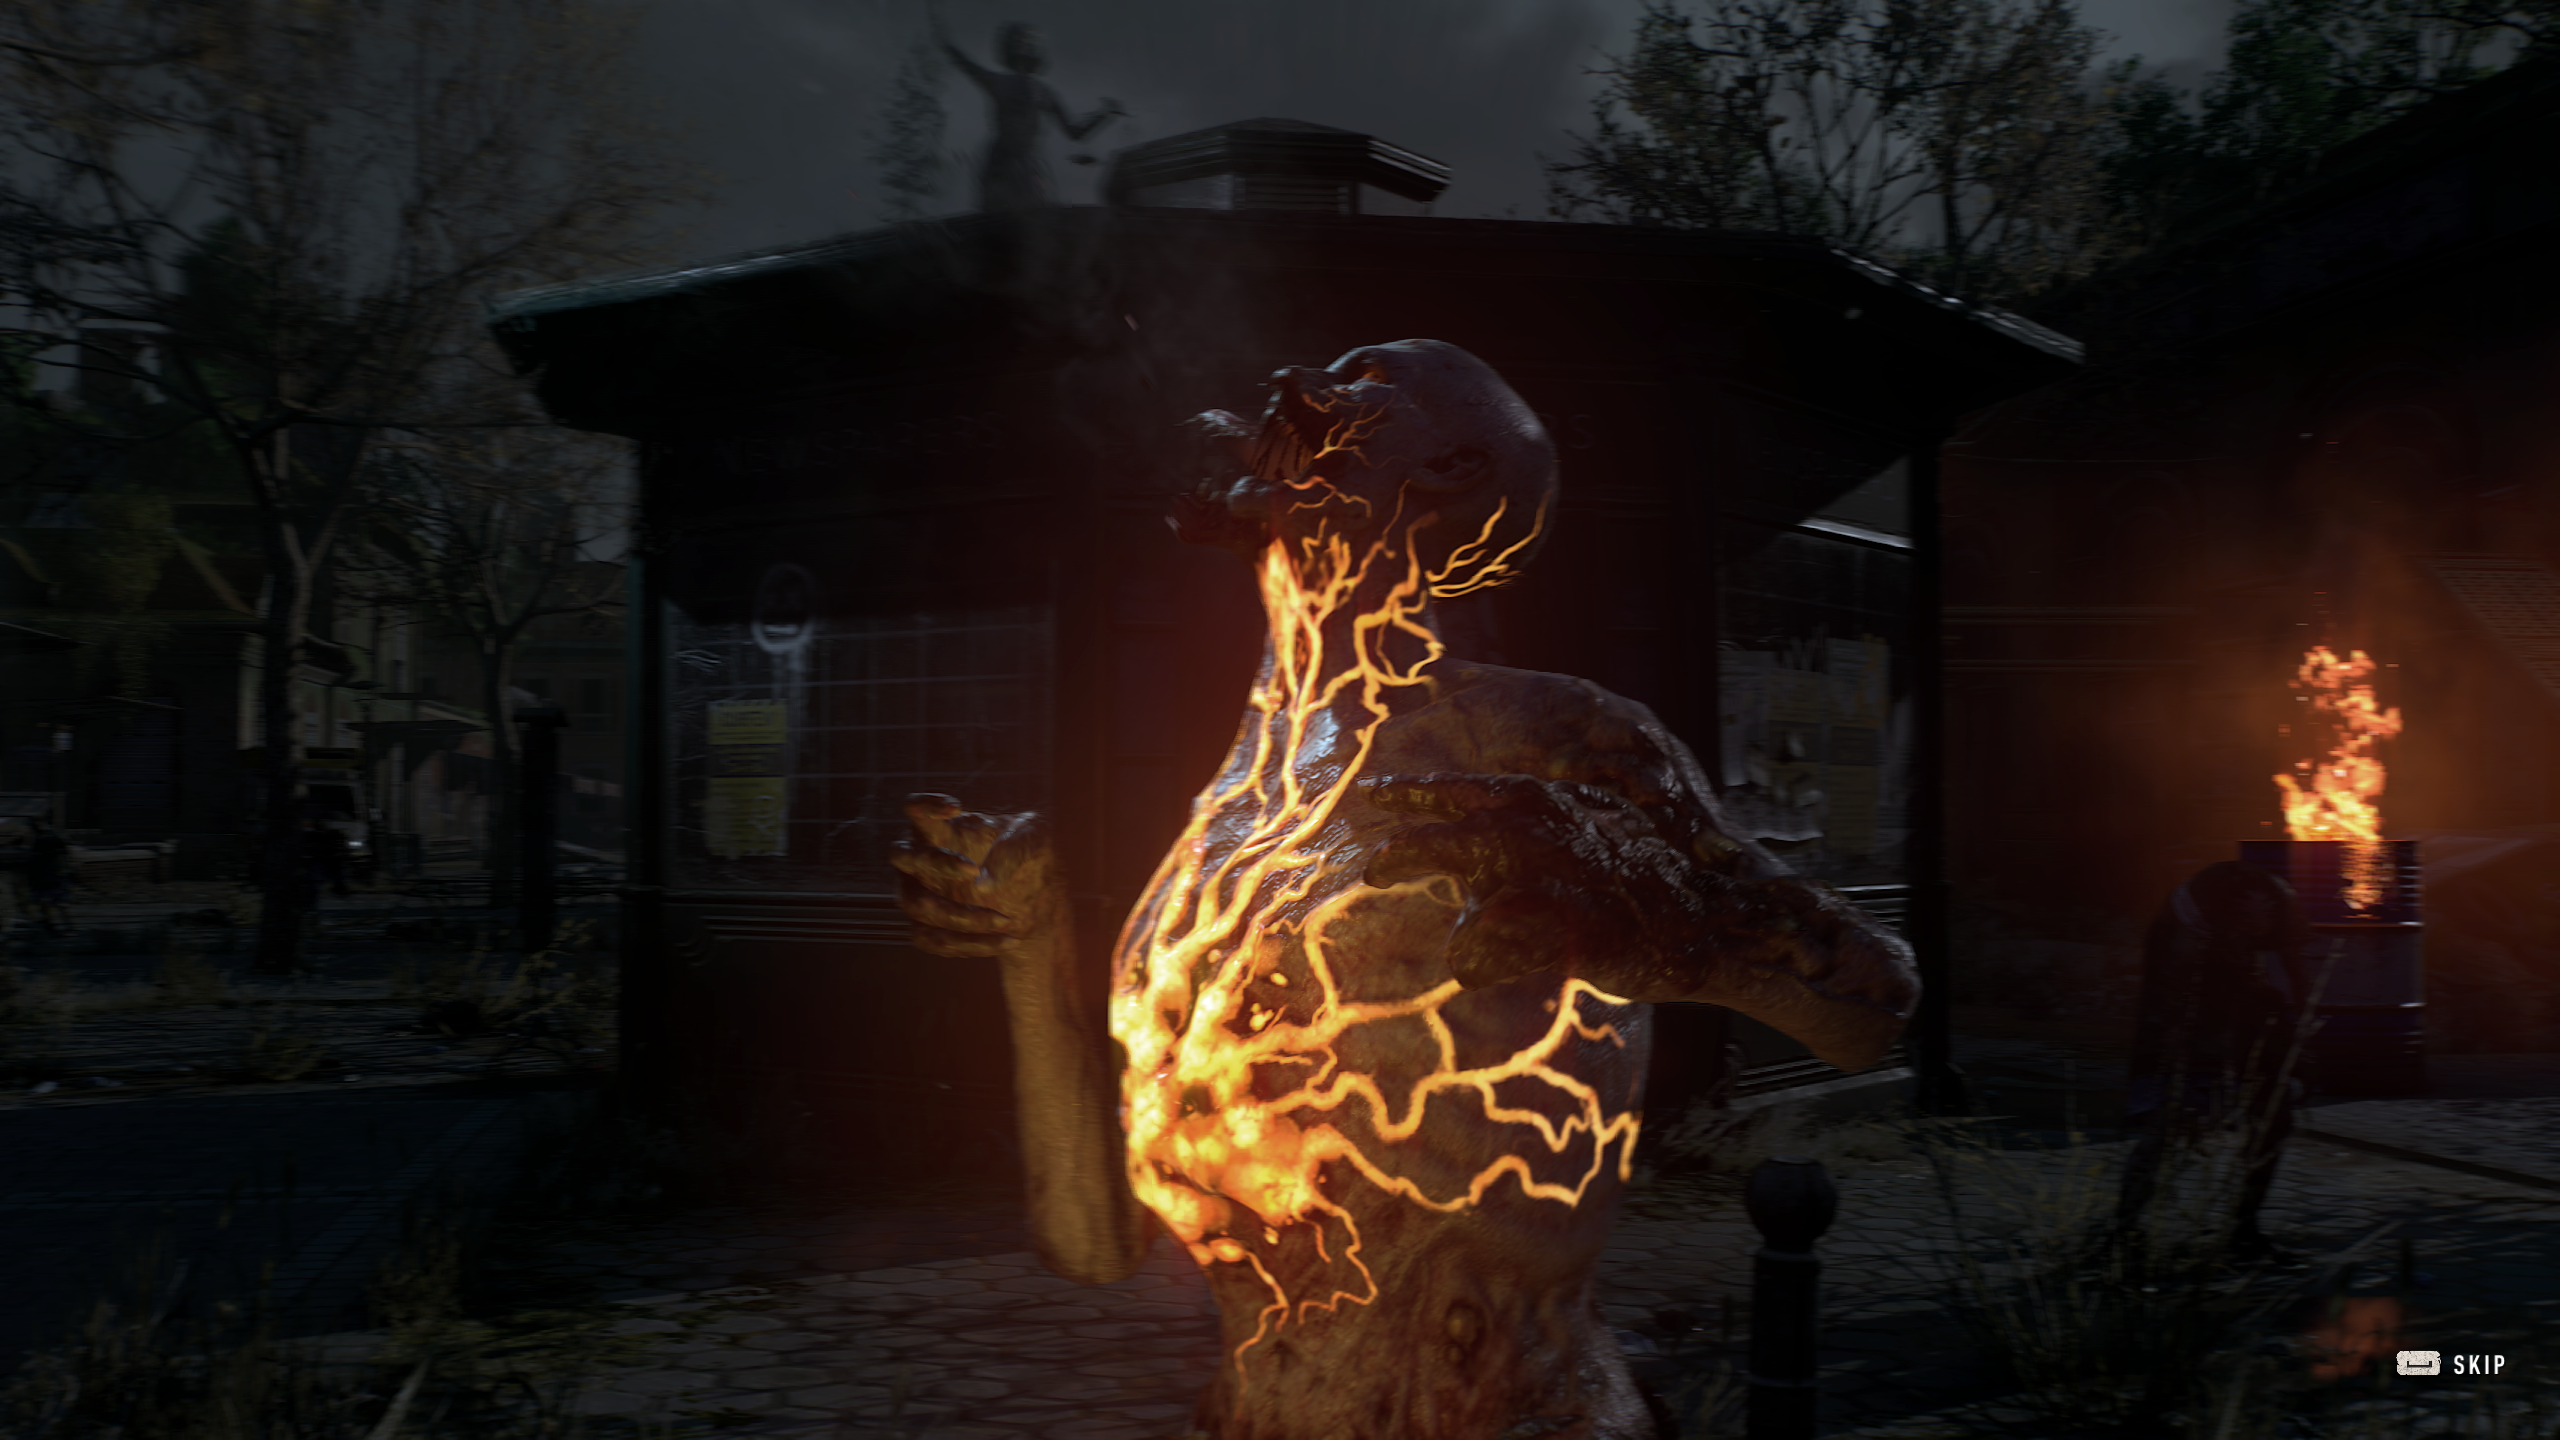
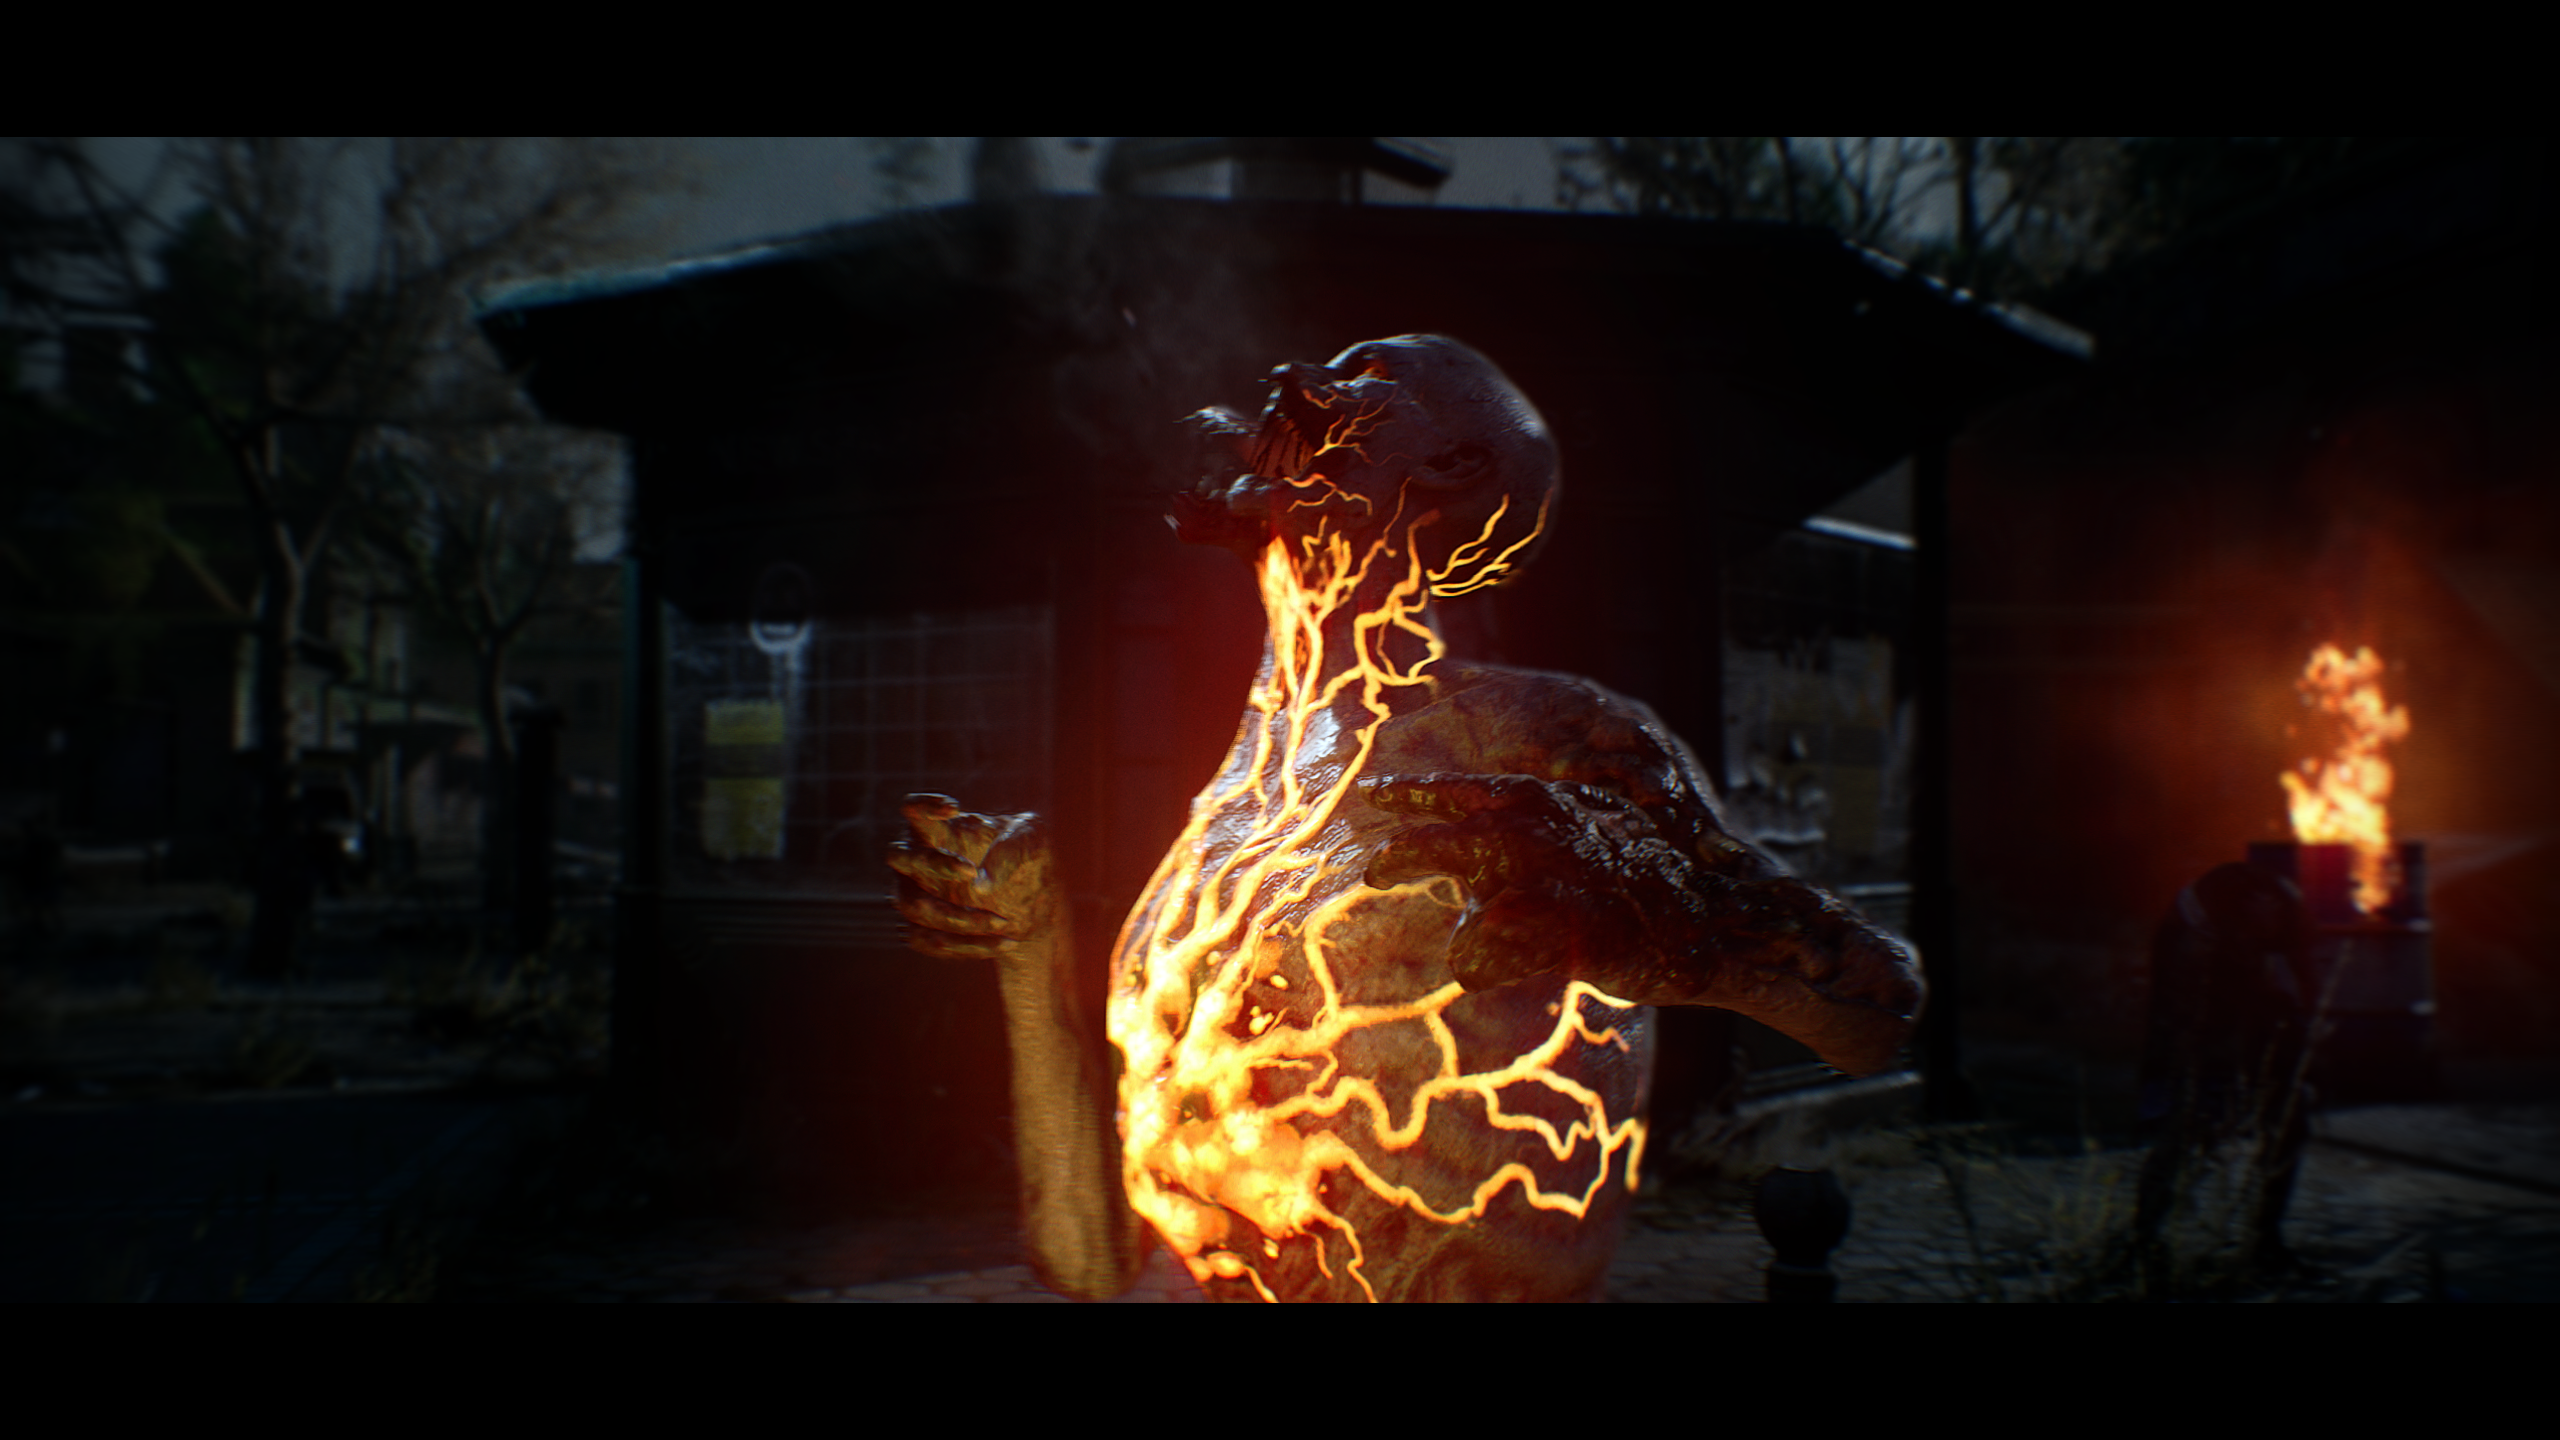
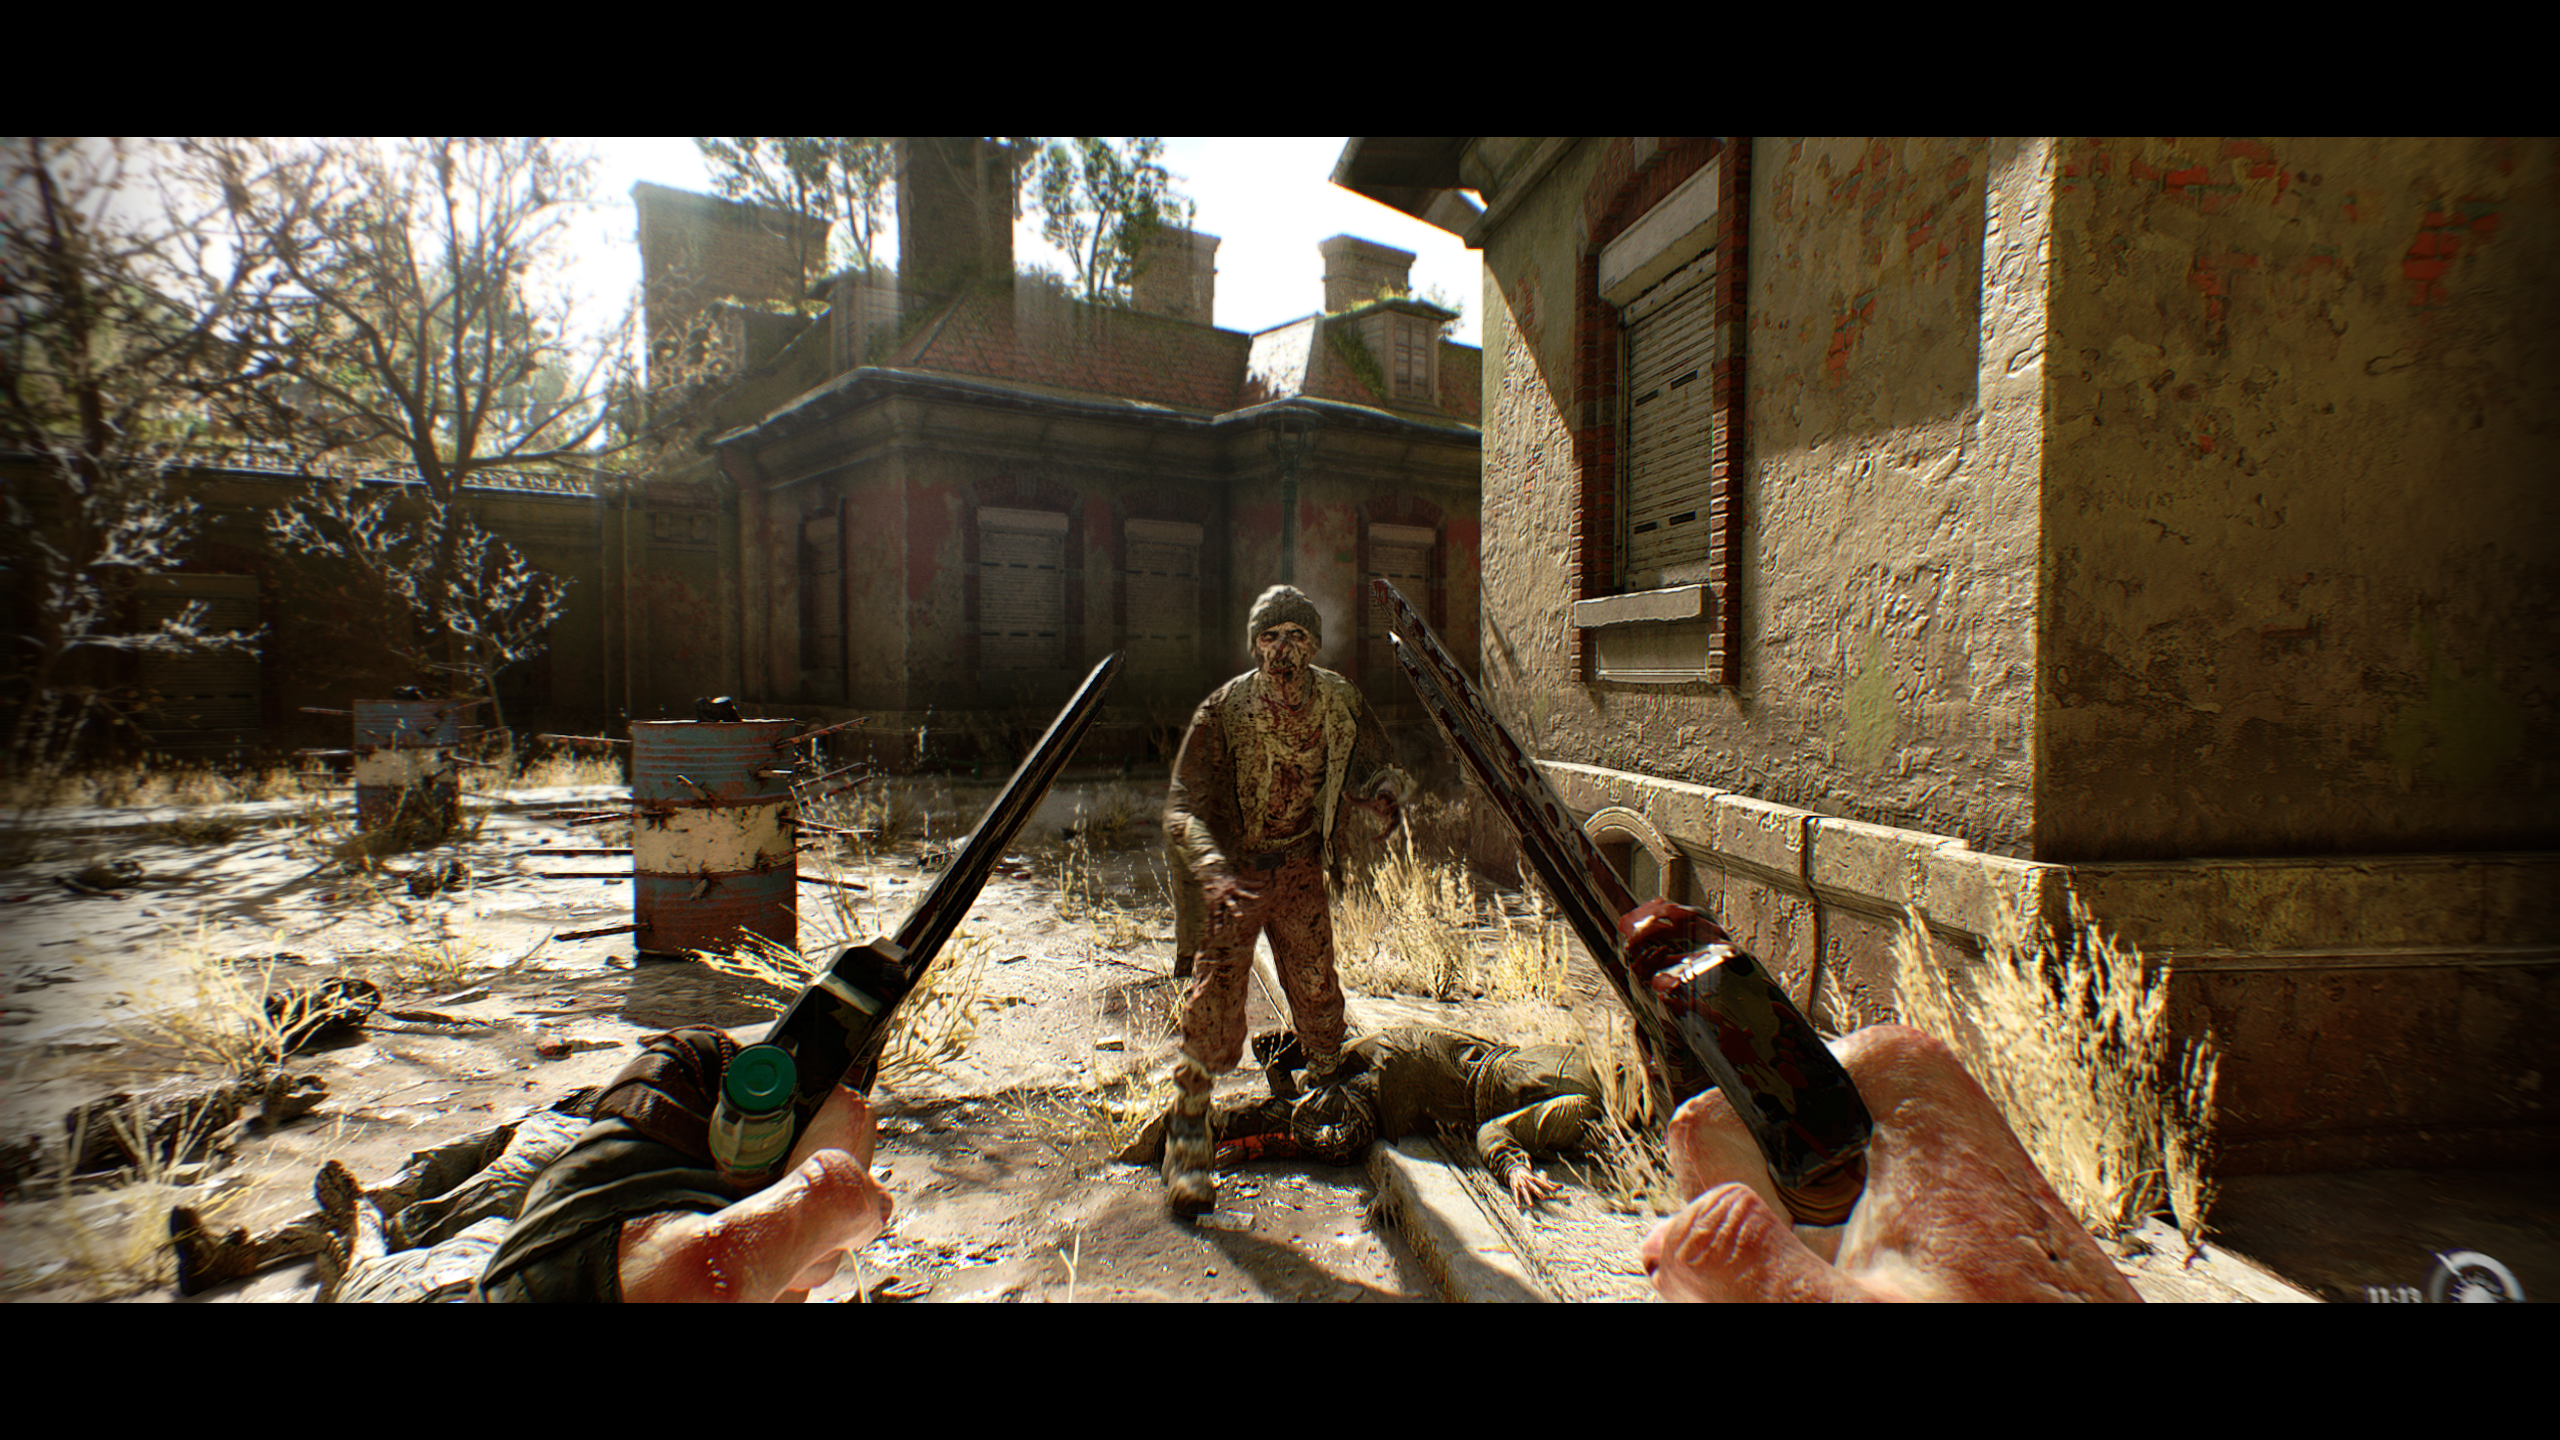
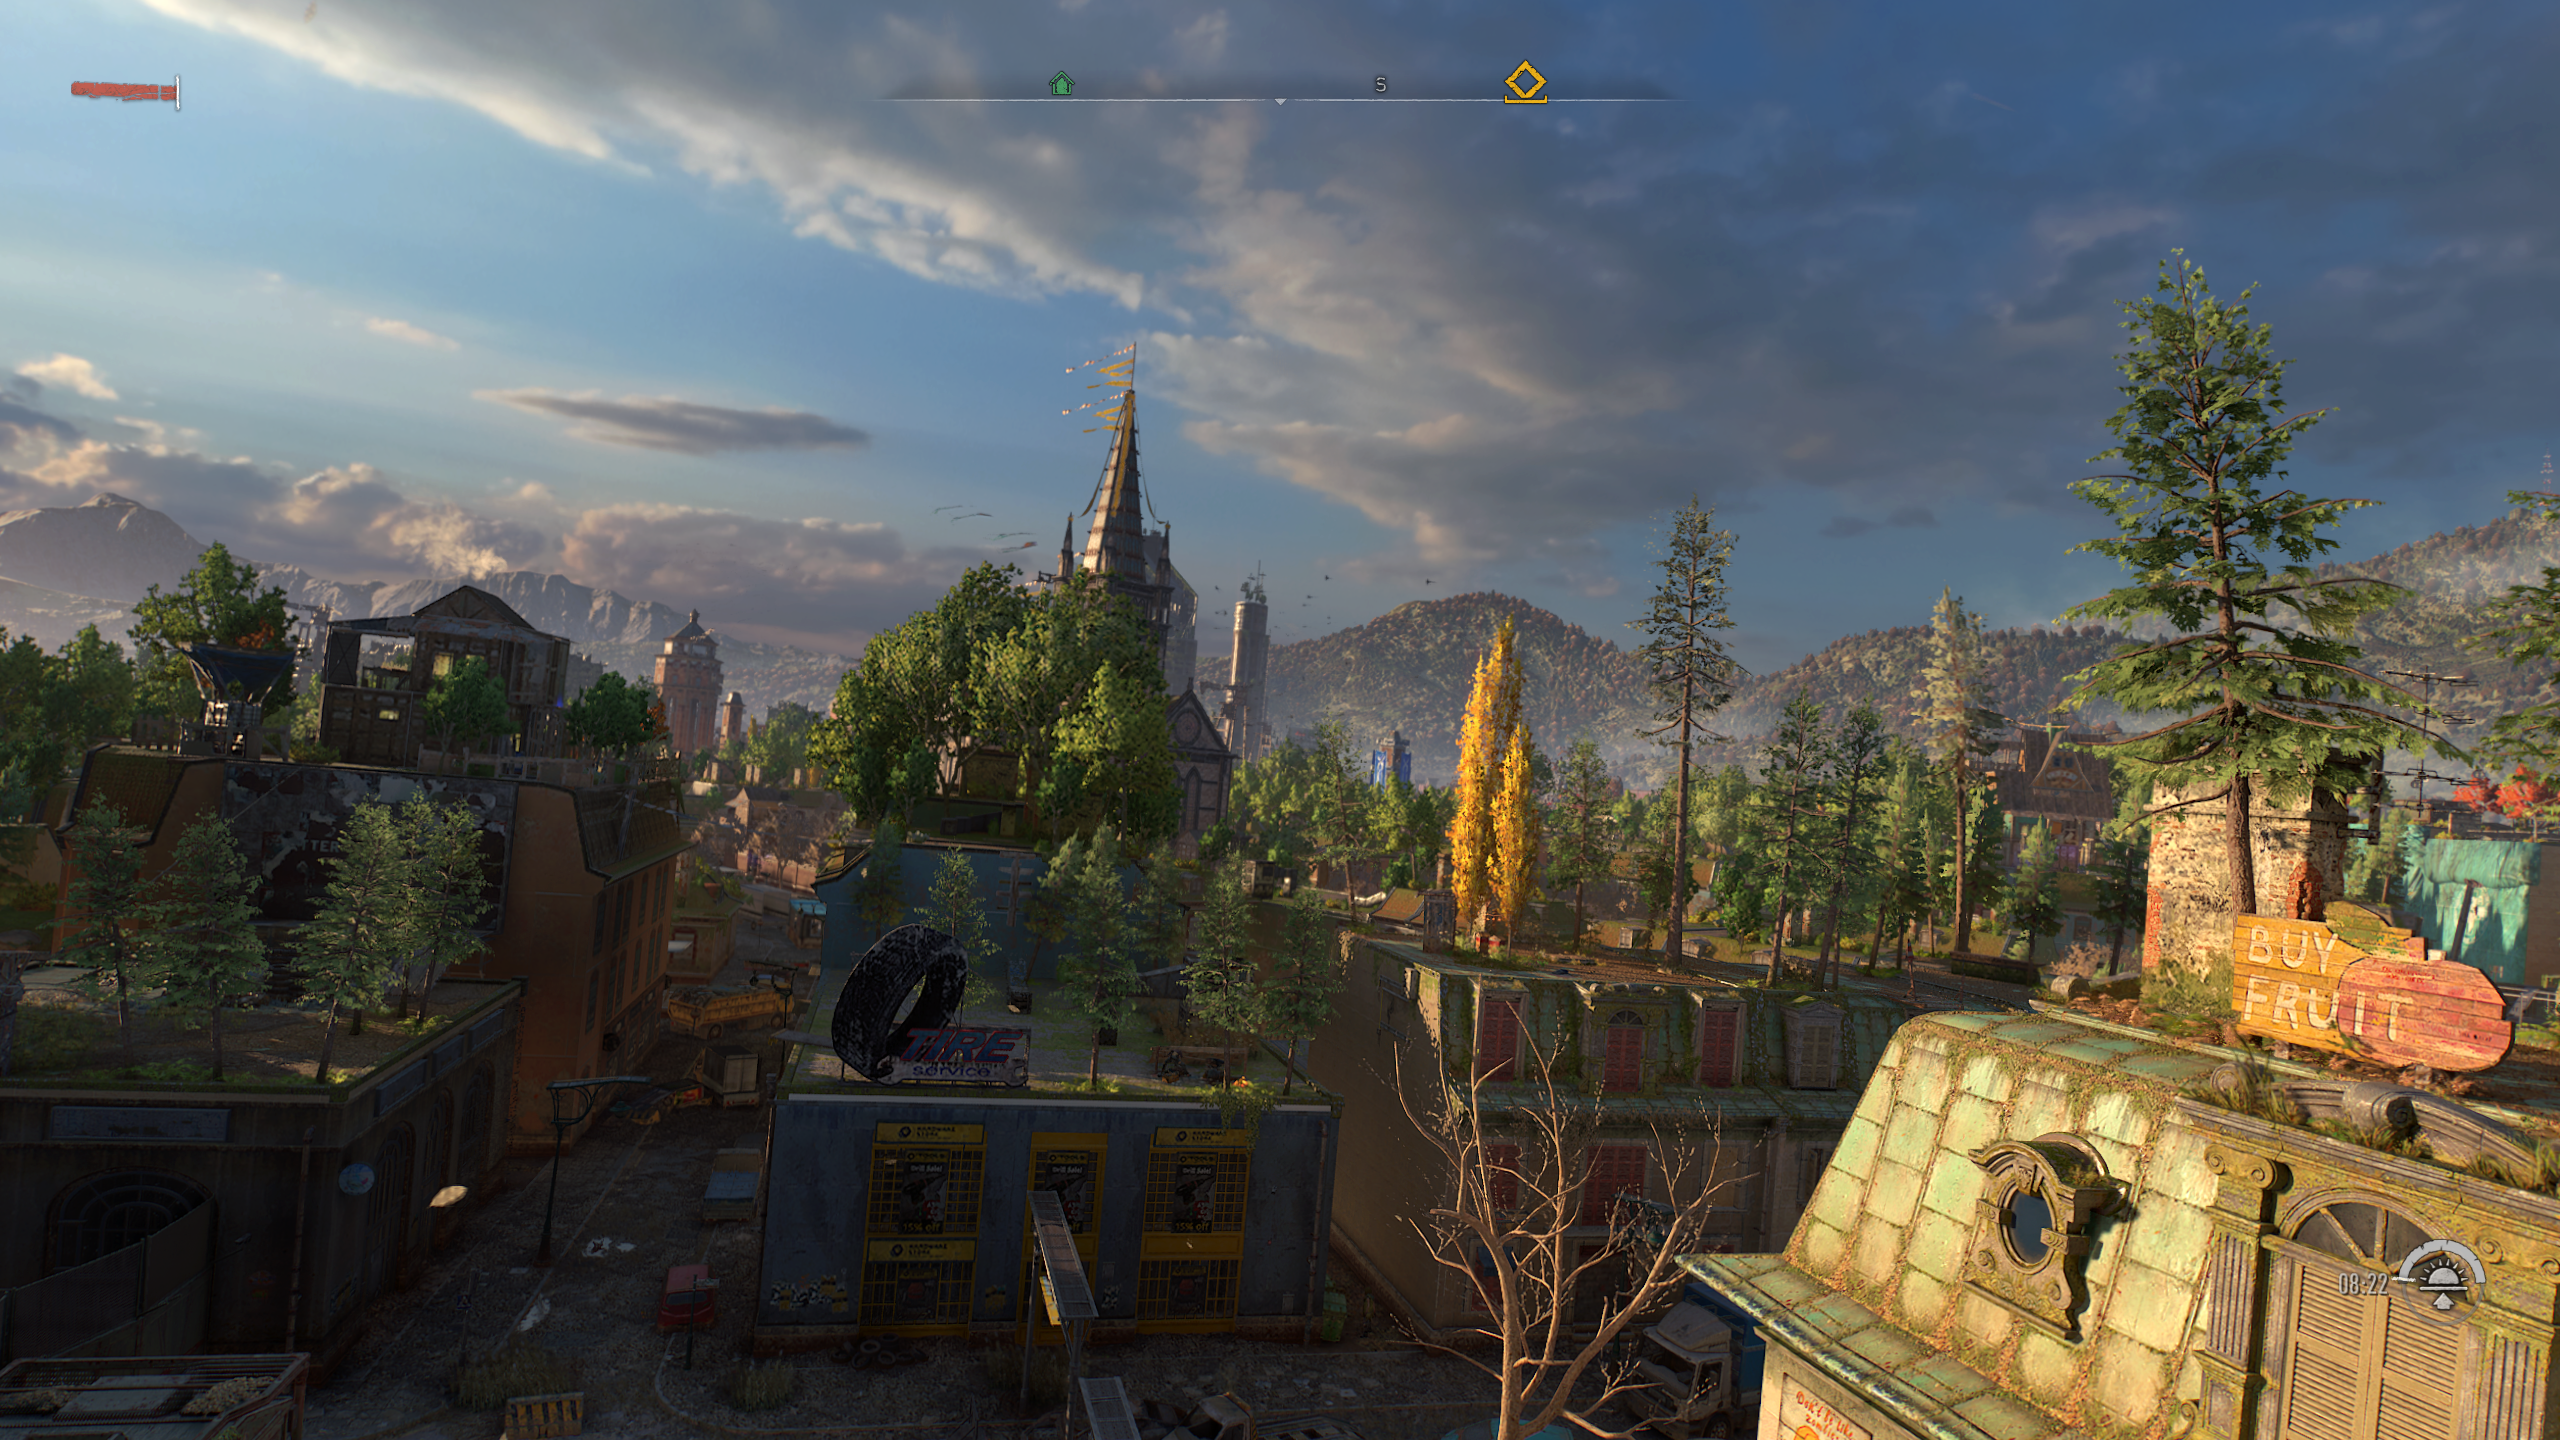
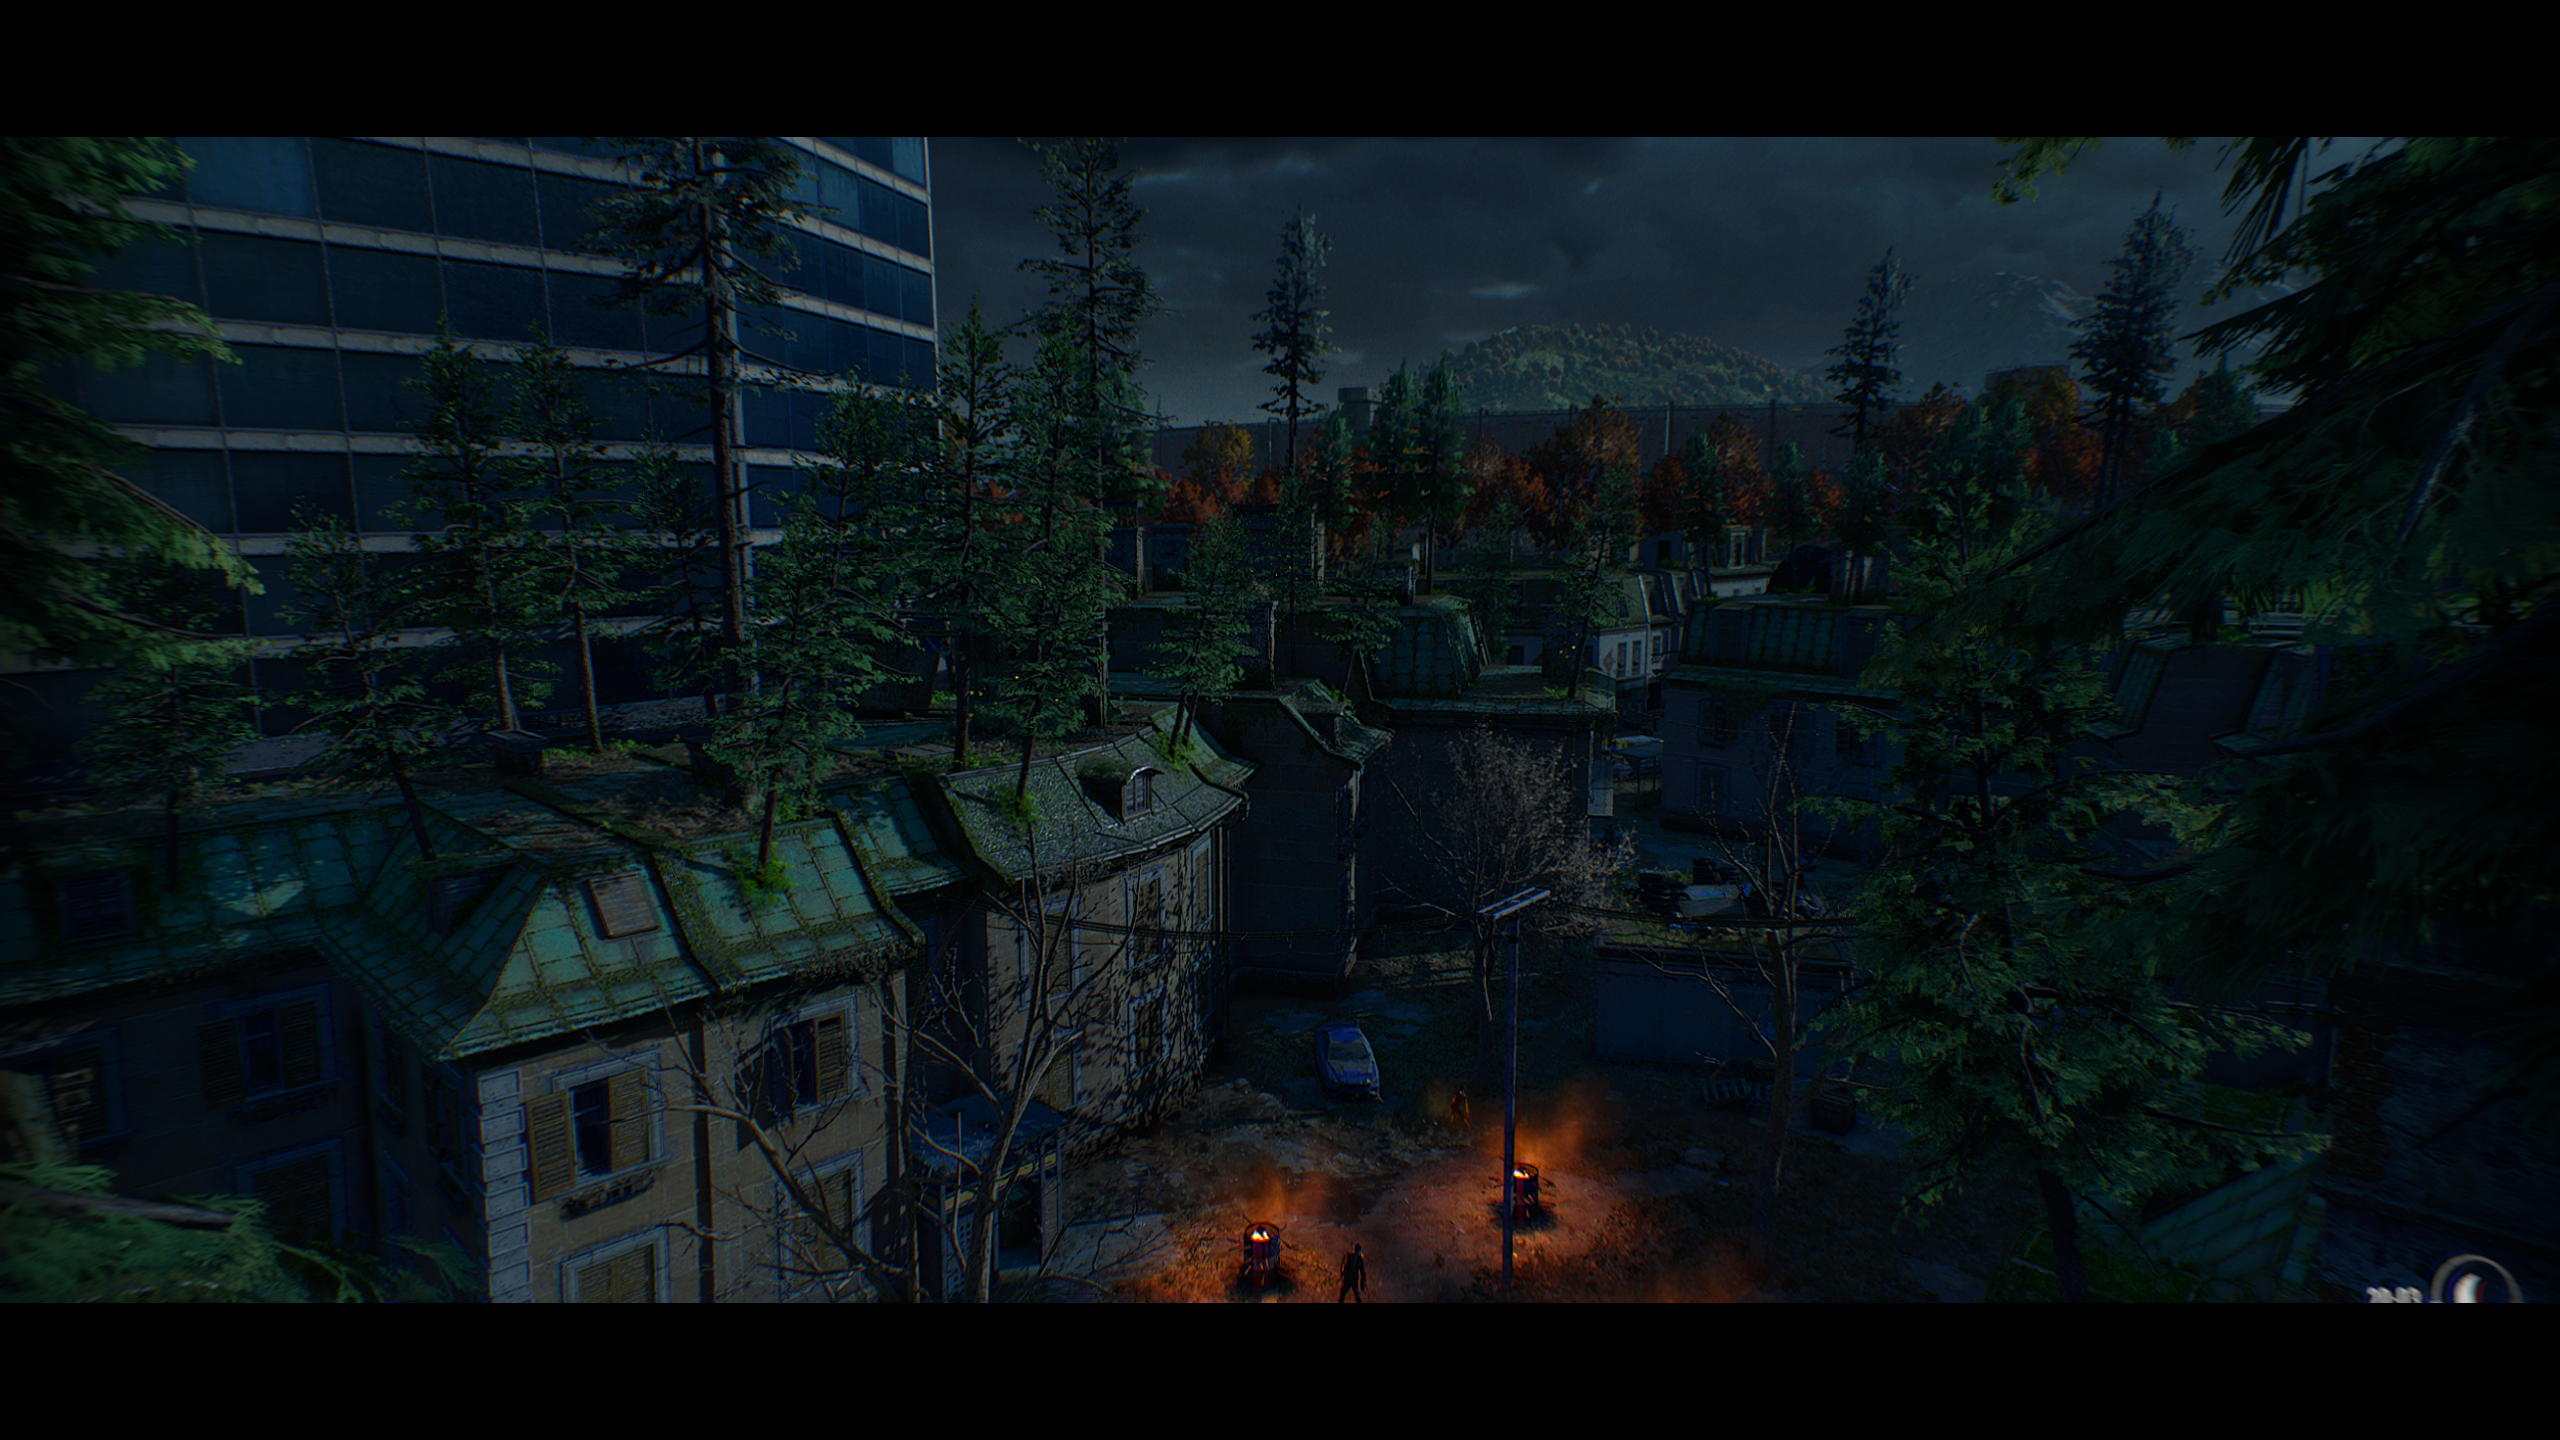
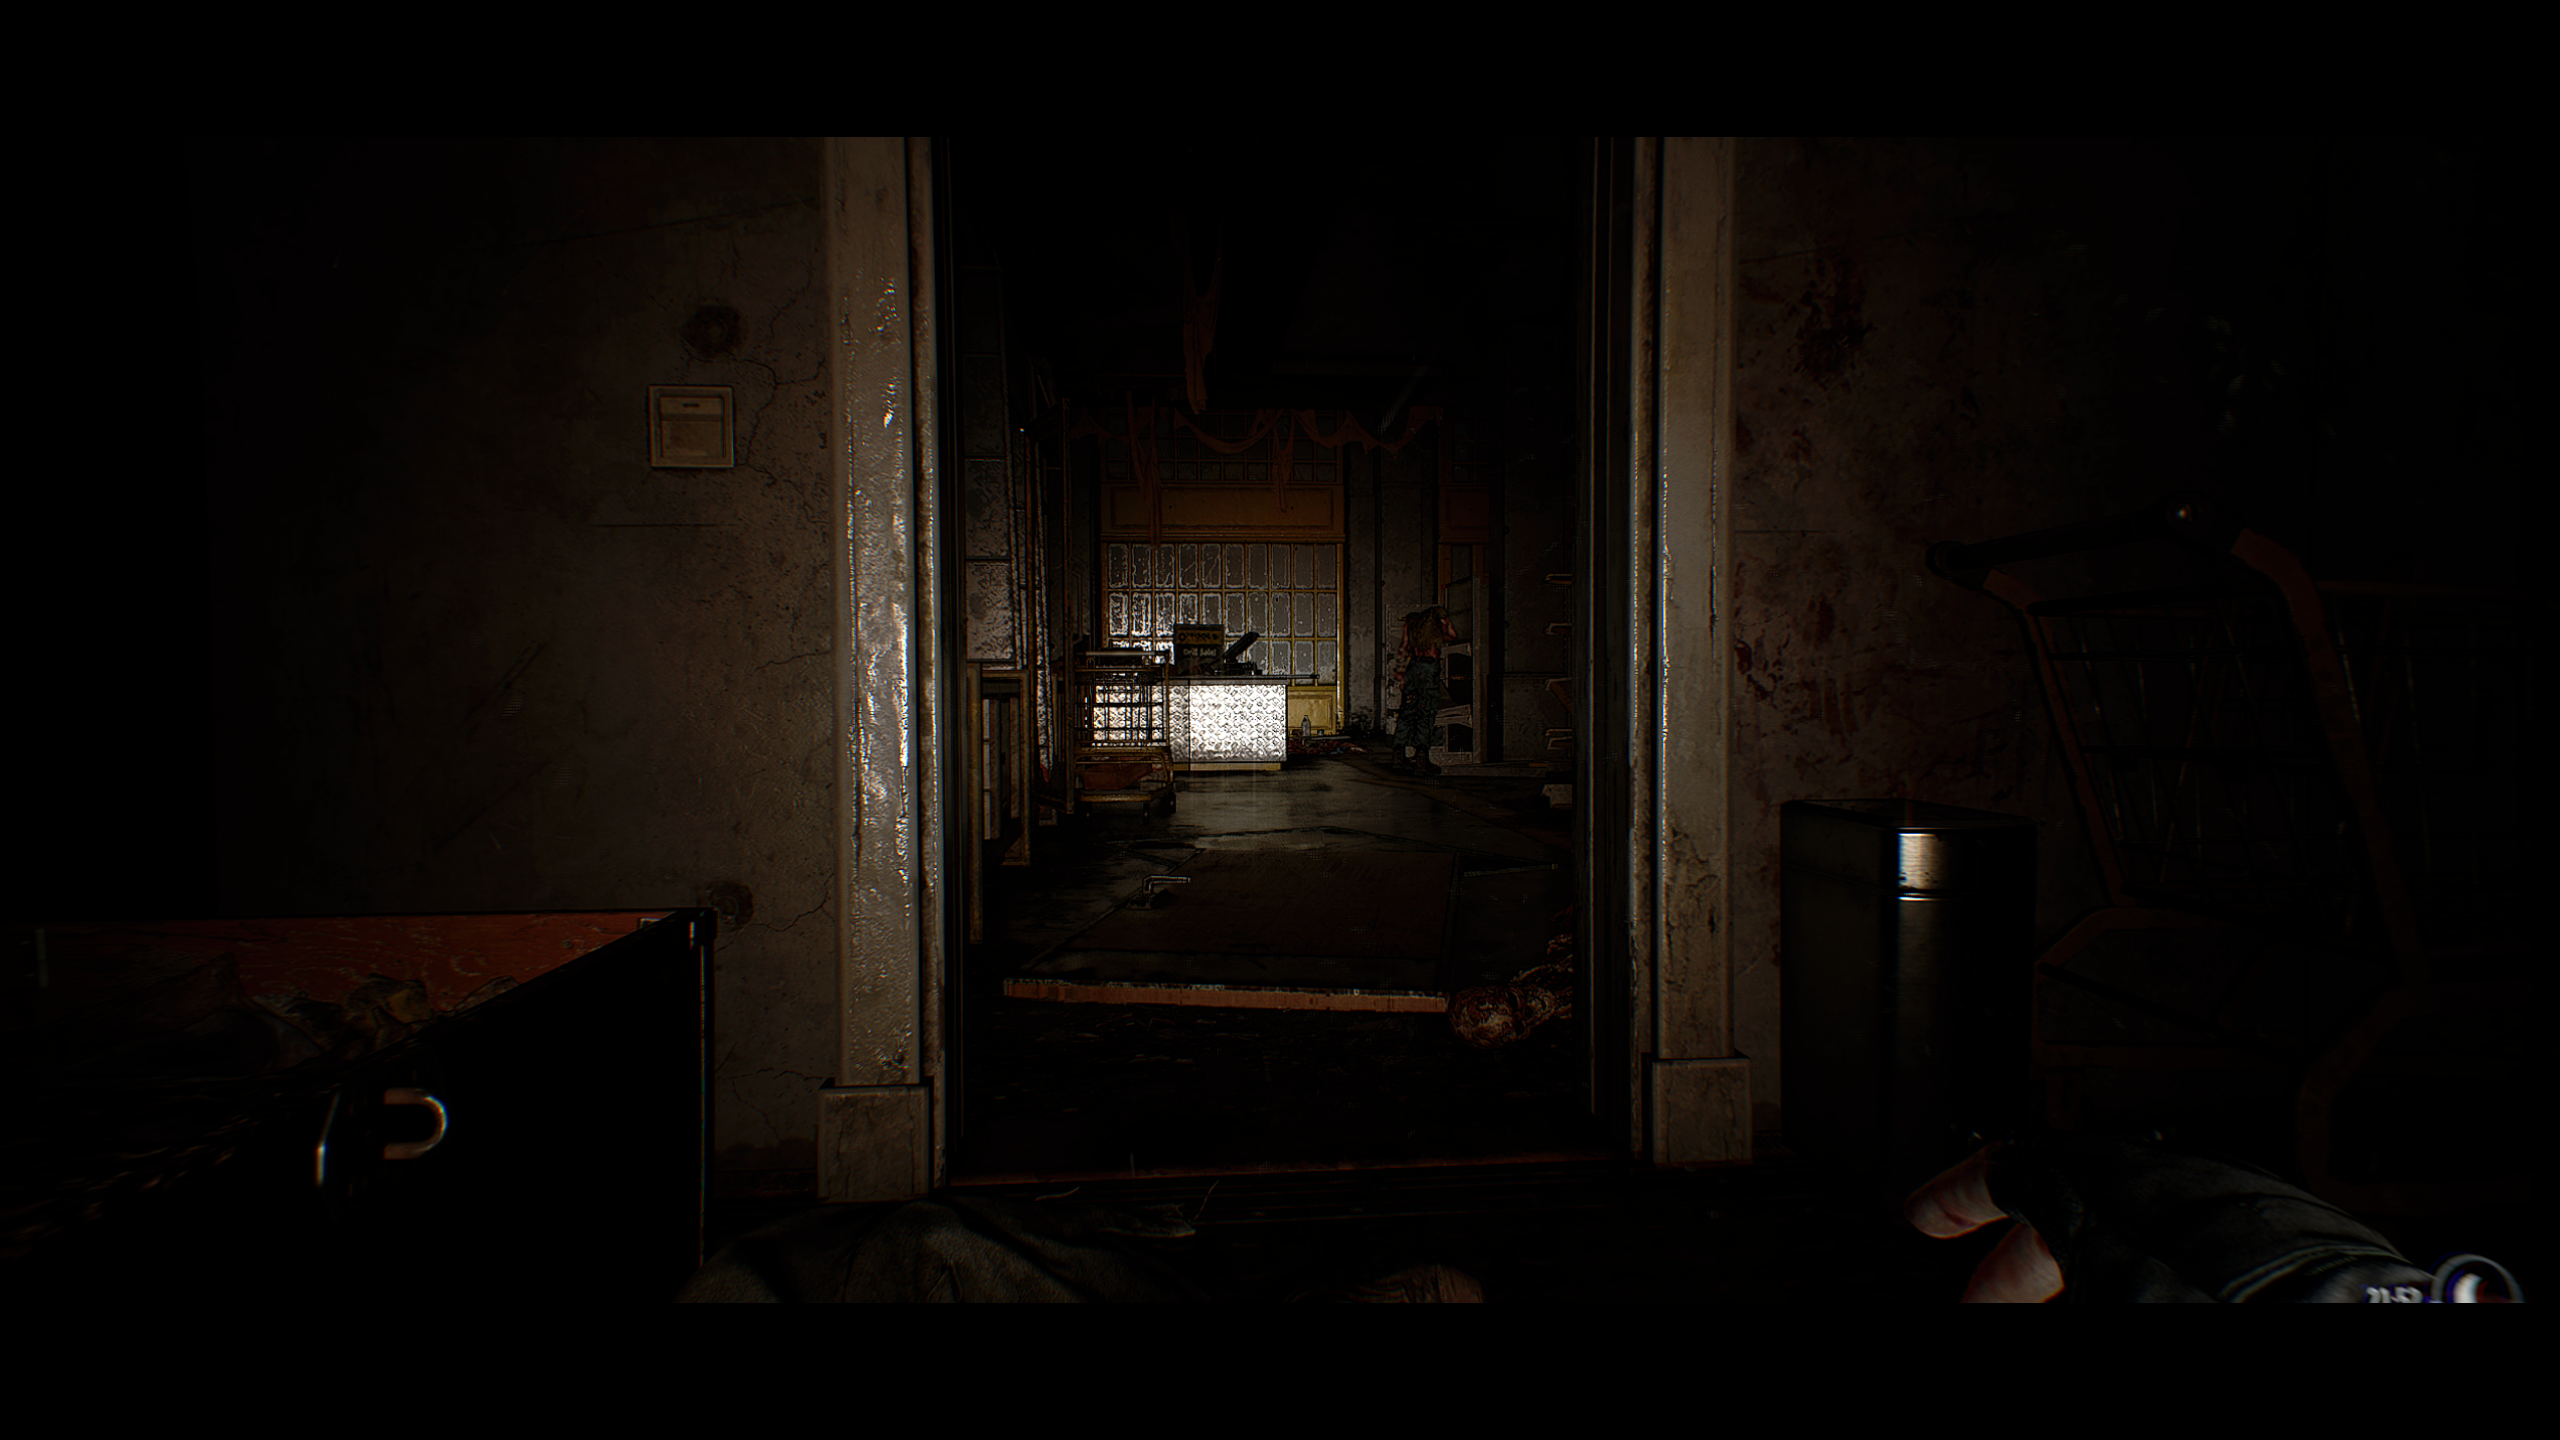
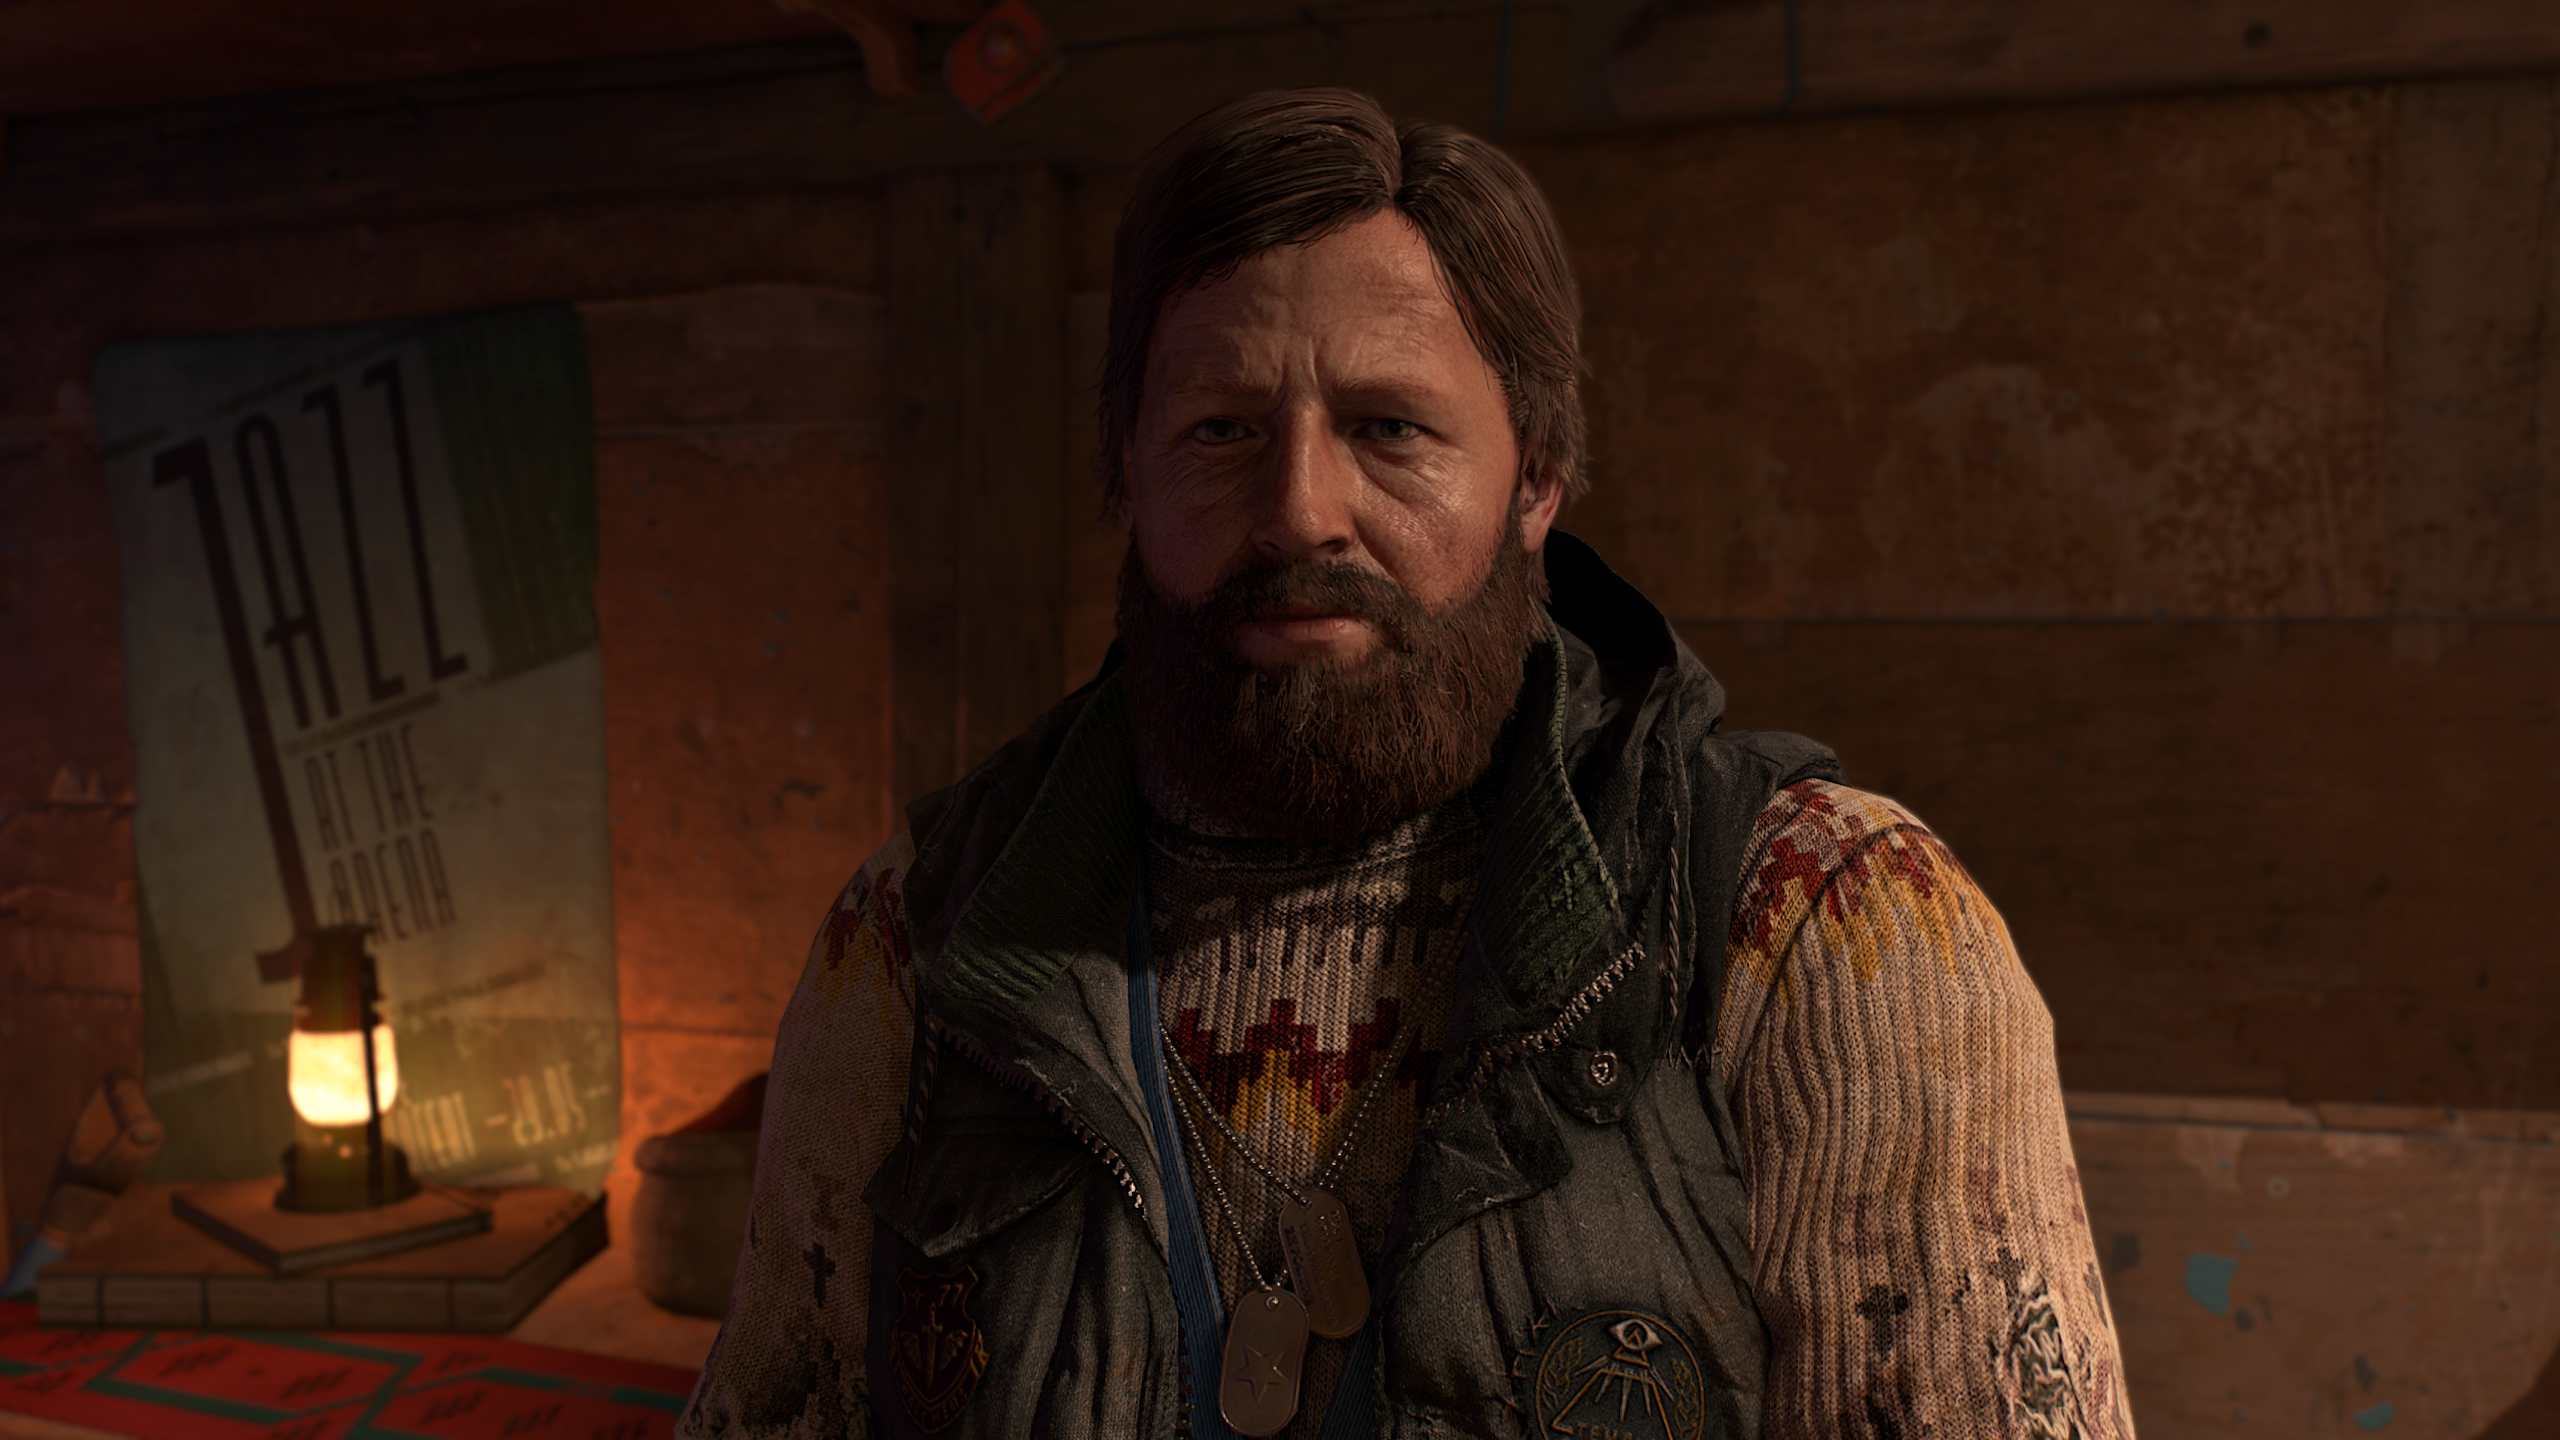
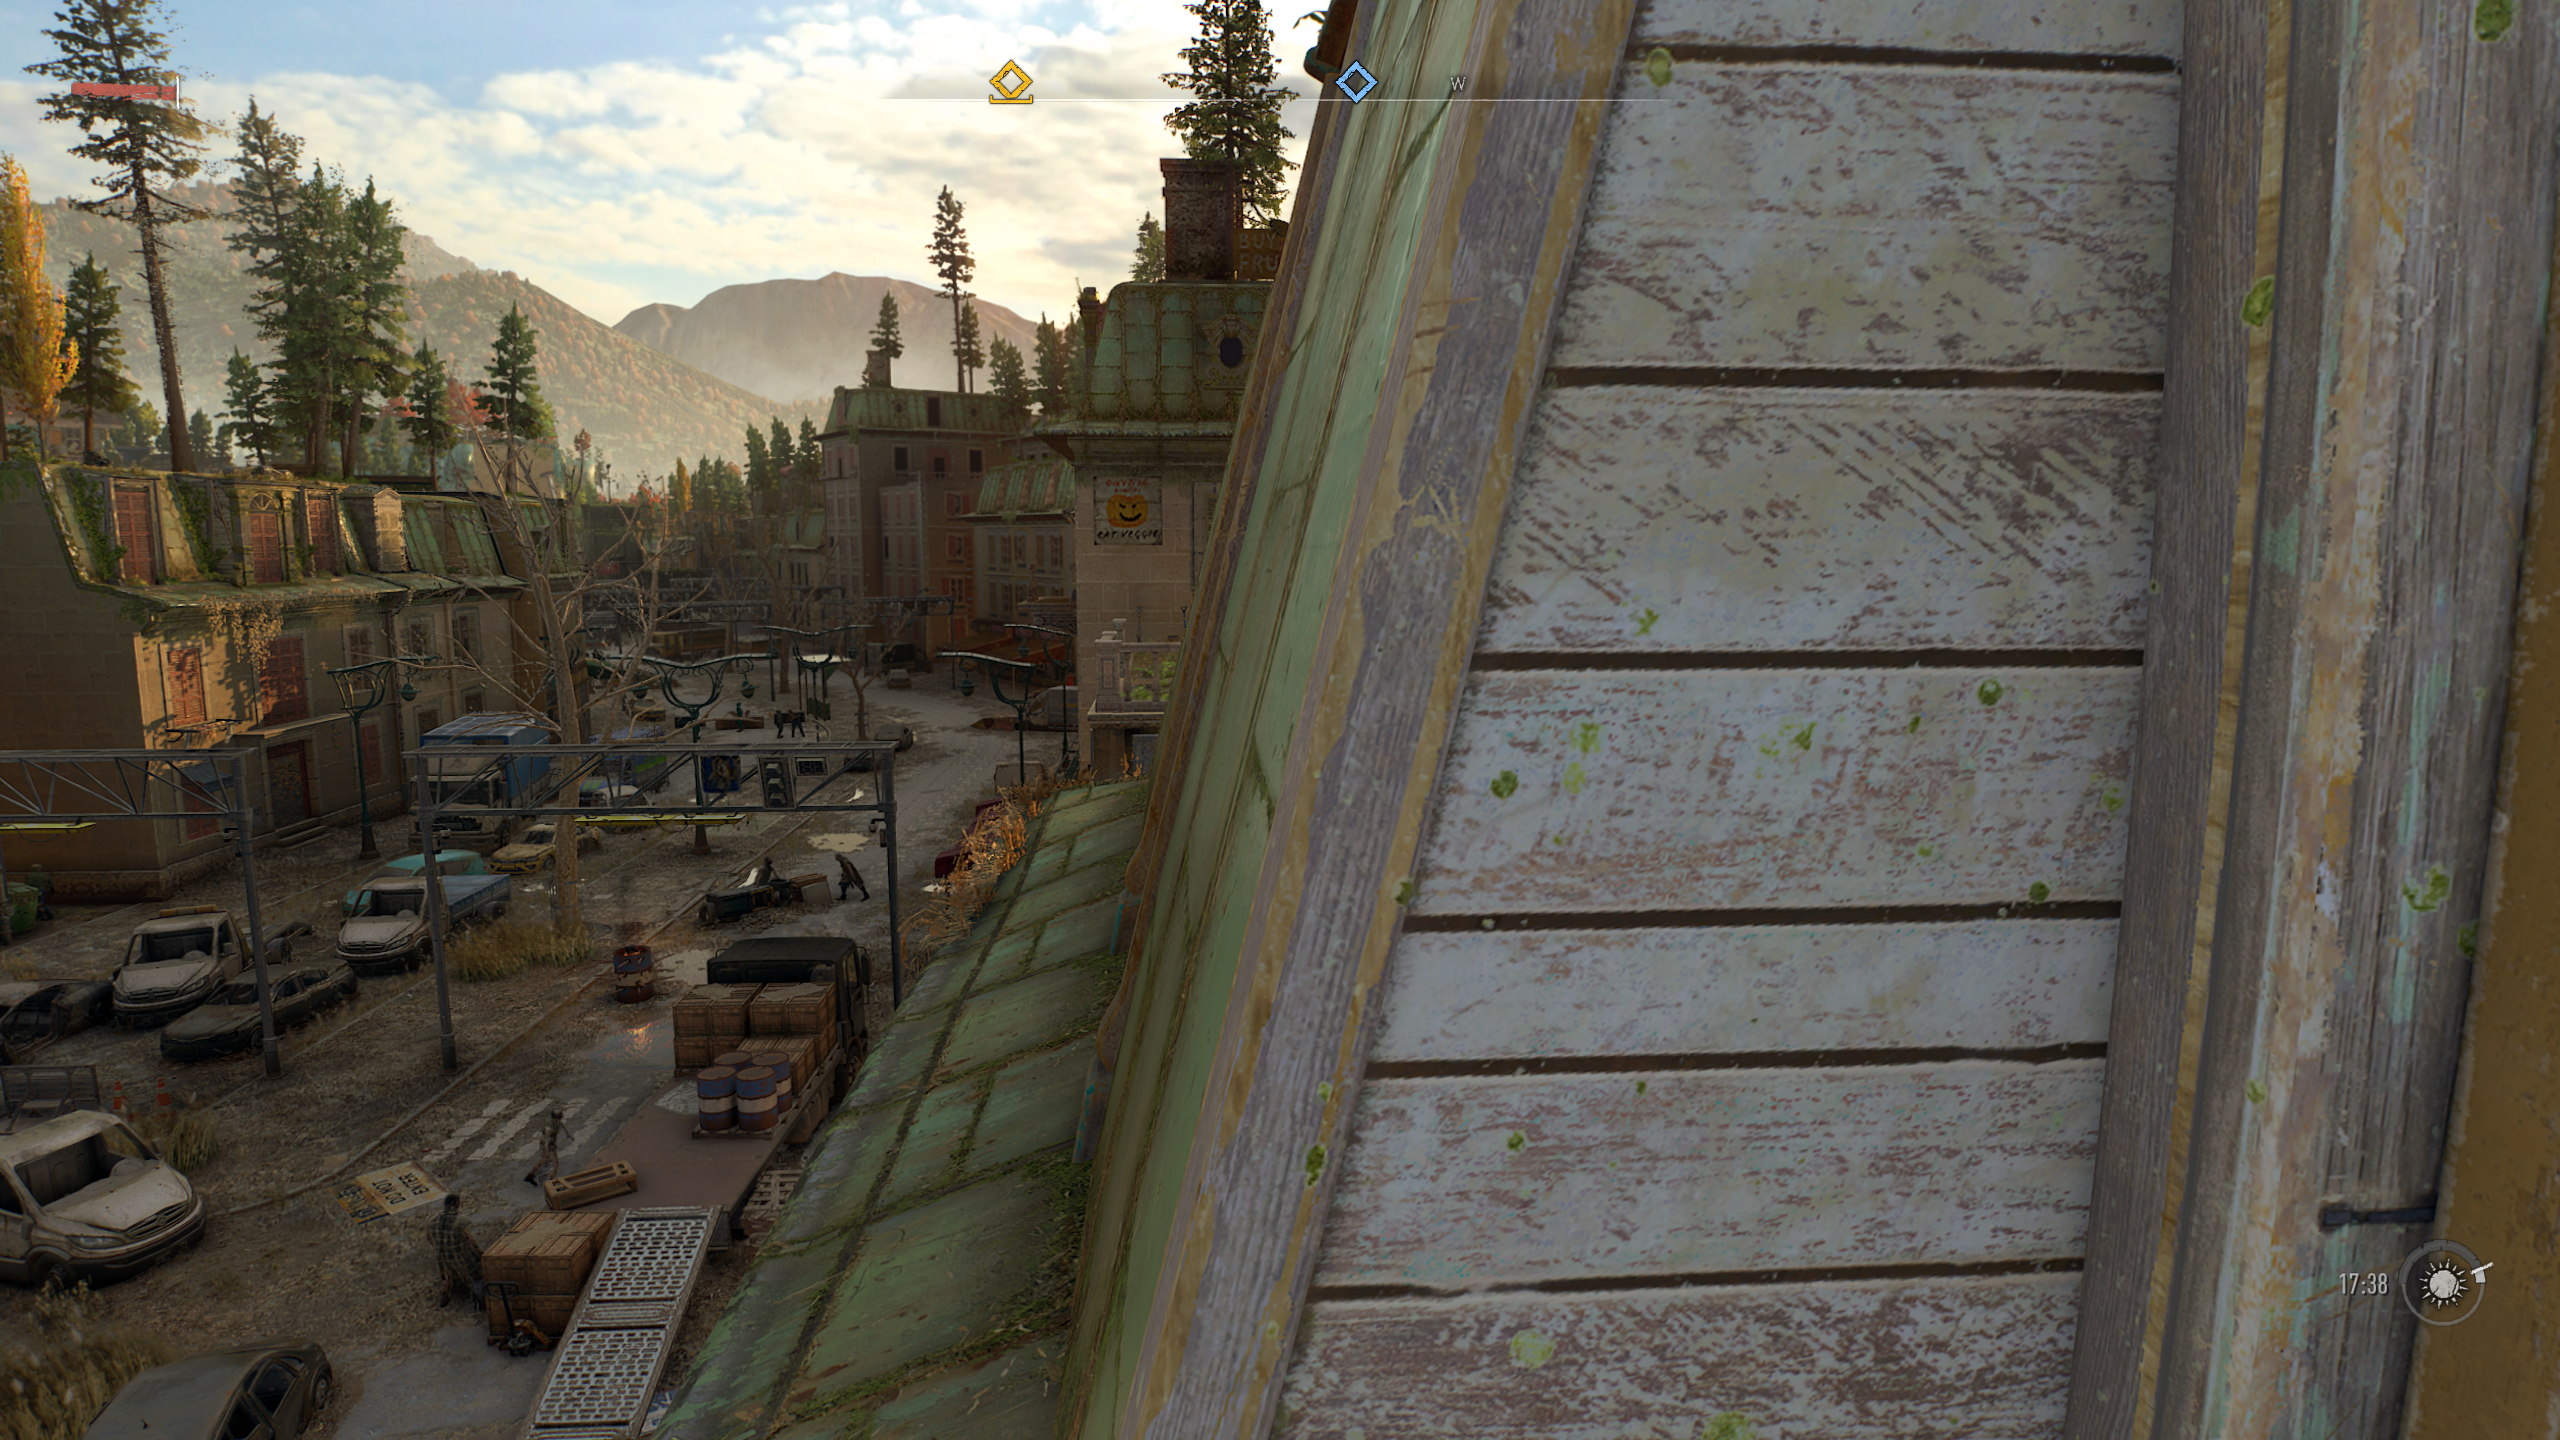
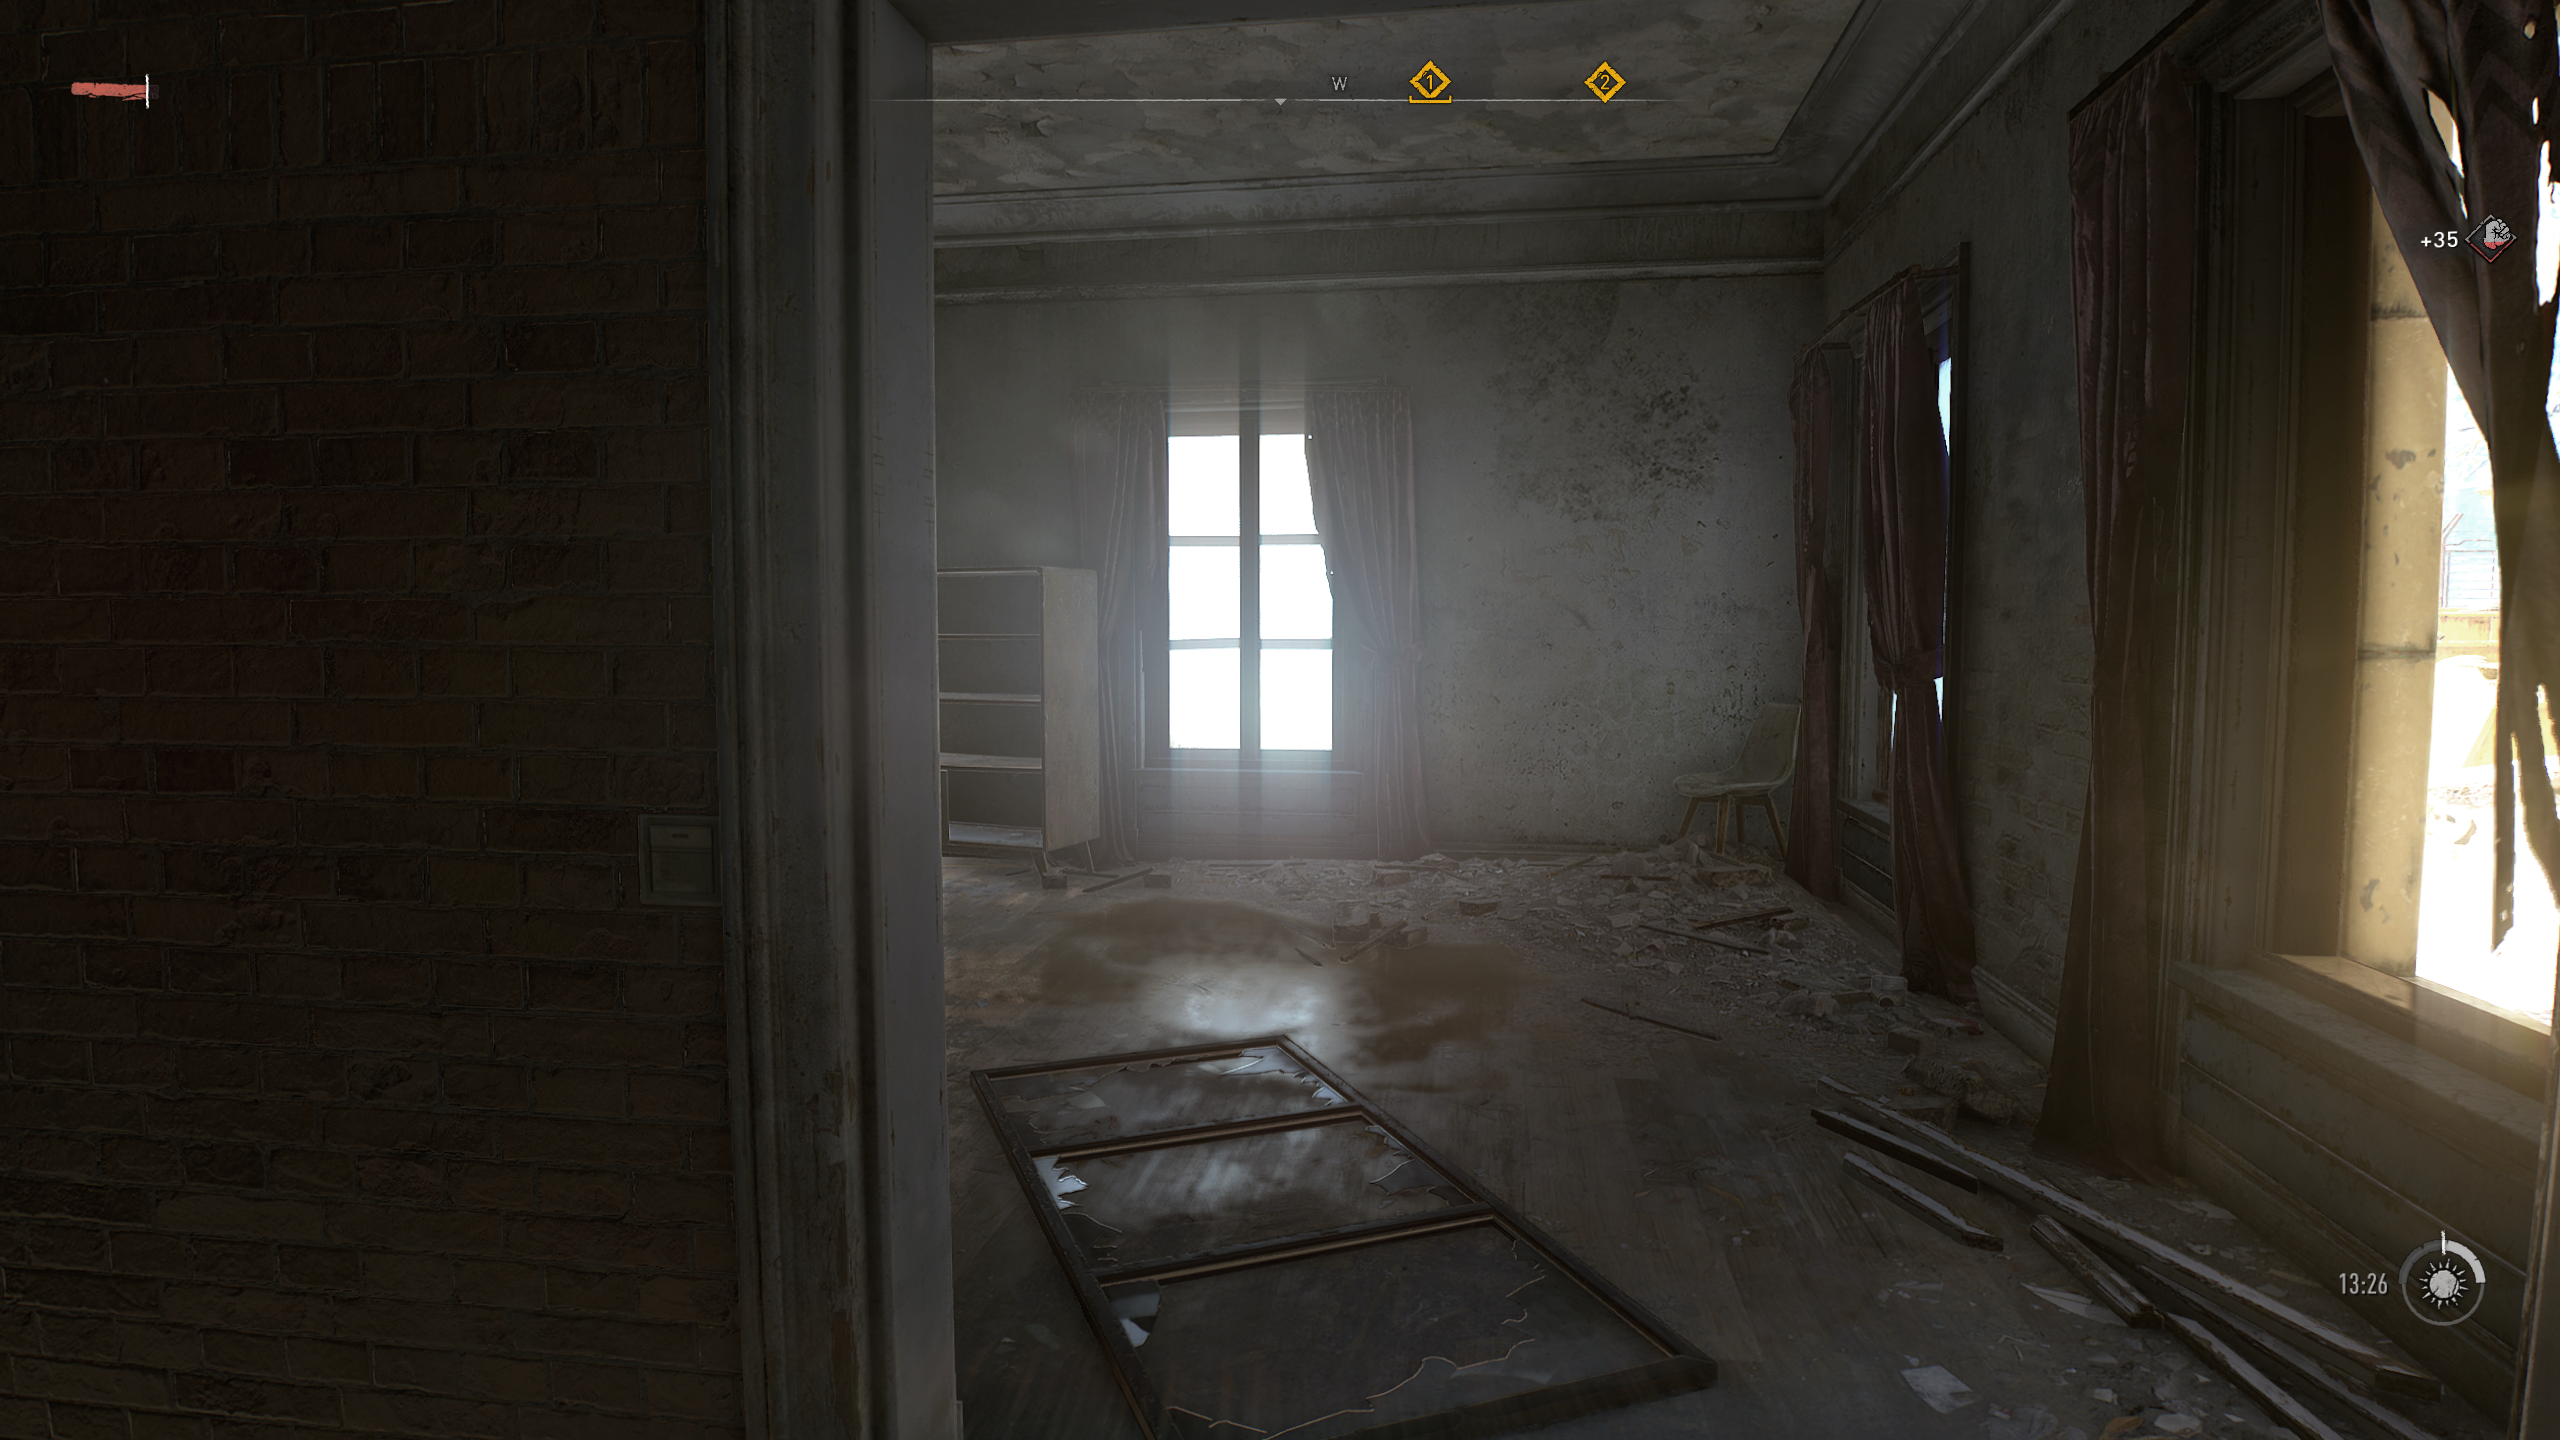
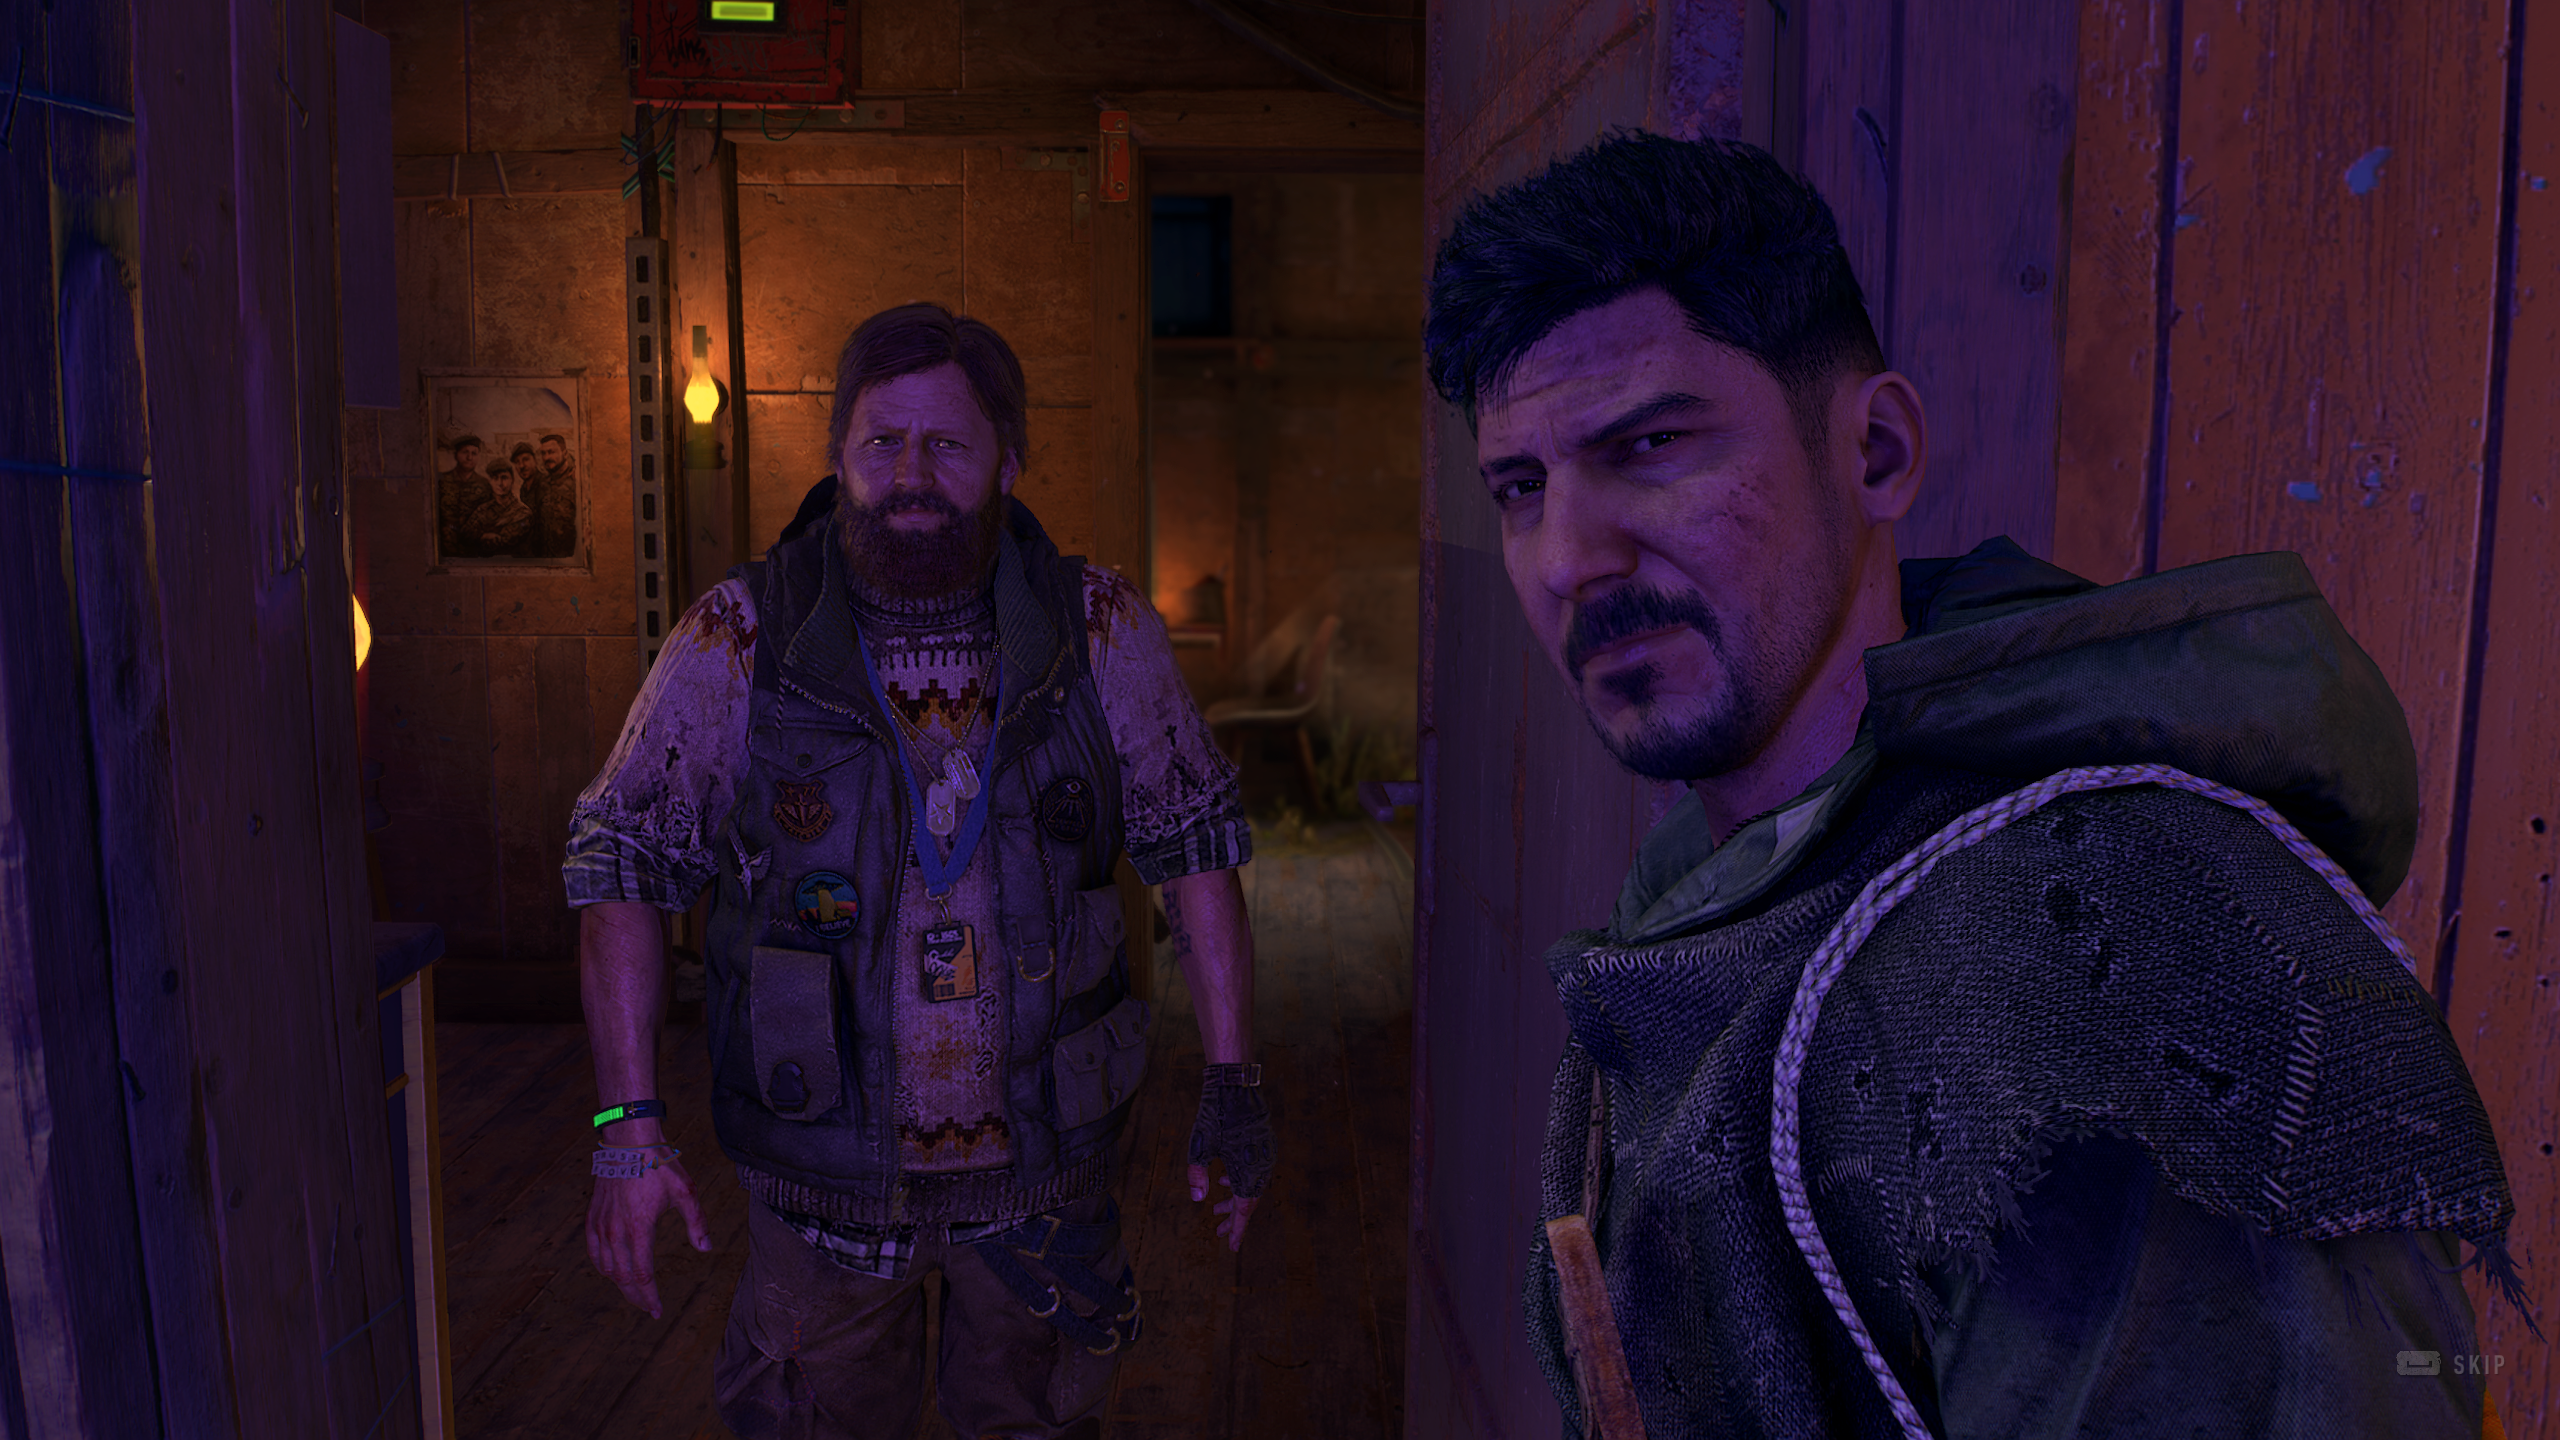
Shadow Fall ReShade Collection is a set of four ReShade presets that aims to bring a sense of cinematic flair to the game while also offering more vivid color grading. The lighting and color changes have been play-tested for many hours to ensure you basically maintain visibility just as well as the vanilla game at night and in interiors both during the day and night. The added cinematic effects (depth-of-field, anamorphic camera lens emulation (warping), vignette, chromatic aberration, and film grain) have been thoroughly tested and tweaked as well to ensure they look great while not impacting the gameplay experience negatively. Importantly, each added effect has been given a separate hotkey for quick toggling whenever you'd like. In sum, I have played with all the new effects on for many hours and never once came close to dying because of anything I've added.
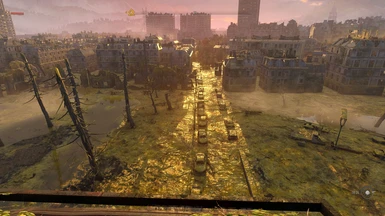
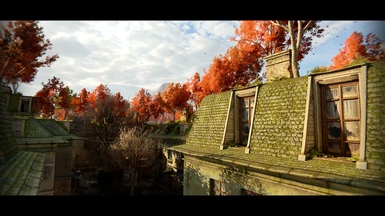
The four presets available at launch (more planned for a later date) are Warm (most recommended), Warm Alt., Cool, and Cool Alt. The names are pretty self explanatory, but the main thing to know is that both the Alts have their lighting (exposure and dark levels) reduced to be more milder in case the cinematic flair of the regular versions is not to your liking. I will note that the Warm Alt is the preset with the closest lighting and colors to vanilla. It is also the closest to reality. All the presets maintain the same settings for the cinematic effects, as the goal of the collection in general was to offer the most cinematic experience possible while still keeping the image believable and natural feeling. Basically you should get a photorealistic image though not necessarily a realistic image, per se. As said, the Warm Alt does provide, arguably, a pretty realistic image, not just photorealistic, if that's what you want.
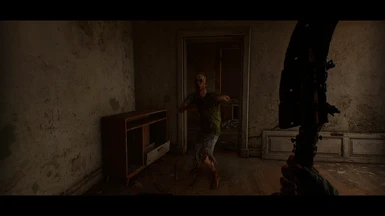
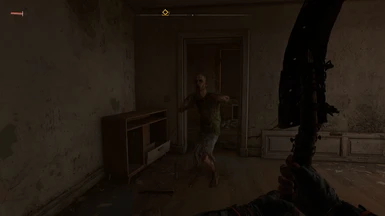
Almost every color has been individually adjusted to deliver an enhanced image that remains balanced in its color distribution. Unfortunately many people will make the mistake of adding contrast or increasing the black levels etc. in this game without correcting for fact that the night and interiors are already as dark as they could possibly be in vanilla while remaining playable. Therefore, it was necessary to also rebalance the shadows before making such enhancements to darkness. The result of this is you will get a more punchy image but dark areas should remain basically as playable as vanilla. The flashlight is slightly brighter due to the increased exposure, especially in the non-Alt presets.
What else to mention? Oh right, the letterbox has been tweaked to cover the obnoxious HUD that never fades, so you get a makeshift compass and health bar toggle. Lol. This is a happy side effect more than anything, but hey, a win is a win, right? Right.
I hope you really enjoy this and I would love to see your screenshots or videos using it! If you have any questions, please feel free to ask. And if you like my work, please endorse as it helps other find it and, more importantly, makes me feel all warm and fuzzy inside. I'll love you forever.
Cheers,
Merc
ps: Check out my Flickr account for uncompressed images (you can click any of the screenshots on this description page to get to my Flickr account).
ps+: I highly recommend using this with the Immersive HUD mod and turning off the item wheel in the bottom left and the clock in the bottom right. Neither are necessary since you can see you equipped items in the wheel menu and use your eyes to figure out what time it is.


HOTKEYS
All of these are remappable once in game. (make sure numberpad is enabled or the controls won't work).
-Toggle ReShade menu on-off - HOME
-Toggle ReShade preset on and off (must be set manually by each user in ReShade's "settings" menu near the top. I use the "END" key).
-Toggle depth-of-field - / on numberpad
-Cinematic Lighting Enhancer (if you don't like higher exposure or find interiors too dark etc., just disable this) - 8 on numberpad
-Lens Emulation (chromatic aberration and warping of the sides of the image) - 2 on numberpad
-Further Lens Emulation & Chromatic Aberration (warping of image at the corners & color bleeding on objects' edges) - . on numberpad
-Sharpness - 5 on numberpad
-Film grain - 3 on numberpad
-Letterbox ("Teh Black Barz") - 0 on numberpad
-Vignette - * on numberpad
-Color & Most Lighting Changes - 4 on numberpad

INSTALL INSTRUCTIONS
1. Download my zip file here from Nexus on the Files page.
2. Open the zip file and install my four preset files in your game's subfolder where your game's .exe is. It should be here: "...\SteamLibrary\steamapps\common\Dying Light 2\ph\work\bin\x64\DyingLightGame_x64_rwdi.exe"
3. Download the latest version of ReShade (currently) 5.0.2 from here: https://reshade.me/.
4. Run the ReShade .exe, select your game's Dying Light 2 .exe, usually found here: "...\SteamLibrary\steamapps\common\Dying Light 2\ph\work\bin\x64\DyingLightGame_x64_rwdi.exe"
5. Select the DirectX 10/11/12 for the API
6. When asked if you would like to select a preset to pull the effects from, select yes, and choose the "Shadow Fall - Warm - 1-0 - Release.ini" (NOT one of the ALTs) as the preset you want to use for the installation (you can change the preset you actually want to use in game later).
7. Accept the shader packages it selects for you, and proceed with the installation until you see the message about ReShade being installed successfully.
8. Profit?

CRASHING FIXES & FAQ
1. For me, all games used to crash if I use any form of ReShade or SweetFx in fullscreen mode. So you could try to enable borderless window mode to use ReShade if your game crashes when trying to load the game while in fullscreen mode with Reshade enabled.
2. I used to need to rename my reshade file "dxgi.dll" to "d3d11.dll" to get the game to stop crashing on launch.
3. Disable the other overlays and hooks (like frame rate monitoring software) if crashing continues.
4. I've tested and optimized this ReShade for the game's default in-game gamma (21). Tested on ultra settings with Ray Tracing off and Shadows set to one-below max.
5. Toggle depth-of-field - / on numberpad

UNINSTALLING
1. Delete the "reshade-shaders" folder, "ReShade.ini" file, "dxgi.dll" file (don't worry, this is ReShade's .dll so you aren't deleting game data), and "dxgi.log" file from your game folder. That's it.


CONTACT
MY MODS FOR OTHER GAMES:
Exhaustive List Here, constantly updating it as I make new ReShades: https://www.facebook.com/MercsAssassin/


Shadow Fall ReShade Collection
Vivid & Cinematic Color Grading w/OPTIONAL Balanced Photographic Camera Lens Effects
by TheMercsAssassin
Vivid & Cinematic Color Grading w/OPTIONAL Balanced Photographic Camera Lens Effects
by TheMercsAssassin
WHAT IS THIS?
Shadow Fall ReShade Collection is a set of four ReShade presets that aims to bring a sense of cinematic flair to the game while also offering more vivid color grading. The lighting and color changes have been play-tested for many hours to ensure you basically maintain visibility just as well as the vanilla game at night and in interiors both during the day and night. The added cinematic effects (depth-of-field, anamorphic camera lens emulation (warping), vignette, chromatic aberration, and film grain) have been thoroughly tested and tweaked as well to ensure they look great while not impacting the gameplay experience negatively. Importantly, each added effect has been given a separate hotkey for quick toggling whenever you'd like. In sum, I have played with all the new effects on for many hours and never once came close to dying because of anything I've added.
The four presets available at launch (more planned for a later date) are Warm (most recommended), Warm Alt., Cool, and Cool Alt. The names are pretty self explanatory, but the main thing to know is that both the Alts have their lighting (exposure and dark levels) reduced to be more milder in case the cinematic flair of the regular versions is not to your liking. I will note that the Warm Alt is the preset with the closest lighting and colors to vanilla. It is also the closest to reality. All the presets maintain the same settings for the cinematic effects, as the goal of the collection in general was to offer the most cinematic experience possible while still keeping the image believable and natural feeling. Basically you should get a photorealistic image though not necessarily a realistic image, per se. As said, the Warm Alt does provide, arguably, a pretty realistic image, not just photorealistic, if that's what you want.
Almost every color has been individually adjusted to deliver an enhanced image that remains balanced in its color distribution. Unfortunately many people will make the mistake of adding contrast or increasing the black levels etc. in this game without correcting for fact that the night and interiors are already as dark as they could possibly be in vanilla while remaining playable. Therefore, it was necessary to also rebalance the shadows before making such enhancements to darkness. The result of this is you will get a more punchy image but dark areas should remain basically as playable as vanilla. The flashlight is slightly brighter due to the increased exposure, especially in the non-Alt presets.
What else to mention? Oh right, the letterbox has been tweaked to cover the obnoxious HUD that never fades, so you get a makeshift compass and health bar toggle. Lol. This is a happy side effect more than anything, but hey, a win is a win, right? Right.
I hope you really enjoy this and I would love to see your screenshots or videos using it! If you have any questions, please feel free to ask. And if you like my work, please endorse as it helps other find it and, more importantly, makes me feel all warm and fuzzy inside. I'll love you forever.
Cheers,
Merc
ps: Check out my Flickr account for uncompressed images (you can click any of the screenshots on this description page to get to my Flickr account).
ps+: I highly recommend using this with the Immersive HUD mod and turning off the item wheel in the bottom left and the clock in the bottom right. Neither are necessary since you can see you equipped items in the wheel menu and use your eyes to figure out what time it is.
HOTKEYS
All of these are remappable once in game. (make sure numberpad is enabled or the controls won't work).
-Toggle ReShade menu on-off - HOME
-Toggle ReShade preset on and off (must be set manually by each user in ReShade's "settings" menu near the top. I use the "END" key).
-Toggle depth-of-field - / on numberpad
-Cinematic Lighting Enhancer (if you don't like higher exposure or find interiors too dark etc., just disable this) - 8 on numberpad
-Lens Emulation (chromatic aberration and warping of the sides of the image) - 2 on numberpad
-Further Lens Emulation & Chromatic Aberration (warping of image at the corners & color bleeding on objects' edges) - . on numberpad
-Sharpness - 5 on numberpad
-Film grain - 3 on numberpad
-Letterbox ("Teh Black Barz") - 0 on numberpad
-Vignette - * on numberpad
-Color & Most Lighting Changes - 4 on numberpad
INSTALL INSTRUCTIONS
1. Download my zip file here from Nexus on the Files page.
2. Open the zip file and install my four preset files in your game's subfolder where your game's .exe is. It should be here: "...\SteamLibrary\steamapps\common\Dying Light 2\ph\work\bin\x64\DyingLightGame_x64_rwdi.exe"
3. Download the latest version of ReShade (currently) 5.0.2 from here: https://reshade.me/.
4. Run the ReShade .exe, select your game's Dying Light 2 .exe, usually found here: "...\SteamLibrary\steamapps\common\Dying Light 2\ph\work\bin\x64\DyingLightGame_x64_rwdi.exe"
5. Select the DirectX 10/11/12 for the API
6. When asked if you would like to select a preset to pull the effects from, select yes, and choose the "Shadow Fall - Warm - 1-0 - Release.ini" (NOT one of the ALTs) as the preset you want to use for the installation (you can change the preset you actually want to use in game later).
7. Accept the shader packages it selects for you, and proceed with the installation until you see the message about ReShade being installed successfully.
8. Profit?
CRASHING FIXES & FAQ
1. For me, all games used to crash if I use any form of ReShade or SweetFx in fullscreen mode. So you could try to enable borderless window mode to use ReShade if your game crashes when trying to load the game while in fullscreen mode with Reshade enabled.
2. I used to need to rename my reshade file "dxgi.dll" to "d3d11.dll" to get the game to stop crashing on launch.
3. Disable the other overlays and hooks (like frame rate monitoring software) if crashing continues.
4. I've tested and optimized this ReShade for the game's default in-game gamma (21). Tested on ultra settings with Ray Tracing off and Shadows set to one-below max.
5. Toggle depth-of-field - / on numberpad
UNINSTALLING
1. Delete the "reshade-shaders" folder, "ReShade.ini" file, "dxgi.dll" file (don't worry, this is ReShade's .dll so you aren't deleting game data), and "dxgi.log" file from your game folder. That's it.
CONTACT
- Please subscribe to my YouTube channel for lets plays and demos of my upcoming and released ReShades: https://www.youtube.com/channel/UCn5KAZuLeVmeQLXSMJNBMcA
- Please follow me on twitter: https://twitter.com/MercsAssassin
- If you want to hang with me and other awesome ReShade preset authors and screenshot enthusiast as well as see my upcoming projects early, please jump over to Digital Dreams' Discord channel - https://discord.gg/bvhcBNwPJu
MY MODS FOR OTHER GAMES:
Exhaustive List Here, constantly updating it as I make new ReShades: https://www.facebook.com/MercsAssassin/