Documentation
Readme
View as plain text
Imperial Furniture � Renovated
Version 1.3
by AndalayBay
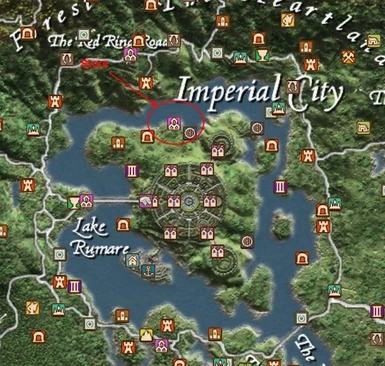
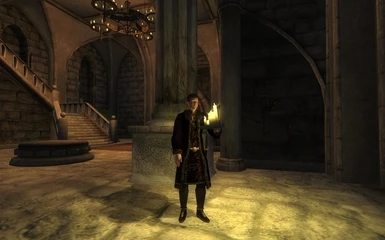
Damien and Mischa have just renovated their store, Imperial Furniture, located
just north of the Imperial City. They have purchased a fine collection of
weapon racks from Loth. In keeping with the high standards of goods sold at
Imperial Furniture, these are much better quality weapon racks than those
normally found in Cyrodiil. They have also greatly expanded their line of
paintings by acquiring a few special selections from the Paintings Galore
collection by Trollf. These are exquisite paintings in a wide range of sizes
that should suit any home. They have also expanded their regular selection of
display cases, tables, chests and lights - mainly by offering more size options.
They have just expanded their selection again! Now they offer clutter items
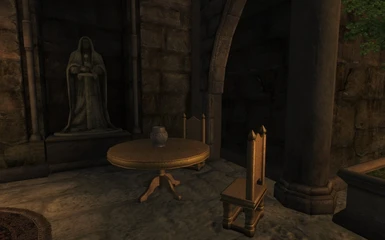
like miniature statues. They have also acquired upholstered furniture for the
first time! And they negotiated a deal with Daleth to offer her ingredient
storage shelves.
Come by and see their new selection!
Description
-----------
For those of you who aren't familiar with Imperial Furniture, it's a mod that
was developed by Amajor7 in 2006 that provided better quality furniture to
decorate your home with. It's located just outside of the Imperial City, on the
north shore just west of the North Sewers exit. Some of the furniture utilizes
custom textures created by Amajor7 that's a much lighter wood colour, like pine.
There are also a number of unique items that can only be obtained from Imperial
Furniture, unless you build your own mod, of course!
The original Imperial Furniture included a link to a web site which described
all of the pieces you could purchase at the store. Unfortunately that web site
has long since disappeared. But have no fear, I actually saved the web page
back when it was still available and have updated and converted that web page
into a spreadsheet which I have included with this mod. I have also updated the
spreadsheet to reflect all the new items I have added. The items that use
Amajor7's custom textures have the main colour listed as "gold" in the
spreadsheet. You will also see most of them in the store.
IMPORTANT: Imperial Furniture Renovated now requires OBSE ver. 18 Final or
newer.
Installation
------------
1. If you have the original Imperial Furniture, uninstall it first. Load up a
saved game, click Yes when prompted about missing content and save the game
again. Now you can proceed with installing Imperial Furniture Renovated. If
you have purchased items from the original Imperial Furniture mod, you will lose
them unless you use the patch version � download and install that version
instead.
2. Unzip the mod archive into your Oblivion Data directory. In addition to the
plugin file (Imperial Furniture Renovated.esp) and the BSA file (Imperial
Furniture Renovated.bsa), there will be a folder called Extras. This folder has
some additional information about the mod, including screenshots of the weapon
racks and paintings. It also includes the item listing spreadsheet.
3. Activate the mod plugin from the Data Files option from the Oblivion Launcher
menu or use OBMM (Oblivion Mod Manager).
4. Use Better Oblivion Sorting Software (BOSS) on your load order.
Additions
---------
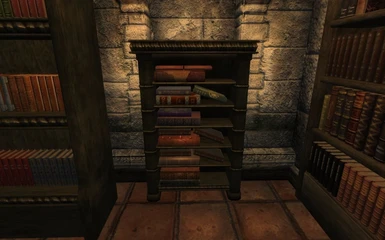
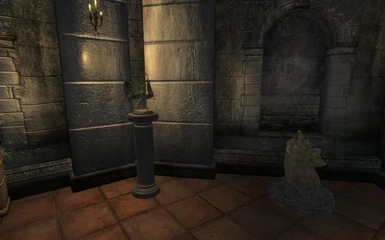
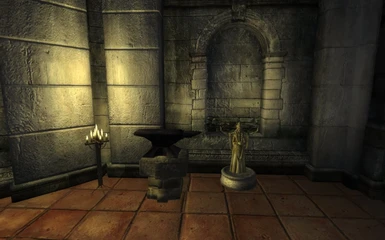
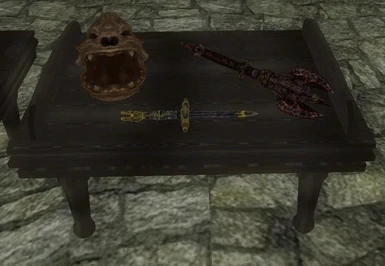
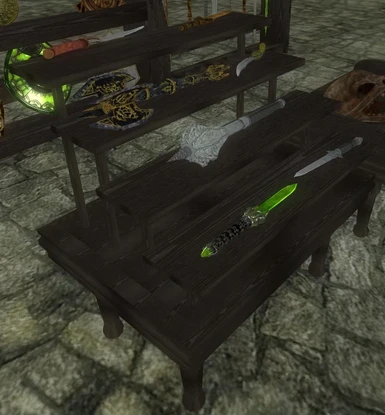
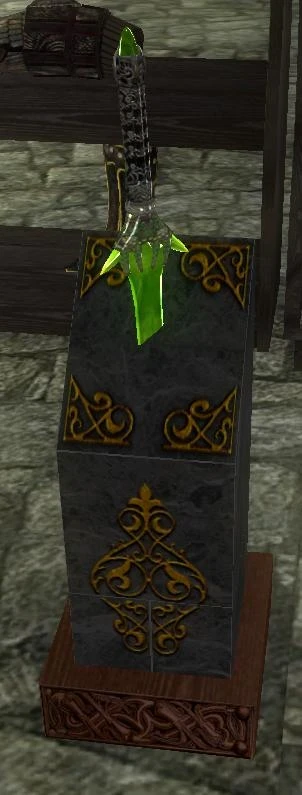
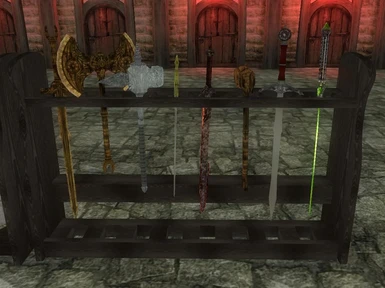
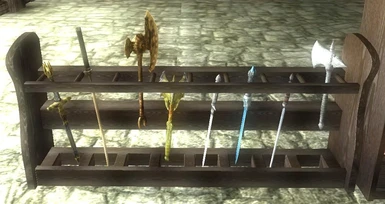
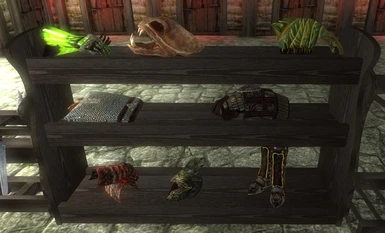
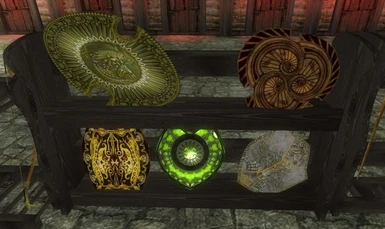
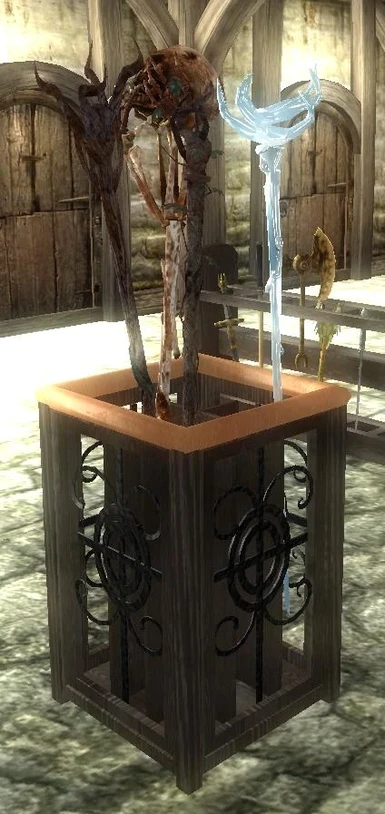
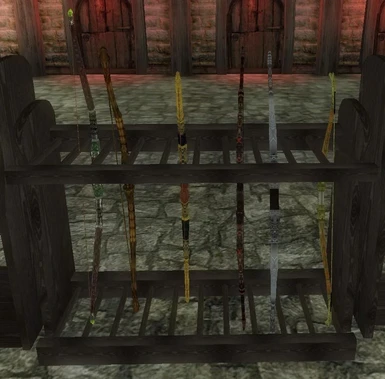
* entire collection of Loth's Better Weapon Racks. This includes a bow rack,
medium weapon rack, tall weapon rack, shelf rack, shield rack, staff rack,
stepped weapon rack, sword stone and a weapon table. These weapon racks have a
very detailed collision mesh which makes inserting weapons into the racks much
easier. They may be used without any additional placement mods like Decorator
Assistant. You just grab the weapon and slide it into the slot in the rack from
the top. The weapon will settle into place. The stepped weapon rack has
invisible walls on the front and back of each shelf so weapons don't roll off.
See Loth's Better Weapon Racks Readme.txt for more details. Also, a zip file
has been included with images of all the racks.
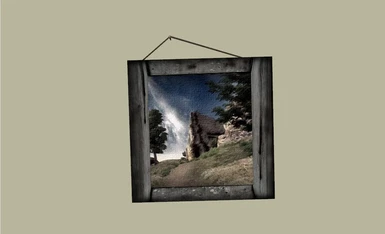
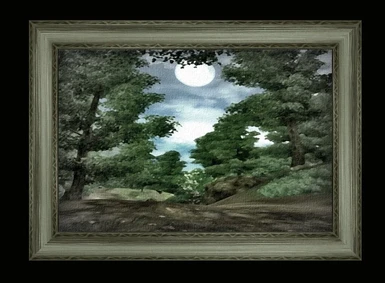
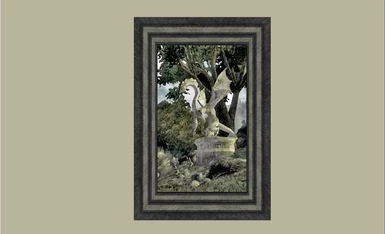
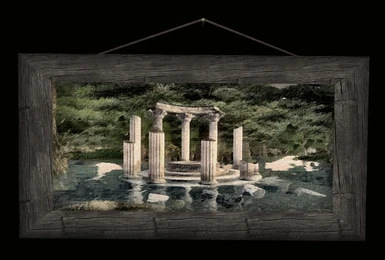
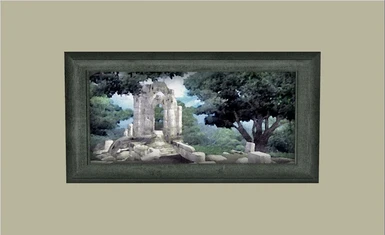
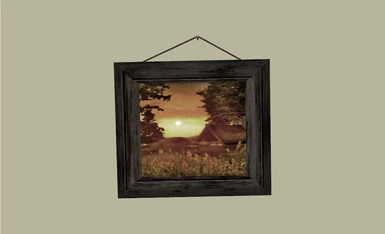
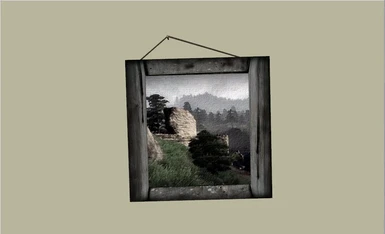
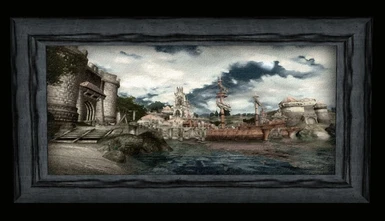
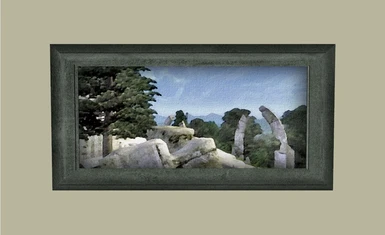
* several paintings from Trollf's Paintings Galore collection. The entire
collection includes 207 paintings, so only a fraction of the collection has been
added. At least one painting from every group has been included. The sizes are
listed in the spreadsheet for comparison purposes. The town painting is huge
and barely fits on the wall between the buttresses in Battlehorn Castle.
* both large and small display cases from the base game.
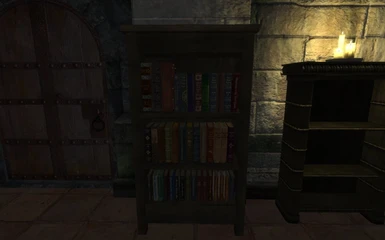
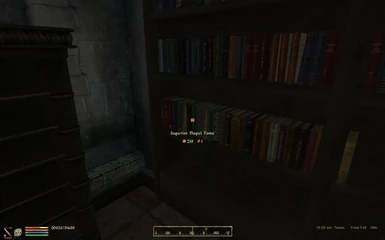
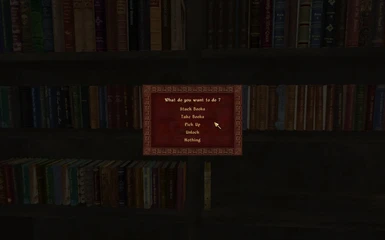
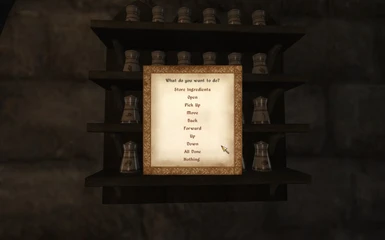
* added Daleth's Ingredient Storage Shelves. You can now buy the best
ingredient storage containers available and place them just like any other item
from Imperial Furniture. The options menu has two new options for storing your
ingredients or just opening the cupboard. All three upperclass versions and the
middleclass wall-mounted version were added. Also, quest items are NOT removed
from your inventory. These may be purchased from Mischa.
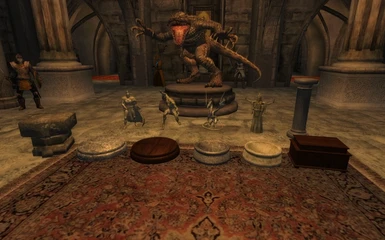
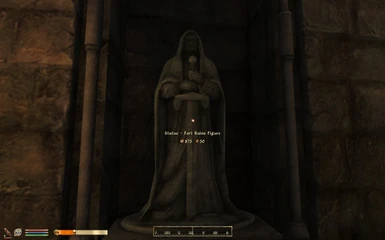
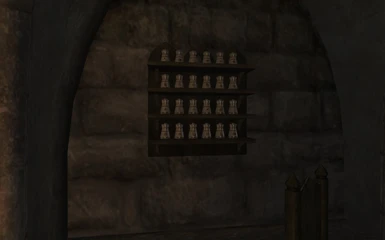
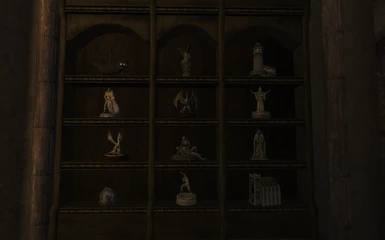
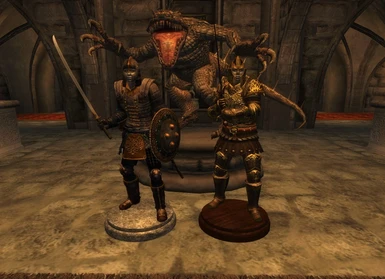
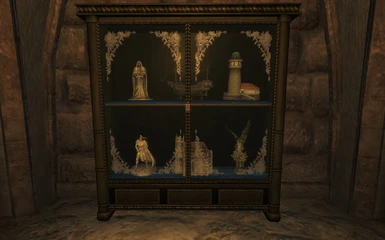
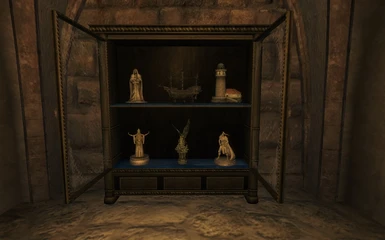
* added several clutter items. You can now purchase a miniature ship, miniature
lighthouse, miniature priory chapel, large fort ruins statue, miniature statues
and more Daedric statues in floor and shelf sizes. Some of these new items are
on display in the store.
* see the Updates section below for the rest of the changes and additions.
Who Sells What
--------------
Damien and Mischa have distinct inventories. As of version 1.1, Damien sells
all the items made out of wood, while Mischa sells the "soft goods" like
carpets, tapestries and paintings. She also sells plants and the alchemy jars.
Damien opens the shop at 8 am and Mischa arrives at 9 am. I have extended
Mischa's schedule to 8 pm like Damien.
Usage
-----
The new additions behave the same way the items did in the original mod except
for the chests as described in the changes section below. However, Loth's
weapon racks must be locked into place before they will work properly. The
reason for this is that the moveable version of the racks uses a simplified
collision mesh so that they can be placed properly. After you have adjusted
their position, click on the rack (activate) and select "Lock" from the menu.
The rack will now be fixed in place and will have the custom collision mesh
designed by Loth.
Instructions from the Original Imperial Furniture Usage Guide:
--------------------------------------------------------------
I copied these instructions from the original Imperial Furniture usage guide,
with some changes to reflect the updates in the Renovated mod.
Let's position some furniture
Step 1. Once you have bought an item from the store bring it to your home and
enter the area where you want to place the item. Drop the item from your
inventory by clicking on it while holding the shift key.
Step 2. If you see a hammer or marker stone fall to the ground please read the
Large Items Section (A). If you see the actual furniture fall to the ground,
read the Small Items Section (B).
A. Large Items
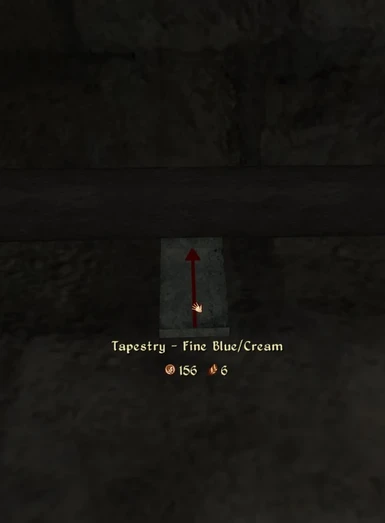
The hammer or marker stone that just fell to the ground will be the marker tool
you need to setup the objects in the right place. Moving large objects using
havok is difficult and frustrating, thereby a marker is first used so you can
easily mark the general area where you want the furniture placed. You can move
the hammer by using the Grab key, it is by default mapped to "z". Move the
stone marker so that the arrow is facing upwards and pointing away from you.
Push the marker stone until it rests flat against the wall with the arrow
pointing towards the wall.
Rotate the hammer or marker stone to set the angle of the item and just activate
it once you are happy with the placement. This will assemble the furniture at
your desired spot. You want the hammer head away from you and the handle
pointing towards you for the most natural positioning of most items. If the
item is placed on the floor (like a table), you can adjust its position a bit by
dragging it.
Example: If you want to place a wall-mounted item, put the marker stone against
the wall with the red arrow facing upwards and directed towards the wall at a 90
degree angle and activate. You can then continue positioning via the options
menu (see below). Don't try to lift the marker in the air when mounting wall and
ceiling items. Always let the marker stay on the floor and activate it there.
The marker will be a hammer for ceiling items.
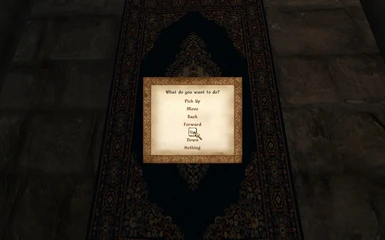
The Options Menu
You can always access the Options Menu by activating the furniture. When you
select Back or Forward from the Options Menu, your angle to the object is taken
into consideration. So if you stand just off the centre line to the object and
select Back, the object will move straight back and to the side slightly as
well! This will allow you to shift the object sideways a bit while also moving
it forward or backward. Once you have finished positioning the item by
selecting options from the menu, select All Done to finalize the position and
shift the collision mesh. See the notes below for suggestions on positioning
wall mounted items.
Item Functions
The items can be used as expected. A bed can be slept in and you can sit on a
chair. Candles can be turned on and off via the options menu. Always consider
locking furniture when you are happy with where you placed it. Some items must
be locked before they are functional, like beds, chairs, chests and Loth's
weapon racks.
Once an item has been locked, the cursor will change to a crosshair when pointed
at the object. However, you can still activate it and the options menu will be
displayed.
B. Small Items
When dropping smaller items you will not have to use a marker. The actual item
will appear on the floor in front of you.
The Options Menu
Just activate the object to access the Options Menu. Note that the Lock and
Unlock options have been replaced by Fix Position and Move for chests.
Item Functions
Some furniture can't be used until they are locked (or fixed in position). Some
objects can't be locked since it is generally not needed. Always consider
locking most furniture when you are happy with where you placed it. Chests must
be fixed in position before they are functional.
Positioning Items like Lights and Paintings
-------------------------------------------
You may notice that when trying to adjust the position of sconces or paintings
on a wall that you may not be able to interact with the object anymore after
clicking on it a couple of times. This is because the object has become
embedded in the collision mesh of the wall, so it's now unreachable. The
collision mesh for walls is sometimes rather crude, so it may extend beyond the
apparent surface of the wall. Here are my suggestion for trying to position
these objects:
1. start with the light or painting being a short distance away from the wall.
You can do this by positioning the marker stone away from the wall a bit so
there's a space between the stone and the wall.
2. now click on the item again and select Back from the options menu to push it
back into the wall. Note that if you stand to the side a bit when selecting
Back, you will shift the object to the side slightly as well. This is handy if
you need to centre the object as well as moving it back. Keep clicking on it and
selecting Back until the item is nicely touching the wall or until you can't
click on it anymore. You may find that the item is not touching the wall, but
you can't click on it anymore. This is because the item is now embedded in the
wall's collision mesh. You won't be able to adjust it any farther.
3. once you have moved the object back as far as you can, select All Done. The
object will disappear for a second and then reappear. This will shift the
collision mesh of the object to match its new position. If you don't do this,
you may find that your player character seems to run into an invisible object or
you can't place other items as near to the object as you should be able to.
This method may leave items sticking out from the wall a bit, but I usually find
that that's not too noticeable. At least this way you will be able to get the
item in the vertical position you desire. I suggest saving the game before
trying to position these items so you can try again if you don't like the
results.
Changes
-------
I made several changes to the chests that were added to the original mod,
completely revamping the way the chests work. You can now lock all the chests
in place, including the jewelry box and lectern. I have modified the pop-up
menu so that it now says "Move" and "Fix Position" instead of "Lock" and
"Unlock". I thought that terminology was a little confusing when used with
chests. The other big change is that you must fix the position of the chest
before you can use it. When you first drop it from your inventory, the moveable
version of the chest will drop to the ground which you can drag into position.
Then when you click on it, the menu will only have "Pick Up", "Fix Position" or
"Nothing" as options. When you select Fix Position, the chest will be replaced
with the static version and will be fixed in position. When you click on it
again after fixing it in position, you will have the previous version of the
menu with the options to "Open", "Pick Up", "Move" or do "Nothing".
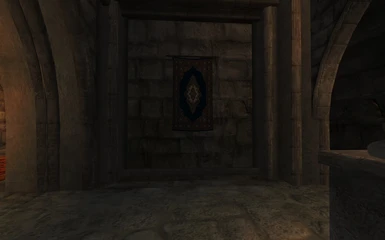
The other major change is the addition of the "All Done" option in the options
menu for some items like tapestries, paintings, chandeliers, wall sconces and
the wall-mounted version of the ingredient storage shelf. Basically this option
will move the collision mesh to match the position of the item once you have
finished moving it into position.
Further Tweaks
--------------
While I have included smaller versions of chests and tables that are lighter and
slightly cheaper, you may wish to customize the size of some items even further.
You can change the size of something by opening the console (usually the tilde
key or the key left of the "1"), clicking on the object, and then typing
SetScale xx, where xx is the desired scaling factor. So, for example, if you
decide that the urn you've just placed on that table is too small, you can enter
SetScale 1.5 and the urn will be 1.5 times larger than it was previously.
Alternatively, you could set the scale to a value less than 1 (like 0.5) to make
something smaller. You can do this to most items, including items purchased
from Imperial Furniture.
Another tip I'd like to pass along is that you can disable the furniture that
the player houses start with. You can remove the bed, table and any other
pieces that might be present when you purchase a house by opening the console,
clicking on the item and typing Disable. Now the house will be completely empty
for you to decorate! You can also do this after purchasing the upgrades. So if
you like most of the upgrades but don't like a particular piece you might be
able to disable it. Save your game first and try it. The reason I say "might"
is because the upgrades come as packages and some of the furniture pieces are
grouped together, so if you disable one piece, you may find that several pieces
disappear.
Uninstallation
--------------
Deactivate the plugin from the Data Files menu or OBMM. Delete Imperial
Furniture Renovated.esp, Imperial Furniture Renovated.bsa, the Extras folder and
the readme file from your Oblivion Data directory.
Updates
-------
Version 1.3
* removed saved game bloat caused by use of PlaceAtMe function. Imperial
Furniture Renovated still uses this function, but its affects have been
mitigated by using an OBSE function to remove disabled references once item has
been placed.
* added Daleth's Ingredient Storage Shelves. These may be purchased from
Mischa.
* added several clutter items. You can now purchase a miniature ship, miniature
lighthouse, miniature priory chapel, large fort ruins statue, miniature statues
and more Daedric statues in floor and shelf sizes. These are all sold by
Mischa.
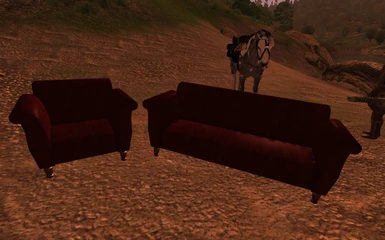
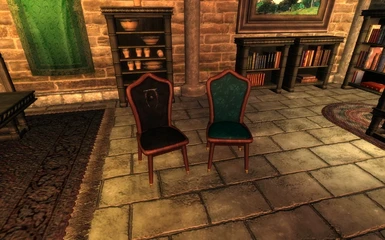
* added upholstered leather sofa and chair
* added upholstered dining chairs
* new rose frosted glass texture for Fine Cupboard with Glass Doors.
* created two versions of single bed. Now when you lock the bed in place, you
can select whether it will be accessed from the right or left side. The new
menu options are: Lock-Left Side and Lock-Right Side. The options don't matter
for the player character, but you will need to select the correct side for
companions to sleep in it properly.
* added chairs with no arms. Existing chairs have been renamed to �Imperial
Armchair� and �Fine Armchair�. Now the chairs called �Imperial Chair� and �Fine
Chair� are the versions with no arms. These chairs may be accessed from the
left or right side. They are better suited for placement around a table.
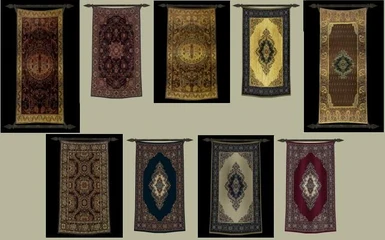
* added middleclass tapestries � bringing total to 16
Version 1.2
* fixed collision on Fine Cupboard with glass doors. When you opened the doors,
they would appear to open but you would be unable to place anything inside the
cupboard. I have also tweaked the interior collision on the shelves in this
cupboard so that the Ayleid Statues would be a little easier to place inside.
* added new option to options menu for chandeliers, wall sconces, fireplace,
paintings, tapestries and wall-mounted tool racks called "All Done". When these
items are moved using the options menu, the collision mesh on the object is not
moved with it. This means that you won't be able to place other items as close
to these objects as you should be able to. You also may find that your
character runs into an invisible object. Once you have finished positioning
these objects, select All Done from the options menu to shift the collision
mesh. The object will briefly disappear and then reappear.
* stopped options menu from appearing when player character is sitting. Now
clicking on the activate button while sitting will simply order the PC to stand,
as it would with regular chairs.
* removed blank menu option for the display cases and cupboard with glass doors
Version 1.1
* changed the position marker to an Ayleid stone with a red arrow on the top for
better positioning of paintings and tapestries
* added Critterman's and my own custom icons to all items
* rearranged Damien's and Mishcha's inventory
* removed extraneous code from chest scripts
* renamed some of the paintings to describe them better
* renamed some of the tapestries to describe them better
* changed the Lock option to Lock Position on the options menu for display cases
and Fine Cupboard
* added more tapestries
* added more paintings
Credits
-------
* Bethesda Softworks for the game and several of the meshes and textures
* Amajor7 for the original Imperial Furniture mod
* InsanitySorrow for creating the bases and pedestals for me and for helping to
get other meshes to behave
* Loth DeBonneville for his Better Weapon Racks modders resource
* Trollf for his Paintings Galore modders resource
* Daleth for the Ingredient Storage Shelves modders resource
* Storm Raven Library Productions for the frosted rose glass texture on the
cupboard
* Xiamara for the chair and sofa meshes
* DavidWhitefang for his dining chairs meshes and textures
* Koniption for her endless patience and assistance in teaching me the finer
points on editing NIF files, fixing meshes and tons of advice!
* Critterman for her custom furniture icons � made especially for Imperial
Furniture with new additions for Imperial Furniture Renovated.
* Amadaun for fixing the textures on the leather sofa and chair.
Licensing/Legal
---------------
You may not modify the contents of this mod or upload it to any other site
without permission. You may not use resources from this mod in any other
project. I can be contacted on TES Nexus, Bethesda Softworks Forums and on TES Alliance.


