


0 of 0

About this mod
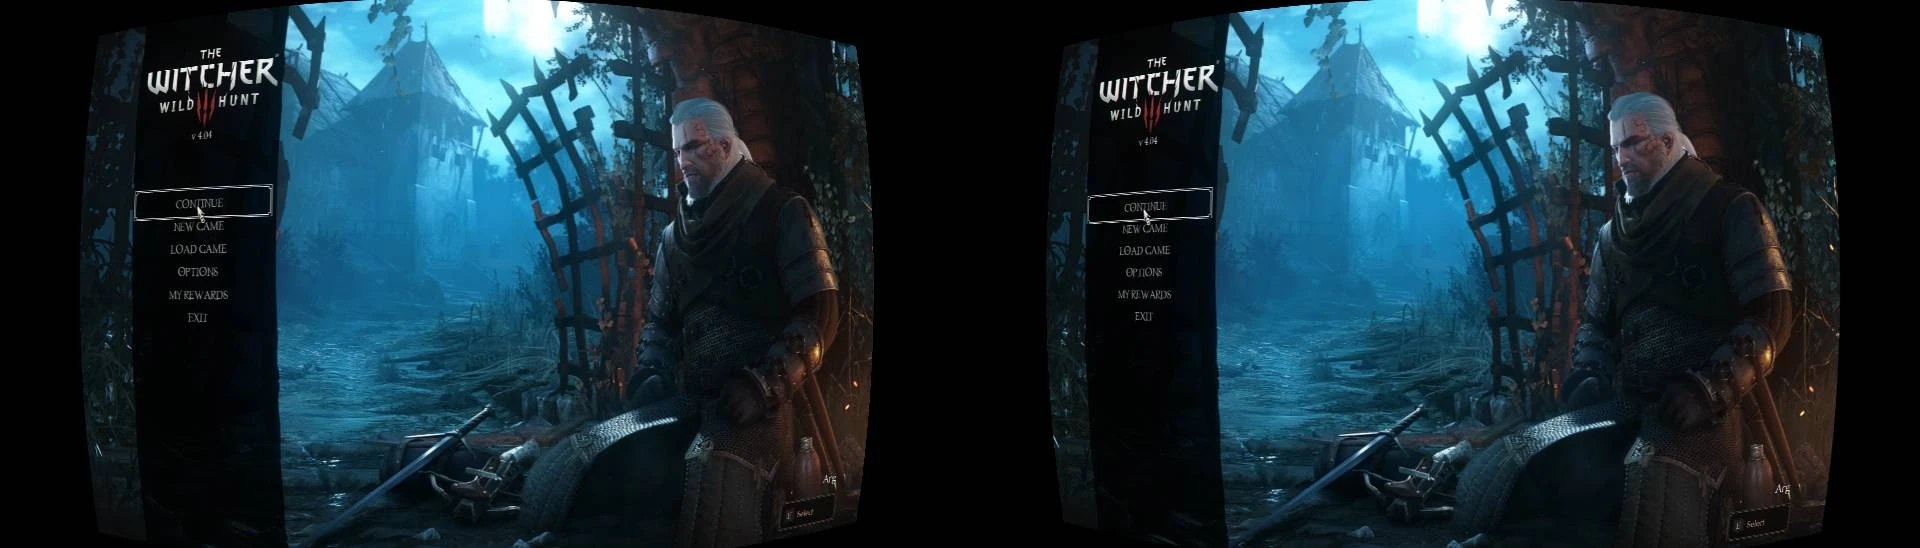
These Reshade profiles allow optimised 3D mapping of contents for use with modded PC-PSVR.
- Requirements
- Permissions and credits
- Changelogs
These Reshade profiles allow optimised 3D mapping of contents for use with modded PC-PSVR.
The main profile is based on RealAdaptation - Realistic Reshade with Eye Adaptation for Darker Nights and No Artificial Lights Combined, but adapts it so it works well in a VR setting.
A second profile enables just 3D VR calibrated for the PSVR headset, so others can use it to develop their own profiles more easily.
Setup guide for PSVR1:
---------------------
NOTE:
Frame Generation and Depth3D, as of ReShade 6.1, work well with proper setup.
In order to make them compatible, on ReShade settings you need to set
Add-os/Depth3D/Aspect Ratio heuristics as Match custom aspect ratio,
Then input the values of the resolution with the most draw calls you in the Addons profiler shown below that box.
-----------------------
Setup for PSVR2:
Trinus has a converter from PSVR2 plug to USB-C. I have not tried it, but might work well.
PSVR2 FoVs are very different, as well as, the optics characteristics of that headset. It will need a different profile for proper usage.
Limitations:
The main profile is based on RealAdaptation - Realistic Reshade with Eye Adaptation for Darker Nights and No Artificial Lights Combined, but adapts it so it works well in a VR setting.
A second profile enables just 3D VR calibrated for the PSVR headset, so others can use it to develop their own profiles more easily.
Setup guide for PSVR1:
Spoiler:
1. Install mod requirements (GFP and Friendly HUD) and configure them.
2. Install Trinus PSVR on the PC. (5min)
https://trinusvr.com/psvr/
3. Set up Trinus VR for any other game. (5min)
https://www.youtube.com/watch?v=mE8f3xo43Yg
No need for Steam nor Steam VR installs.
4. Copy the profile from here to The Witcher 3 folder (1min).
5. Install ReShade on The Witcher 3 directory installing the shaders from this PSVR profile/ini (5min)
https://reshade.me/
6. Copy Polynomial_Barrel_Distortion_for_HMDs.fx from the base Trinus install folder (x64) to your ./The Witcher 3/bin/x64/ Reshade folder (1min).
7. Configure The Witcher 3. (2min)
7a) Change resolution to 1920x1080,
7b) Set FoV to 100 on GFP Field of View mod settings;
7c) Disable all HUD elements during exploration, or it will flicker. Friendly HUD is your Friend!
7d) Increase upscaling/DLSS/FSR scaling if needed to improve framerates.
8. Configure Reshade (Home) (1min)
8a) Enable Depth3D,
8b) Set the heuristics to 'Multiple resolutions',
8c) Change the profile to Witcher3PSVR.ini.
8d) Set up your IPD (InterPupilary Distance) under SuperDepth3dVR+.fx
8e) Set ReShade to Performance mode.
9. Close The Witcher 3.
10. Open Trinus PSVR, say OK to all folder pop-ups (for GOG does not matter which folders you choose), and start the service.
11. Restart The Witcher 3, and enjoy.
Show
1. Install mod requirements (GFP and Friendly HUD) and configure them.
2. Install Trinus PSVR on the PC. (5min)
https://trinusvr.com/psvr/
3. Set up Trinus VR for any other game. (5min)
https://www.youtube.com/watch?v=mE8f3xo43Yg
No need for Steam nor Steam VR installs.
4. Copy the profile from here to The Witcher 3 folder (1min).
5. Install ReShade on The Witcher 3 directory installing the shaders from this PSVR profile/ini (5min)
https://reshade.me/
6. Copy Polynomial_Barrel_Distortion_for_HMDs.fx from the base Trinus install folder (x64) to your ./The Witcher 3/bin/x64/ Reshade folder (1min).
7. Configure The Witcher 3. (2min)
7a) Change resolution to 1920x1080,
7b) Set FoV to 100 on GFP Field of View mod settings;
7c) Disable all HUD elements during exploration, or it will flicker. Friendly HUD is your Friend!
7d) Increase upscaling/DLSS/FSR scaling if needed to improve framerates.
8. Configure Reshade (Home) (1min)
8a) Enable Depth3D,
8b) Set the heuristics to 'Multiple resolutions',
8c) Change the profile to Witcher3PSVR.ini.
8d) Set up your IPD (InterPupilary Distance) under SuperDepth3dVR+.fx
8e) Set ReShade to Performance mode.
9. Close The Witcher 3.
10. Open Trinus PSVR, say OK to all folder pop-ups (for GOG does not matter which folders you choose), and start the service.
11. Restart The Witcher 3, and enjoy.
---------------------
NOTE:
Frame Generation and Depth3D, as of ReShade 6.1, work well with proper setup.
In order to make them compatible, on ReShade settings you need to set
Add-os/Depth3D/Aspect Ratio heuristics as Match custom aspect ratio,
Then input the values of the resolution with the most draw calls you in the Addons profiler shown below that box.
-----------------------
Setup for PSVR2:
Trinus has a converter from PSVR2 plug to USB-C. I have not tried it, but might work well.
PSVR2 FoVs are very different, as well as, the optics characteristics of that headset. It will need a different profile for proper usage.
Limitations:
Spoiler:
1. I do not use motion controls, nor camera, so this only allows 3 degrees of freedom, i.e., the PSVR will allow you to look around.
PSMoveService allows 6 degrees of freedom and PS Move usage, but I have not tried it. The Witcher 3 advanced VR mods are needed for this.
2. Since The Witcher 3 does not allow decoupled FoV settings, you lose vertical FoV to keep proportions right. You get vFoV=50 and hFov~=90.
However, this is needed not only for correct visuals but also to avoid motion sickness.
3. Free Trinus PSVR allows you to game properly for about 30min at each time. The paid version has no limits. PSMoveService might work better, but I have not tried it yet.
4. You will lose very little performance with this ReShade settings (~5%), since the stereoscopic 3D is done as a post-processing step. It is not as great stereoscopic effect as double rendering, but, in my opinion, it works great and it is less prone to cause motion sickness. In my case, with this profile I do not get motion sickness on long stretches, while with the default Trinus PSVR profile it causes me headaches almost instantly.
Show
1. I do not use motion controls, nor camera, so this only allows 3 degrees of freedom, i.e., the PSVR will allow you to look around.
PSMoveService allows 6 degrees of freedom and PS Move usage, but I have not tried it. The Witcher 3 advanced VR mods are needed for this.
2. Since The Witcher 3 does not allow decoupled FoV settings, you lose vertical FoV to keep proportions right. You get vFoV=50 and hFov~=90.
However, this is needed not only for correct visuals but also to avoid motion sickness.
3. Free Trinus PSVR allows you to game properly for about 30min at each time. The paid version has no limits. PSMoveService might work better, but I have not tried it yet.
4. You will lose very little performance with this ReShade settings (~5%), since the stereoscopic 3D is done as a post-processing step. It is not as great stereoscopic effect as double rendering, but, in my opinion, it works great and it is less prone to cause motion sickness. In my case, with this profile I do not get motion sickness on long stretches, while with the default Trinus PSVR profile it causes me headaches almost instantly.