Documentation
Readme
View as plain text
==================
Terms of Use
==================
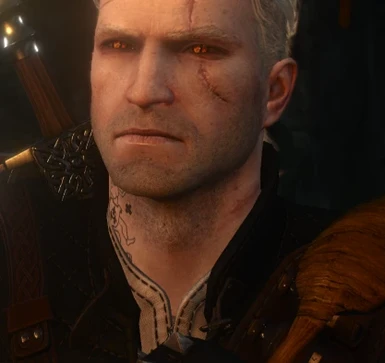
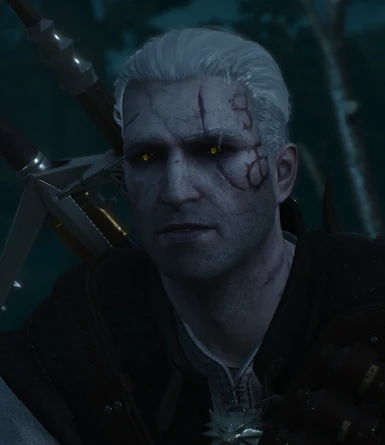
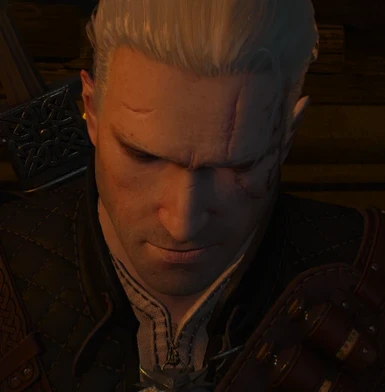
You're free to make edits to my textures. I only ask that you give credit if you choose to upload your edits, and link back to my Gwynbleidd mod: http://www.nexusmods.com/witcher3/mods/893/?
Shoot me a link to your work too, as I'd love to see it!
Also, don't be a blobtit and redistribute my mod, or try to make a profit off of my mod or any edits you make to it.
==================
Installation
==================
- Drop the files into your The Witcher 3 Wild Hunt\Mods folder. [ex: C:\GOG Games\The Witcher 3 Wild Hunt\Mods]
- If you don't have a Mods folder, simply create your own.
- To uninstall, just delete the modGwynbleidd folders.
==========================
Merging File Options
==========================
This is for people who have a lot of mods, and are worried about running into the infinite load screen due to reaching the maximum texture mod limit.
If you only have a few texture mods, you won't need to do this unless you absolutely want to.
Due to the number of combinations for my mods, I simply don't have the time to create every single one-in-all file imaginable.
That said, if you're stuck and need help, or just can't merge mods for whatever reason, let me know which files you want merged, and I'll be happy to do it for you!
-----------------------------
I personally use Modkitchen to simplify the process, but if you want, you can just run the wcc_lite.exe and do it manually. You'll have to find other instructions for that, as I've never tried that way.
-----------------------------
==========================
Instructions
==========================
1. Download the Modkit from the link on this page:
https://forums.nexusmods.com/index.php?/topic/3323470-witcher-3-modkit-update-released/page-1
2. Follow the setup.exe (I recommend having no spaces in your folder name to make things easier. Modkit doesn't play well with spaces.)
3. Install the .NET Framework 4.5 if you don't already have it:
https://www.microsoft.com/en-us/download/details.aspx?id=30653
4. Download Modkitchen from the Nexus: http://www.nexusmods.com/witcher3/mods/389/?
5. Extract the Modkitchen.exe anywhere you want.
6. Create a folder named 'uncooked'. This is where the mod files will be placed once you uncook the mods, so you should leave it empty until modkitchen does its magic.
7. Open Modkitchen and under the wcc_lite location, direct it to where you installed the modkit
[ex: C:\Program Files (x86)\Witcher3ModTools\bin\x64\]
8. Direct the Uncooked File Location to the 'uncooked' folder you created.
9. Extract whichever modGwynbleidd folder you want, wherever you want. I keep mine in the same place as the modkitchen.exe
10. Under the 'Uncook Game Files' tab, direct the 'Input Path' to the mod you want to uncook. Make sure it's the main folder, and not the 'content' subfolder.
11. You can pick whatever texture format you want. You won't need to do anything uness you want to play around with the textures on your own.
12. Check the 'Skip Errors' box and leave the 'Dump redswf files' box unchecked. (This should be the default settings.)
13. Hit 'Uncook!' on the bottom right corner and wait. Sometimes you might run into a message that says something about it being unable to create a collision cache. I've found that it will still extract everything fine anyway. (If it doesn't work, or it just bugs you, just give the wcc_lite.exe and modkitchen.exe administrative persmission.)
14. Create a new folder called 'merged' in the same place you have your 'uncooked' folder.
15. Drag all of the folders in the 'uncooked' folder into the 'merged' folder. Do not change the folder structure.
16. Repeat steps 10-13 for all of the files you want to merge. So if you're merging a head, body, hair, eyes, and toxicity mask, you'll need to do this for each of those mods.
*You can safely drag all of the seperate mod folders into the 'merged' folder without changing anything. The folder structure will be okay for the merged mod you're creating.
*Because we dragged all of the first mod's uncooked folders into the new 'merged' folder, you can keep using the 'uncooked' folder for all of the mods. It just needs to be empty when you uncooked a new mod.)
17. Once you have all of the mods uncooked, go to your merged folder. Create a new folder called 'Modded'. Drag all of the other folders into the 'Modded' folder.
- DO NOT CHANGE THE FOLDER STRUCTURE. This won't work if the folders aren't exact.
[ex: {....}\Modded\characters\models\geralt\head\model\ep1_mark]
[ex: {....}\Modded\dlc\ep1\data\characters\models\geralt\body]
===============================================================================
Now we're going to cook everything into a new mod! You're almost there!
===============================================================================
18. Go to the 'Build a Mod' tab in Modkitchen.
19. The 'wcc_lite' directory and 'Uncooked Files location' directory should be the same as they were before.
20. Name the mod whatever you want. Just make sure there are no spaces. You can use dashes or underscores instead.
21. Direct the 'Mod Working Directory' to your 'merged\Modded' folder. (Don't go to any of the subfolders or this won't work.)
22. Leave the two check boxes under the protip unchecked. Hit 'Build!' and wait again. This wait will be longer, and you'll have several boxes flash before it completes.
23. Once you get the 'Congratulations!' message, go back into your 'merged' folder. Now you'll see that you have three new folders, a 'Cooked', 'Uncooked', and 'Packed' folder.
24. Go into the 'Packed' folder and copy the folder there. [It will be a 'modmerged(whatever-you-named-the-mod) folder.
25. Paste this folder in your The Witcher 3 Wild Hunt\Mods folder. (You can drag and drop instead of copying it if you want.)
26. ENJOY!


