


0 of 0


File information
Created by
Aeltoth Faen and PartoutatixUploaded by
PartoutatixVirus scan
Safe to use
What the mod does:
Disables the unvisited map markers that can litter the maps as soon as you start the game, specifically:
This means that the first time you enter a region its map should be empty/no icon markers regardless of which map presets and hud options you're using. The only pre-known map pin that should remain is the one pointing you to the next stage for your currently selected quest - no worse than a modern bethesda title.
Suggested map/hud settings:
Install instructions:
Same as installing most other TW3 Mods. Avoid Vortex, TW3 Mod Manager recommended if you need a manager. Place any \modxxx folders directly inside your <TW3 game install>\Mods (or \mods) folder, place any \dlcxxx folders directly inside your <TW3 game install>\dlc (or \DLC) folder. Merge everything with Script Merger.
How to install most simple TW3 Mods for newbies/klutzes:
Uninstall instructions:
Just remove the mod's files, run script merger again.
Part of a series of mods for the exploration aspect of the game.
Compatibility:
EE: compatible.
All quest objectives on map: compatible.
Colored map markers: compatible
Additional stashes and dlc stashes: NOT compatible
Disables the unvisited map markers that can litter the maps as soon as you start the game, specifically:
- Disables map markers for noticeboards you haven't visited yet. They are only enabled when you've already visited them.
- Disables map markers for unvisited POIs/question marks. They are only enabled when you've already visited them.
- Disables map markers for player stashes that you haven't visited yet (not retroactive for stashes you'd already visited before installing the mod, you'll have to revisit them to make their map markers visible again).
- Disables map markers for boats.
This means that the first time you enter a region its map should be empty/no icon markers regardless of which map presets and hud options you're using. The only pre-known map pin that should remain is the one pointing you to the next stage for your currently selected quest - no worse than a modern bethesda title.
Suggested map/hud settings:
Spoiler:
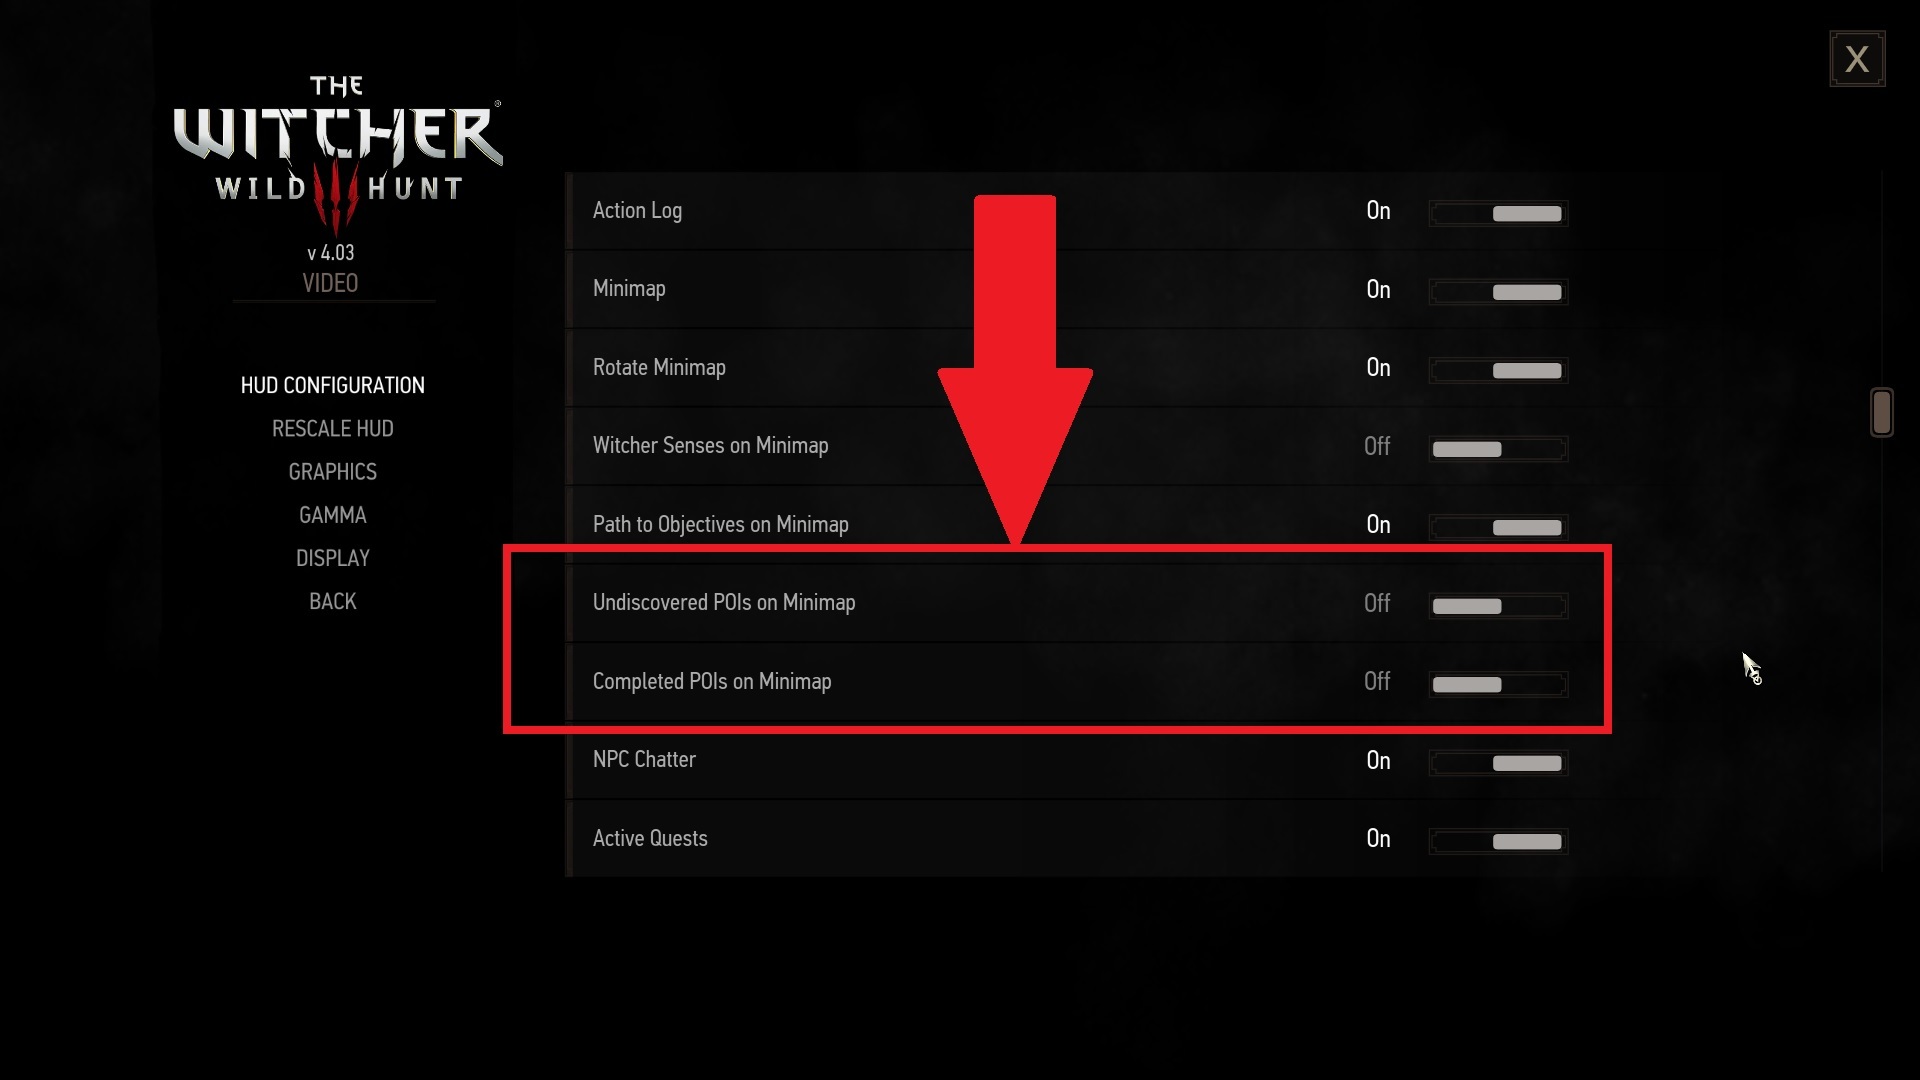
In Options -> Video -> HUD Configuration, setting "Undiscovered POIs on Minimap" and "Completed POIs on Minimap" to Off will also remove them from the regular map.

In the map I'd suggest choosing the "ALL" preset, which -unknown to most players- you can then further configure by selecting the tab for a specific type of map pin and right clicking on it or pressing the left trigger button on your gamepad (L2/LT) to disable those types of map markers. In this example the Boat type markers are disabled (though this mod disables boat map pins regardless of that setting anyway).
Show
In Options -> Video -> HUD Configuration, setting "Undiscovered POIs on Minimap" and "Completed POIs on Minimap" to Off will also remove them from the regular map.
In the map I'd suggest choosing the "ALL" preset, which -unknown to most players- you can then further configure by selecting the tab for a specific type of map pin and right clicking on it or pressing the left trigger button on your gamepad (L2/LT) to disable those types of map markers. In this example the Boat type markers are disabled (though this mod disables boat map pins regardless of that setting anyway).
Install instructions:
Same as installing most other TW3 Mods. Avoid Vortex, TW3 Mod Manager recommended if you need a manager. Place any \modxxx folders directly inside your <TW3 game install>\Mods (or \mods) folder, place any \dlcxxx folders directly inside your <TW3 game install>\dlc (or \DLC) folder. Merge everything with Script Merger.
How to install most simple TW3 Mods for newbies/klutzes:
Spoiler:
First you gotta locate your The Witcher 3 game install location. Usually it's somewhere like "C:\GOG Games\The Witcher 3 Wild Hunt GOTY" for Good Old Games versions of the game or "C:\Program Files (x86)\Steam\steamapps\common\The Witcher 3" for Steam versions of the game.
Mandatory:
Script Merger
Download, run/install it, run what it installed to be sure it's working.
Optional but highly recommended:
TW3 Mod Manager
Download, run/install it, run what it installed to be sure it's working. Installing it all to some place like C:\TW3Modding\ should work.
After that you can install most mods by downloading them manually (VORTEX NOT RECOMMENDED WITH TW3 MODS, IT WILL EVENTUALLY CAUSE PROBLEMS). Extract their contents somewhere (rightclick on the downloaded mod file->extract) and then place their files&folders in the right places in your game install yourself OR let TW3 Mod Manager extract and place them correctly for you (Recommended).
If you're not using TW3 Mod Manager you need to make sure all of your mod's \modxxx folders end up directly inside your <TW3 game install>\Mods folder (or <TW3 game install>\mods, wherever your other mods are). If there's no mods folder in your TW3 game install folder (TW3MM would've created one for you) you can create one by rightclicking on some empty space there -> "New" -> "Folder" and write Mods as its name. That means your \modxxx folders ends up as <TW3 game install>\Mods\modxxx. TW3MM would place it there automatically for you so you wouldn't have to.
If your mod has \dlcxxx folders they similarly need to be directly inside your <TW3 game install>\dlc folder (or <TW3 game install>\DLC wherever your other dlcs are). They should end up as <TW3 game install>\dlc\dlcxxx ( never <TW3 game install>\dlc\dlc\dlcxxx !). TW3MM would do this automatically for you.
If you mod has a xxx.xml mod menu file then it would have would have to end up as <TW3 game install>\bin\config\r4game\user_config_matrix\pc\xxx.xml. Again, TW3MM would do this automatically for you.
With the nextgen/4.00 version of the game to get the mod menu to work you additionaly need to edit the dx11filelist.txt and dx12filelist.txt files in The Witcher 3 Wild Hunt GOTY\bin\config\r4game\user_config_matrix\pc by adding your mod's xxx.xml mod menu filename to those lists. Again TW3MM would do this automatically for you.
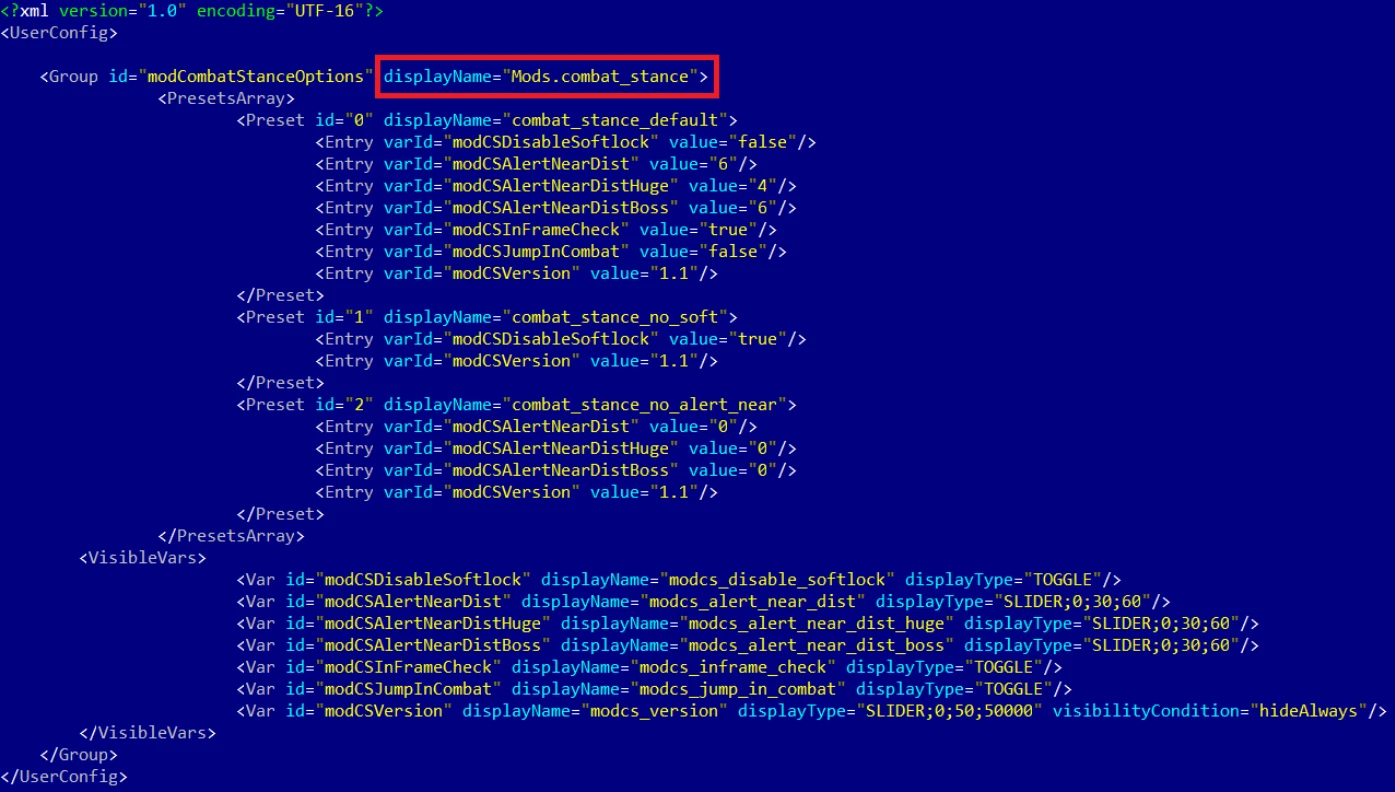
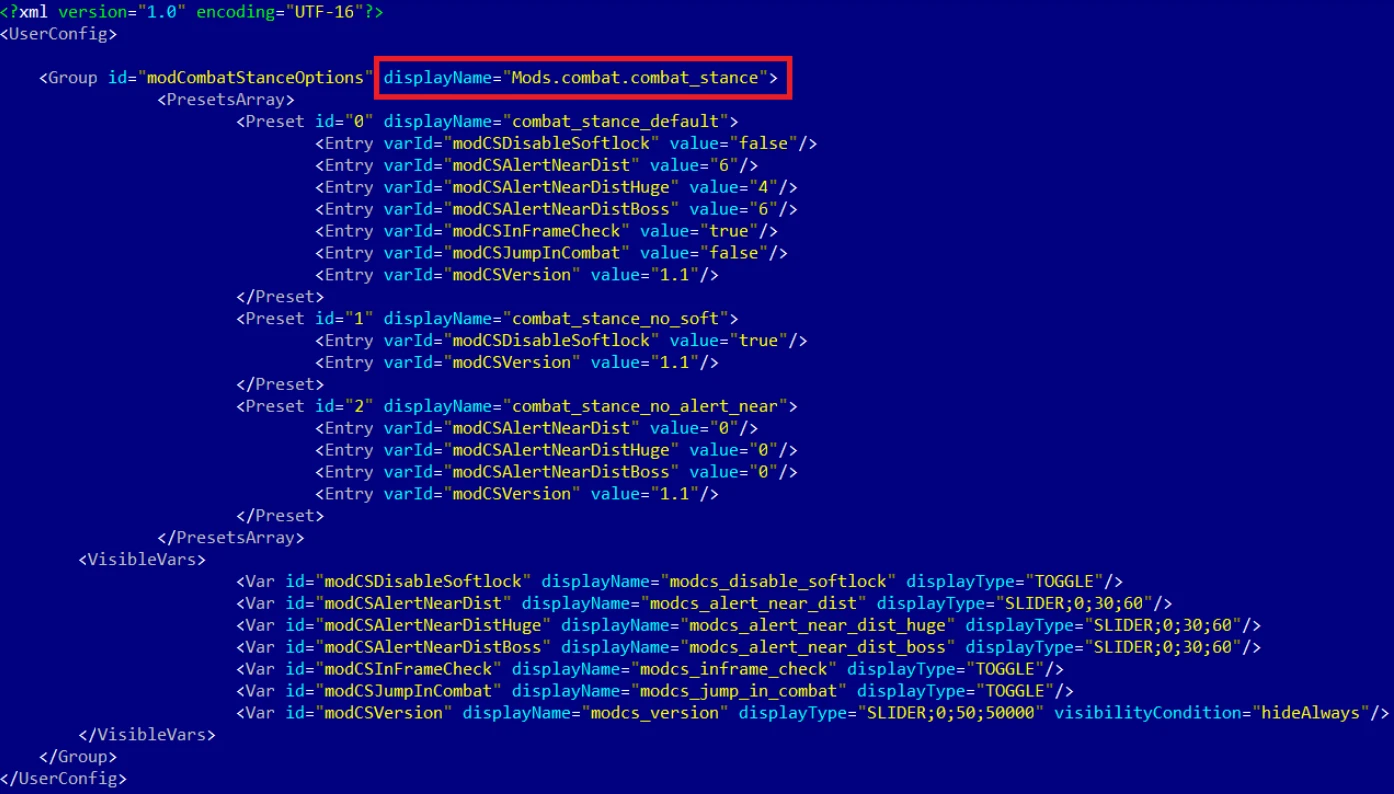
If you happen to have more mod menus tham what can fit on the mod menu list you can easily edit & group mod menus together into subgroups yourself using something like notepad++, example: 1-> 2 (that mod menu was placed in a "combat" subgroup, example from Menu Strings).
If your mod has custom keybinds you probably have to add them to your <My Documents>\The Witcher 3\input.settings file using some editor like notepad++. Once more, TW3MM will usually do this automatically for you.
After your mod's files & folders are in the right places you need to run patched Script Merger and merge any conflicting files that can be merged together (that means both .ws scripts and .xml bundled files).
Sadly, not all mods will automatically merge together, most probably won't (though all LEGO merge automatically with each other, obviously), but some unresolved conflicts can be solved with a little manual help:

The bottom half is the output/result of your merge, the yellow <Merge Conflict> line is the conflicting line that SM can't figure out automatically.
Right click on the merge conflict and you get some simple options:

^There you picked the line from mod 2, but you can also pick the lines from both mods, in any order:

Or you can even write your own code in there. Of course knowing which lines to choose or how to make them work together does require you to somewhat understand what the code does. When in doubt you might try asking the concerned mod's authors & users for help in the comments sections.
However keep in mind that there's no guarantee that any 2 mods can be effectively merged together, nor is there any guarantee that 2 mods are working well together even if they merged automatically and the game seems to be running ok.
That's why to be extra safe you should carefully read each mod's install instructions to make sure there aren't any special instructions or requirements for the mod to work (some mods might require other mods to work such as the unification/community patch or shared imports) or incompatibilities, and then merge & run the game after each new mod install to make sure it's running well.
Show
First you gotta locate your The Witcher 3 game install location. Usually it's somewhere like "C:\GOG Games\The Witcher 3 Wild Hunt GOTY" for Good Old Games versions of the game or "C:\Program Files (x86)\Steam\steamapps\common\The Witcher 3" for Steam versions of the game.
Mandatory:
Script Merger
Download, run/install it, run what it installed to be sure it's working.
Optional but highly recommended:
TW3 Mod Manager
Download, run/install it, run what it installed to be sure it's working. Installing it all to some place like C:\TW3Modding\ should work.
After that you can install most mods by downloading them manually (VORTEX NOT RECOMMENDED WITH TW3 MODS, IT WILL EVENTUALLY CAUSE PROBLEMS). Extract their contents somewhere (rightclick on the downloaded mod file->extract) and then place their files&folders in the right places in your game install yourself OR let TW3 Mod Manager extract and place them correctly for you (Recommended).
If you're not using TW3 Mod Manager you need to make sure all of your mod's \modxxx folders end up directly inside your <TW3 game install>\Mods folder (or <TW3 game install>\mods, wherever your other mods are). If there's no mods folder in your TW3 game install folder (TW3MM would've created one for you) you can create one by rightclicking on some empty space there -> "New" -> "Folder" and write Mods as its name. That means your \modxxx folders ends up as <TW3 game install>\Mods\modxxx. TW3MM would place it there automatically for you so you wouldn't have to.
If your mod has \dlcxxx folders they similarly need to be directly inside your <TW3 game install>\dlc folder (or <TW3 game install>\DLC wherever your other dlcs are). They should end up as <TW3 game install>\dlc\dlcxxx ( never <TW3 game install>\dlc\dlc\dlcxxx !). TW3MM would do this automatically for you.
If you mod has a xxx.xml mod menu file then it would have would have to end up as <TW3 game install>\bin\config\r4game\user_config_matrix\pc\xxx.xml. Again, TW3MM would do this automatically for you.
With the nextgen/4.00 version of the game to get the mod menu to work you additionaly need to edit the dx11filelist.txt and dx12filelist.txt files in The Witcher 3 Wild Hunt GOTY\bin\config\r4game\user_config_matrix\pc by adding your mod's xxx.xml mod menu filename to those lists. Again TW3MM would do this automatically for you.
If you happen to have more mod menus tham what can fit on the mod menu list you can easily edit & group mod menus together into subgroups yourself using something like notepad++, example: 1-> 2 (that mod menu was placed in a "combat" subgroup, example from Menu Strings).
If your mod has custom keybinds you probably have to add them to your <My Documents>\The Witcher 3\input.settings file using some editor like notepad++. Once more, TW3MM will usually do this automatically for you.
After your mod's files & folders are in the right places you need to run patched Script Merger and merge any conflicting files that can be merged together (that means both .ws scripts and .xml bundled files).
Sadly, not all mods will automatically merge together, most probably won't (though all LEGO merge automatically with each other, obviously), but some unresolved conflicts can be solved with a little manual help:
The bottom half is the output/result of your merge, the yellow <Merge Conflict> line is the conflicting line that SM can't figure out automatically.
Right click on the merge conflict and you get some simple options:
^There you picked the line from mod 2, but you can also pick the lines from both mods, in any order:
Or you can even write your own code in there. Of course knowing which lines to choose or how to make them work together does require you to somewhat understand what the code does. When in doubt you might try asking the concerned mod's authors & users for help in the comments sections.
However keep in mind that there's no guarantee that any 2 mods can be effectively merged together, nor is there any guarantee that 2 mods are working well together even if they merged automatically and the game seems to be running ok.
That's why to be extra safe you should carefully read each mod's install instructions to make sure there aren't any special instructions or requirements for the mod to work (some mods might require other mods to work such as the unification/community patch or shared imports) or incompatibilities, and then merge & run the game after each new mod install to make sure it's running well.
Uninstall instructions:
Just remove the mod's files, run script merger again.
Part of a series of mods for the exploration aspect of the game.
Compatibility:
EE: compatible.
All quest objectives on map: compatible.
Colored map markers: compatible
Additional stashes and dlc stashes: NOT compatible