


0 of 0
Documentation
Readme
View as plain text
===================
Readme/Instructions
===================
About
-----
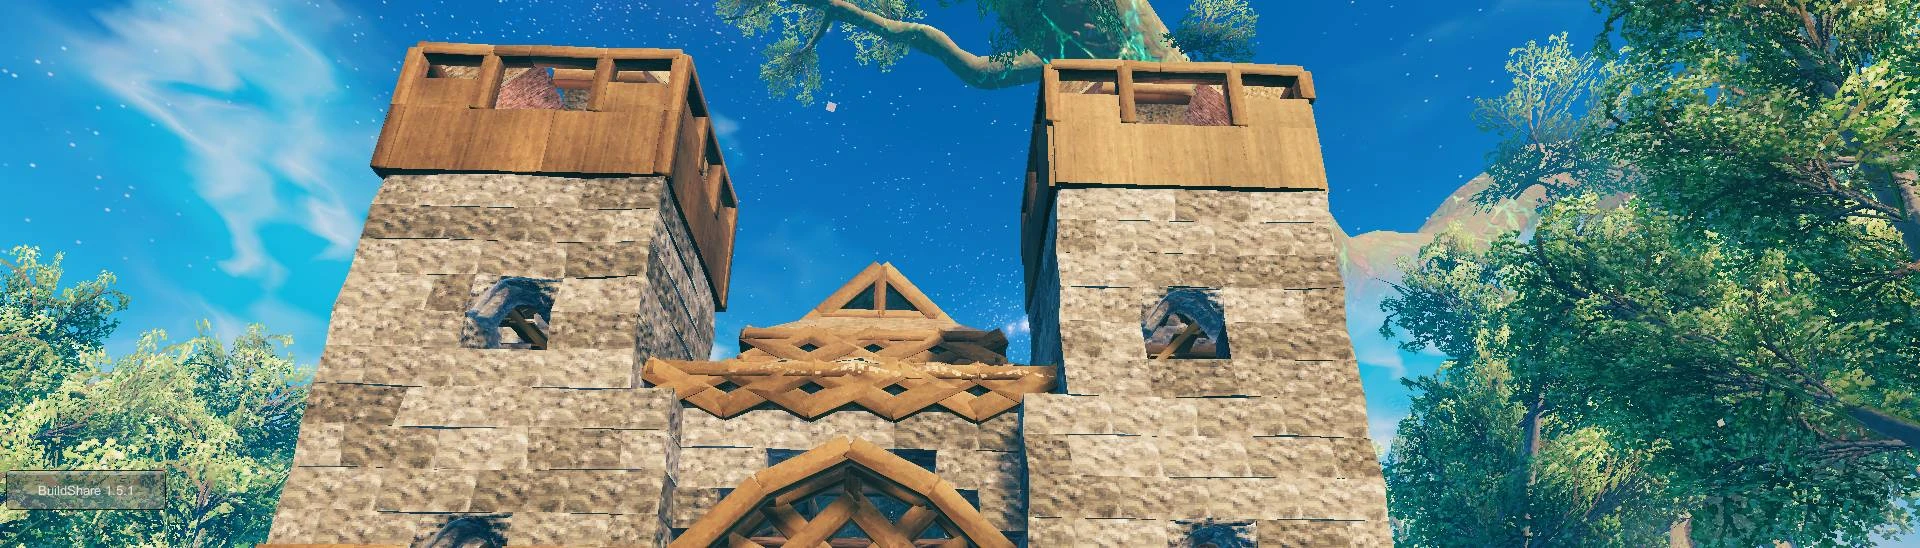
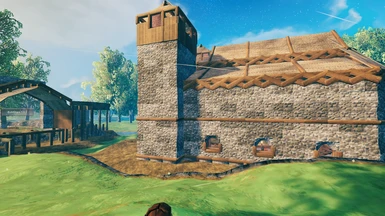
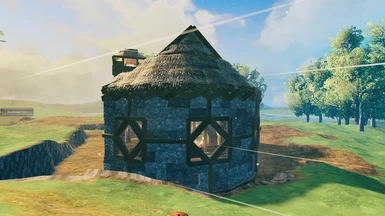
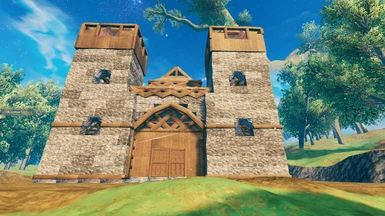
- Thanks for downloading my one of my builds.
- All of these structures are meant to be placed using the BuildShare mod (formerly AdvancedBuilding).
- Included here are all the steps required to get you started using BuildShare and placing this structure.
Requirements
------------
- BuildShare (AdvancedBuilding)- Valheim (https://www.nexusmods.com/valheim/mods/5)
Installing BuildShare (AdvancedBuilding):
-----------------------------------------
- Before anything, BuildShare is needed in order to place this 'blueprint'.
- At time of writing, BuildShare has a prerequisite in itself: InSlimVML - Valheim Mod Loader (https://www.nexusmods.com/valheim/mods/21)
- Download all prerequisites, and unzip their contents in their designated folder:
- Place InSlimVML into your Valheim directory, and BuildShare into the mod directory created by InSlimVML.
- Your file structure should look something similar to:
- <Steam directory>\steamapps\common\Valheim\InSlimVML\mods\CR-BuildShare_VML.dll
Installing this Build:
----------------------
- Download and unzip this mod into the \BuildShare\Builds folder located inside your Valheim directory.
- This folder is automatically created when you save your first build using BuildShare.
- If you have not yet saved a build, you can easily create the new folders yourself.
- My build folder is located at the following path (with example .vbuild file):
- C:\Program Files (x86)\Steam\steamapps\common\Valheim\BuildShare\Builds\MyHouse.vbuild
- NOTE: If you used a previous version of BuildShare (AdvancedBuilding), your build directory may be slightly different.
- e.g., folder named AdvancedBuilding instead of BuildShare.
Usage:
------
1. BuildShare now features a GUI to help position and place your structures.
2. If the GUI is not visible, open the console (F5 in-game) and type 'ab ui' (without quotes).
3. Enter the filename of the desired build in the Build Name box. For example: 'winterCabin', 'jarlsKeep', 'stoneFarm', or 'roundhouse' (without quotes).
4. Utilize the X, Y, and Z coordinates and the rotation settings along with the prebuild functionality to test placement.
5. Click ~BUILD~ to place the structure.
NOTES:
------
- I usually suggest using a Y value of 0-2 for most builds, as they're generally saved standing on a floor slightly above ground.
- You can use the UPDATE POS button to refresh your test placements after minor adjustments.
- The TerrainMaster mod can help with flattening areas for building, but *use this sparingly*, overuse of terrain modification can easily impact your game performance.