


0 of 0
About this mod
Small dockhouse meant for use with BuildShare (formerly AdvancedBuilding).
- Requirements
- Permissions and credits
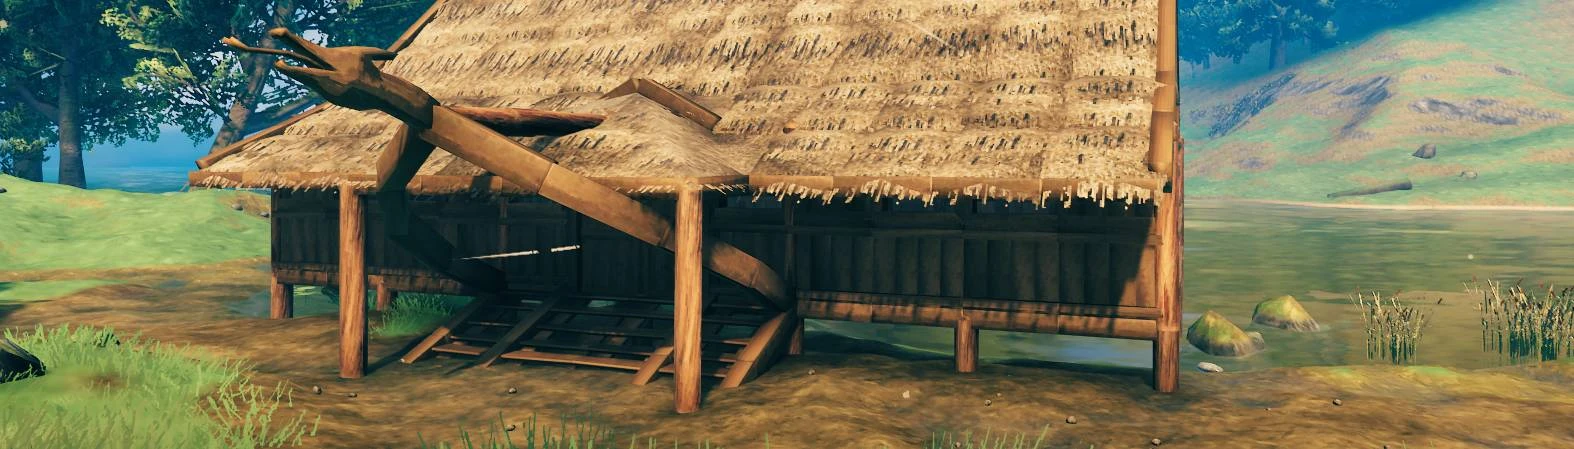
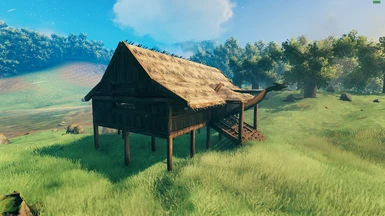
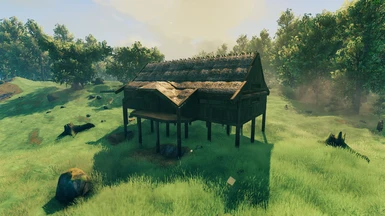
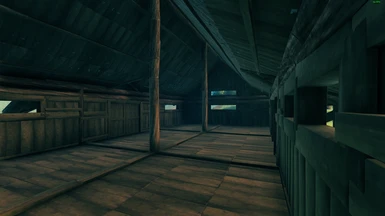
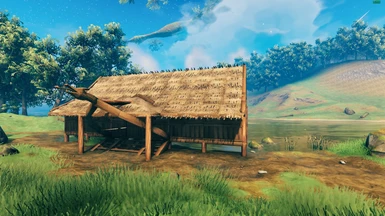
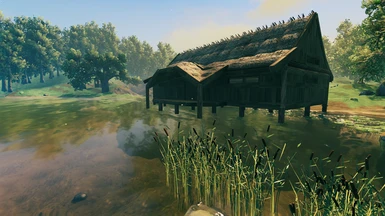
A 6x12 dockhouse meant for use with the BuildShare mod (formerly AdvancedBuilding).
When using, I suggest building it with a Y value of 1-2, for example:
Pillars are added at far points for additional support in the water. It's not meant to go incredibly deep, but there's about 9m of support underneath the far end, with 6m of support throughout the rest.
Have fun, and happy building!
Requirements
Installing BuildShare (AdvancedBuilding):
Installing this Build:
Usage:
NOTES:
- I usually suggest using a Y value of 0-2 for most builds, as they're generally saved standing on a floor slightly above ground.
- You can use the UPDATE POS button to refresh your test placements after minor adjustments.
- The TerrainMaster mod can help with flattening areas for building, but *use this sparingly*, overuse of terrain modification can impact game performance.
When using, I suggest building it with a Y value of 1-2, for example:
ab build dockhouse 0 1 0
orab build dockhouse 0 2 0
Pillars are added at far points for additional support in the water. It's not meant to go incredibly deep, but there's about 9m of support underneath the far end, with 6m of support throughout the rest.
Have fun, and happy building!
Requirements
Installing BuildShare (AdvancedBuilding):
- Before anything, BuildShare is needed in order to place this 'blueprint'.
- At time of writing, BuildShare has a prerequisite download itself: InSlimVML - Valheim Mod Loader
- Download all prerequisites, and unzip their contents in their designated folder:
- Your file structure should look something similar to:
Installing this Build:
- Download and unzip this mod into the \BuildShare\Builds folder located inside your Valheim directory.
- This folder is automatically created when you save your first build using BuildShare.
- If you have not yet saved a build, you can easily create the new folders yourself.
- My build folder is located at the following path (with example .vbuild file):
- NOTE: If you used a previous version of BuildShare (AdvancedBuilding), your build directory may be slightly different.
Usage:
- BuildShare now features a GUI to help position and place your structures.
- If the UI is not visible, open the console (F5 in-game) and type 'ab ui' (without quotes).
- Enter the filename of the desired build in the Build Name box. For example: 'winterCabin', 'jarlsKeep', 'stoneFarm', or 'roundhouse' (without quotes).
- Utilize the X, Y, and Z coordinates and the rotation settings along with the prebuild functionality to test placement.
- Click ~BUILD~ to place the structure.
NOTES:
- I usually suggest using a Y value of 0-2 for most builds, as they're generally saved standing on a floor slightly above ground.
- You can use the UPDATE POS button to refresh your test placements after minor adjustments.
- The TerrainMaster mod can help with flattening areas for building, but *use this sparingly*, overuse of terrain modification can impact game performance.