This page was last updated on 06 April 2025, 4:12PM
Changelogs
Version 1.5.0
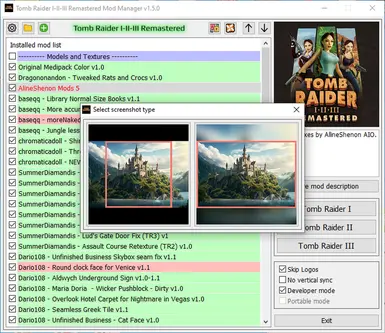
1. Now you can enable the display of conflicts in the mod manager. If installed and connected mods have identical files that overwrite each other, such mods will be highlighted in red in the list of mods. If the selected mod has conflicts, its font will turn red and the mods with which it conflicts will be highlighted (the background of the mod will turn red). To enable the display of conflicts, click the gear button and select "Show mod conflicts". See screenshots. >Now you can select the type of screenshot. 1. Crop the screenshot by the center. 2. Full size screenshot on a blurred background. See screenshots. Installation: Update from a previous version: Extract the files from the archive and copy them to the folder of the previous version of the mod manager with replacement of files. New installation: Unzip the archive to a convenient location. Run TombRaider123ModManager.exe.
Version 1.4.0
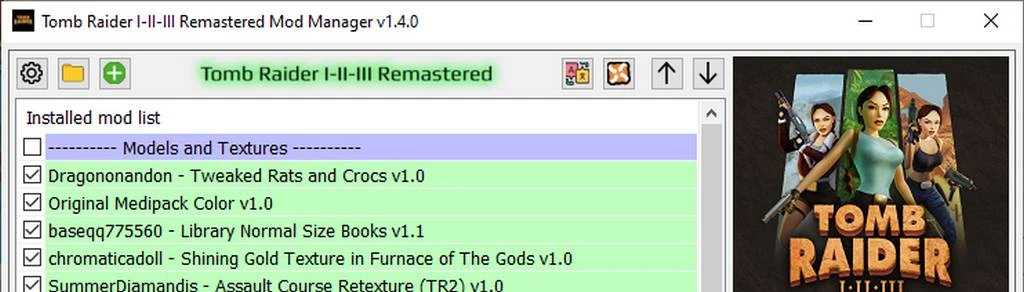
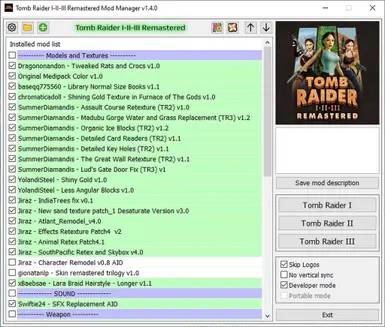
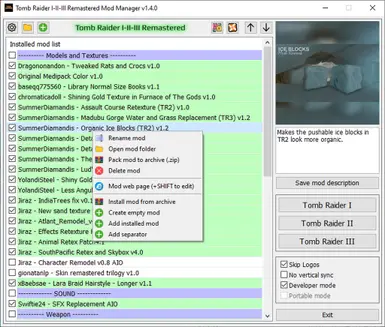
Mods operations (Create, add, copy, etc.) have been moved to the menu called by right-clicking in the mod list (see screenshots). Now when installing, creating, adding a mod - the mod is added below the mod that is selected in the list. If the mod is not selected in the list - it is added to the end of the mod list. Ability to add separators (see screenshots). The separator is added above the mod selected in the list. If the mod is not selected, it is added to the beginning of the list. The mod list is now painted. Connected mods are green, separators are blue, unconnected mods remain uncolored (see screenshots). Added translation of the mod manager interface (English, Russian, Ukrainian localizations are available). You can make a translation for your language. To do this, open the localization selection window. Select the source language for translation. Click the "Edit translation" button. The localization file will open in notepad. Translate all the lines (each line must be translated as one line). Save the translation 'Save as' with the name of the translation language and the file extension (.lng). After that, you can select the language in the localization selection window.
Version 1.3.0
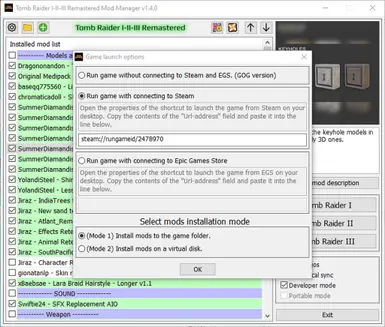
For users who have "User account control" enabled and the mod manager reported that you do not have administrator rights, now everything should work (if the account has administrator rights). For users who had version 1.1 working but version 1.2.1 not working, the ability to select the mods installation mode has been added. 1. Create links to mod files in the game folder. (as in version 1.2.1). 2. Use a virtual disk to create links to mod files. (as in version 1.1) The mod installation mode can be selected in the "Game launch options" window. For users who did not have the ability to install a screenshot for the mod by dragging an image from Windows Explorer, the ability to add a screenshot by selecting an image file using the standard Windows file selection window has been added. (select the mod in the list and right-click on the screenshot). Minor fixes and optimizations.
Version 1.2.1
Fixed missing saves for the GOG version of the game.
Version 1.2.0
Now the mod manager does not use a virtual disk to operate and does not require driver installation. For users who received a message about the impossibility of mounting a virtual disk and for whom mods in the game did not work, everything will now work. The mod manager now works with the Steam and Epic Game Store versions of the game. Saves and achievements will be available. Steam (Tested. Many thanks to the user with the nickname DeltaP91 for help and testing the mod manager). Epic Game Store (Not tested. Anyone who has a version of the game from EGS, please tell NexusMods in the comments whether the utility works or not. I tested several games from EGS that I have and I think that everything will work). Reshade and settings for the game in the Nvidia control panel will also work. Installation. Do not install this version of the mod manager into the folder of the previous version of the mod manager! Extract the contents of the archive to a convenient location. If you have mods installed in version 1.1 of the mod manager, copy the "mods" folder and "TombRaider123ModManager.ini" file from the previous version of the mod manager to the folder of the new version of the mod manager. When you launch it for the first time, mods will be added to the list automatically. If this does not happen, add mods manually by clicking the "Add" button. When you first launch the mod manager, you will be asked what game you are using (GOG, Steam, EGS). If you have the GOG version of the game, then select the first option. If from Steam or EGS, then select the desired launch option and do everything as written in the hint (see screenshot 2). You can change the game launch options by clicking the gear button in the upper left corner and selecting "Game launch options"