


0 of 0
About this mod
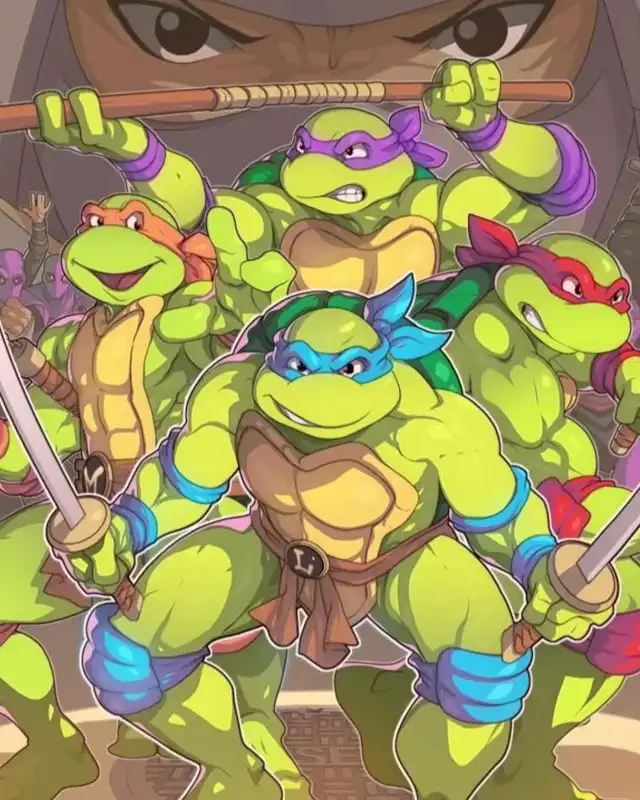
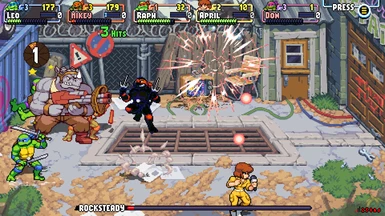
This is a simple palette swap for Raphael. It changes his colors to resemble his Archie Comics wrestling costume. The main point of this mod is to make it easier to tell who is Raphael when playing multiplayer. Feel free to further edit and make changes to this. Also I've included simple instructions on how to mod the game yourself!
- Requirements
- Permissions and credits
- Changelogs
- Donations
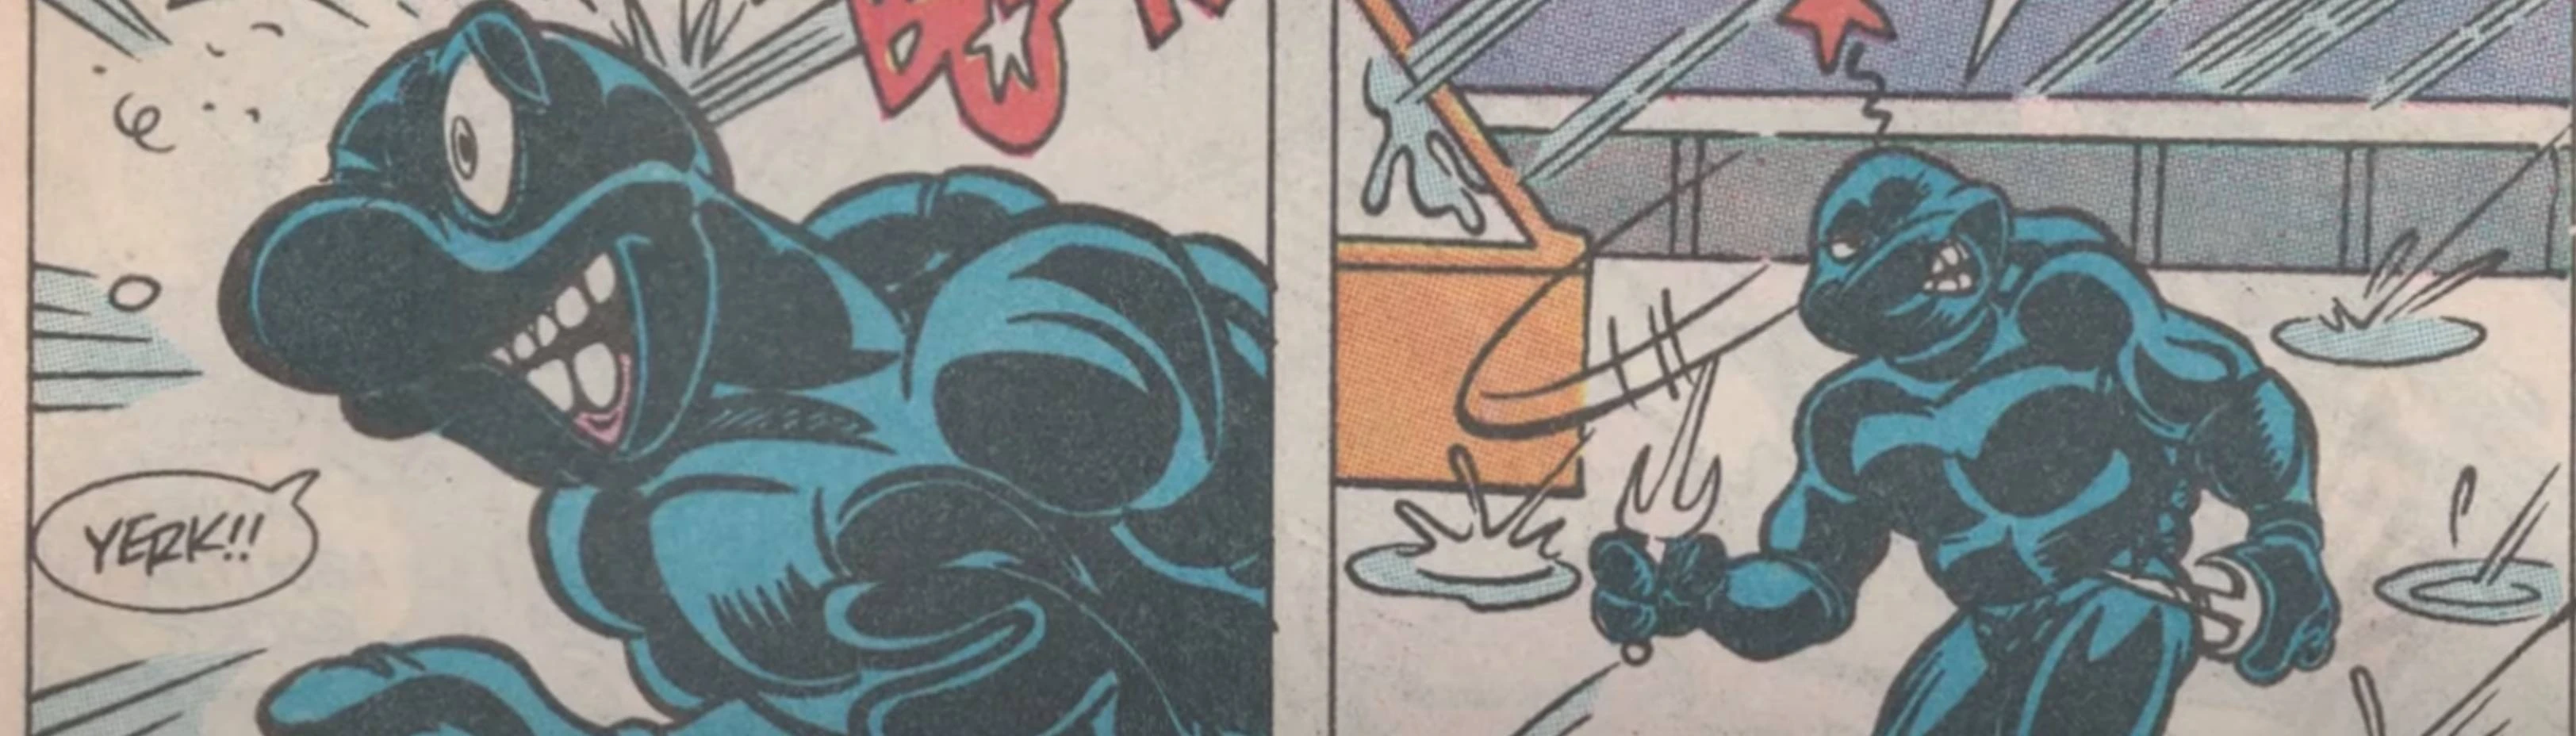
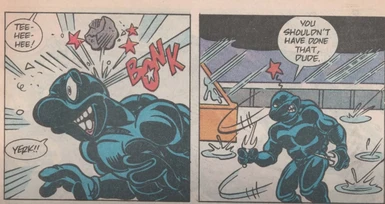
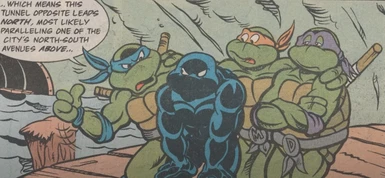
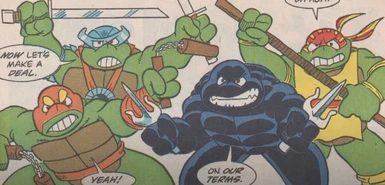
Obviously in the comics he's only wearing the all-black wrestling suit; no bandana, knee pads, or arm bands. That would require doing some actual sprite editing and I'm not enough of an artist for that task. Fee free to do this yourself though! Modding the sprites should be simple and I'm here to spread the knowledge for those of you interested.
HOW TO EDIT THE ART IN TMNT SHREDDER'S REVENGE
This guide is also available on Steam.
(Last updated 21 June 2022)
- Vital info was missing about initial decompressing of zxnb files. Thanks to csonora for bringing it to my attention!
Part 1 - Converting Game Files From ZXNB to XNB
1. Download Offzip. (https://aluigi.altervista.org/mytoolz.htm#offzip)
NOTE: This tool is needed for extracting zlib-compressed game files. If you're working with files already in XNB format you can skip this step.
2. From the zip file extract offzip.exe to a folder of your choice.[s/ize]
NOTE: You can ignore all those other files it comes with. Those are just source files.
3. Create a subfolder named 'out'.
4. Go to the game install folder.
NOTE: If you ask me the easiest way to get here is to right-click the game from your Steam library, hover to 'manage' then select 'browse local files'
5. Navigate to Contents > 2D
NOTE: These four subfolders are where the game's art assets are stored. If you're just looking to edit the player characters that's stored in Animations > Players. And then from there you'll see seven subfolders named after our main cast. Let's continue on as if we're changing Raphael's colors.
6. For the sake of example, we're gonna edit Raphael. So go to Animations > Players > Raphael
7. Copy the file RaphaelTexture.zxnb and paste it to your Offzip folder.
8. Offzip is a command line tool. Run it as follows:
NOTE: If you're curious about what these command line arguments do just run the program without arguments.
? TIP: Those of you good with BASIC or .bat files might want to automate this and make it easier on yourselves.
9. In your 'out' subfolder you'll find a file named '00000000.xnb'. Rename it to 'RaphaelTexture.xnb'
NOTE: Unfortunately 'Offzip' doesn't let you name the outfile. Again, a .bat file or something would be helpful here.
Part 2 - Extracting the Art Assets From ZXNB Files for Modding
1. Download xnbcli. (https://github.com/LeonBlade/xnbcli/releases)
NOTE: This tool has a lot of guides and videos about it online. It was originally created for Stardew Valley modders but plenty of other games use the same format. If you find yourself getting stuck with any of this your problem has likely already been answered online. But if you still need help feel free to hit me up.
2. Extract to a folder of your choice.
Note: Inside the folder you'll see two sub-folders: 'packed' and 'unpacked.' They'll come into play later.
3. Copy the file RaphaelTexture.zxnb and paste it to the 'packed' folder I mentioned earlier.
NOTE: If you've already downloaded a mod for the game then the file extension might be slightly different. Modded files of this type end in xnb instead of zxnb. (I'll explain the difference in part 2) It's not a big deal you can still work with it. But in this case it means you're likely making edits to a mod. Most mod authors should be fine with this (I am) but it's just something to keep in mind.
⚠️ CAUTION: The process below is destructive and will overwrite existing files in the 'unpack' folder with the same filename without warning! ⚠️
4. From your xnbcli folder run the 'unpack' command.
Note: If you're in windows this should be a .bat file. OS X users will see a .command file. Linux users you're on your own, I'm sorry homey.
5. Check the 'unpacked' folder. You should see two new files: RaphaelTexture.png, RaphaelTexture.json.
Note: Okay hopefully that worked. If you're on Windows look online for help! Like I said before xnbcli isn't a new tool so chances are someone else out there has a fix for your issue. You really shouldn't have any problems, honestly.
BUT, for all my fellow Mac users out there you might encounter the same problem I had. If you get a permission denied error open up terminal and type:
Include that space after the 'x'. Now you're gonna drag 'pack.command' to your terminal window. If it asks for your admin password go ahead and enter it. Do the same thing for 'unpack.command' since you'll need it for the next step. It should work now.
6. Edit RaphaelTexture.png to your liking.
Note: Palette swapping is a trivial task from here. If you're looking to make changes to the actual sprite you can do that as well! Just be aware that the boundaries are unknown at this time. And judging by the spritesheet it doesn't look like the boundaries are uniform. Maybe you get two extra pixels on the longest side? But don't hold me to that, it's just a guess.
Part 3 - Modding the Game to Display Your New Graphics
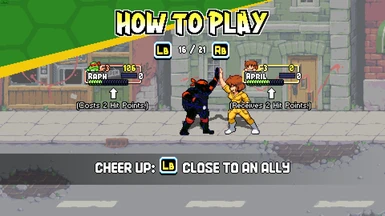
NOTE: This should be obvious but I'll say it anyway: people online are not going to see these mods. They are for your eyes only! But hey, if you're a streamer it could be a fun thing to change for your viewers. And I know for me after modding the game it makes it a LOT easier to tell the turtles apart in multiplayer. Six-player mayhem is the biggest reason why I pursued this. But yeah, mix and match the mods, have some fun with it!
1. Check the unpacked folder. It should contain RaphaelTexture.json and your new version of RaphaelTexture.png; the one with your changes to it.
⚠️ CAUTION: The process below is destructive and will overwrite existing files in the 'packed' folder with the same filename without warning! ⚠️
2. From your xnbcli folder run the 'unpack' command.
3. Check the 'packed' folder for RaphaelTexture.xnb. Your modded assets are now ready for the game!
NOTE: You'll notice the file extension is slightly different from your original RaphaelTexture.zxnb. The z just indicates the file is compressed. xnbcli packs the files without compressing them. Lucky for us the game doesn't care! Don't rename the extension, that just crashes the game. I learned this the hard way, ha ha!
4. Copy RaphaelTexture.xnb and paste it to Animations > Players > Raphael in your game folder.
5. Rename or delete the original RaphaelTexture.zxnb file.
NOTE: I haven't tried running the game with a zxnb and znb file in the same folder but I'm guessing it defaults to the zxnb file. If you deleted it and want the original file back you can always redownload from steam using the "Verify integrity of game files..." Just know that when you do that it'll wipe out ALL your mods.
6. Launch the game and admire your handiwork! You did it!
7. Last step is to zip a copy of your xnb file (or files) and share to Nexus Mods! Really tho, zip those xnb[size=3] files, it makes a HUGE difference.
TA~DA! Not that difficult right? I'm looking forward to your wild edits!
If you have questions I'm easier to each on my socials:
https://twitter.com/AlainChristian
https://www.instagram.com/alainchristian/
HOW TO EDIT THE ART IN TMNT SHREDDER'S REVENGE
This guide is also available on Steam.
(Last updated 21 June 2022)
- Vital info was missing about initial decompressing of zxnb files. Thanks to csonora for bringing it to my attention!
Part 1 - Converting Game Files From ZXNB to XNB
1. Download Offzip. (https://aluigi.altervista.org/mytoolz.htm#offzip)
NOTE: This tool is needed for extracting zlib-compressed game files. If you're working with files already in XNB format you can skip this step.
2. From the zip file extract offzip.exe to a folder of your choice.[s/ize]
NOTE: You can ignore all those other files it comes with. Those are just source files.
3. Create a subfolder named 'out'.
4. Go to the game install folder.
NOTE: If you ask me the easiest way to get here is to right-click the game from your Steam library, hover to 'manage' then select 'browse local files'
5. Navigate to Contents > 2D
NOTE: These four subfolders are where the game's art assets are stored. If you're just looking to edit the player characters that's stored in Animations > Players. And then from there you'll see seven subfolders named after our main cast. Let's continue on as if we're changing Raphael's colors.
6. For the sake of example, we're gonna edit Raphael. So go to Animations > Players > Raphael
7. Copy the file RaphaelTexture.zxnb and paste it to your Offzip folder.
8. Offzip is a command line tool. Run it as follows:
offzip -z -15 -a RaphaelTexture.zxnb out 0NOTE: If you're curious about what these command line arguments do just run the program without arguments.
? TIP: Those of you good with BASIC or .bat files might want to automate this and make it easier on yourselves.
9. In your 'out' subfolder you'll find a file named '00000000.xnb'. Rename it to 'RaphaelTexture.xnb'
NOTE: Unfortunately 'Offzip' doesn't let you name the outfile. Again, a .bat file or something would be helpful here.
Part 2 - Extracting the Art Assets From ZXNB Files for Modding
1. Download xnbcli. (https://github.com/LeonBlade/xnbcli/releases)
NOTE: This tool has a lot of guides and videos about it online. It was originally created for Stardew Valley modders but plenty of other games use the same format. If you find yourself getting stuck with any of this your problem has likely already been answered online. But if you still need help feel free to hit me up.
2. Extract to a folder of your choice.
Note: Inside the folder you'll see two sub-folders: 'packed' and 'unpacked.' They'll come into play later.
3. Copy the file RaphaelTexture.zxnb and paste it to the 'packed' folder I mentioned earlier.
NOTE: If you've already downloaded a mod for the game then the file extension might be slightly different. Modded files of this type end in xnb instead of zxnb. (I'll explain the difference in part 2) It's not a big deal you can still work with it. But in this case it means you're likely making edits to a mod. Most mod authors should be fine with this (I am) but it's just something to keep in mind.
⚠️ CAUTION: The process below is destructive and will overwrite existing files in the 'unpack' folder with the same filename without warning! ⚠️
4. From your xnbcli folder run the 'unpack' command.
Note: If you're in windows this should be a .bat file. OS X users will see a .command file. Linux users you're on your own, I'm sorry homey.
5. Check the 'unpacked' folder. You should see two new files: RaphaelTexture.png, RaphaelTexture.json.
Note: Okay hopefully that worked. If you're on Windows look online for help! Like I said before xnbcli isn't a new tool so chances are someone else out there has a fix for your issue. You really shouldn't have any problems, honestly.
BUT, for all my fellow Mac users out there you might encounter the same problem I had. If you get a permission denied error open up terminal and type:
chmod +x
Include that space after the 'x'. Now you're gonna drag 'pack.command' to your terminal window. If it asks for your admin password go ahead and enter it. Do the same thing for 'unpack.command' since you'll need it for the next step. It should work now.
6. Edit RaphaelTexture.png to your liking.
Note: Palette swapping is a trivial task from here. If you're looking to make changes to the actual sprite you can do that as well! Just be aware that the boundaries are unknown at this time. And judging by the spritesheet it doesn't look like the boundaries are uniform. Maybe you get two extra pixels on the longest side? But don't hold me to that, it's just a guess.
Part 3 - Modding the Game to Display Your New Graphics
NOTE: This should be obvious but I'll say it anyway: people online are not going to see these mods. They are for your eyes only! But hey, if you're a streamer it could be a fun thing to change for your viewers. And I know for me after modding the game it makes it a LOT easier to tell the turtles apart in multiplayer. Six-player mayhem is the biggest reason why I pursued this. But yeah, mix and match the mods, have some fun with it!
1. Check the unpacked folder. It should contain RaphaelTexture.json and your new version of RaphaelTexture.png; the one with your changes to it.
⚠️ CAUTION: The process below is destructive and will overwrite existing files in the 'packed' folder with the same filename without warning! ⚠️
2. From your xnbcli folder run the 'unpack' command.
3. Check the 'packed' folder for RaphaelTexture.xnb. Your modded assets are now ready for the game!
NOTE: You'll notice the file extension is slightly different from your original RaphaelTexture.zxnb. The z just indicates the file is compressed. xnbcli packs the files without compressing them. Lucky for us the game doesn't care! Don't rename the extension, that just crashes the game. I learned this the hard way, ha ha!
4. Copy RaphaelTexture.xnb and paste it to Animations > Players > Raphael in your game folder.
5. Rename or delete the original RaphaelTexture.zxnb file.
NOTE: I haven't tried running the game with a zxnb and znb file in the same folder but I'm guessing it defaults to the zxnb file. If you deleted it and want the original file back you can always redownload from steam using the "Verify integrity of game files..." Just know that when you do that it'll wipe out ALL your mods.
6. Launch the game and admire your handiwork! You did it!
7. Last step is to zip a copy of your xnb file (or files) and share to Nexus Mods! Really tho, zip those xnb[size=3] files, it makes a HUGE difference.
TA~DA! Not that difficult right? I'm looking forward to your wild edits!
If you have questions I'm easier to each on my socials:
https://twitter.com/AlainChristian
https://www.instagram.com/alainchristian/