


0 of 0


About this mod
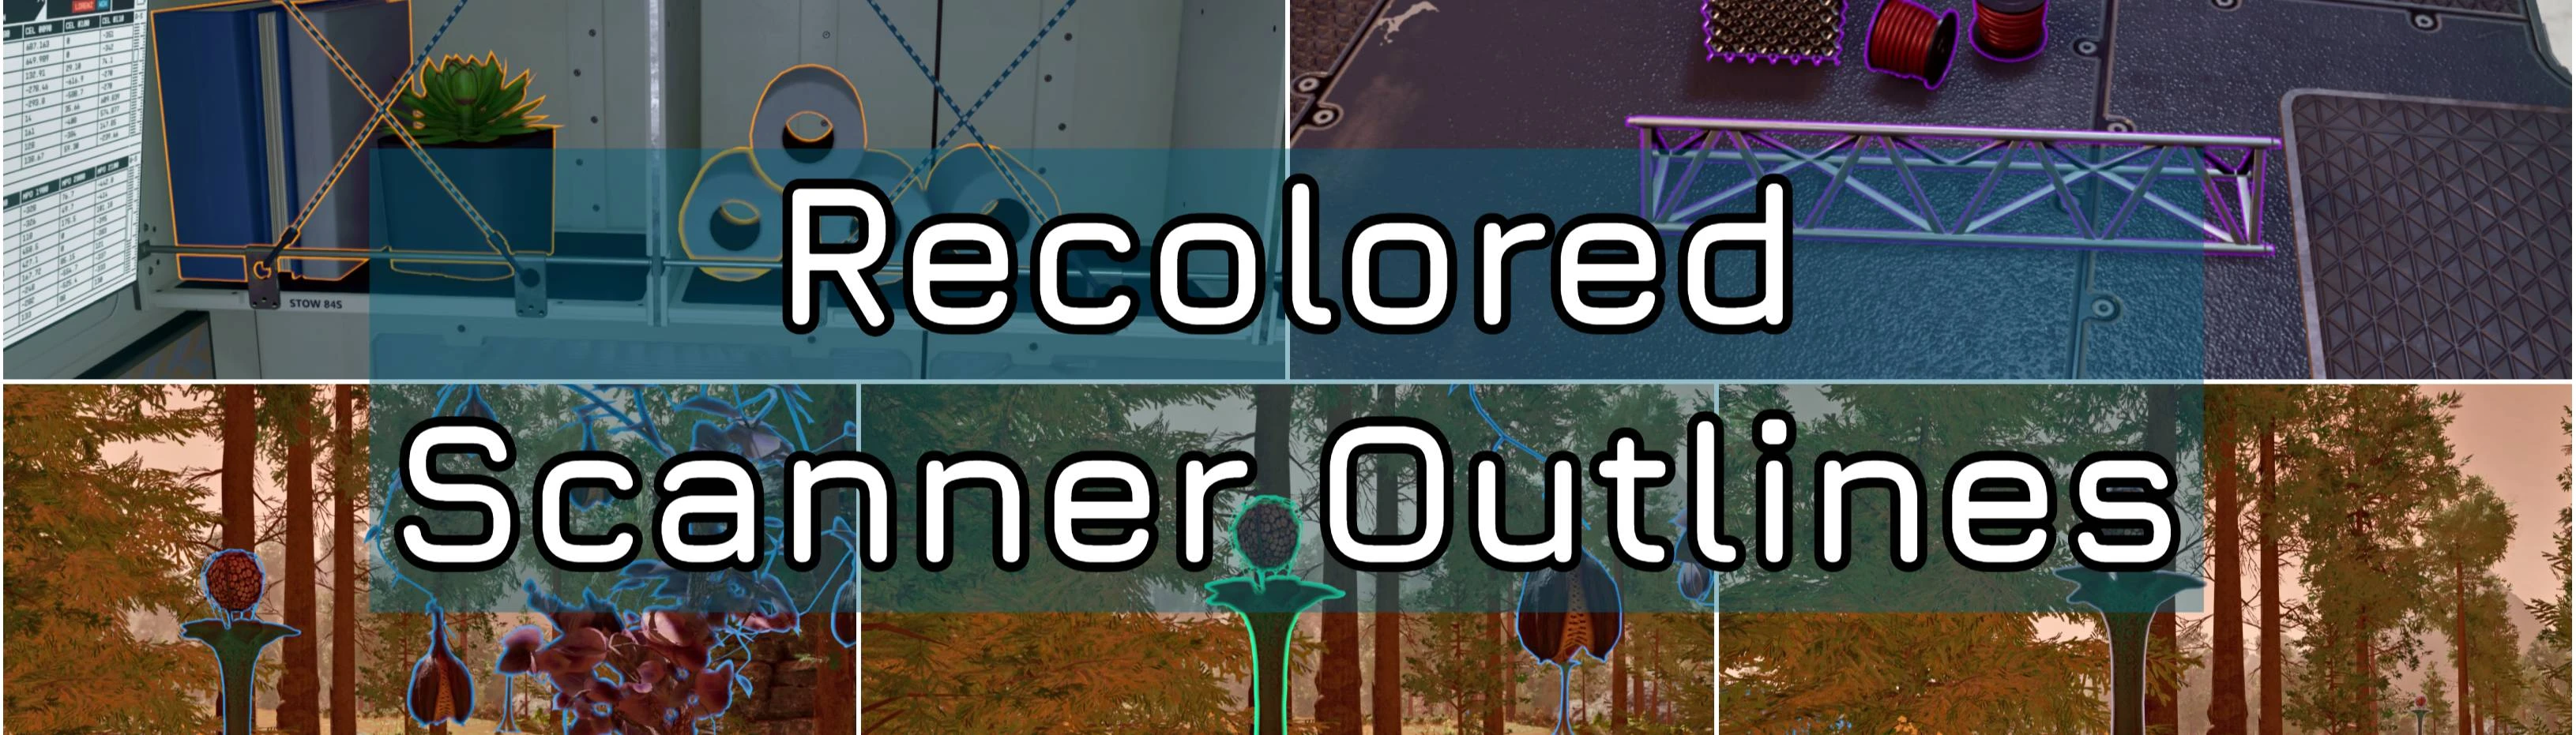
Recolors the scanner outlines on resources / items / creatures to be more distinguishable (and easy on the eyes) from each other while still feeling true to vanilla. No SFSE / Bat required!
- Permissions and credits
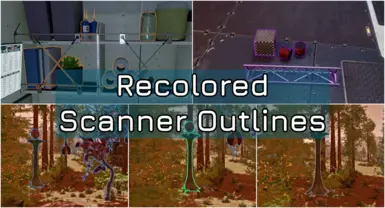
This is a set of very simple .ini changes that I put together to alter the colors of objects in the scanner. I personally find it easier to see when items and containers are outlined in a different color instead of just being a blue, unfilled version of the overlay on scannable resources or creatures. This removes the highlight effect that fills in scannable resources and creatures as well - I like to be able to see what I am scanning instead of looking at a random blue or green blob.
Orange - Items and containers
Purple - Tracked resources (requires the Scavenging IV perk)
Blue - Scannable (not yet scanned)
Green - Scanned
Grey - Fully scanned (enough of that specific flora / fauna / resource has been scanned to complete that entry of surveying)
Selected / hovered over things will have a slightly thicker outline as well, as you can see on the second image with the item orange outline and the fifth image with the scanned green outline.
Installation (can't be "installed" through Vortex but it is super easy):
1. Open up StarfieldCustom.ini, which should be in [C:\Users\yourUser\Documents\My Games\Starfield]
a. If you use a Mod Manager, such as MO2, look for a button to navigate to the StarfieldCustom.ini file that is stored by the mod manager.
2. Copy all lines from the downloaded .ini and paste into StarfieldCustom.ini. Here is an example of what it may look like:

Recommended mods:
Fullscran - Whole Screen Scanner Highlighting
Remove Scanner Circle
It is much easier to just put these things in the .ini because once it is done it is done. You can simply remove it if you don't like it without needing default values or uninstalling mods. Plus this method will never be outdated or unsupported when the game updates. No plugins or libraries or bat files or console commands needed!
Orange - Items and containers
Purple - Tracked resources (requires the Scavenging IV perk)
Blue - Scannable (not yet scanned)
Green - Scanned
Grey - Fully scanned (enough of that specific flora / fauna / resource has been scanned to complete that entry of surveying)
Selected / hovered over things will have a slightly thicker outline as well, as you can see on the second image with the item orange outline and the fifth image with the scanned green outline.
Installation (can't be "installed" through Vortex but it is super easy):
1. Open up StarfieldCustom.ini, which should be in [C:\Users\yourUser\Documents\My Games\Starfield]
a. If you use a Mod Manager, such as MO2, look for a button to navigate to the StarfieldCustom.ini file that is stored by the mod manager.
2. Copy all lines from the downloaded .ini and paste into StarfieldCustom.ini. Here is an example of what it may look like:
Recommended mods:
Fullscran - Whole Screen Scanner Highlighting
Remove Scanner Circle
It is much easier to just put these things in the .ini because once it is done it is done. You can simply remove it if you don't like it without needing default values or uninstalling mods. Plus this method will never be outdated or unsupported when the game updates. No plugins or libraries or bat files or console commands needed!