


0 of 0


About this mod
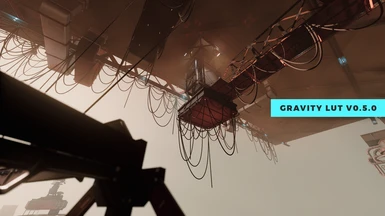
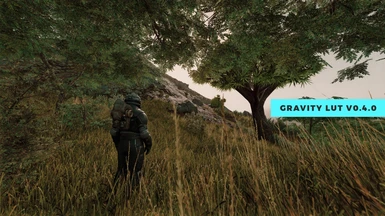
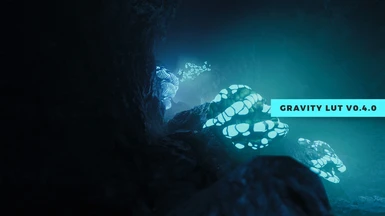
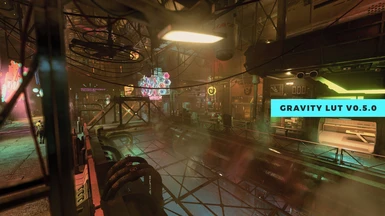
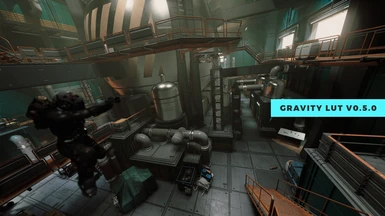
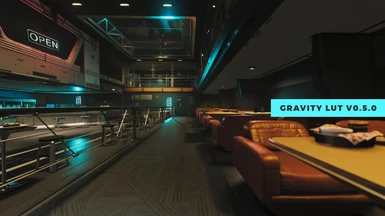
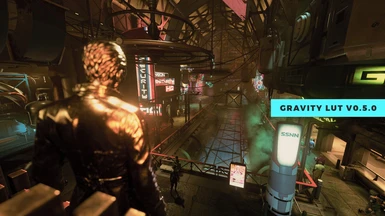
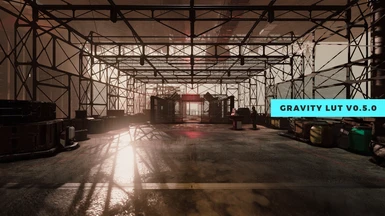
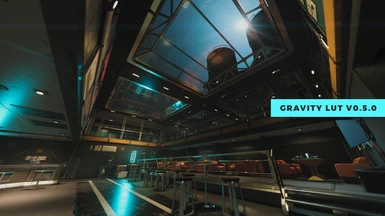
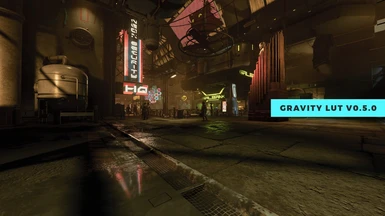
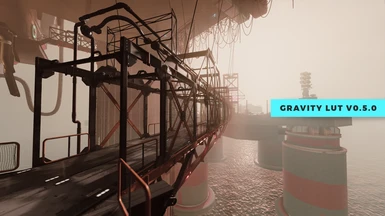
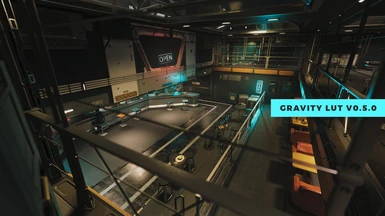
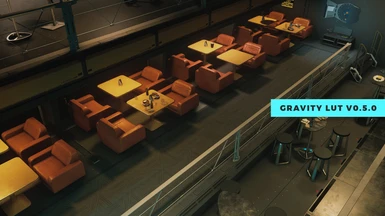
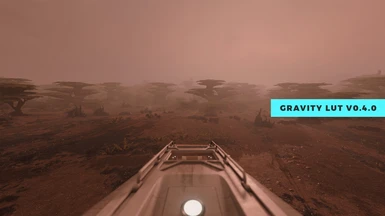
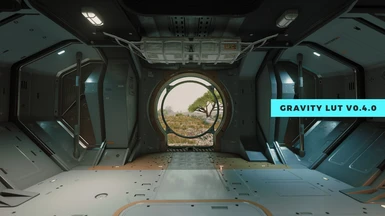
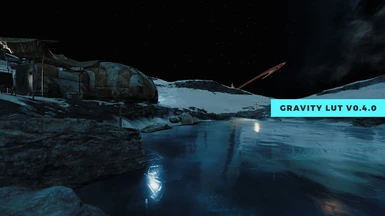
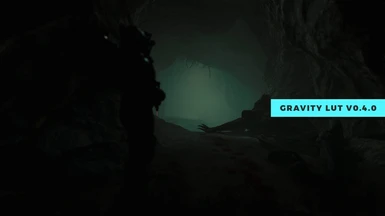
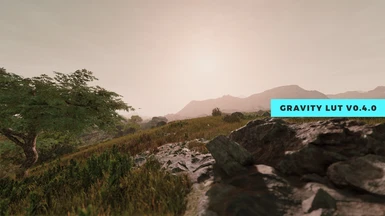
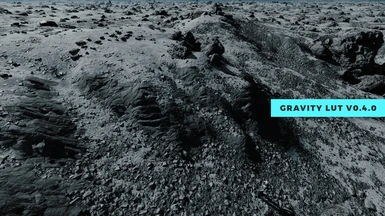
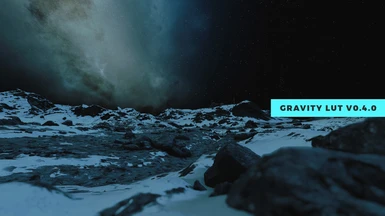
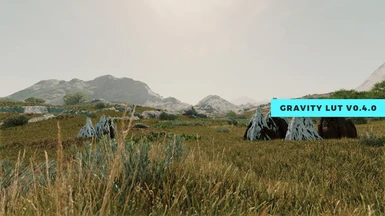
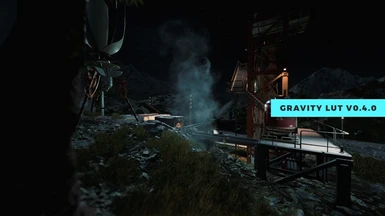
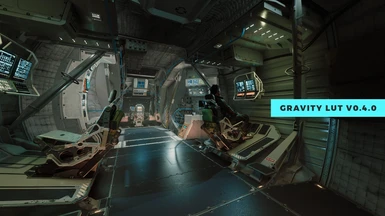
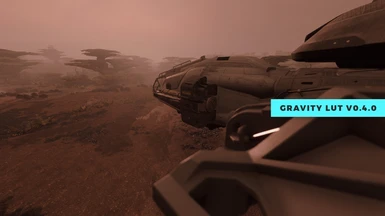
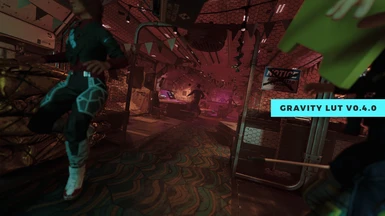
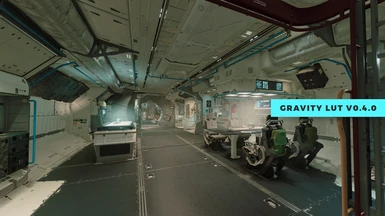
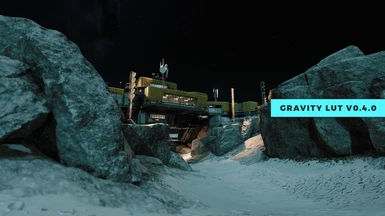
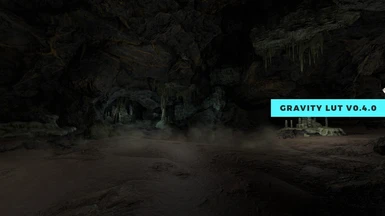
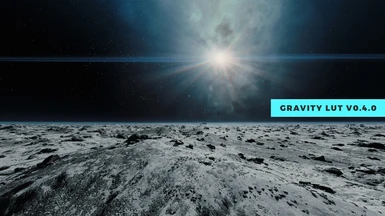
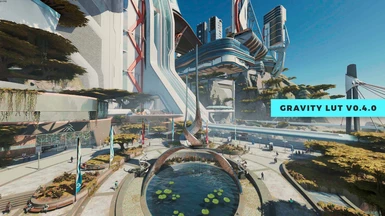
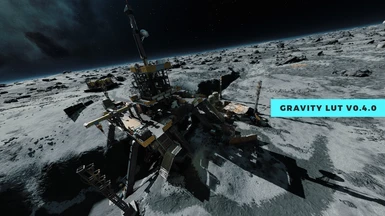
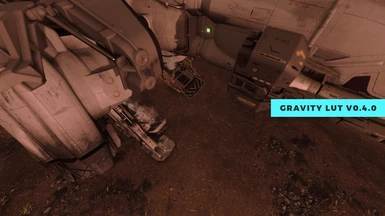
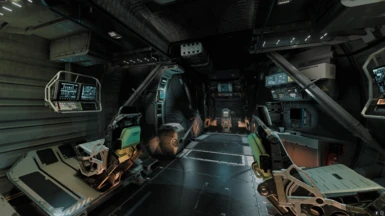
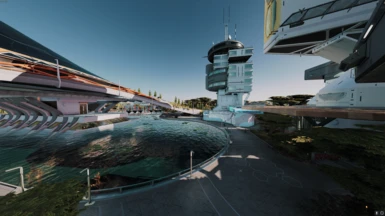
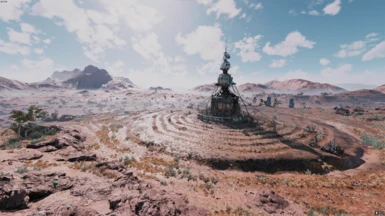
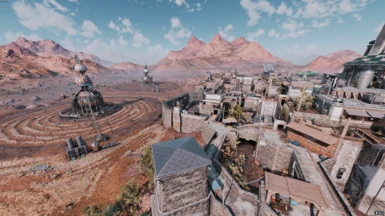
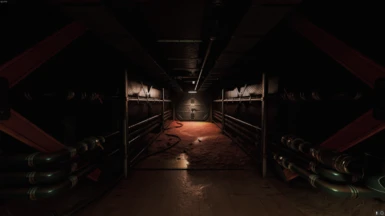
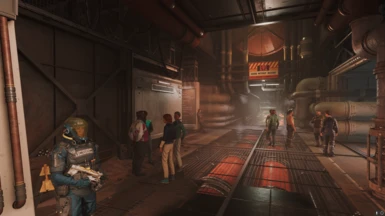
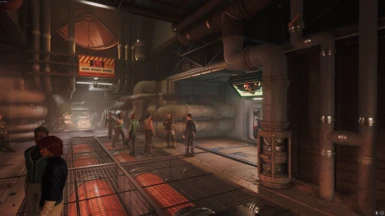
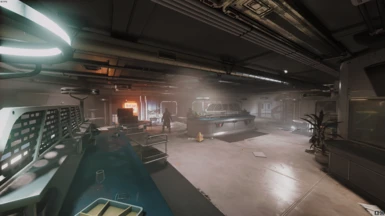
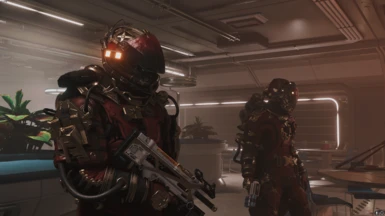
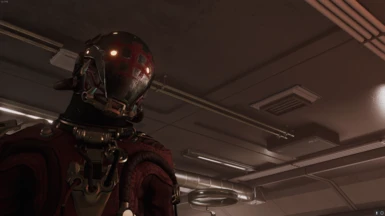
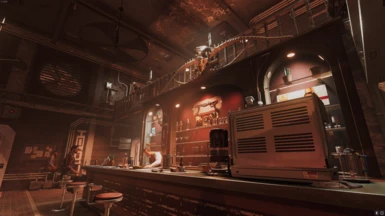
An ACES LUT designed for a completely pure, unified, color accurate experience. Using ACES color management, Gravity LUT has been hand crafted to deliver true to life colors and luminance.
- Requirements
- Permissions and credits


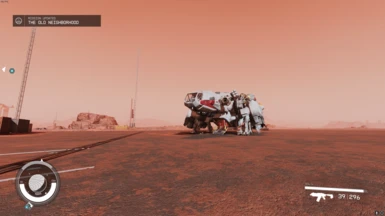
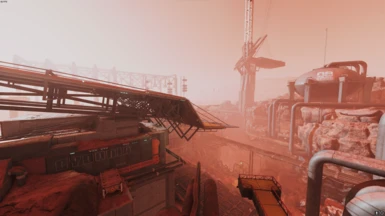
First, you're probably wondering "why Gravity". Well, my Stellar LUT has drifted from my original goals and is now drifting among the stars as a creative piece. Gravity LUT is intended to bring things back to Earth, grounded in realism.
This initial release of Gravity LUT is to gather some feedback from users. While I don't plan to adapt this LUT for each location like I do with Stellar LUT, I do want to find a universal setting to establish some balance. Yes, the shadows can be dark but the roll-off is much softer than Stellar LUT. The same goes for highlights.
Please let me know any thoughts or suggestions you may have and I will happily listen.
I can upload a few different brightness options but the LUTs will be global!
Important:
I designed Gravity LUT using custom INI settings. If you find the bloom strength too high, add this to your StarfieldCustom.ini to match the look of my screenshots:
[Display]
bEnableNewBloom=1
fBloomGaussianKernelMinScale=0.2
fBloomGaussianKernelPower=0.5
fBloomUpsampleBlendFactor=0.2
fLegacyBloomAmountScale=0.5
fNewBloomAmountScale=0.1
What to do if you find the LUT too bright or too dark: adjust your gamma settings in your StarfieldPrefs.ini:
[Display]
fGamma = 2.4
Manual Installation:
NOTE: Assets for Starfield are loaded from your user Documents folder.
1. Download and Extract Files to the following locations:
- Steam Users: Extract files to %userprofile%\Documents\My Games\Starfield
- GamePass Users: Extract files to C:\Xbox Games\Starfield\Content
2. Configure INI to Load Loose Files
In the same directory you extracted files to in the previous step, you may find a file named StarfieldCustom.ini.
If the file doessn't exist, you must create it using a text editor. Add the following lines to this file:
[Archive]
bInvalidateOlderFiles=1
sResourceDataDirsFinal=
Mod Manager (Vortex) Installation:
1. Disable the message of the day by adding bEnableMessageOfTheDay=0 to your StarfieldCustom.ini in the [General] section.
[General]
SIntroSequence=0
uMainMenuDelayBeforeAllowSkip=0
bEnableMessageOfTheDay=0
The MoTD is saved in the Documents\My Games\Starfield\Data folder so we need to turn it off since we will remove that folder.
2. Move the contents of your ...Documents\My Games\Starfield\Data folder to the Steam install at ...Steam\steamapps\common\Starfield\Data folder.
3. Delete the Data folder in Documents\My Games\Starfield.
4. Add sPhotoModeFolder=Photos to your Starfield.ini in the [Display] section. (This needs to go in your game install directory, not in your documents!)
[Display]
sPhotoModeFolder=Photos
That should do it. If you launch the game and the Data folder reappears in your documents folder, you've done something wrong. Make sure the bEnableMessageOfTheDay=0 is UNDER [General] in your StarfieldCustom.ini located in your Documents folder. Then delete the data folder from your documents folder and run game again.
Thank You
And last, but certainly not least, a massive thank you to user nullfractal who guided me through some significant changes in my workflow. I owe a lot to them and can already see my work improving with each iteration. ❤️
Check out my other mods!


