File information
Created by
Zurlocke-Vandr3dUploaded by
ZurlockeVirus scan
About this mod
A small compilation of various tools and custom batch scripts to aid in modding No Man's Sky more hastily and easily.
- Permissions and credits
- Mirrors
This utility's purpose is to grant you the power of being able to extract and (re)import No Man's Sky's core files with only a few clicks of the mouse; without having to manually input extraction/importing script codes in command interfaces.
Features:
- Utilization of QuickBMS extraction.
- Automatic compilation of extracted files .txt list that is required for (re)importing mods.
- Extract multiple .PAK archives simultaneously.
- Automatic execution of extraction and import scripts through the use of custom batch files.
Recommended Programs:
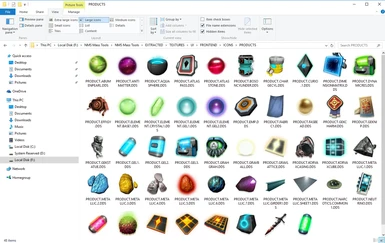
NVIDIA DDS Thumbnail Viewer - Allows you to view thumbnails of .DDS images in File Explorer. A must need for .DDS modders.- SageThumbs - If NVIDIA DDS Thumbnail Viewer doesn't work for your system, SageThumbs works just as good.
- NVIDIA Windows Texture Viewer - To learn the DXT and MipMap properties of original unedited .DDS images.
- Paint.net - A free photo editing program that supports .DDS. It's what I personally use to edit and save .DDS image files. I recommend saving .DDS files as .PNGs before you edit them; just resave as .DDS again when you're done editing.
♦ Video Guide ♦
♦ Written Guide ♦
[Program Files (x86)\Steam\steamapps\common\No Man's Sky]
Navigate GAMEDATA>PCBANKS. For this guide, find the file NMSARC.4F9B8F8E.pak, and copy-paste it to the extracted NMS Mass Tools directory (assuming you've already downloaded it).
♦
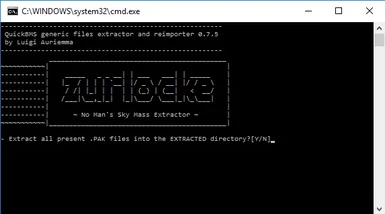
STEP 2: In the NMS Mass Tools directory, locate and open Mass Extractor.bat
Proceed to accept the confirmation prompt by typing Y and pressing enter.
♦
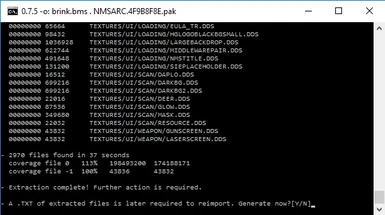
STEP 3: Upon completion, you will be prompted to generate an extracted files .txt list.
If you plan on (re)importing files into a .pak archive, accept the prompt; this .txt list is needed for it.
If you accepted, move the newly generated EXTRACTEDLIST.txt file into the REIMPORT folder.
♦
STEP 4: You will find the archive's extracted files in the EXTRACTED folder.
Most files from NMSARC.4F9B8F8E.pak are textures that are .DDS files.
Personally, I recommend a free editor called Paint.NET to edit .DDS files. Furthermore, before you even edit a .DDS image, you should learn what it's DXT and MipMap properties are so you know how to save them properly; for this I recommend using NVIDIA Windows Texture Viewer.
♦
STEP 5: To (re)import edited files back into their .pak archive, head to the EXTRACTED folder.
Move all folders and files in this directory to the REIMPORT folder. (For this guide, the TEXTURES folder and 00000000.tex file.)
♦
STEP 6: In the REIMPORT folder, run the file Mass Reimporter.bat.
When the importer is finished, it will exit automatically. When this happens, you will have a new file in the directory named Reimportedarc.psarc.
All that's left to do is to rename Reimportedarc.psarc to the exact name that the .pak archive was - the one you extracted earlier.
In this guide's case, NMSARC.4F9B8F8E.pak. After renaming both the file name and extension, move it back to the PCBANKS folder in the game's directory, and overwrite the original unedited .pak archive. Congratulations, you're finished! Now go find your working modifications in-game :D


