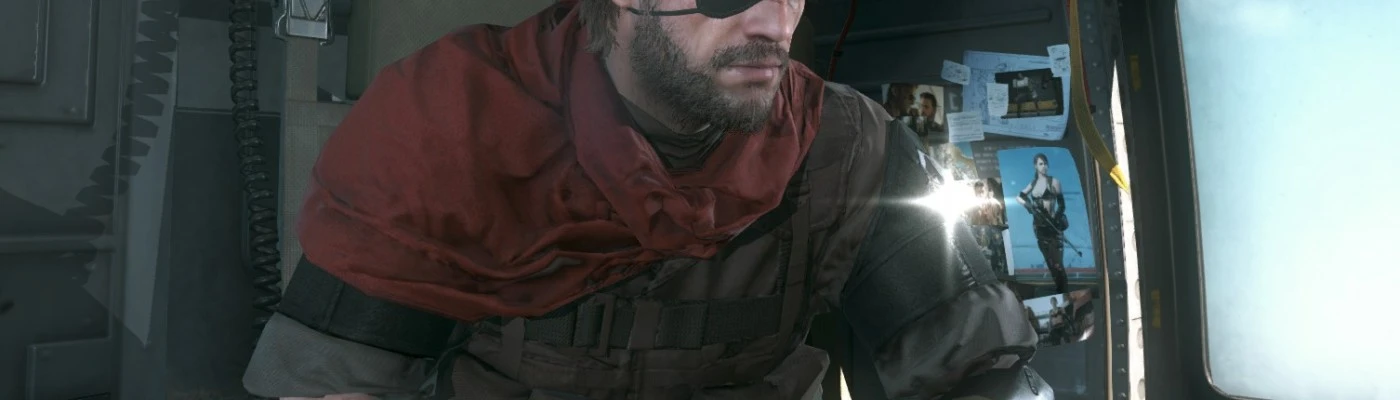
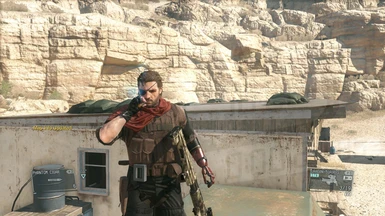
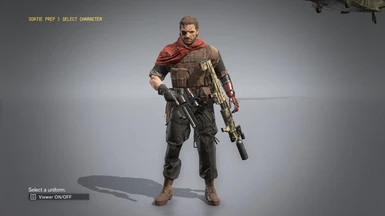
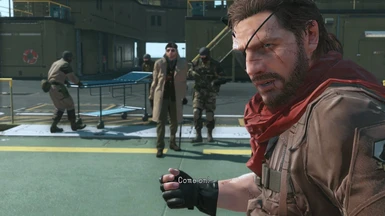
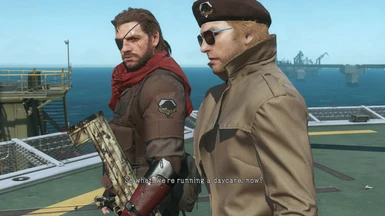
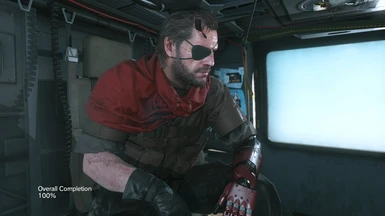
You've done very good job with that outfit though i would like an version that pounches and strap is black coloured because with same color of the shirt it kinda looks weird it sticking out, anyway you did fantastic job and hope you luck!
Hmmm.... So it is quite easy to do, but only once you have done a few steps. I may do a guide for this sometime because it is handy information to know.
So the real Step 1 to this, is to watch these two videos, where MorbidSlinky explains how to make texture mods. I suggest that you should watch it at least once (Ive re-watched it a lot). Even though you aren't making the texture file itself, all the information is still very relevant. Video 1) https://youtu.be/dqK2rErPd0s Video 2) https://www.youtube.com/watch?v=WJ_HVJA-Zu0&
With that out the way, what you want to do is : A) Install quar tool and unpack MGSV textures to a new folder. B) download and install FTEX tool and auto-PF tool and make sure they are updated. C) convert all of Snakes textures (MorbidSlinky goes into the details but the folder structure is texture0 > Assets > tpp > chara > sna > Pictures )
With all of that done its much easier from here
D) Download Western Fatigues and unzip it twice (you can use 7zip to do this). The first time you unzip the file, it will be converted to a .MGSV file, Then unzip that file and it should become a folder structure. The folder structure is the same as earlier, but this time the last file will be called "plparts_normal_scarf.pftxs " E) Use the PF tool to convert "plparts_normal_scarf.pftxs " and you will get yet another folder structure. But this time at the end you will have the FTEX files which is what the game reads as texture. F) In this case the file you want is named sna0_main1_def_c14_bsm . Copy it to a new folder and use the FTEX tool on it.
Now you shall see my Western Fatigues texture file as a .dds file. You should also have three FTEXS files and one FTEX file. To make the .DDS texture affect golden tiger instead of animals you will want to rename it appropriately and then pack it back into the folder structure, and finally convert it to a .MGSV file. To do this:
G) Find the texture of what you want to modify and copy its name. You can do this by going into the games texture files in chunk zero (the files from step C), enlarging the icon size in your options and identifying it by eye (in your case Golden Tiger is named sna8_main0_def_c01_bsm ). Copy and paste its name to the .DDS file using the 'rename' option. H) After renaming the modded texture use the FTEX tool on the .DDS to acquire FTEX and FTEXS files for GoldenTiger/Western Fatigues
I) From here please follow the packing instructions from morbid slinky. https://youtu.be/WJ_HVJA-Zu0?t=2m32s Explaining them by text is confusing. But you want to pack things back up to how the originally were in my mod.
PS : in your case, step A and C are optional for you because I've provided you with the texture's name. But I included it so you can see how I did it, and so other people can use it too.


22 comments
I'll happily do the work myself if need be!
So the real Step 1 to this, is to watch these two videos, where MorbidSlinky explains how to make texture mods. I suggest that you should watch it at least once (Ive re-watched it a lot). Even though you aren't making the texture file itself, all the information is still very relevant.
Video 1) https://youtu.be/dqK2rErPd0s
Video 2) https://www.youtube.com/watch?v=WJ_HVJA-Zu0&
With that out the way, what you want to do is :
A) Install quar tool and unpack MGSV textures to a new folder.
B) download and install FTEX tool and auto-PF tool and make sure they are updated.
C) convert all of Snakes textures (MorbidSlinky goes into the details but the folder structure is texture0 > Assets > tpp > chara > sna > Pictures )
With all of that done its much easier from here
D) Download Western Fatigues and unzip it twice (you can use 7zip to do this). The first time you unzip the file, it will be converted to a .MGSV file, Then unzip that file and it should become a folder structure. The folder structure is the same as earlier, but this time the last file will be called "plparts_normal_scarf.pftxs "
E) Use the PF tool to convert "plparts_normal_scarf.pftxs " and you will get yet another folder structure. But this time at the end you will have the FTEX files which is what the game reads as texture.
F) In this case the file you want is named sna0_main1_def_c14_bsm . Copy it to a new folder and use the FTEX tool on it.
Now you shall see my Western Fatigues texture file as a .dds file. You should also have three FTEXS files and one FTEX file.
To make the .DDS texture affect golden tiger instead of animals you will want to rename it appropriately and then pack it back into the folder structure, and finally convert it to a .MGSV file. To do this:
G) Find the texture of what you want to modify and copy its name. You can do this by going into the games texture files in chunk zero (the files from step C), enlarging the icon size in your options and identifying it by eye (in your case Golden Tiger is named sna8_main0_def_c01_bsm ). Copy and paste its name to the .DDS file using the 'rename' option.
H) After renaming the modded texture use the FTEX tool on the .DDS to acquire FTEX and FTEXS files for GoldenTiger/Western Fatigues
I) From here please follow the packing instructions from morbid slinky. https://youtu.be/WJ_HVJA-Zu0?t=2m32s
Explaining them by text is confusing. But you want to pack things back up to how the originally were in my mod.
PS : in your case, step A and C are optional for you because I've provided you with the texture's name. But I included it so you can see how I did it, and so other people can use it too.