


0 of 0


About this mod
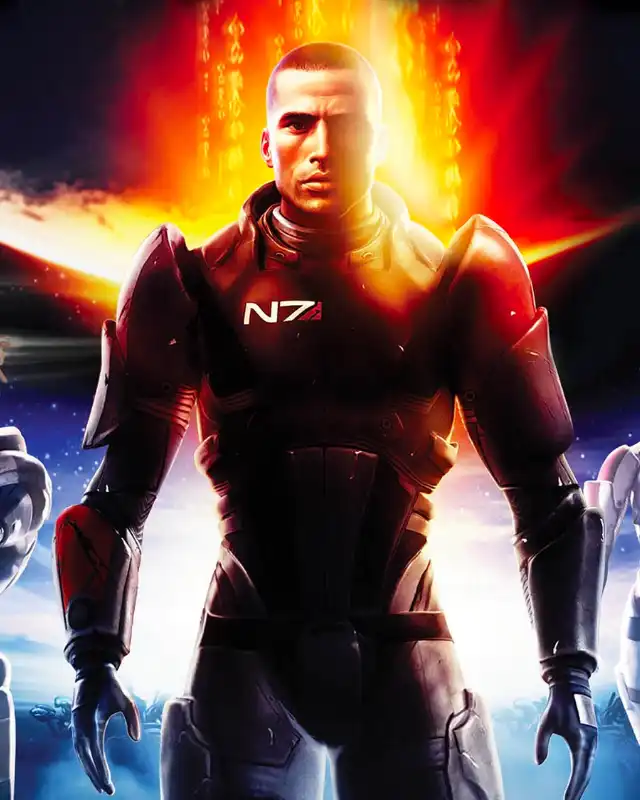
A ReShade preset geared towards making Mass Effect 1 a brighter, sharper, and more vibrant-looking game.
- Permissions and credits
- Changelogs

About:
This preset was created to change the atmosphere of Mass Effect 1, mostly by eliminating its ever-present dark greenish tint. In making this mod I hoped to make Mass Effect 1 feel brighter and clearer to fit more with later games like Andromeda.
If you are not familiar with ReShade, it is a post-processing injector created by Crosire which allows games to have their appearance altered through personalized changes in colors, saturation, antialiasing, or so, so much more. If this sounds interesting, just continue reading and try it for yourself with this preset!
Features:
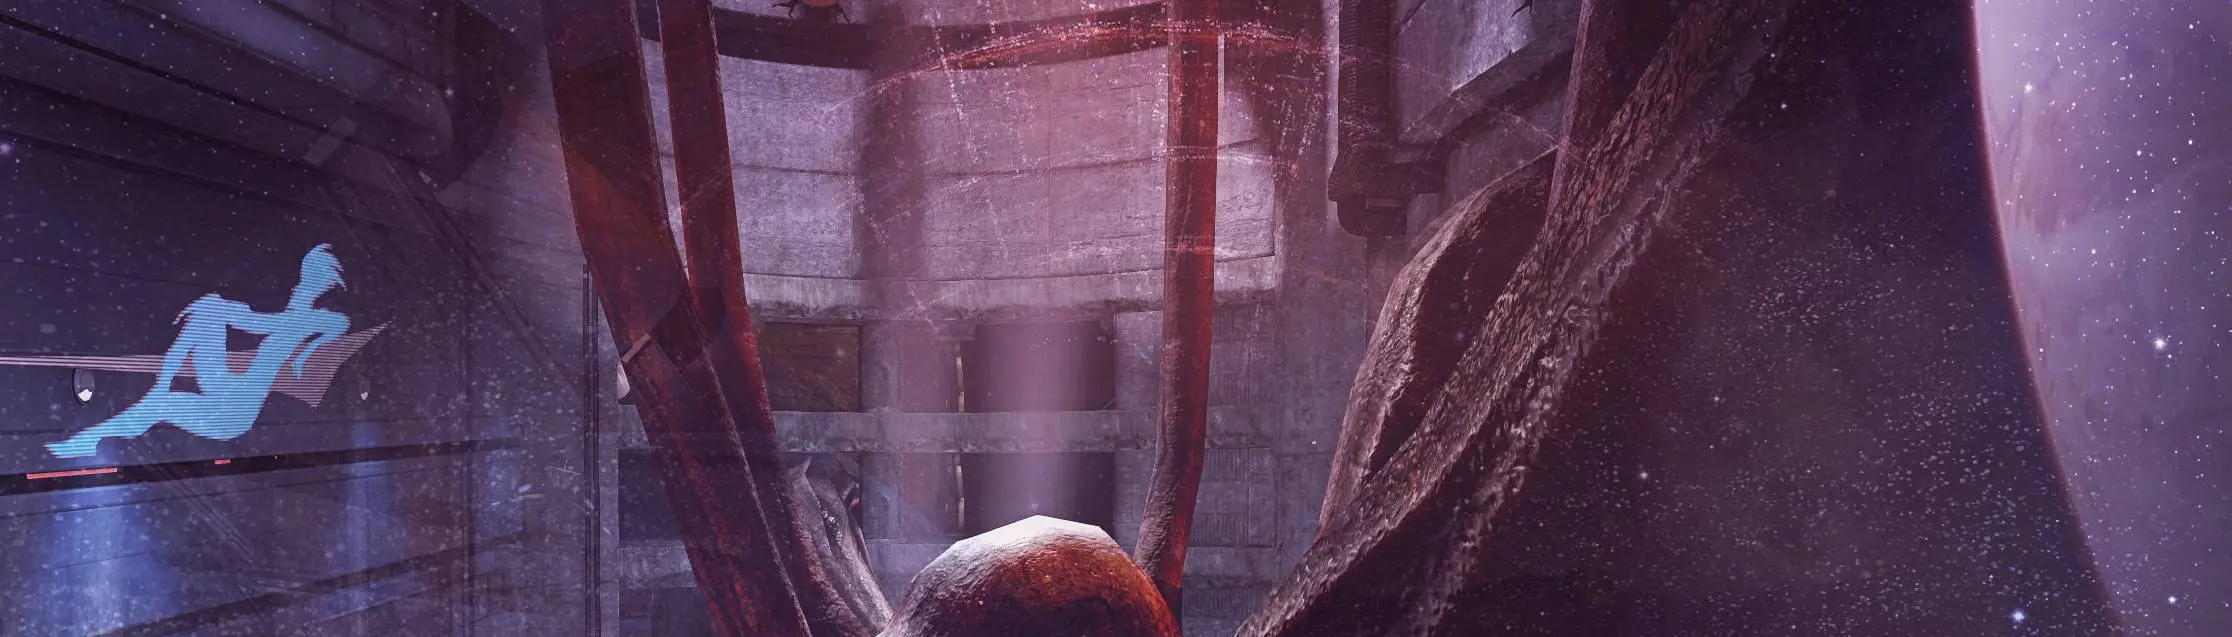
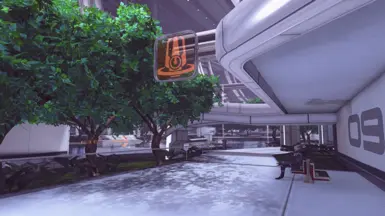
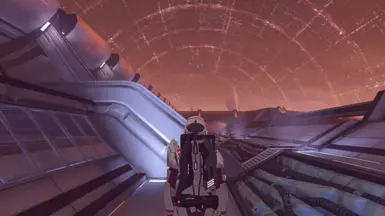
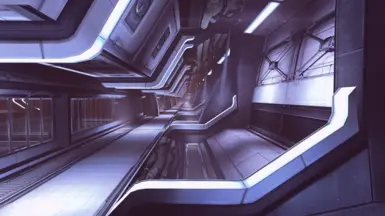
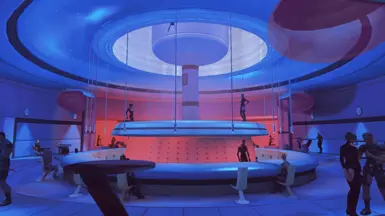
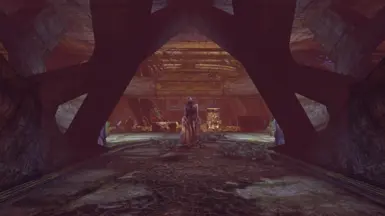
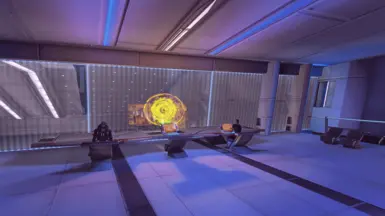
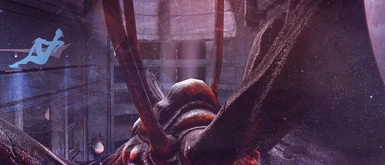
One of the most noticeable changes this preset offers is the introduction of bright violet and purple tones to combat the dark greenish tint of the game. This makes whites look more white and blues look more colorful; demonstrated best in snowy or icy areas. If the user finds the purple a bit overpowering, I recommend disabling the Sepia/Tint effect once the ReShade and preset are set up, which will lower the added tint. The blues in mass effect also felt a bit dark and drab so they have also been altered. Things like the UI in particular will be brighter and more vibrant. To add to this, saturation and colorfulness are also increased, but not too much that it distorts people's skin tones.
Beyond the color changes, there are also a few effects that alter the brightness and clarity of certain objects. Mass relays and stars, for example, will now be clearer and more pronounced. Any unnecessary black crush that existed in the game should be gone now, but that is mostly dependent on the user's gamma levels they choose. The screenshots above were taken with the gamma setting on 60, but if you prefer darker, I recommend trying out 40 or lower.
Then there also effects that focus on low-scale sharpening so that people get more details out of high-res textures. Beyond that, there is also a slight amount of bloom, but not too much to overpower sensitive things parts of the game like face textures or UI.
There are a few drawbacks of these effects that I have noticed. Because of the brightening and sharpening effects, low-res textures like sky backdrops will experience exaggerated pixelation. And because of the lightening of blue hues, asari will also appear lighter than they would normally. If these issues bother you, lowering your gamma should help fix the issue. Of course, everyone is also welcome to tweak the preset and to disable some of these effects.
Here is the full list of all the 11 post-processing effects used: HDR, DPX, Levels, Tonemap, Sepia, Ambient Light, Clarity, Colourfulness, Filmic Anamorph Sharpen, HSL Shift, and Magic Bloom.
Installation:
Installing ReShade: The first step is to get ReShade for your Mass Effect 1. If you have ReShade for your game already, skip to step 3. These are very detailed installation instructions so those who aren't familiar with ReShade can follow along. It may look lengthy but it's not complicated, I promise :D
1. Go to reshade.me, the official website for ReShade. Once there, click the download button or scroll down to the "Download" tab. Click the green button named "Download ReShade (version name)." At this point in making this preset, the latest version is: 4.8.2.
2. Once you have finished downloading the ReShade_setup.exe, open it up (even after windows asks if you're sure - it safe) and a window will pop up. Click "click here to select a game and manage its ReShade installation". A list of detected games will appear, if Mass Effect 1 is not one of them, click the "Browser" button at the bottom and locate your MassEffect.exe. This is in your main Mass Effect folder inside Binaries. Once located and selected, the window will ask which API it uses, since it is an older game, select Direct3D 9.
3. (If you have previously installed ReShade for ME1, select Update.) Next, a list of effect packages will appear that you can install. You may want to install others to use for customization later, however, these next instructions will focus on what is needed for this preset first. Make sure the boxes "SweetFX by CeeJay.dk" at the top and "Legacy standard effects" at the bottom are checked. Standard effects should already be selected by default.
4. Next, it will ask you which "Sweet Fx" files to install. The ones needed for this preset are: DPX, Levels, Sepia, and Tonemap (in descending order). After it downloads the "Legacy standard effects," it will ask you again to select certain files to download. (I recommend unchecking all first), then select these effects: AmbientLight, Clarity, Colourfulness, FilmicAnamorphSharpen, HSLShift, and MagicBloom (in descending order).
5. The window should then say that the set-up was successful! You are done with installing ReShade now.
Installing the Preset: You are almost done you just need to install this preset.
1. The last thing you need to do to get the preset working, is to simply download the main file from this page! After download the main file, you will have to extract it. Now you will have a single .ini called "CawCrowche's ME1 Preset." Next, you will move this .ini to your Binaries folder, the same place where you installed your ReShade, located at (Main Mass Effect Folder)/Binaries.
2. Now you can open up your game. If this is the first time installing ReShade for Mass Effect, a tutorial will appear once you open the overlay. Once you are familiar with the layout, go to the home tab. Right below the top-most tabs is where you can click and select your presets. From the drop-down, select "CawCrowche's ME1 Preset" then click okay. You should then see a noticeable change in the appearance of the game - that's the preset! Check once more in the main tab that all the effects listed before show up. If so you are ready to go! Woot woot!
(Optional) Tweaking Graphics Settings:
1. This last part is not actually for setting up ReShade or the preset, however it necessary for your game to appear the way to does in the screenshots above. To make the game look clearer it is best to turn off certain effects that are defaulted by the game's engine, things like vignetting, film grain, and motion blur. There are two ways to do this, you can replace your BIOEngine.ini with the one from the ME1 Graphics tweaks mod by ArJed which accomplishes this, among other things. Or you can manually tweak your BIOEngine.ini, which may take more effort but allows you to be more in control of what you change. If you want to install ME1 Graphic tweaks then you can follow that mod's instructions and after that, you are good to go! If you would rather manually edit your ini's though, then continue to the next step!
2a. If you choose to manually edit your BIOEngine.ini, you will first need Notepad + + a very common text editing tool. Any other normal notepad will not work as far as I am aware. Now you need to go to your Configs folder in your documents, it should be here: Documents\BioWare\MassEffect\Config. Once you are there make a backup of your BIOEngine.ini, you can make a copy and put it in the folder outside - just somewhere safe in case you want to change back.
2b. Now it's time to get editing! Open up your BIOEngine.ini file with Notepad + +. (If you can't edit anything close the file and in its properties, uncheck "read-only.") We are only looking for a single section of the mod, so hit Ctrl + F or in the Search tab click Find. In "Find what" type-in " MotionBlur " no spaces, or quotation marks. Then click find next. You should then be moved to the "MotionBlur" setting under the "SystemSettings" header.
2c. Now that you are here you can choose to disable certain effects. You can disable effects by changing the " TRUE " next to them to " FALSE ". Here are the effects I recommend disabling or making sure are disabled: MotionBlur, MotionBlurPause, RadialBlur, FilmGrain, and DropParticleDistortion. There are also other effects you can disable but you should test whether or not you like them on: DepthOfField, AmbientOcclusion, Bloom, and QualityBloom. After you are satisfied, go to the File tab and hit Save or Save As. Close and you are ready to open up your Mass Effect and see the changes! You can go back and edit these anytime, just remember to only change after the "=" signs.
Recommendations:
Beyond tweaking your graphic settings there is another alteration that I recommend doing. Because Mass Effect is an older game, it's x86 executables only allow for 2 GB of RAM to be used. This can be a problem when installing mods that increase performance costs, such as this one. To avoid any possible crashes and to get maximum performance, everyone should install the 4GB Patch from ntcore.com. It is very straight-foreword to install and instructions are given on the page.
I will also list the main mods used above in the screenshots here:
- Screenshot - Photo Mode for ME1 by CreeperLava
- ALOT + MEUITM by CreeperLava & C3Anderson respectively
- ALOV by Audemus and team
Credits:
Thank you first and foremost to the creator of ReShade, Corsire! Thank you so much for making an open-source, free-to-use way to bring life back into our favorite games!
Thank you to CreeperLava for his ME1 Photo Mode mod which I used for each of this mod's screenshots. And thank you to any mods that were shown in the screenshots above for their use.
Permissions:
Anyone and everyone are allowed to change and tweak this preset - in fact, I encourage it! :)
If anyone wants to upload their own preset and it is based off of mine, go ahead! In your credits just mention and link this mod, so others know.
If you would like to upload this preset (unaltered) some other place, please ask first! I'll consider it and get back to you as soon as possible.
That's it! I really hope you enjoy the mod, let me know if there are any issues - I'll try to help the best I can! Also If you see any bugs, reporting them helps a lot!