Documentation
Readme
View as plain text
STANDARD GUIDE
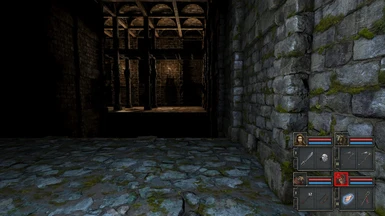
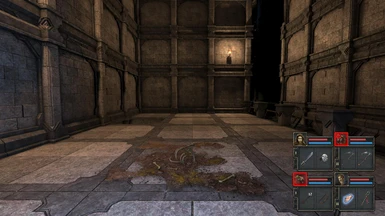
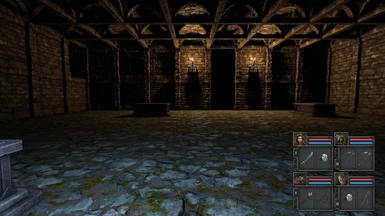
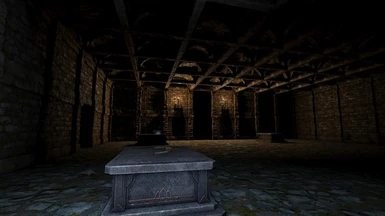
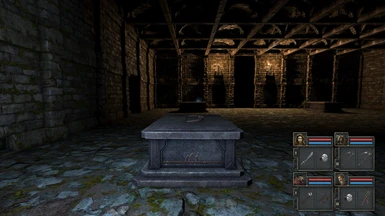
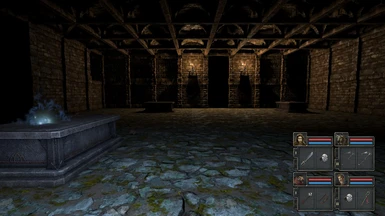
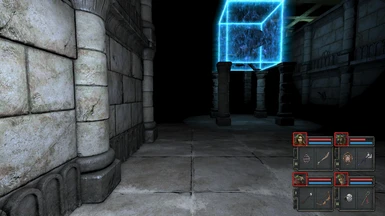
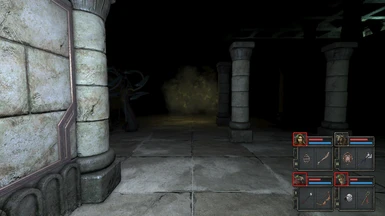
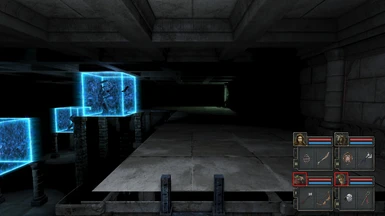
STEP A TOUCH NOTHING! your crew need to walk forward and move to the corner of the room near to the Sparkling Arrow
STEP B locate the strange corner with the weird black arch, use the Quiff (pen) to mark the map the other side of the wall "Secret passageway"
STEP C now move to the other end of the room (same side) see the Ivy creeping on the wall? this signifies which item to take
STEP D so take the item nearest the Creeping Ivy and do not delay, move out of the room via the Portcullis! FAST!
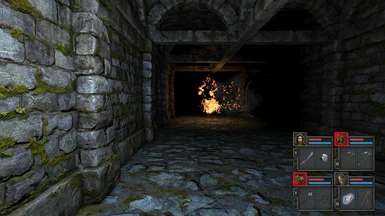
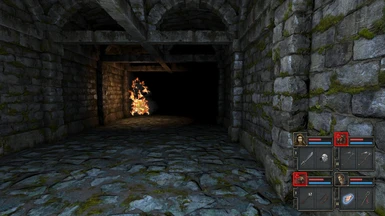
STEP E grab the flaming torch, retreat away from the Mummy, grab more torches, kill the Mummy, [SAVE THE GAME]
STEP F look at the map where you wrote "Secret passageway", locate that passageway now
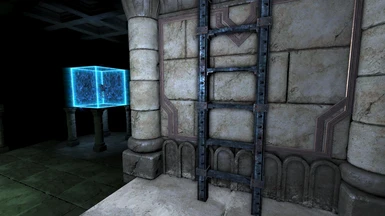
STEP G see the empty alcove, place an item onto it, secret Cache unlocks nearby
STEP H continue exploring, in the overgrown grassy passage find the Whitewood Wand, at the Northern end of this passageway use the Quiff (pen) to mark the map at the end, "Secret room 2"
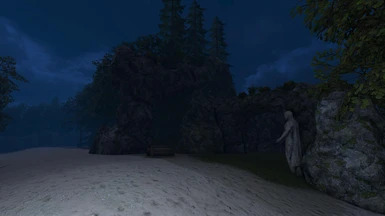
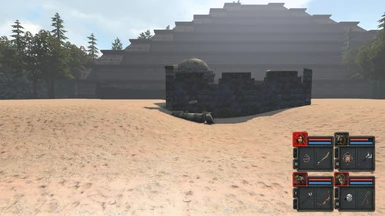
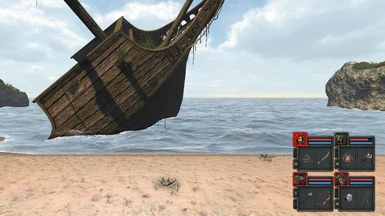
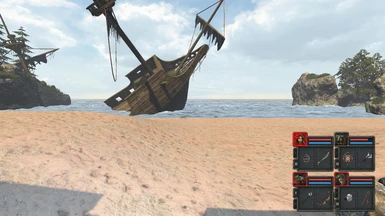
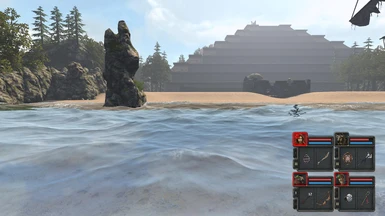
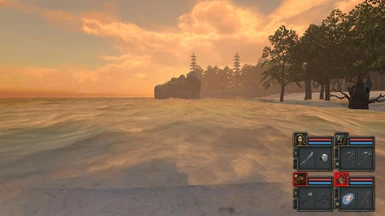
STEP I Continue exploring, find the steps up to THE BEACH - on Beach look at cliff face next to where you emerged
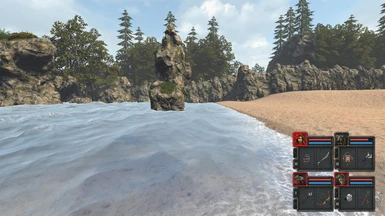
STEP J place you crew in the middle of the Rocky outcrop next to the steps back down to the dungeon, move into the Rock face here, SECRET CACHE discovered ! shield potion x 3, speed potion x 3, Ancient Shield, if items difficult to see, use the mouse and Right hand mouse button held down to see all items
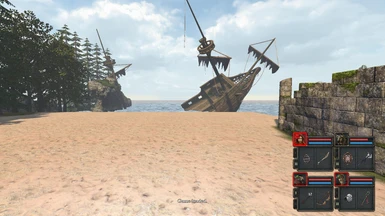
STEP K on the Beach note the two statues with Arms stretched out, your crew would need a Rapier Sword to satisfy each statue but only 1 sword is needed to open 1 gate, 1 sword is in THE CASTLE, not too far away
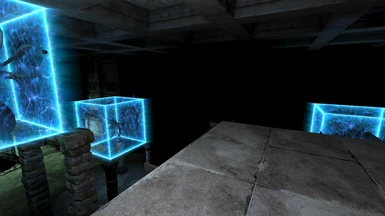
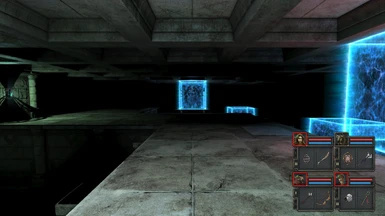
STEP L [SAVE THE GAME] descend the Chasm that lands your crew up high, there you will see a secret wall button, press it. a magic bridge illuminates CAREFUL !
STEP M on the opposite alcove DO NOT REMOVE an item, instead place a small item, another magic bridge illuminates, follow it
STEP N again on the next alcove DO NOT REMOVE an item, instead place a small item, a secret room unlocks, use all shield potions and speed potions that you have, a Mummy Battle begins, if this is too fierce for your crew go back a step and do not insert the item, instead Remove an item
STEP O if you won the Mummy Onslaught, well done explore their base, NOTE 1 wall is fake, move through it to find bombs, then find secret button, press it
STEP P once you touch the floor of this level you are are in a pretty Dangerous situation and need to be well prepared
STEP Q go to the bottom right of this hall, face away from the lever, use the Quiff (pen) to mark the map at the other side of the hall here, "Secret room 3"
STEP R [SAVE THE GAME] pull 1 lever at a time and use strategy and caution to survive the perillous fighting
STEP S the levers can be pulled in any order but Recommended, pull lever furthest from "Secret room 3" defeat the Crowerns then pull the next nearest lever, the one nearest "Secret room 3" is the most difficult, leave that to last and have Bombs Ready for that
STEP T explore the Mummys' base, NOTE 1 wall is fake, move through it to find bombs, then find wall button, press it, it locks you in safely in case of trouble
STEP U [SAVE THE GAME] pull the lever near to "Secret room 3" this si the worst part of the game so far with a some superior monsters so use extreme strategy and caution to survive, your target is "Secret room 3"
STEP V TIP if necessary use the Mummys' base to lock yourself in and recover the crew (sleep) then weave around the superior monsters to get to the back of their base, pull the lever THEN push it back up again! secret cache opens with very useful items
STEP W if you got past the HALL OF TERROR well done that was a most difficult section, continue exploring, note the spikes overhead, now prepare for Mozzies, if you have any bombs left, get them ready
STEP X fight the Mozzies TIP note where the Mozzies emerged from. Fake wall by mess on floor - proceed through fake wall, ascend ladder, find Mortar and Pestle, next alcove INSERT an item into Alcove, magic bridge illuminates, follow it
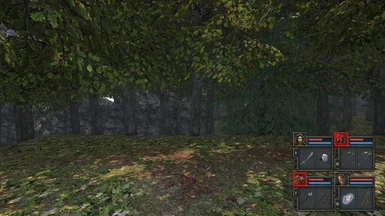
STEP Y continue exploring, ascend Steps up to Forest - explore the Forest and locate the Chasm back down to the Dungeon
STEP Z you are back where you started from - TOUCH NOTHING! your crew need to walk around the Reception Hall and find which gate has unlocked, find it and move through (the Western Gate)
ADVANCED GUIDE. including Standard Castle
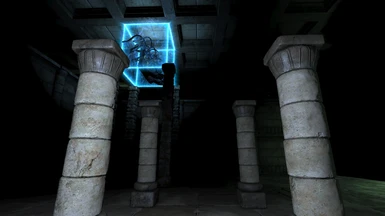
STEP 1. move into the identical reception hall, as before see the Ivy creeping on the wall? this again signifies which item to take. however there is more. BONUS: Locate the messy dirty floor in 1 corner, there is a fake wall here
STEP 2. move through the fake wall, take the Silk Hose, PUT THE SILK HOSE back, you see a Second Text message "Secret Found" because placing THE SILK HOSE back unlocked "Secret room 2". Check the map for where you annotated "Secret room 2" and return there!
STEP 3. return to the original Reception Hall, TOUCH NOTHING! your crew need to walk around the Reception Hall and find which new gate has unlocked, (The Eastern Gate)
STEP 4. proceed through Eastern gate, look our for ceiling root branches, stop at the ceiling root branches, press secret button in wall, TIP! any Lightning Bombs you find, consider saving these for underwater combat later. Lightning Bombs can be used on underwater foes
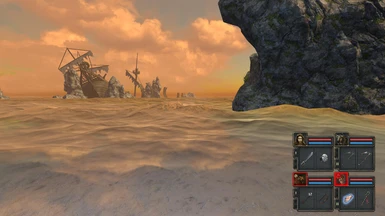
STEP 5. descend the steps to THE CASTLE, this is where 1 Rapier Sword is. to locate it spot the ripped wall cloth. jump into the Moat exactly aligned with the ripped wall cloth. Rapier Sword located!
STEP 6. move along Eastern Moat leg and spot 2 wall candles, move straight between the 2 wall candles into an AIR LOCK, find the Lurker Vest, place the Lurker Vest back onto the shelf, hidden room opposite UNLOCKS!
STEP 7. move along Western Moat Leg and past the Sparkler Arrows through fake walls, ascend ladder to Castle Ramparts
STEP 8. locate the Portcullis gate, you should lure the lone Skeleton Soldier onto the Pressure Plate in front of the Portcullis gate, the gate unlocks!
STEP 9. have Lightning Bombs ready - move to the first underwater trench and turn left or right. Assuming you kept Lightning Bombs for this occasion (Recommended) chuck them now to take down 3 soldiers (this allows you to access end caches)
STEP 10 find a nearby ladder up to highest ledge, see a Blue Wall Button, there is 1 at either end . or you can skip the buttons and exit the level now.
ULTRA GUIDE
STEP 11. Exits from Castle are West or East underwater channels out of the Castle. If you do have the Rapier Sword (see STEP 5) then EAST is a good one because it leads back to THE BEACH, where you can use the Sword to unlock Standard Spiral.
STEP 12 if you don't have the Rapier Sword then West is good as it leads to the Standard Mine, which leads to the final Treasure Room, which leads to Advanced Tomb.
STEP 13 however let's assume you go EAST, assuming you found the Rapier Sword .
STANDARD SPIRAL
Step 14 You arrive in Standard Spiral. to solve the first easy puzzle lay out 2 darts and 1 arrow. throw the arrow from the left hand side. then move over to your right and throw the 2 darts, a magic bridge appears, RUN ACROSS, there isn't much time!!
Step 15 now get all your potions ready, hopefully you have speed potions, shield potions - NOW IS THE TIME!! prepare for a fight! or weave through the opposition to the next lot of gates: press the button either side of the gates, escape! NOW REST THE TEAM
Step 16 Big decision now, do you go right or left at this fork? if you don't have Etheral Blades then turn right and battle the Rat Army!
Step 17 Even if you do have Etheral Blades these will be barely enough to defeat the Etherals unless your Sorcerer has mastered the Dispel magic. If he has then certainly try left, but 9 times out of 10 leave that one until later!
Step 18 Turn right and engage the Rat Army !
Step 19 at the end of the fight you access the overhead Bridges. You then have the opportunity to drop back down to the Etherals Zone. If you have Etheral Weapons it would be worth doing, otherwise skip it
Step 20 The end of Standard Spiral drops you back to THE SWAMP. From here you should take the steps BACK to THE CASTLE so that you can finish the level (SW leg of moat)
NORTH DOOR in Treasure Room 1
The Castle Level exits allows you to explore The Spiral Dungeon and/ or the North Door of Treasure Room 1
Step 21 after dropping from The Forest you see you're back in Treasure Room 1 and the N Door has unlocked
Step 22 follow the passages around to a further Dungeon Pit, this drops you to THE MINE
Step 23 quite a puzzle - but follow this process to progress - ascend the ladder. position the crew so they are looking at the chains dangling from the ceiling, move forward
Step 24 turn around, move forward until you see a second ladder, ascend that ladder, keep moving forward
Step 25 keep moving forward until you find a LOCKED FLOOR TRAPDOOR, now have a look around, there's a secret button on a railing, descend the trapdoor
Step 26 you drop to a dark forest. MAKE A NOTE that there are now 1 or 2 routes, if you explored the Spiral Dungeon then you will have 2 routes open to you
Step 27 if you didn't explore the Spiral Dungeon, you'll see a stone wall blocking your party, but you can always move off in the remaining direction
Step 28 following the remaining direction, you eventually arrive at stairs down to THE CASTLE, but this time you see a LEVER. This Lever unlocks THE LIBRARY so make sure you pull it
Step 29 Enter THE LIBRARY and use the pit down to THE FOREST. This leads your party ultimately to a new (3rd) Treasure Room in the game.
Step 30 After the 3rd Treasure Room your party move downstairs to ADVANCED TOMB, good luck! You will need it!


