


0 of 0


Documentation
Readme
View as plain text
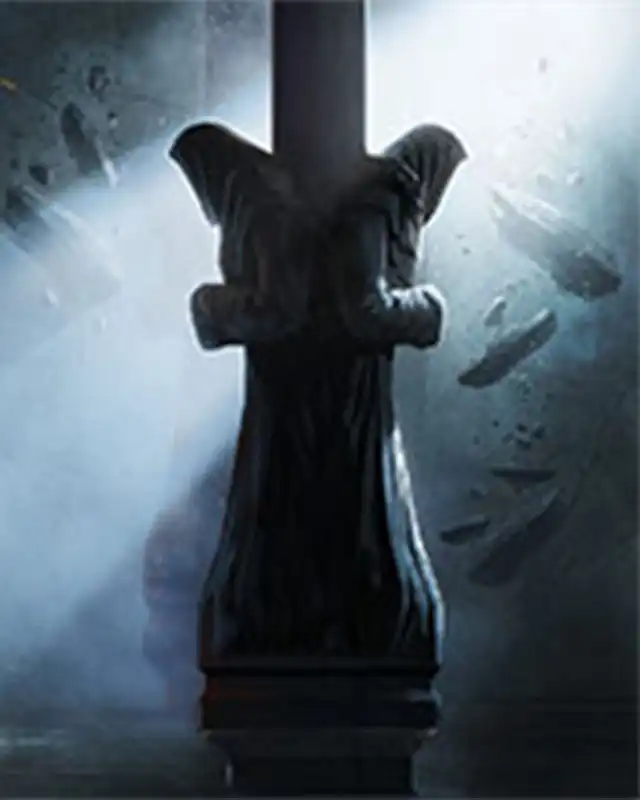
Legend of Grimrock II - Custom Dungeon : The Chronium
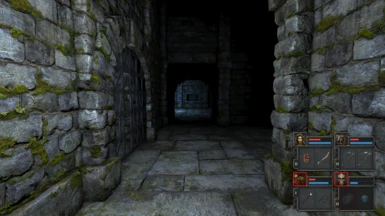
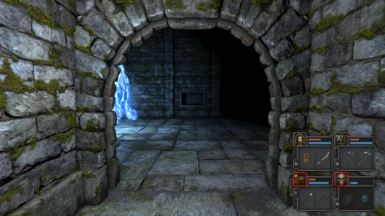
CREDIT TO -- Under Dungeon -- By Vanblam in 2017 Vanblam kindly uploaded his UD tileset to NexusMods, thank you VanBlam, great dungeon set!
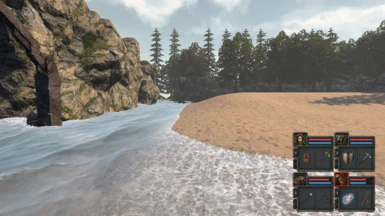
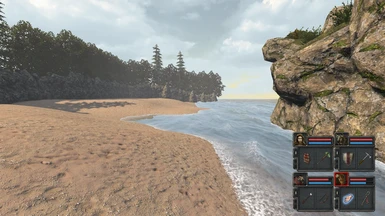
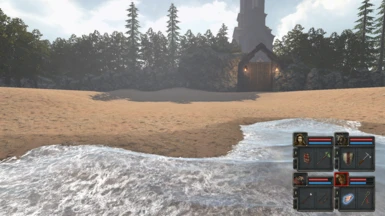
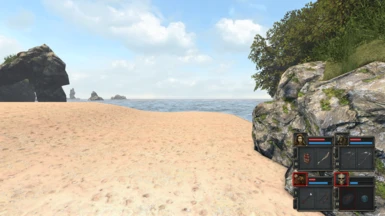
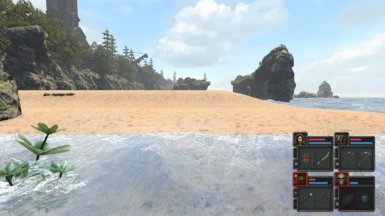
After spending a stormy night on a cold beach the crew find their way down to a mysterious dungeon, there is a lever on the launch tile , try playing the adventure without pulling the lever, the immediate trapdoor is closed without pulling the lever, but opens later on anyway. If you find the difficulty too high, then pull the lever to descend the trapdoor to an easier level!
The Chronium is a sophisticated artefact of exotic origin, the crew believe it to be buried somewhere on this island.
KEYS: the discovery of keys is not a critical part of the adventure, your crew can still navigate the dungeons to much the same degree. Keys can benefit the party with more loot/ caches but there is plenty of more loot/ caches without keys too!
LOCATION OF KEY NAME OF P.KEY PRIMARY ITEM PRIMARY LOCK
Dungeon | Barrels :Iron Bombs/ Potions Dungeon (by Dog Kennel)
Dungeon | S Eggs :Tomb Rogue kit | Refuge Tomb
Tomb (upper) | Stripe :Gear Heavy Armour Dungeon
Dungeon | Chain :Ornate Potions Sack/ Reed Armour Mine
Dungeon | Chain :Iron Bombs/ Potions
Old City | Pit Drop :Brass Mirror Kit Tomb | Beach Stairs
W Beach | Boulder Rapier Sickle Sword Ch/Armour Dungeon | Flooded
Tomb S | thruBarr :Warden Chronium Warden | Cavehirst
U Dun S | Statue :Skull Warden O/Door Dungeon | from C/Hurst
Old City | :Mine Shaman Staff Old City | Tomb Mayhem (Pit in centre)
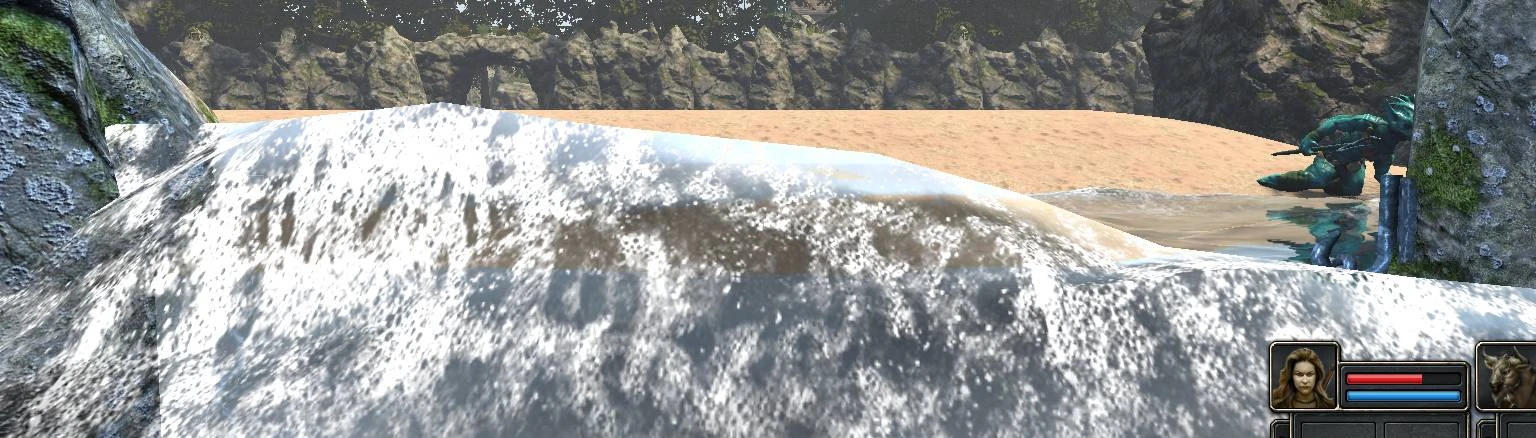
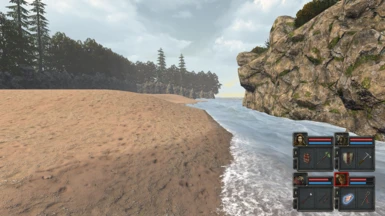
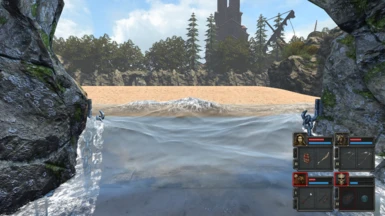
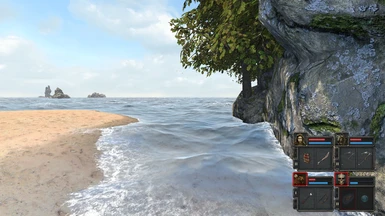
BEACH 1
the entrance is where the two sensors are. Open the portcullis by removing the Beach Ball from the cave in, you hear the portcullis rising as you remove the Beach Ball, now visit Beach 1.
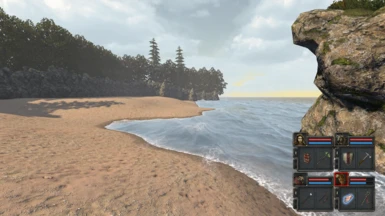
BEACH 2
the entrance is in East Tomb and may be difficut to get to if the launch lever was pulled, otherwise find the shortbow here!
I'M STUCK! WHERE DO I GO?
suggestions
1. press TAB. look at the map. see if there are any paths that you have trodden that abruptly end without reason, you may have been distracted and stopped on a route that actually continued
2. check the start location. remember the chain? check that location
3. checks doors that have been closed a long time e.g. the Serpent door on Tomb East
STEP BY STEP SOLUTION
STEP 1. note the locked black door adjacent, now find the stairs down to the flooded zone ('Flooded')
STEP 2. in the flooded zone, pull the lever, return to where you were at Step 1.
STEP 3. you see that the black door adjacent is now unlocked, just past there is a wall button, press it, enter the Teleporter
STEP 4. find your way down to a Chandelier and a burning table fire
STEP 5. drop down to the next chandelier and see the pit. descend the pit
STEP 6. see the adjacent lever, pull it to experience a slightly easier (some say) start to the game, it unlocks a nearby trapdoor which descends down to an "easier start level", if you dont pull the lever skip to STEP 12.
STEP 7. I assume you pulled the lever (It doesnt make a huge amount of difference) but anyway descend to the "easier level"
STEP 8. note where the start of this level is. find the crowerns and the skeleton soldiers, now find the adjacent unlock buttons in the wall.
STEP 9. once the crowerns and the skeleton soldiers are defeated, the mummies escape their cage, return to their cage and pull the chain
STEP 10. explore and find a torch in a wall bracket, take the torch and return to where you were at the start of this level
TIP. as you come to any lock press TAB and use the map to mark where the lock is, this will come in handy later
TIP. look out for ceiling roots coming out of the ceiling, check back a few feet and see if there is a secret cache nearby TIP. look for a secret button!
STEP 11. find your way up the stairs to the mosquitoes dungeon, this leads eventually to the part of the dungeon where the lever can be pulled as per STEP 6
STEP 12. chop down all the barrels stored around the square, you will find an iron Key and a pressure plate behind a portcullis.
STEP 13. remove the wall torch nearest the Gear Lock and insert it into each empty wall bracket inside. portcullis mentioned at Step 12 now opens. bring a monster to the pressure plate to further unlock inside progress.
STEP 14. proceed to explore the dungeon, you find two receptors near to a wooden door. try throwing a small rock at each receptor, the wooden door unlocks, continue exploring.
STEP 15. work your way around to the ladder, you now find a "Dog Kennels" but more important , adjacent you find a wall lock, use the key you found at Step 12 , the iron door opens but look at the wall facing you, see the hollow arch? this is a clue that a secret cache is through the wall
STEP 16. either drop down to the Dog kennel or drop down to the "unexplored area" either strategy is good, in fact do one, then the other
STEP 17. chop down the Spider Eggs and find the hidden Tomb Key , this will come in handy later
STEP 18. trace the new passageway all the way around to a cave in. Rubble from a section of dungeon has poured down from a building collapse. in amongst the debris find the "Beach Ball" you hear a gate on the other side of the wall OPEN, this leads to the BEACH!
STEP 19. find the stairs to the Eastern Beach, fight the Zarchtons and locate the TRAPDOOR (LOCKED) we can return to that later (as soon as you reach the Western Beach)
STEP 21. return to the Dungeon from the beach: Find the iron gate with lever, pull the lever, inside you find a pressure plate, this plate unlocks the adjacent portcullis when another monster treads on it, the Giant Snake is released, slay the snake to unlock the next gate which leads to FLOODED.
STEP 22. enter FLOODED and find the stairs to THE MINE. note the Ornate Lock in the MIne, this is a primary Lock. Take the stairs to the TOMB, here you see a TOMB lock, use your Tomb Key here to unlock a good bonus gallery nearby (LOOT!) (GEAR KEY!)
STEP 23. slay the Medusa which unlocks a branch passage. find the stairs (Mirror Gate) to the second Beach (Rapier!)
STEP 24. find the stairs back to the Dungeon and use the gear key (Step 22) to unlock the Heavy Armour for one of your crew!
STEP 25. from the Heavy Armour go back into the adjacent room which contains a trapdoor in the centre. search the room for an ORNATE KEY and an IRON KEY
STEP 26. return to the Tomb Level via "Forever with the Lord" Stairs down, use adjacent stairs down again to THE MINE, use Ornate Key here, drop down the pit to a battle zone! mid-section: place items onto 4 alcoves to proceed
STEP 27. descend the stairs back to Tomb Level and yet another battlezone : move through to the striped wall :If you pull the lever you unlock the barracks *so possibly DON'T*
STEP 28. from the Striped Wall go back up the stairs to where you have just been, go back over old ground, through 2 Ogres and find THE BRASS KEY, now return to the Tomb Level
STEP 29. from the Striped Wall head to the Mirror Gate and THE W BEACH, find the NE corner o that beach, if you didn't retrieve it before, now grab the S BOW! return to the Tomb Level
STEP 30. from the Mirror Gate find the Brass Lock, use the Brass Key and retrieve all the Mirror Armour! also pick up a spare * Ornate Key *
STEP 31. you are currently in the Eastern half of the Tomb Level, head to the Western wall of the tomb level, use the stairs back to The Dungeon
STEP 32. find you way back to where the Heavy Armour was (STEP 25) go back into the adjacent room which contains a trapdoor in the centre. turn 180º so that you face out of the room, carry on walking until you come to Spiders' Eggs, turn right , you come to a Secondary Ornate Lock, use the Ornate Key here (MORTAR INSIDE)
STEP 33. grab the MORTAR from the Dungeon Barracks (TIP! place an item with the Red crystal to unlock the Blue Crystals Room adjacent!)
STEP 34. Did you get THE RAPIER? (STEP 23) if not, you need it! With the Rapier head to 'flooded' (Step 22), slay the standing soldier with a Lightning bomb and the Legionary Spear (Beach) proceed along the new passageway
STEP 35. from the new passageway find the stairs to the Night Forest, do some foraging and find the far stairs, battle your way past two Xeleroids and use the Rapier to move into a branch passgeway. find the strange wall pillar, it looks like 2 different pillars melded together, move through a fake wall to a Tomb section
STEP 36. find the Castle Section in the same way as you found the Tomb section, move through double wooden doors to stairs down to the real Tomb, descend the pit to MAGMA GOLEMS, find the Acolyte Staff mid-West passages/ Basin
STEP 37. explore MAGMA GOLEMS passages as much as possible but end up at the centre North of the passages OR see "GET WARDEN KEY" below
STEP 38. return to Tomb Level and the Mirror Gate, ascend the stairs to the W Beach, enter the Zarchton Stronghold (just along from the face statue in the wall)
STEP 39. descend into Ratlings Barracks and explore their base, recover two keys TOMB and MINE keys
STEP 40. return to Dungeon Level and use the Tomb Key , South mid section to arm up with an Etheral Blade which your crew need for the next mission on E Beach (trapdoor now open!)
GET WARDEN KEY
STEP A get to Cavehurst | from MAGMA GOLEMS descend pit past the swimming pool
STEP B descend C/Hurst stairs, use SKULL KEY to unlock outer Warden's Door
STEP C descend pit by SKULL LOCK and find ladder with Stripe, proceed along corridor that ends with stripes
STEP D in Tomb Level find the Mirror Gate (Step 23) a new passageway has opened, explore the new area, find Warden Key
GET SHAMAN STAFF (Mine Key needed!)
STEP E find the Mirror Gate (Step 23) now go South to a portcullis, you can see a stripe on the wall through the portcullis
STEP F follow the stripe to a very close further portcullis, pull the wall lever to open it
STEP G enter the Tomb Mayhem and descend the centre pit, follow the track to the Shaman Staff! (You will need the MINE KEY!)
STEP H if you get stuck getting OUT of Old City then do a thorough sweep of OLD CITY, re-explore - you should find a wall lever that releases the Exit door
BUGS
With the addition of the "Under Dungeon" tileset, the game could see a memory issue. Best strategy to avoid this, is simply do not Load or Save the game for the first 60 minutes. After that, Loading or Saving is normal.
Symptoms of the memory issue in the first 60 minutes go like this: game plays normally until you decide to go back to a previous Save, created in the first 60 minutes of play. Once you Load a game, then buttons / functions simply no longer work. To get around it , play through for over an hour all in one go, then Save!
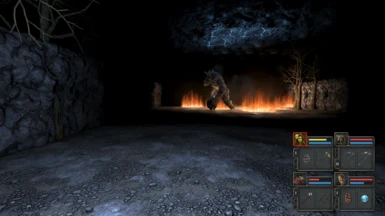
Magma Golems aggression: Magma Golems will strike out towards your crew, give them a really wide berth to avoid Magma Golems striking an area that the system does not recognise, that will crash the game! This typically happens when your crew are at a higher location than the MG but can rarely occur at the same level too.