


0 of 0


Documentation
Readme
View as plain text
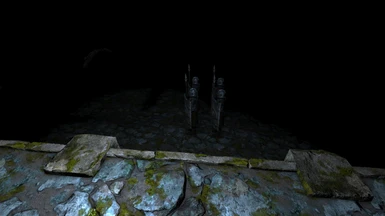
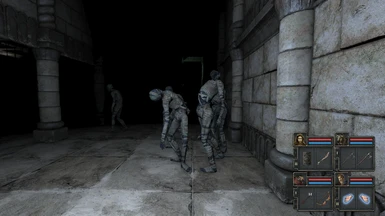
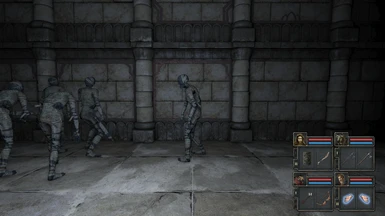
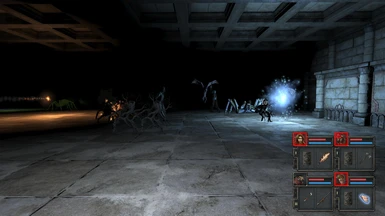
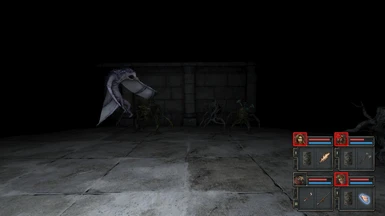
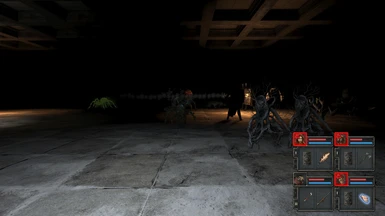
*CREDIT IS DUE to Murdo Maclachlan for bringing back from the Dead the wonderful Skeleton Warriors! Thank you Murdo *
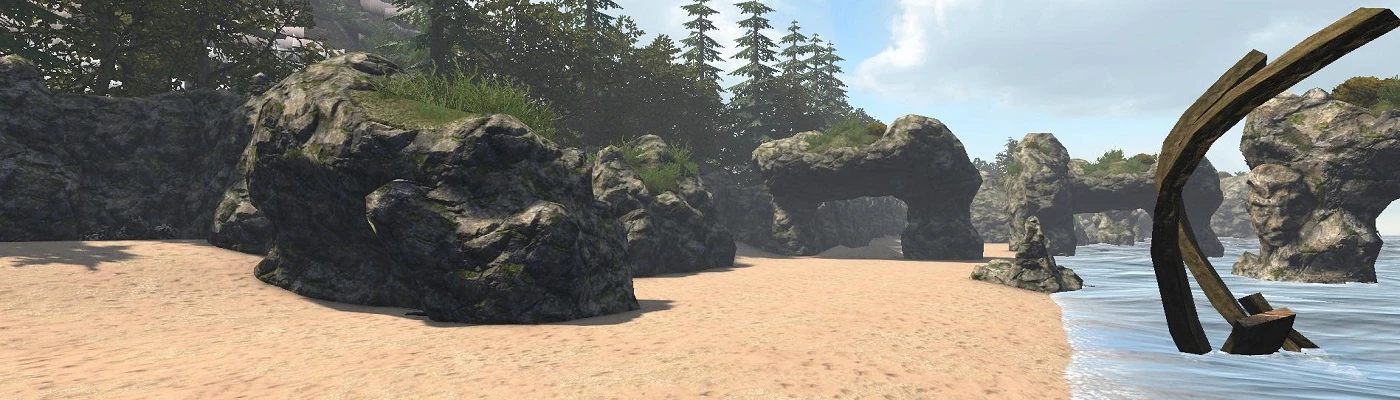
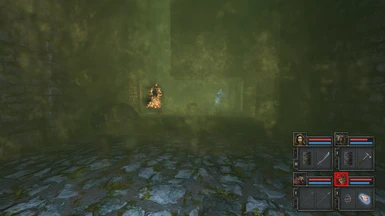
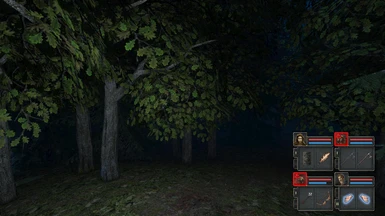
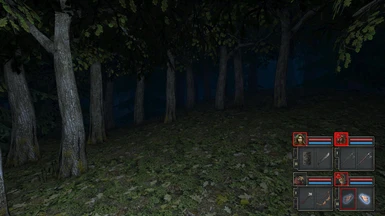
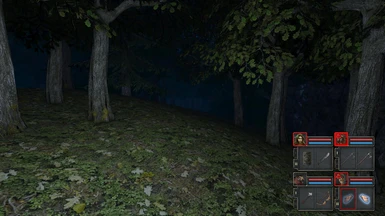
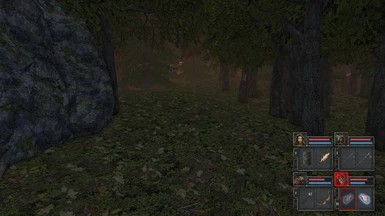
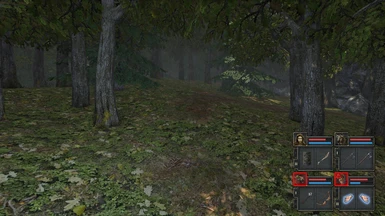
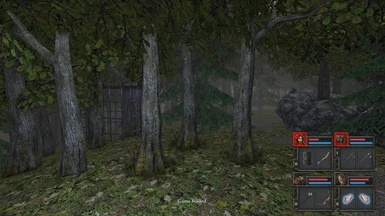
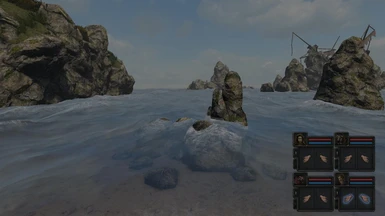
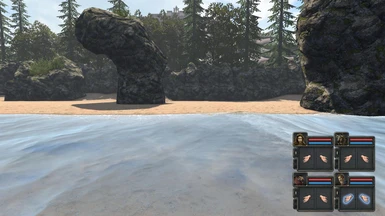
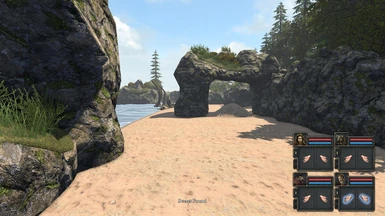
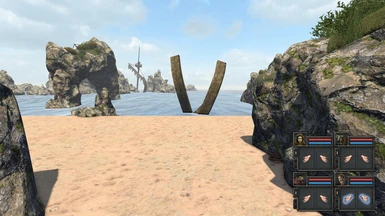
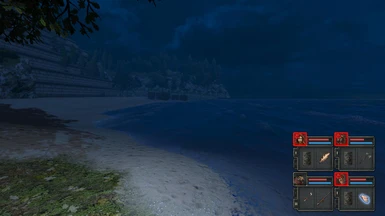
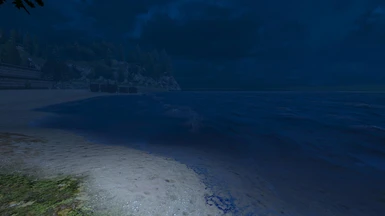
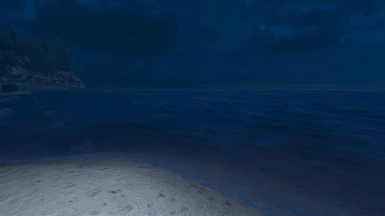
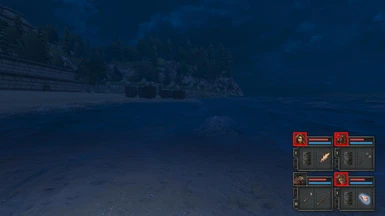
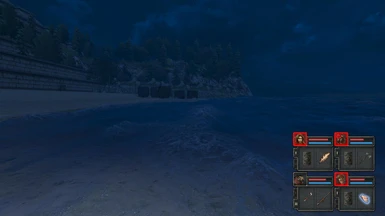
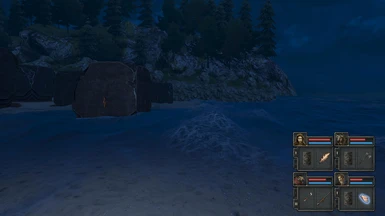
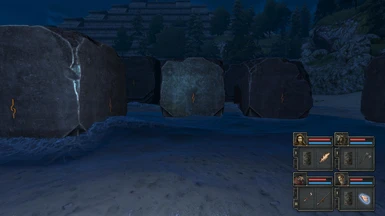
BACK STORY : the crew's schooner crashed into rocks during the night.
the crew waken from a mild night's sleep to find the cruel sight of their demolished schooner just offshore
BASIC STEPS
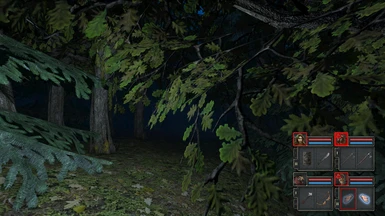
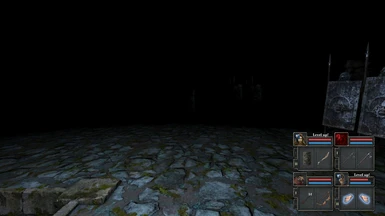
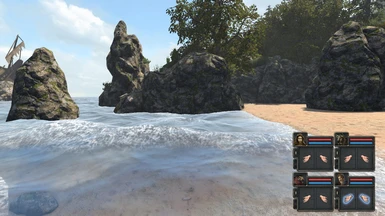
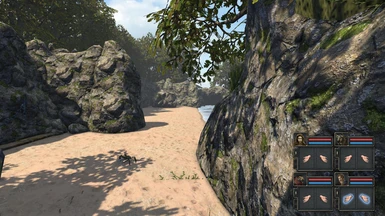
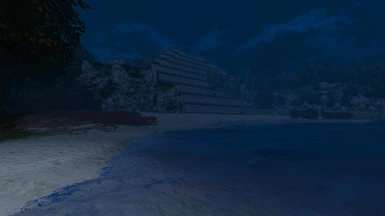
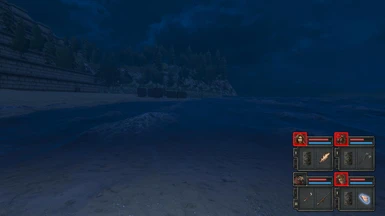
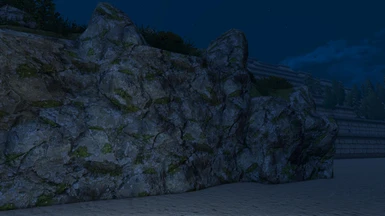
STEP 1 your crew are on the beach but only half of it, look on the sand by the rock stairs and see if you can spot faint seaweed or little crabs, there is a secret place to pass on to the other half of the beach.
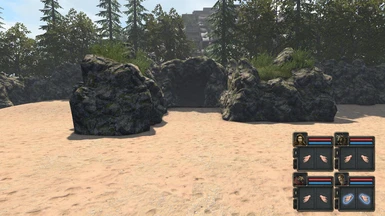
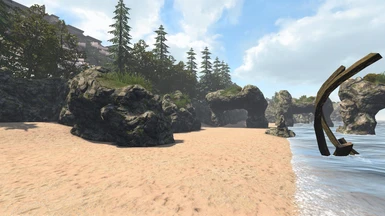
STEP 2 once on the other half of the beach do all you can to discover the scant items that your crew can grab, anything is better than nothing.
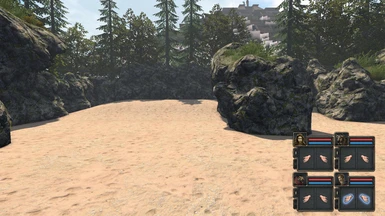
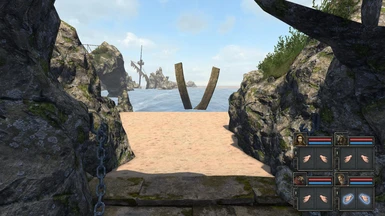
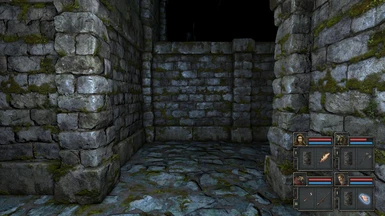
STEP 3 once on the other half of the beach your crew have four stairs off the beach to explore.
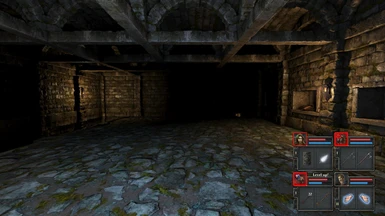
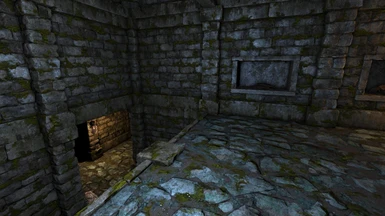
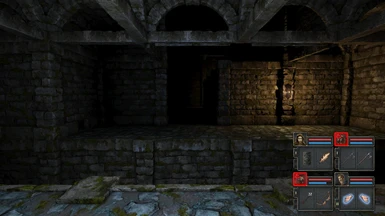
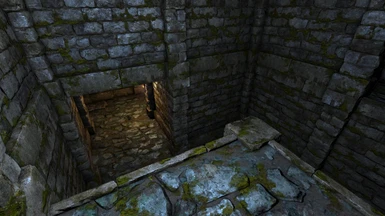
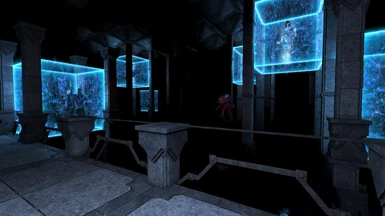
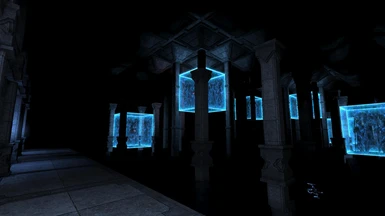
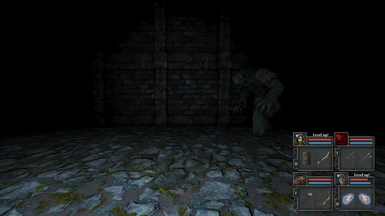
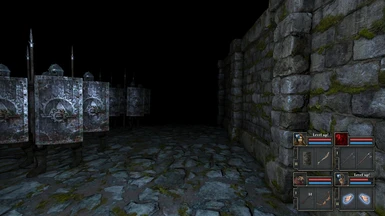
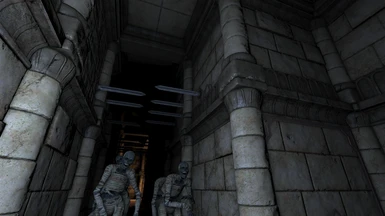
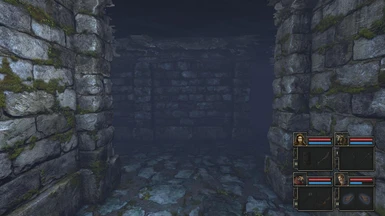
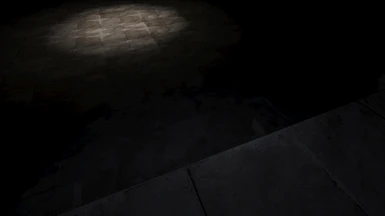
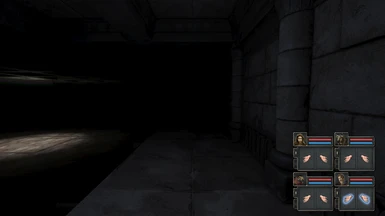
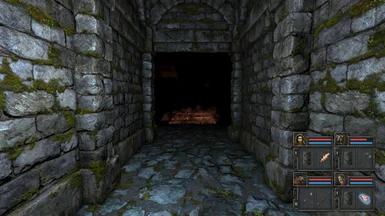
STEP 4 the four stairs go to 1) the dungeon 2) the flooded dungeon 3) the tomb and 4) the MOAT. TIP! in 1) the dungeon look out for chains hanging from wall hooks, this passage actually leads straight to the Blue Stones *later on*, just bear that in mind, that in the fullness of time your crew will find that passage a handy few seconds away from Blue Stones: THEREFORE that is the place to drop 'excess baggage' e.g. pellet boxes that you don't need right now, sacks of food that are great but not of immediate significance etc
STEP 5 the most dangerous at this point is 4) the MOAT so steer clear of that unless you are very sure .
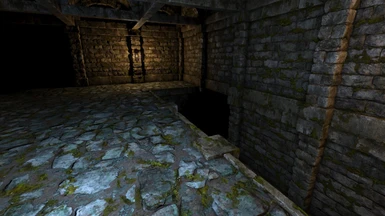
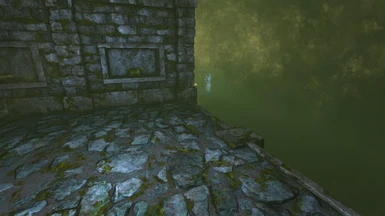
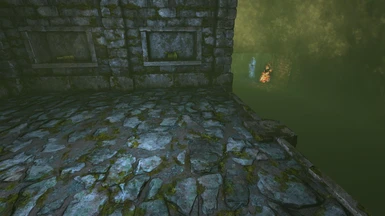
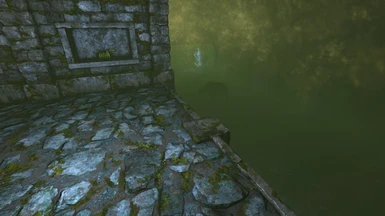
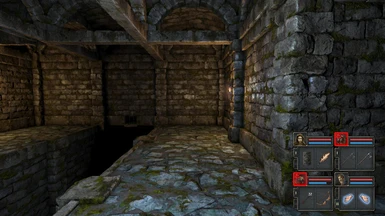
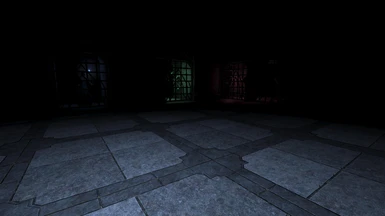
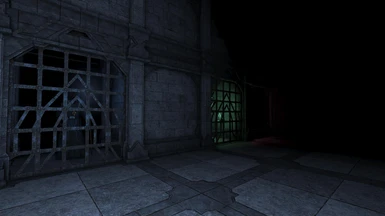
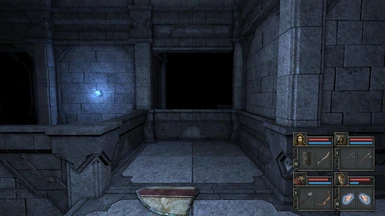
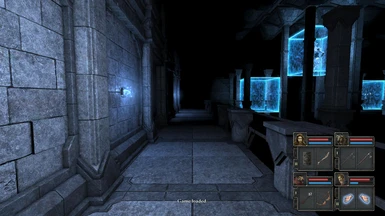
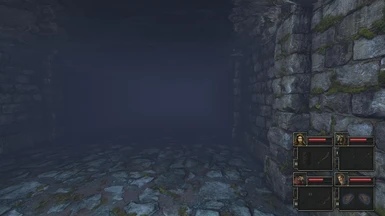
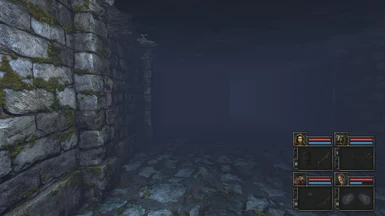
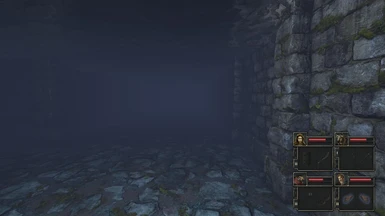
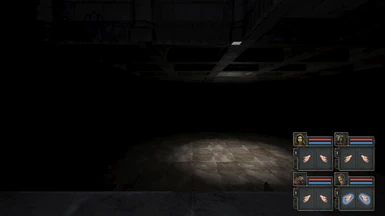
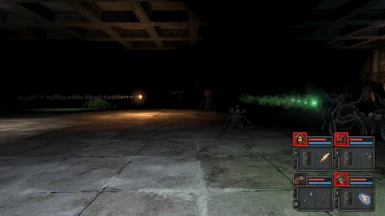
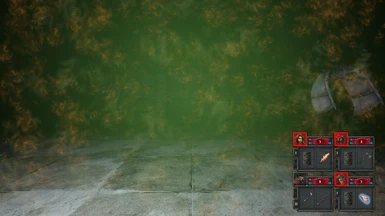
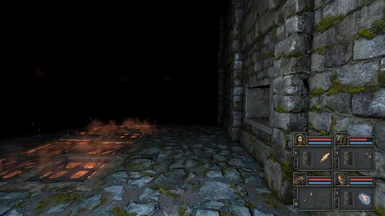
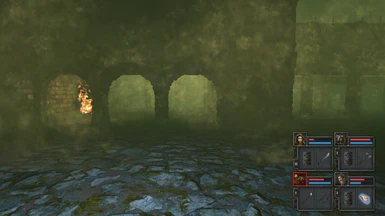
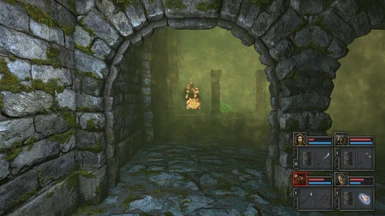
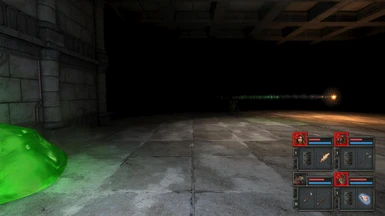
STEP 6 the best areas to begin with are 1) the dungeon and 2) the flooded dungeon, so concentrate on those at first. on entering the flooded dungeon carefully look at the GRATINGS.
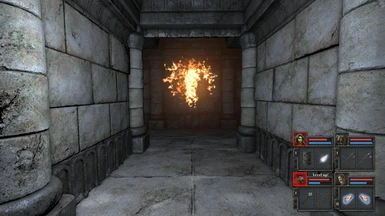
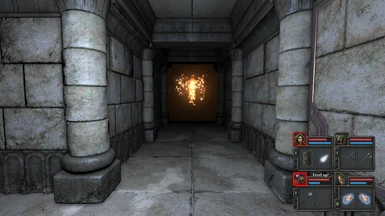
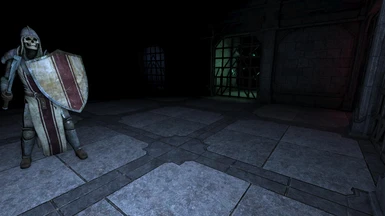
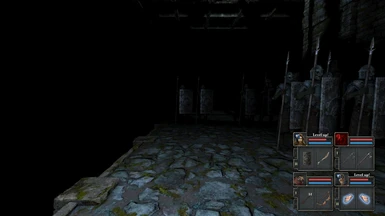
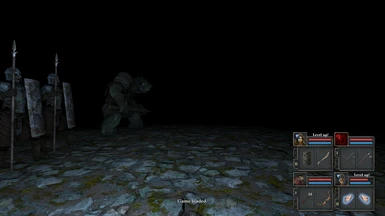
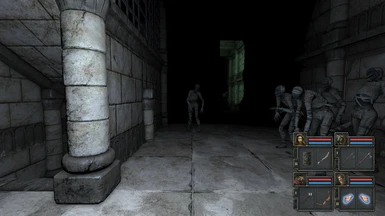
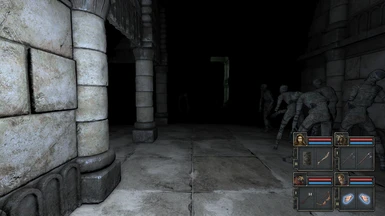
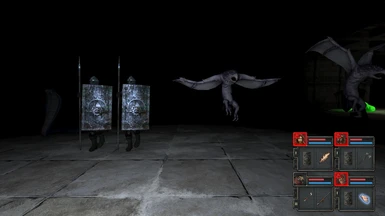
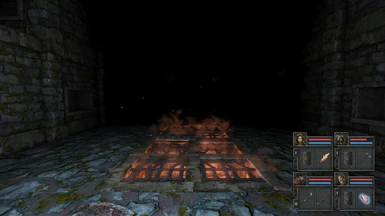
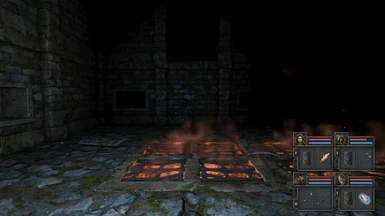
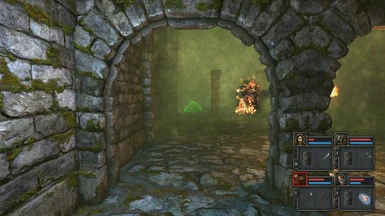
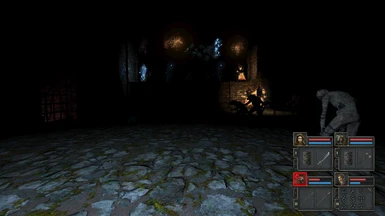
STEP 7 in the end it is best to grab the wall torch in 1) the dungeon but at the same time not losing any crew, this is not easy but it is possible! to get out of there you need to defeat the (single) warrior leader, again not easy but you could do with his Spear and his Shield!
STEP 8 once your crew have the wall torch and the Spear, it is easier to explore 2) the flooded dungeon where the GRATINGS can be smashed with the Spear and then further wall torches can be grabbed (grab them with great gusto!) .
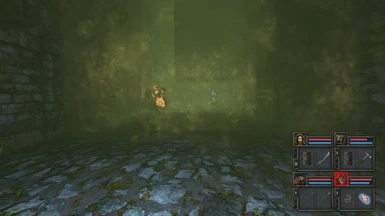
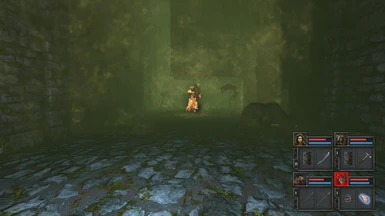
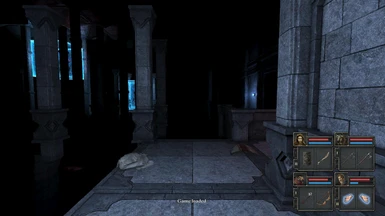
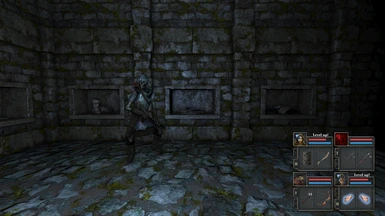
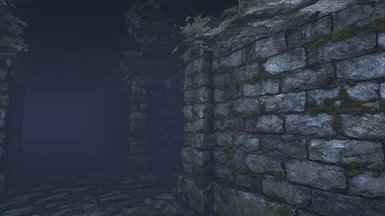
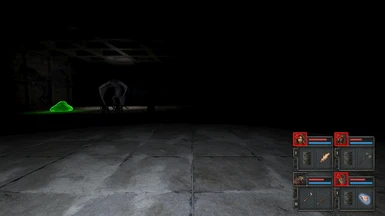
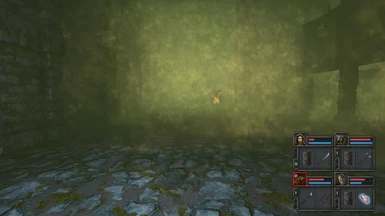
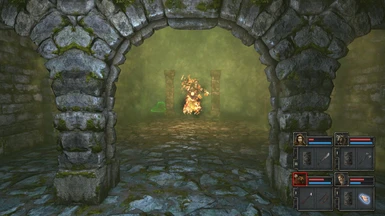
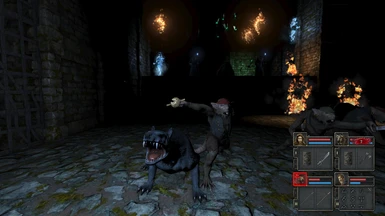
STEP 9 visit the Tomb, there has never been a quieter time, all there is there is a DOG and your crew dont even have to fight it, zip past it if you like but either way look for a mess on the floor, this is your clue to entering the TOMB backwaters, from here find the stairs and drop back down to the Dungeon, a new chamber has unlocked, pay attention for ivy growing up the wall
STEP 10 find the wall bracket first seen in STEP 7, place the torch back into it. now Remove it and a PANTRY chamber is revealed.
MISSION STEPS
STEP A there are three missions to consider now, so plenty of options: the MOAT mission, the flooded mission or the TOMB mission. each has their own merits
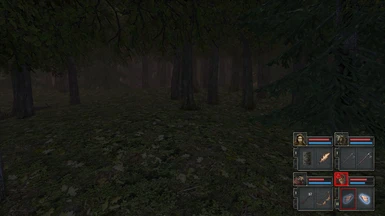
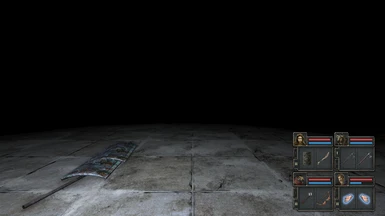
STEP B any of these can be undertaken at this point so at random lets just say the MOAT mission, for this: none of your crew should be injured (or you will be too slow) : quickly find the barracks gratings where the heavy armour is stacked against the railings, take the heavy armour but even better :THE RAPIER that lies carelessly tossed there along with it. then waste no time in locating the nearby MOAT trapdoor down to a Sanctuary woods
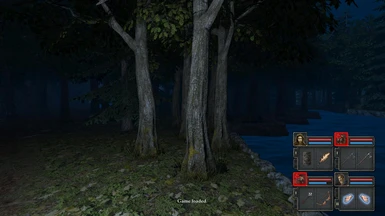
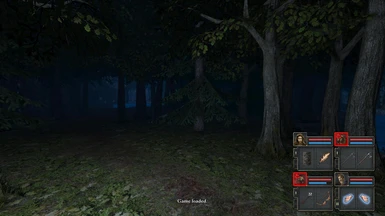
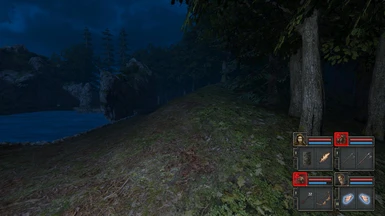
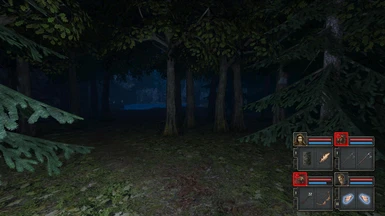
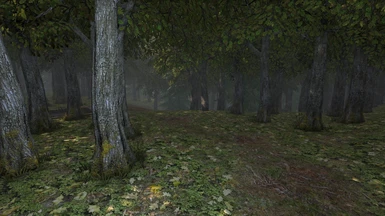
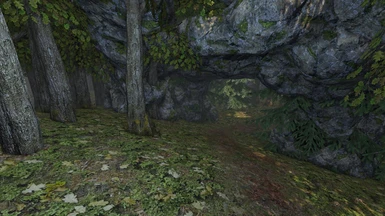
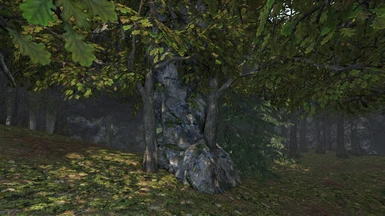
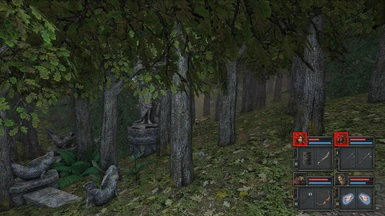
STEP C1 so once that is done, try the Flooded Mission, move to the Northern wall of Flooded and you will find at least one stairs, if open, the nearest one takes your crew to Upper Tomb, from here the Northern drop gives your crew a marvellous Heath explore, when you find the two x Horned Fruit, ensure your crew get even further on the Heath into the Secret foraging part. your crew now need to get back to the Tomb backwaters mentioned at Step 9, re-explore that area and a new ladder is found back up to the Balconey, now re-explore the Balconey and a new path is found off the Balconey
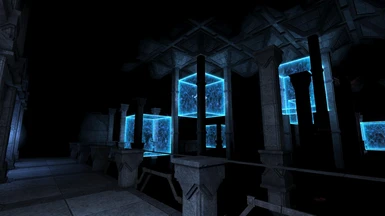
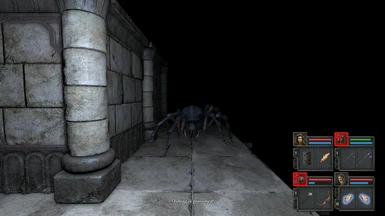
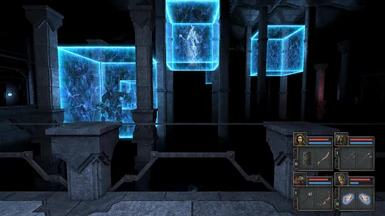
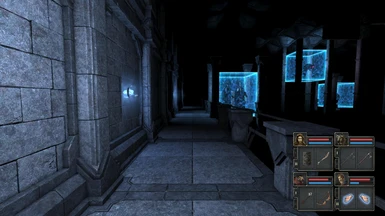
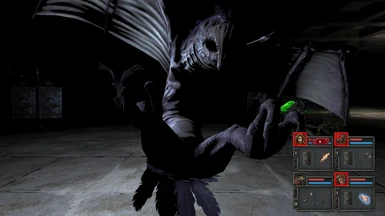
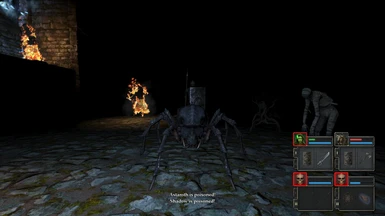
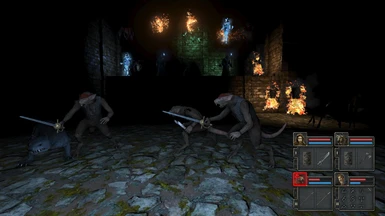
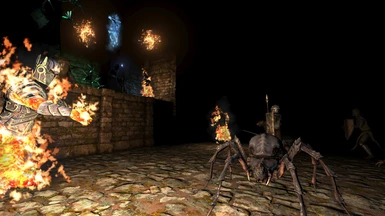
STEP C2 Flooded Mission, move to the Northern wall of Flooded and you will find at least one stairs, if the nearest stairs is closed try the further stairs, these lead the crew to Castle Ramparts. when your crew find an Iron Bangle, take the item, then return it to the shelf, a doorway onto the old Castle Laboratory is opened and a shocking sight to behold, species of all kinds imprisoned for study, one of the first tasks could be to slay the fiendish Skeleton Commander who will continue to summons the Undead relentlessly unless you put a stop to him, release him then use the Rapier to activate underwater defences that should finish him off (your crew will have to strategically make it happen!)
STEP D Tomb Mission : get back to the Tomb backwaters mentioned at Step 9, re-explore that area and a new ladder is found back up to the Balconey, now re-explore the Balconey and a new path is found off the Balconey
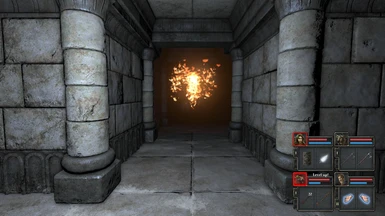
STEP E Skeleton Commanders : as your crew probably found out, the first Skeleton Commander in the Northern Moat is best avoided at all costs (until much later) but the second Skeleton Commander in the Castle Laboratory mentioned in Step C2, can be dealt with swiftly if you have a Rapier with you, select the button opposite that Skeleton Commander so he is released to the Moat below, then follow him down, insert the Rapier to the Statue and fry him to a frazzle! he drops a key and a couple of nearby doors unlock!! GOOD PLAN! and it also stops him relentlessly summonsing undead, so all round top strategy!
STEP F amass a good supply of health potions and Crystals , when the crew gain Armour head to the Castle Precinct, see 'Routes' Below
Tomb of the Last Knight : ROUTES
DESTINATION FROM COMMENT
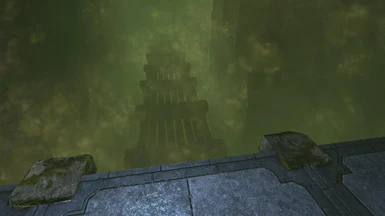
Castle Precinct 2 origins Castle Precinct is a deadly place, surrounded by the castle Moat it is not a place to be taken lightly
Castle Precinct Tomb South when the crew find Tomb South, use a Rapier to activate ancient defences against the Horde
Castle Precinct Spiral West at the end of the Spiral, stairs on the West wall go down to your inbound route
Tomb of the Last Knight : artefacts
Artefact FROM COMMENT
Rapier Moat Barracks get to Barracks Moat from Beach
Rapier Advanced Moat after defeating the Laboratory Skeleton Commander