


0 of 0


Documentation
Readme
View as plain text
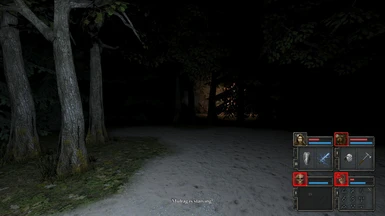
Your crew shipwrecked just off a rough coastal inlet with their Caravel split in half across rocks the size of a dingy cave in winter, 4 of you escaped the shattered timbers and carnage that night, but next day somehow its still dark and a trapdoor in the beach flora has unlocked while you were sleeping , the crew can descend the trapdoor certainly, or would it be possible to fumble around in the pitch dark beach? What could be gained? It seems obvious that the crew descend the trapdoor without further ado!
Basic Introduction
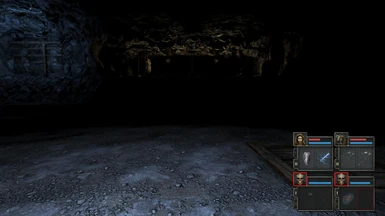
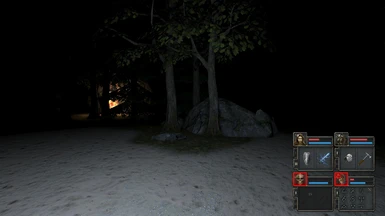
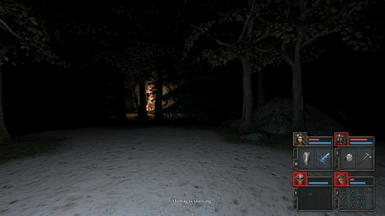
STEP 1 your crew awaken 50 yards from the beach waves amongst trees and next to a sandy Trap Door. you can descend the trap door straight away OR see what can be found in the pitch dark night.
STEP 2 5 yards from the crew is a torch that you can use to check for any driftwood.
STEP 3 find the torch.
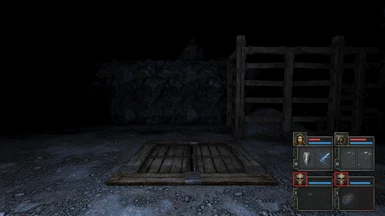
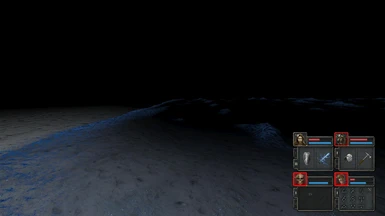
STEP 4 pull the lever next to the trapdoor, this CLOSES it and allows your crew to find the beach waves and some rocks.
STEP 5 place 2 of the rocks on 2 stone tables just offshore and in the treeline, a new copse area unlocks.
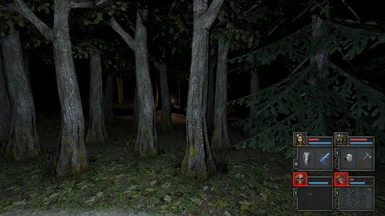
STEP 6 explore the new (Zarchton) copse area and find another torch or peasant clothing.
STEP 7 as your crew placed 2 of the rocks on 2 stone tables the lever has been recharged and will now work, pull it, the trapdoor is back open again, descend to Wizard Clones Chamber.
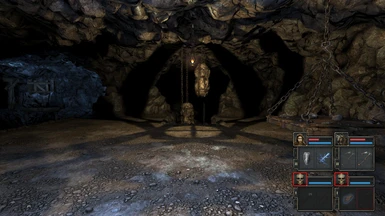
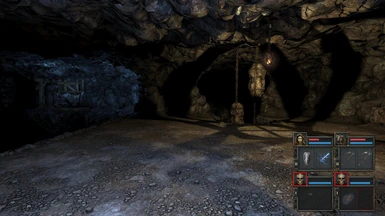
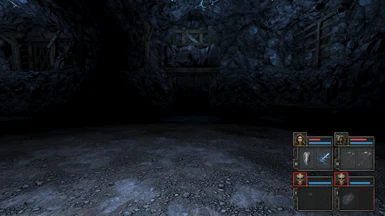
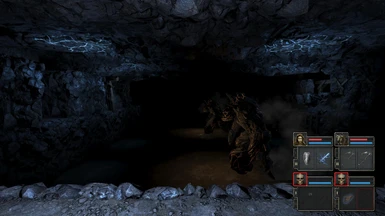
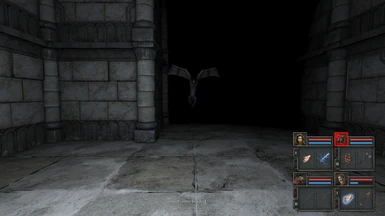
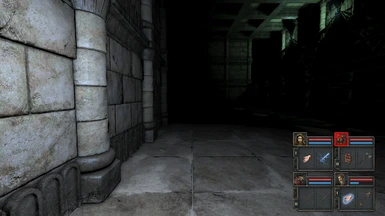
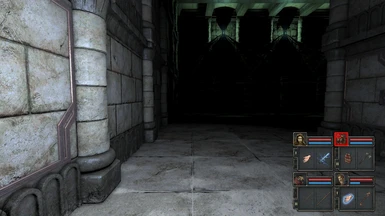
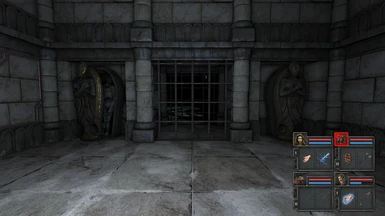
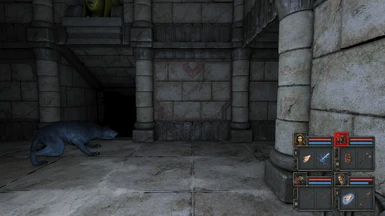
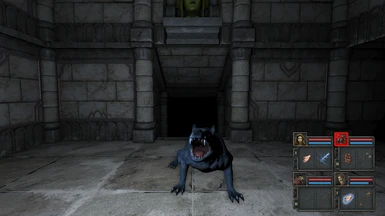
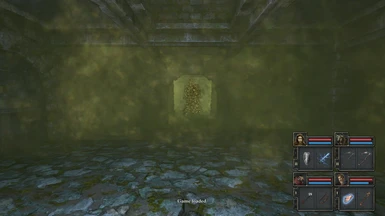
STEP 8 slowly explore the Wizard Clones Chamber, dirt on the ground marks a main exit to the perimeter corridor, this opens and closes as time goes on but you can also exit via the side Cells, these side cells will trap a Wizard Clone and stop them marauding around causing chaos.
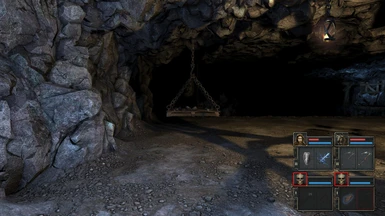
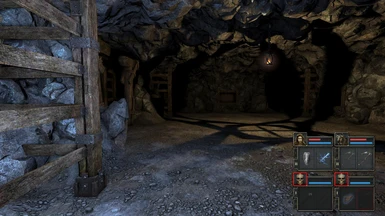
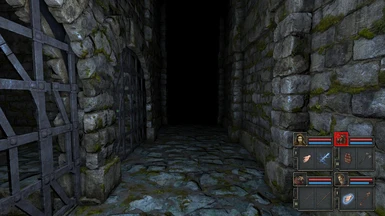
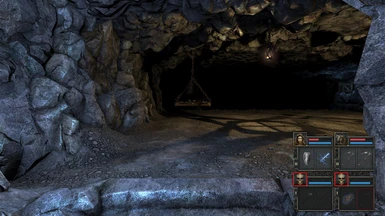
STEP 9 find the perimeter corridor with wall chains and hooks, this marks a special junction, return here in 5 minutes time! meanwhile if any Wizard Clone becomes trapped in a cell a nearby Cache in the Chamber could unlock, this is worthwhile checking.
Intermediate Level
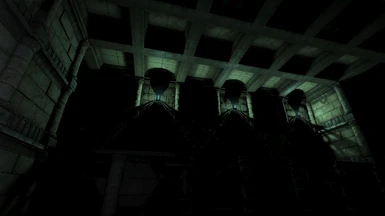
STEP A After 5 minutes the special junction with wall chains allows the crew in to the 'up ladder'. Ascend to the balconey bridge, OPTIONAL : jump onto a Wizard Clone , a nearby Cache in the Chamber could unlock, this is worthwhile checking.
STEP B find the stairs off the balconey bridge to the Tomb Level.
STEP C Use the map to discover where the secret corridor is and then explore the Tomb Level at your leisure, there's not much happening! TIP! upon emerging from the secret passage, place a random object e.g. a rock, a branch on the ground to make it obvious next time where the secret passage is!
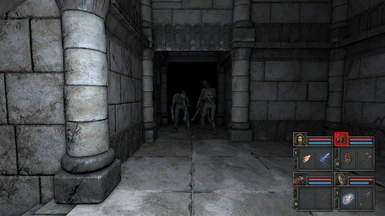
STEP D as time goes on the crew slowly encounter more and more opposition, initially very low level , the opposition gradually gets feircer.
STEP E find the two tomb keys
STEP F find the tomb lock
STEP G TIP! before using the tomb key in the tomb lock, if your crew are in good shape, take down all remaining opposition in the Tomb Level (This comes in handy later)
STEP H find the tomb lock, use the key and descend to Twigroot copse
STEP I after descending and fighting the Twigroots return back to the chamber via the original Beach trapdoor, retrace your route back to the Tomb Level where you find a SECOND tomb lock is now accessable next to the first.
STEP J repeat STEP G, this is still valid! hopefully your crew can clear the Tomb Level before using the 2nd Tomb Key TIP! watch out for Mosquitos! if you see them return to the Chamber as soon as possible because your crew will find a PANTRY by the stairs that contains a Mortar and Pestle
STEP K use the 2nd Tomb Key, the 2nd tomb trapdoor descends the Crew to a The Sancundolf MINE. carefully check the Reception and find TWO IMPORTANT ITEMS: first, a gear key can be seen glinting at the wall edge in some dust. second, spot the floor pressure plate on the other side of a gate
STEP L the floor pressure plate releases a gate but not one it is adjacent to. it release a Ugguarddian that you don't need to fight. place an item through the gate onto the pressure plate and the Ugguardian then enters, either fight the Ugguardian or just evade it, you can simply EXIT the Reception now!
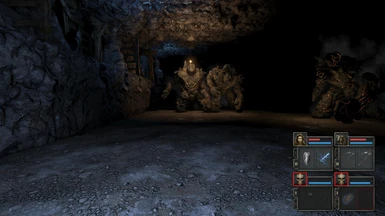
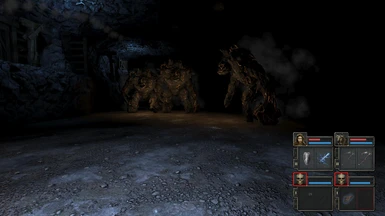
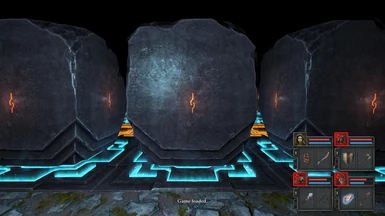
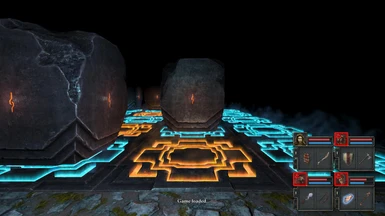
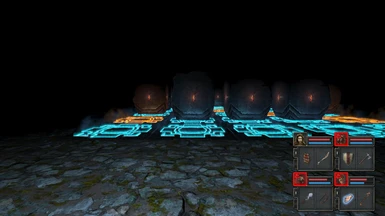
STEP M the crew fall into a horrific mine workings , you awaken the giant Magma Golems but all you need to do is place items into the empty two wooden alcoves opposite, the mine workings stairs are then seen to unlock
STEP N exiting back to the Beach you find a second Gear Key (you need them both!)
STEP O return to the MINE WORKINGS via the stairs if your crew are in good fettle, find the Rapier, the Lightning Rod and the Bow!
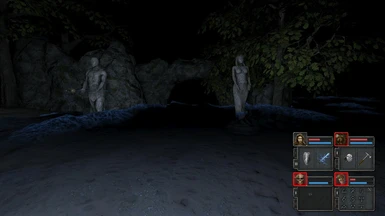
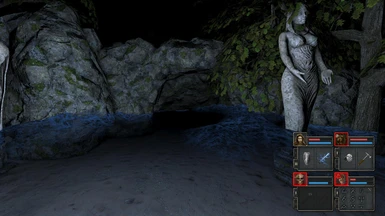
STEP P if your crew do manage to get the Rapier find your way back to the Beach Waves and fit the Rapier into the open arms of the Statue next to the gate, this leads to Blue Stones (The Rapier fits into the Statue Arms, this also recharges the Lever by the original Trapdoor!)
STEP Q while you are at the beach waves, note that there is a second beach trapdoor which is closed, this will open soon, remember to come back soon to descend this, but for now if you havent got 2 gear keys go back to Step K
STEP R return to the Chamber Balconey Bridge as per Step A, with the 2 gear keys unlock the Balconey gates
STEP S solve the PUSH BLOCKS I (Easy) descend to Castle Moat, note underwater infantry, evade them, find underwater trapdoor descend to Tomb Level Arena (junior) , your crew are locked in and face the remnants of whatever they didn't take down before, plus a rabid bumblebee and a Medusa, this is the junior Arena so your crew should find this Skirmish within their capabilities, once the Arena is clear return to PUSH BLOCKS I
STEP T return to PUSH BLOCKS I and go back to the Moat, you can ascend the ladder to OGRES I or now find an Airlock to base your crew near to the trapdoor you descended before. if you do this take down the Infantry and then return to PUSHBLOCKS I for the Acolyte Staff
STEP U ascend ladder to OGRES 1. on the Ogre platform look for wall candles, these mark the opposite platforms for the Ogres to jump to. bait one of the Ogres to hurtle towards you but then step aside allowing the Ogre to reach the candles, a magic bridge will then appear leading your crew to Castle stairs
TIP! to get the rope, press the wall button by the Castle stairs and return to the Ogre Platforms, cross to the Candles where the Ogre who triggered the magic bridge jumped to, your crew find a rope
STEP V at the top of the Castle stairs is a lake, descend into the lake and find an IVY COVERED WALL with possibly some small fish, follow the wall along through hollow boulders to Tomb Stairs down, your crew have arrived back in the Tomb Level
TIP! the lake has an old stone fountain which secreted to one side has a treasure box, locate the box and find several potions and Lurker clothing, the marvellous box itself is well worth having too
STEP W return to the beach waves and the second trapdoor which your crew always saw was closed, now it is OPEN!! descend it back to the Mine where the Ugguardian you didn't fight before is now waiting for you, defeat him now or if you defeated him before then you will find his brother waiting around the corner, he is even worse!
STEP X defeat all Uguarddians in the Mine chambers that you can access, then descend the trapdoor to the Skeleton Commander's underwater base. TIP! the underwater cage IS a trapdoor down to RUINS
STEP Y use the Cage trapdoor to descend to Ruins, pick a door in accordance with this list:
EASIEST : iron door with slot, fight the Ectypus, easiest mission
next Easiest : Portcullis, take on the Air Elemental then EXIT or defeat the Fire Elemental as well for extra points!
hard : Stone Door : defeat the two Ice Warriors, on exiting back to the Beach, you see a wooden gate unlocking allowing the party to relax on the gorgeous sand, HOWEVER - return now to the same room you started at, the Portcullis mission (described above) is now unlocked too!
hardest : wooden door : you need 4 torches, place them in the wall brackets, fight your way to the Eastern entrance of the Ice Warriors base, then same as Stone Door above , this is a massive mission, very heavy!
STEP Z : 4 different Ruins Missions in detail = EASIEST : iron door with slot , this leads to Ogre Platforms Mission 2. as soon as your crew get up onto the platform , locate the corner pressure pad, you must entice an Ogre over onto your platform AND get the Ogre to pass over that pad (NOTE! at that point 'wooden door : you need 4 torches' UNLOCKS! )
: =next Easiest : Portcullis, take on the Air Elemental, if your crew are in a bad way , adopt this method to retreat right back to the Beach: dodge the Air Elemental, smash down the next gate with a sword, check out the next room but explore and find an exit back to THE BEACH !
: =next Easiest : Portcullis, take on the Air Elemental, if your crew are strong and can fight etherals, take down both the Air Elemental and the Fire Elemental, smash the next gate with a sword and ensure the fire elemental is SLAIN, then you have 'PUSH BLOCKS II' which is a great part of the game!
hard : =Stone Door : defeat the two Ice Warriors, after defeating Ice Warriors, remember that the portcullis for taking on the Air Elemental UNLOCKS (when your crew get to the beach gate)! Recommended strategy!
COMMON GAME BUG: the following is a bug commonly found in Custom Dungeons: when Magma Golem is approaching edge of basin and sees the party above, the Golem attempts to strike up at the party which is at a higher level, the game then crashes. SOLUTION: avoid magma golems entirely or if you decide to take them on, check the game videos on this Nexus Site to see how that is done without crashing the game! TIP! whenever you see that there are Magma Golems, save the game!