


0 of 0


Documentation
Readme
View as plain text
Kutzeba Basic
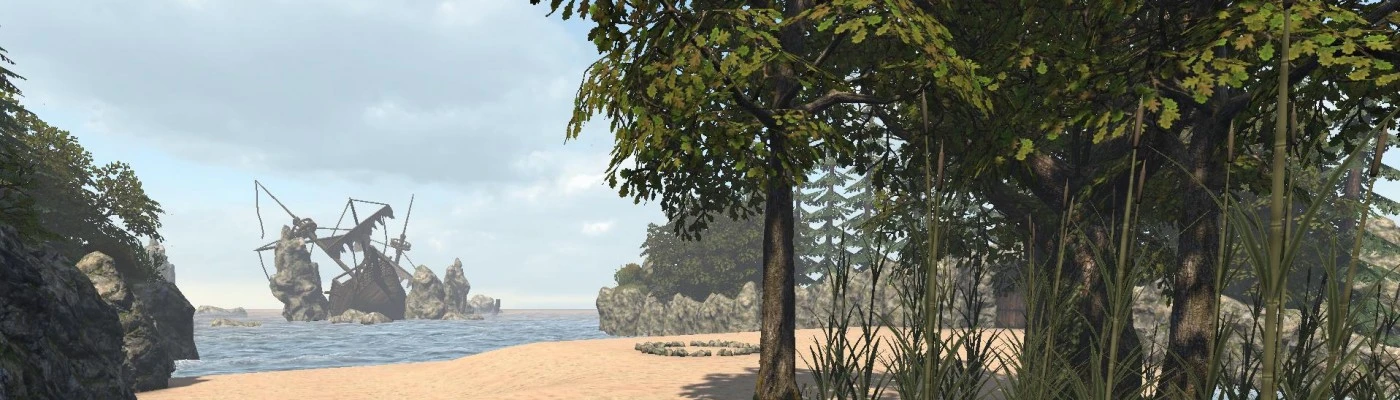
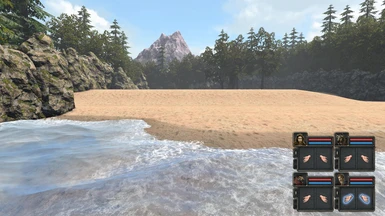
your crew's Schooner has foundered just offshore during a sensational storm that drove your old craft onto rocks.
as you and the captain scramble up the sandy beach he says "This is none other than the mountain of Kutzeba, the resting place of the ancient Soothsayer, we must find his remains" he then falls unconscious!
the next day it is apparent that only 4 of you have survived the wreck and the Captain is again certain that this Island is the sacred resting place of a legendary Prophet. "We must locate his rancid bones" the captain mutters.
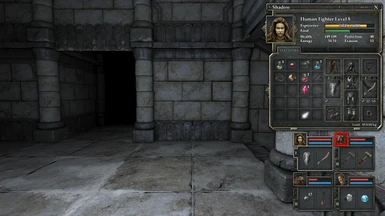
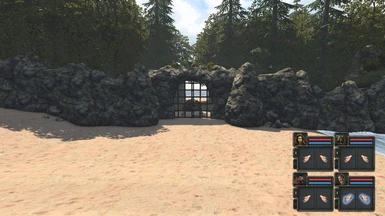
STEP 1, see if any items can be found on the immediate beach where your crew have found themselves (TORCH by portcullis).
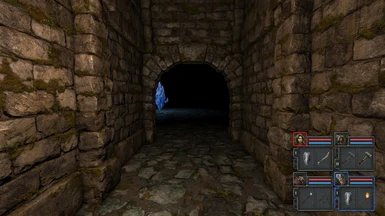
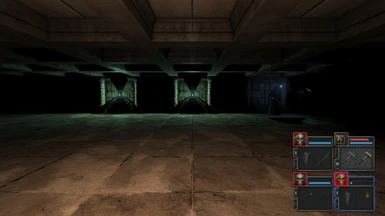
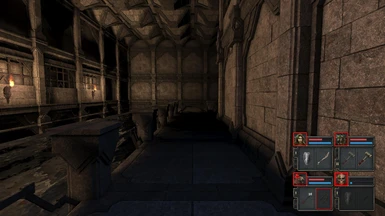
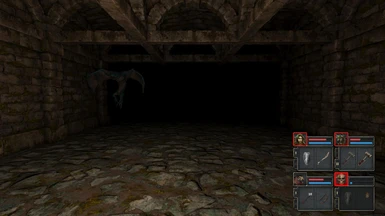
STEP 2, descend the open pit with the Torch to the horrendous dungeon below.
STEP 3, the wall buttons close/ open doors. TIP don't press the wall buttons to close a door unless that is really want you want.
STEP 4, the old Soothsayer has put in place a FIVE DOOR MAXIMUM. you can only close/ open 5 doors! Be careful!!
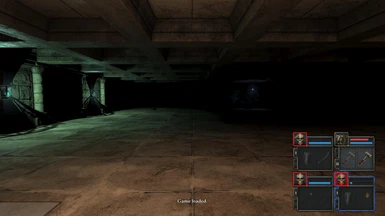
STEP 5, at the moment, most doors are open so scout the dungeon out.
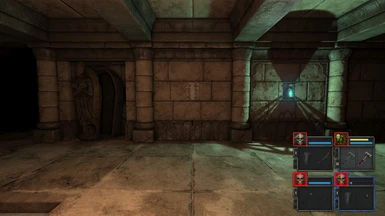
STEP 6, points to note, just W of you a locked Iron door with no wall button. at NE you find a wall lock, this will unlock a Pantry and a route to THE CASTLE so note the lock and look out for a simple Iron Key.
STEP 6A at SW you will find a wall button next to an ivy covered wall. a bit further SW you find 2 stone doors next to each other. at SE you find a locked wooden door but no wall button, not far from this you find dirt and human remains on the floor, these could be important places.
STEP 6B once you have scouted the whole dungeon , return to the locked Iron door with no wall button. the Iron door is now open, you find an Iron Key, all dungeon doors suddenly slam down!
STEP 6C well you have Five doors, you can now press each wall button and successfully arrive back at NE where again you find the wall lock, yes your key will unlock a Pantry but you have used up all the doors!
STEP 6D because of the Five doors system "there must be another way!" Yes there is, forget the wall lock and the pantry for now (we will solve it later!)
STEP 7 in short, scout out all points of interest listed above.
STEP 8 then go to the locked Iron door with no wall button, take the Iron Key (just tuck it away and keep it safe for later) do not try and use it yet!
STEP 9 note that each time you press a wall button , you see how many doors you have used. you can only close/ open 5 doors!
STEP A navigate from the locked Iron door with no wall button TO SW where you find 2 stone doors side by side, using the 5 doors or less. TIP! good idea to do so via the wall button next to an ivy covered wall, this wall button PUSHES twice (Nearby cache!) (RAPIER!)
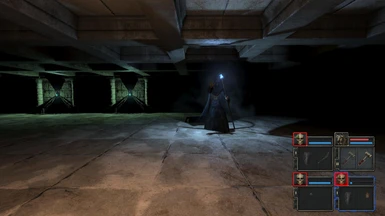
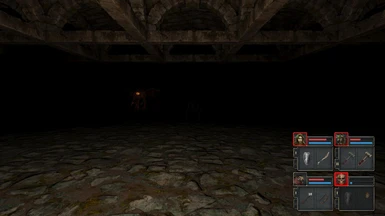
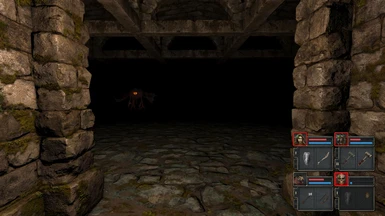
STEP B getting to the 2 stone doors could prove a challenge as the Crew now find themselves in Skirmish 1, be CAUTIOUS! your crew have modest weapons / armour/ skills so use strategy, stay safe!!
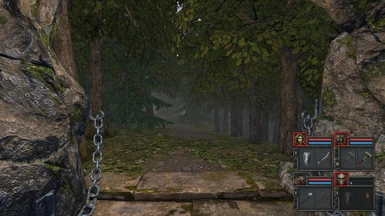
STEP C once through the twin Stone Doors you find the Dungeon tunnel to the Woods.
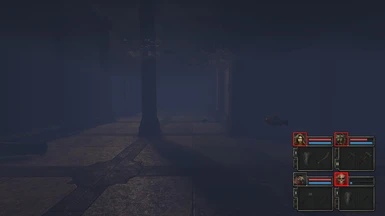
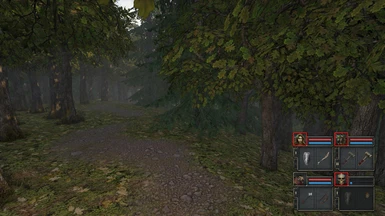
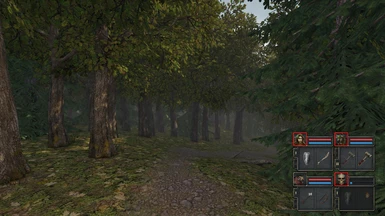
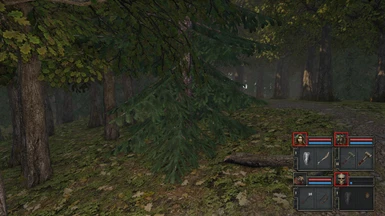
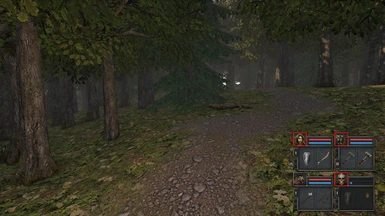
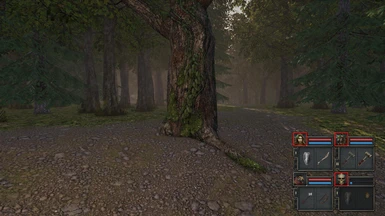
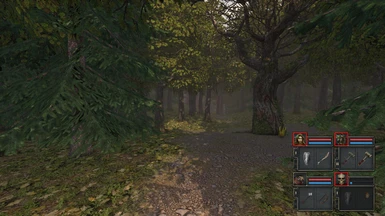
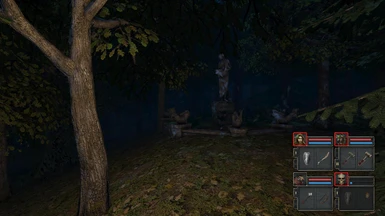
STEP D explore the Beautiful peaceful tranquil Woods, half way through is a fake cliff, ensure your crew are not fooled by that and move straight through
STEP E at the other end of the woods you find Stairs down to THE TOMB.
STEP F your crew find themselves high up in THE TOMB, they can jump down and move through the "empty Tomb" without a problem however there is loot to be gained high up!
STEP G to stay high up in the Tomb, press the adjacent secret wall button, the crew see an alternating magic bridge, 2 seconds on, 2 seconds off, if the fall, they miss out on a few artefacts/ loot but nothing so vital that their mission is then doomed. so the crew don't have to stay high up
STEP H if your crew manage to stay high up, several significant armour/ weapons can be found, if not progress can still be achieved.
STEP I once on the ground of the Tomb there are no opposition to cause a problem TIP! blocks of 3 adjoining wall sections could be a cache location, use the map to help.
STEP J find the stairs back down to the dungeon level you started in, you immedaitely find yourselves in small room. an obvious wall lock opens the adjacent portcullis (the key was found at step 8).
STEP K unlock the portcullis, your crew see a message "DOORS RESET." now enter a much larger room and Skirmish no 2, again be CAUTIOUS! your crew still have modest weapons / armour/ skills so use strategy, stay safe!!
STEP L TIP! upon inserting the Iron Key into the lock here, all the doors on this level RESET (hence the message) . As your crew press the next door button they see "Door 1" indicating a successful reset, you have 5 doors again!
STEP M as you emerge back into THE TOMB having engaged Skirmish 2, there are 2 possibilities, A you're into Sirmish 3 or B nothing has changed. If nothing has changed then use this opportunity to scout out THE TOMB, check for 3 wall blocks/ caches.
STEP N to start Skirmish 3 ensure your crew pressed the wall button they found during Skirmish 2 as per Step L the Doors were RESET so no worries! (NOW Skirmish 3 begins).
STEP O Skirmish 3 unleashes a whole new category of monsters so evade them and find the way out, or take them down and find the way out but basically, an exit route has unlocked, get back to THE WOODS!
STEP P once your crew find the exit route they ascend a ladder, be careful to spot the wall button but before this, your crew COULD jump down onto a ledge that has the WARHAMMER, could your crew grab it?
STEP Q whether your crew manage to get the Warhammer or not, now press the button which allows the crew to exit back to THE WOODS.
STEP R your crew arrive back in the dungeon level you started in but now Skirmish 4 kicks off, be prepared its the longest battle so far.
STEP S at the end of or towards the end of Skirmish 4 position your crew near to the twin Stone Doors. just East of those doors find a ceiling with roots growing through, enter the cache room and find Mortar and Iron Key.
STEP T now negotiate yoir way to the LOCK described at Step 6, the NE where you find a wall lock, this will unlock a Pantry and a route to THE CASTLE , can you get there?
STEP U its quite possible that your crew will find that even with the new "RESET" they still cannot reach past the Pantry, if that is the case then hold onto the Iron key you just found, now look for a damaged wall with half the bricks missing, a further Reset lock is there (near to the vine covered wall!)
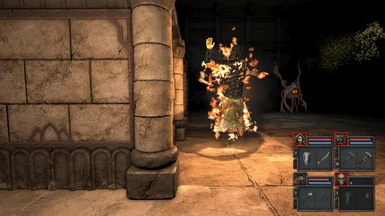
STEP V a vile creature Damocles is on the loose, lock her into an unused room? or defeat her !
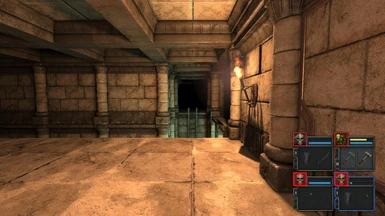
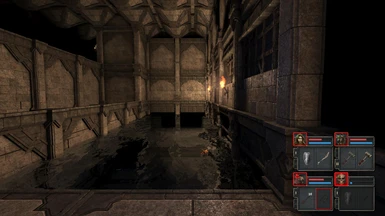
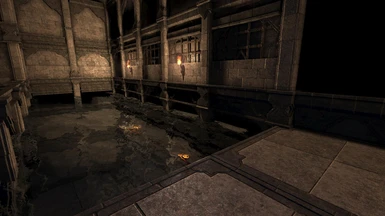
STEP W once you get past the NE pantry you find an unsavoury dark pit, this shows slight signs of water seepage which is no surpise as it ebbs right onto the Castle Moat.
STEP X before descending down to the pit how many doors are left? can the crew explore adjacent to the pit opening a few more doors (if any are left?)
STEP Y the pit contains a trapdoor (currently closed) and leads straight onto the MOAT, its watery so look out for fishes and candles! fishes and candles indicate SECRET nearby.
STEP Z ascend the hidden ladders to the Castle ramparts where the mission continues , an emergency EXIT trapdoor has now opened back at the unsavoury dark pit, in case you need it!
Kutzeba Medium
CASTLE
STEP .A. check out all the cages if W then remove the torch from the Ogre's cage, this starts the skirmish, from then on, place an item into each cage to unlock each door. if you have the Rapier you can now reach the Castle Barracks.
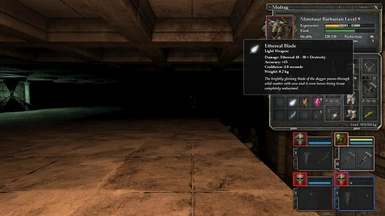
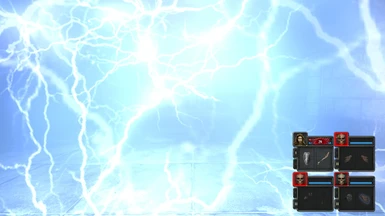
STEP .B. if E then your crew must have Etheral Weapons e,g Acolyte Staff, Etheral Dagger, Dispel to fight the infestation of Etherals. Once the infestation is slain, your crew must kill one of the Fire Etherals to get into their sacred Temple.
TIP in either case a corresponding secret cache unlocks diagonally opposite against the North moat.
KEYS LOCATION
KEY TYPE - LEVEL FOUND - COMMENT ON KEY LOCATION
Gear The Mine adjacent to Stone Summoner Pantry
Gold Ruins held by Damocles Roamer (Ruins)
red gem The Mine trapdoor down from Etherals (Mine East, under Bridge)
blue gem Mine Bridge
green gem Castle Level Ramparts North, after pressing all 4 buttons
Route to Blue Stones: Slay the Damocles in the launch Dungeon, she carries the Gold key, use the Gold key in the drop down chamber from the Beach, this leads to Blue Stones!
Crypt Push Blocks (from Blue Stones) TIP! keep 1 Iron Key back ( 2 iron keys if possible) for the final Zone!
Zone 1 : DIAGONAL, just arrange the blocks in a diagonal line
Zone 2 : CENTRE , get one of the blocks to the very centre
Zone 3 : Skeleton Commander , this bloke is a pain so go to this Zone with a plan/ bombs/ weapons to take him out pronto (otherwise he keeps summoning more and more Zombies)
Zone 3 : Push 7 or 8 blocks onto the outer ring , this is harder than it sounds, but as soon as you see the grids power down, the next Zone unlocks TIP! keep arrows and rocks clear of the floors
Zone 4 : CORNERS : there is always 1 block short, so insert an Iron key, a spare block is generated, 2 keys, then 2 spare blocks but Note where they re-generate, then Stairs to Woods (Basic Exit)
Zone 4 : Should you succeed in completing Zone 4 you see the blocks power down! TIP! this means the trapdoor in Zone 3 UNLOCKED! That leads to FOG LEVEL (Spiral)