


0 of 0
File information
Created by
sn95racingUploaded by
SidewaysHogVirus scan
Some manually verified files
Documentation
Readme
View as plain text
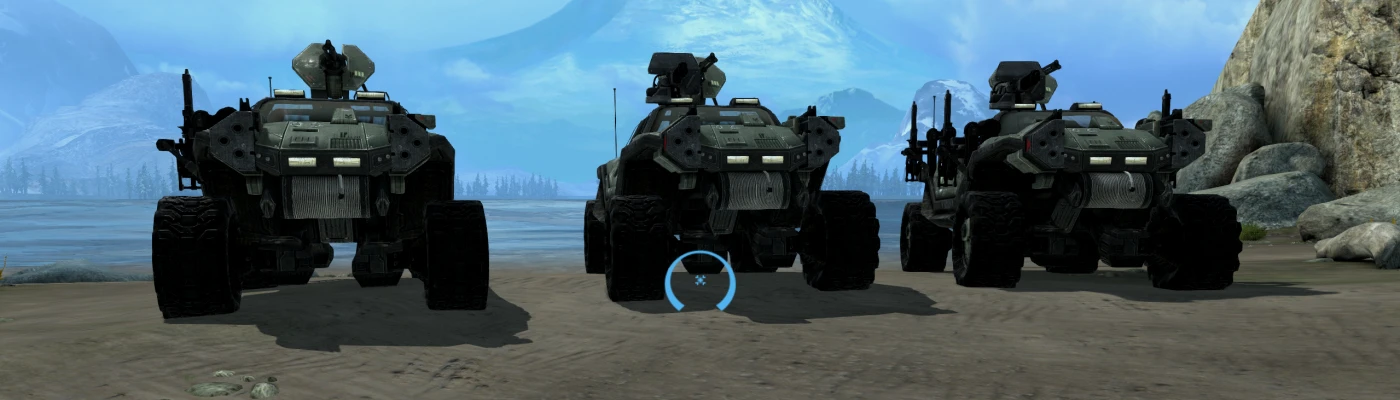
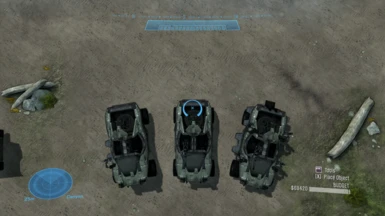
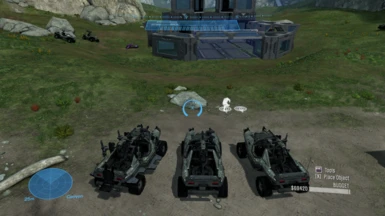
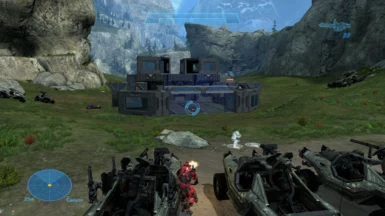
There are three files in this folder:
1. forge_halo.map which contains all the warthog variants and is playable from the get-go
2. warthog_variants.asmp which contains the warthog variants plus the necessary scenario and string modifications to add the vehicle in forge mode
3. warthog_variants.tagc which contains the warthog variants only
-- OPTION A --
This is the easiest way to get started, but if you like to use the warthogs in other maps, see OPTION B for more details.
To get started, use the Assembly Patching Tool to apply the warthog_variants.asmp file to your forge_halo.map file.
Just remember to backup your original forge_halo.map file in order to temporarily replace it with the new version.
Before continuing, make sure you downloaded the troophog pack available in this mod page. As of V2, the troophog is kept separate from the other
warthog variants. You will need to inject the troophog file before continuing.
Then, you need to do as such:
1. Go to the tags section, and look for the following:
objects\vehicles\humans\warthog\warthog_troop\warthog_troop
2. Under the vehicle section (vehi), change the hlmt to the following:
objects\vehicles\human\troophog_two-plus-two\weapons\troophog_two-plus-two\troophog_two-plus-two
This is necessary since forge will not load the troophog if it were simply injected.
-- OPTION B --
This option will allow you to use the warthogs on any map of your choosing. It is a little more work, but worth it in the end.
If you want to use the warthogs in other maps, then you will have to inject the warthog_variants.tagc file into your desired .map file.
Note that the map will have to already contain the following objects as the warthogs are dependent on them:
1. warthog chaingun variant
2. warthog rocket variant
2. falcon default variant
3. machinegun turret
4. warthog troop MCC variant
You will have to manually extract the above objects if the map type does not contain them by default.
The good news is most maps do contain them, with the exception of smaller ones that weren't designed for vehicle-based combat.
After injecting the warthog_variants.tagc file, you need to modify the scenario file and strings in order to make the warthogs available in the forge menu,
and to allow for an instruction message to show when the player wants to enter a warthog variant. I have included some screenshots to help guide you along
the way. If you ever get stuck, check out the following video for more help:
https://www.youtube.com/watch?v=pnl-3i_ytlE&t=382s
The steps are as follows:
1. The scenario file will be located under the tag name for the map. For example, 70_boneyard.map can be found by searching for 70_boneyard under the
group scnr (scenario). To be specific, it will be located at levels\multi\70_boneyard\70_boneyard. Once there, you need to add the warthog variants under
the Sandbox Palette section.
2. Go to the warthog group under vehicles.
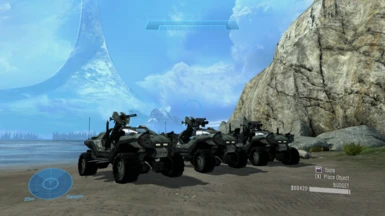
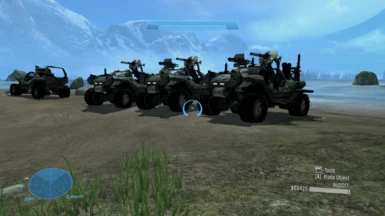
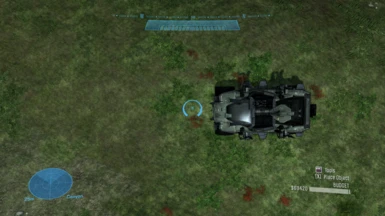
3. Create three slots for Entry Variants, and add the following:
a. Name: octohog
Palette Object: vehi | objects\vehicles\humans\octohog\octohog
b. Name: battlehog_tg
Palette Object: vehi | objects\vehicles\humans\battlehog_tg\battlehog_tg
c. Name: battlehog_sg
Palette Object: vehi | objects\vehicles\humans\battlehog_sg\battlehog_sg
4. Save the tag once you are done.
5. Open the Strings menu.
6. Add the items you see in the files with *_strings.png in their name. Note that forge menu items should go under the group ui\cui\strings\forge_strings,
while vehicle entry message should go under the group ui\hud\hud_messages.
7. Save all your changes.
8. Go back to the tags section, and look for the following:
objects\vehicles\humans\warthog\warthog_troop\warthog_troop
9. Under the vehicle section (vehi), change the hlmt to the following:
objects\vehicles\human\troophog_two-plus-two\weapons\troophog_two-plus-two\troophog_two-plus-two
This is necessary since forge will not load the troophog if it were simply injected.
That's it! You're ready to start using the new warthogs in your chosen map.
Happy modding!