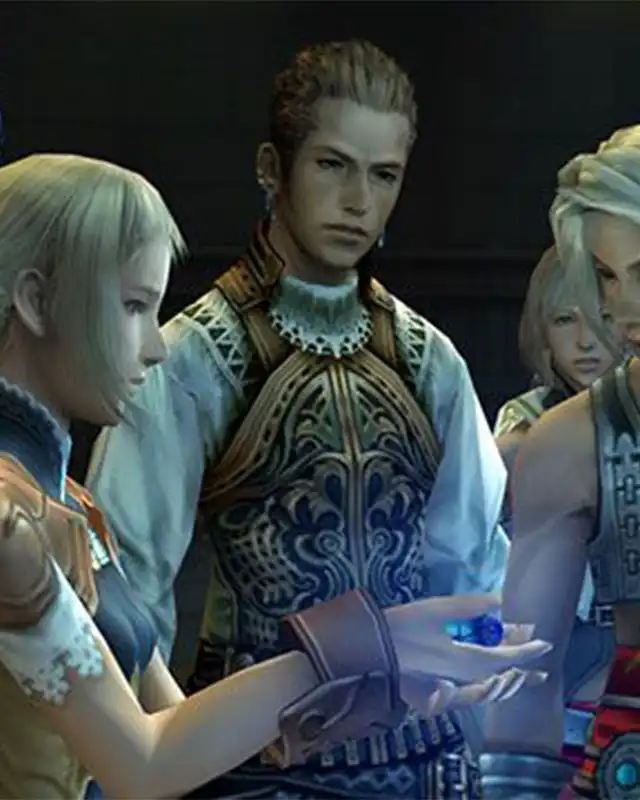
How I made Dancer's Battlesuit aka Texture modding tutorial for Gimp users.
0. Before start:
Before launching your gimp machine :p, download the plugins to being able open .dds files (and make normalmap for your own texture if you would like to create new/different from the original texture).
Gimp dds plugin (Click one):
http://registry.gimp.org/node/70
https://code.google.com/archive/p/gimp-dds/downloads
Gimp normalmap plugin (Click one):
http://registry.gimp.org/node/69
https://code.google.com/archive/p/gimp-normalmap/downloads
Download packers/unpackers:
https://www.nexusmods.com/finalfantasy12/mods/3
(VBF browser also contains "ff12-vbf.exe", tool to unpack/pack dds files)
https://www.nexusmods.com/finalfantasy12/mods/30
(kildaremcs great tool, but Gimp likes to choke on opening random dds files unpacked by this tool, so use this one to unpack/pack only normalmaps)
For how to unpack/pack files imdirecting you to kildaremc tutorial (+ focused more for Photoshop users). Ability to use the command prompt is required:
https://www.nexusmods.com/finalfantasy12/articles/8
Im using two version of Gimp, 2.6 and 2.8 (2.8 might have problems with 3d previewing of normal map. It's not required but helps to show if your normalmap is working like you want)
When you open .dds file in Gimp 2.8 you should get window with ask. Check the boxes like on screenshot (2.6 doesn't show this window):
Do not save your unfinished work as .dds. Save it as .xcf (Gimp equivalent to PSs .psd), and save as .dds when work is finally done.
The Biggest T comes into play. After opening, we see a diffuse texture (Penelos original outfit).

As we see, everything has one part (like one hand, one greave etc.) or is halved (half of belly, back etc.) It is because what is done on one side, is mirrored and is done same on another side (smart and space-saving done UV map).
For simple recoloring, I suggest to make new layers with color where you want to add and experiment with layer modes (Working without layers and on one main layer is destructive for your work and hard to undo).

So the diffuse texture is place, where your editing and/or drawing skills take place (as you see below, some protectives are copied from another parts of Penelo outfit, but things like gloves, plates on ribs, belly and back were hand drawn by me). Edit Penelo body as you like:

So your diffuse texture is at last done. You can (choose one way of saving file):
- Merge all layers and save texture as .dds immediately
- Save your texture as .png and saved .png file open in Gimp to save it as .dds

After selecting the .dds type and clicking save/export, Gimp will ask you for additional informations (This one is important. Texture won't work if we don't select correct options). Options must be selected like this:
Compression: None
Format: RGBA8
Mipmaps: Generate mipmaps

Done. You have created diffuse texture ready to pack, and after this, ready to import to Final Fantasy XII .vbf file. If you are gonna open again your new .dds texture you are going to see, that it has additional layers as mipmaps (That's good, nothing to worry).
2. s file (tex_0_clut_0_c1023_clut_1_s)
Brace yourself. The most time consuming (if not drawing the new diffuse texture) is incoming.

We see that Penelos outfit has dark shades of blue and her skin is more blue than less blue :p.
So by this we can assume, that this is some reflection stuff. What has the most blue colors, has less reflection.
Go to channels tab (where is "layers" tab too), and we see that blue channel has simple informations, not like other two: red and green. Duplicate blue channel...

Copy of blue channel has been created.

Let's back to layers tab and create new layer (for our duplicated blue channel), and add a new layer mask to this layer.

Window will popup. Check the Channel option, select duplicated blue channel and click "Add".

Mask created. Click on the right miniature on layer window (thats the mask/duplicated blue channel), copy it (ctrl+c), click on left miniature now and paste (ctrl+v). You should have the same on left and right miniatures of selected layer (see screenshot below)...

Delete layer mask, right-clicking on layer.

Now we have layer of blue channel which we can edit.

K... Let's import new diffuse texture of Penelo outfit made earlier (Just pick .png file and drop into Gimp).

This will guide us, what we should make white and what grey on our blue channel layer (White is skin/non-shining object. Grey is outfit/shining object...). Let's draw white fields (on blue channel layer of course) where skin area appears and rest grey.

Jobs done. Blue channel for our new outfit is completed. Now select layer with imported diffuse texture. We are gonna decompose this texture on seperate color channels (Go to colors > components > decompose).

Select color model to RGB and "Decompose to layers".

A new gray scale texture is created, with 3 layers (red, green and blue channels).

What we do now?
Go back to your not decomposed texture, copy the "Blue channel" layer (the white-gray one, for new diffuse texture) which you drawed earlier, go to decomposed texture, click and paste it to "blue" layer of decomposed texture (you should see it on "blue" layer miniature).

Now... Select the "red"layer. Go to colors > curves.

A wild graph appears... Move the line to look like this... (You don't have to do exactly like this, important is to have darker texture but not completly black. Do
as you like.)

And do the same to "green" layer...
After this, you should have darker "red" and "green" layers of your new texture and "blue" should have the grey-white fields.
Go now to colors > components > compose... to compose "red", "green" and "blue" to one final texture.

Window asks you, what layers are going to be used as channels. It should be fine without changing anything, but if you made some wild changes... see screenshot below to see what layers are used.

Done. Looks familiar?

Save this as .dds (or as.png and .png one save as .dds) and check the same options as you did with diffuse texture.
Compression: None
Format: RGBA8
Mipmaps: Generate mipmaps
This one is gonna be quick. When we open tex_0_clut_0_c1023_clut_1_spec.dds, we see simple colors (still blue).

When you import Penelo's original outfit, you see that the most blue parts are covering skin (so it is the least shiny part). Dark blue is what shines little bit and all the rest/grey is what shines the most.

When we import our new diffuse texture, it doesn't match.

We want that blue covers skin, dark blue covers cloth, and grey covers armor and rest. Select the layer with spec texture (blue thing layer) and add layer mask.

...select "Transfer layer's alpha channel" and click "Add".

When you disable layer mask (not necessary), we see only colors without transparency (transparency is necessary to maintain). Select left miniature of layer, because we're gonna work on texture, not on mask.

Draw colors to fit the our new diffuse texture.

When we done, apply layer mask.

It's done.

Save it as .dds with same settings as diffuse and s textures (or again save as .png and .png one save as .dds).
If you're not sure about this texture, import again your new diffuse texture to see if it covers right parts.

For me... definitely done.
The last file. Normal map gives our texture depth, looking more like real 3D objects, rather than flat graphic. Opening it, we see again strange, blue stuff of Penelo's original outfit.

(For interested... Red colors represents how light is going to illuminate in X axis, green colors in Y axis and blue in Z axis.)


Import the new diffuse texture (you can import it two times, first for creating normal map, second for reference)

Select the layer with diffuse texture and go to Filters > Map > Normalmap (if you don't see this option, you have installed plugin wrong).

Window appears.

There is no rules on which options to take. What I have done with my Dancer's Battlesuit is that I seperated into parts the diffuse texture (like skin, pads, cloth etc.) and made various depths (Protectors have more rough surface than Penelos skin). If you JUST want normal map and nothing else, set the scale to 10 and hit that "OK".

Voilà.The very normalmap for our texture.
Save it as .dds (OR again save as .png and .png file save as .dds) aaand...
ATTENTION! Now we need to check different options (see screenshot below):
Compression: BC5 / ATI2
Mipmaps: Generate mipmaps

Normalmap done. If you are going to open again your .dds normalmap in GIMP 2.6 you might see, that there is no blue colors. It's ok. (This is the compression which we have chosen)

Four files. Nothing more. Pack again those .dds files to .dds.phyre files. After packing it, the .dds.phyre ones import to your FFXII_TZA.vbf file with VBF Browser.
That's all, folks. Happy texture modding, gentlemen and FF12 enthusiasts.
Possible wonkies...
- If your gimp chokes on opening .dds file, consider downloading other version (2.6 or 2.8). If problem still occurs. Open .dds file with another graphic editor and save file as .png... or convert .dds to .png with some converter.
- For me 3D preview of normalmap doesn't work on Gimp 2.8. I suggest to make normalmap on GIMP 2.6 if you want to see 3D preview.
- If you can't find normalmap function in filters > map, you might installed plugin in wrong directory (correct directory: ...\GIMP 2.x\lib\gimp\2.0\plug-ins) or you installed wrong version.


2 comments
Fascinating to see how the UV map things are mirrored. I'm familiar with DDS stuff (DirectDraw surface) texturing from my TERA modding days (Castanics are the loveliest numbers).
But the level of detail you put into this really shines through! Awesome!
I feel like this is the kind of in-depth art tutorial I'd find on something like Khan Academy :)