


0 of 0


File information
Created by
ThrillvilledUploaded by
ThrillvilledVirus scan
Some manually verified files
About this mod
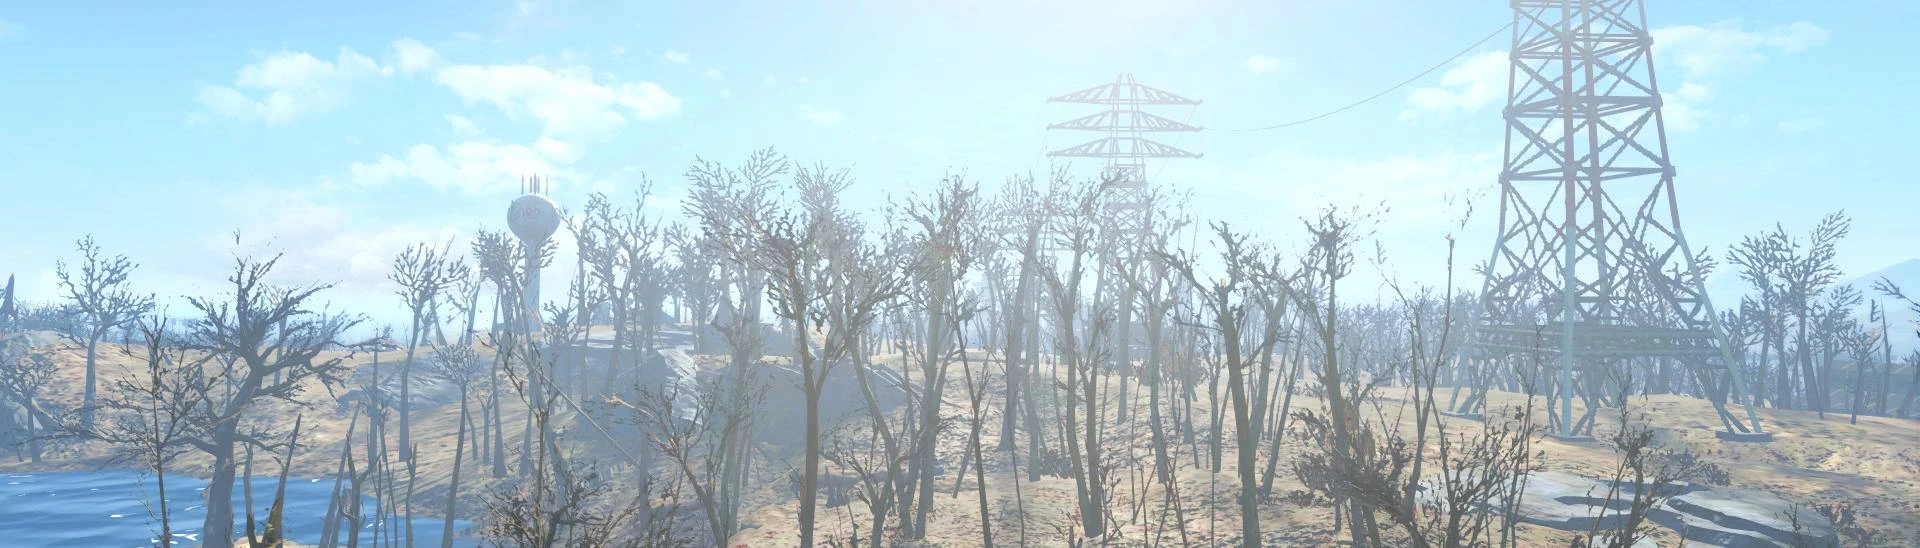
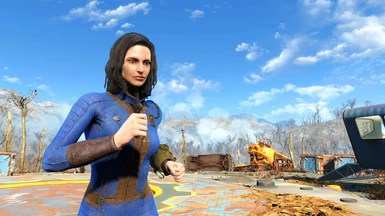
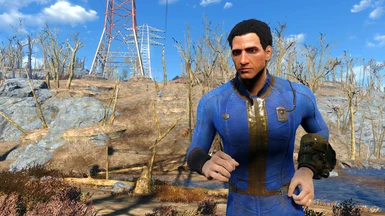
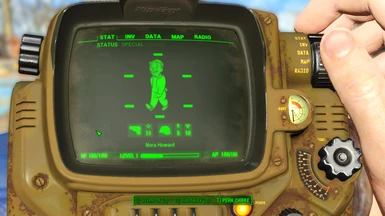
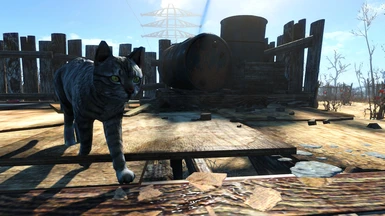
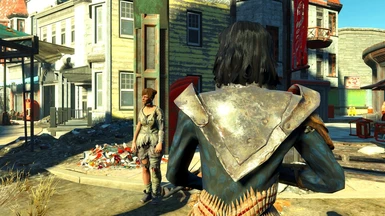
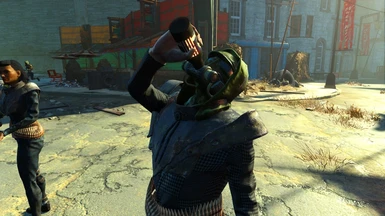
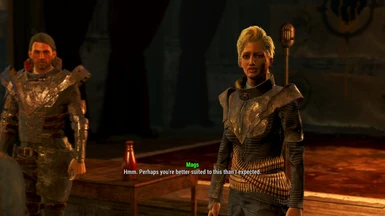
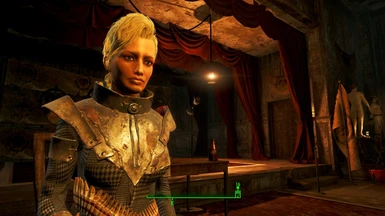
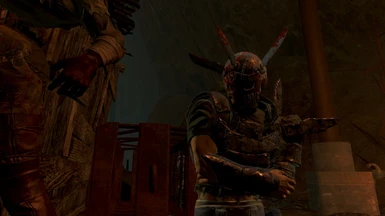
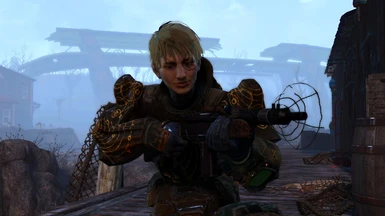
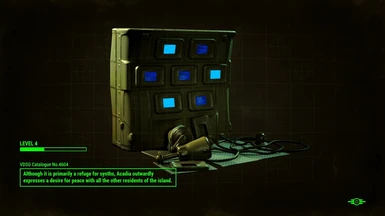
Personal 1k texture pack for zero care about 2k or 4k textures for the game.
- Permissions and credits
- Changelogs
- Donations
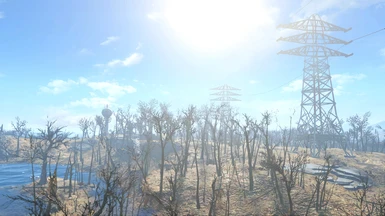
Personal texture pack mod made to adjust any texture bigger than 1024x1024 will be adjusted to reduce vram usage. This includes but not limited to Diffuse, Normal Map and Specular Textures. In time will also be optimizing the normal and specular textures to further reduce vram usage.
The install process is similar to the Fallout 4 - Texture Optimization Project by torcher where you'll have to manually replace the textures using the Robocopy method where you'll need to create 2 folders inside of a working folder and then be using the official Bethesda tools like Archive2 that comes with the Creation Kit to unpack and repack the files in order to optimize the textures. Although this is already been setup for you but you'll have to perform the robocopy yourself like in GamerPoets video as uploading the official Bethesda Texture Archives will be against copyright law.
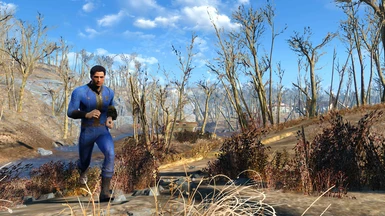
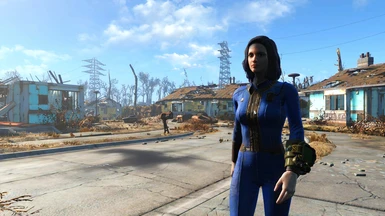
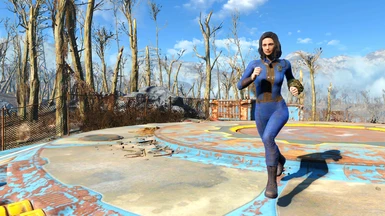
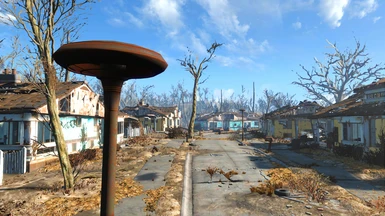
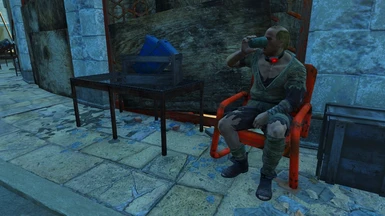
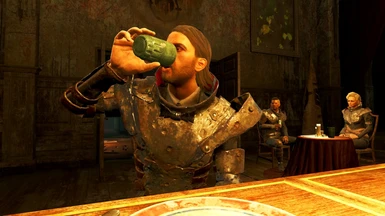
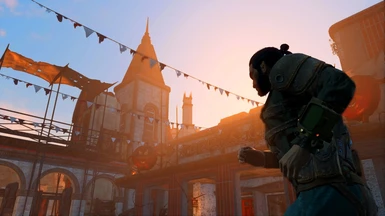
Some textures however will be reduced to either 512 or 256 if they are rarely seen by the player or the object is very small. Mod currently covers only the base game and should there be any texture that looks bad, then it will be either left alone or adjusted to be at least 2048 in either dimension. Some files may not have been adjusted as there are a lot of files to adjust manually resulting in some file categorizes to remain unchanged.
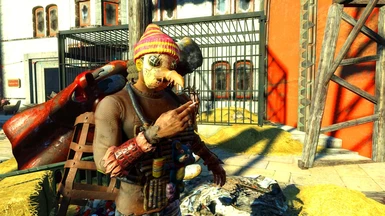
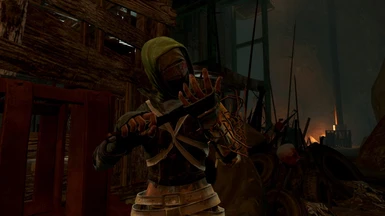
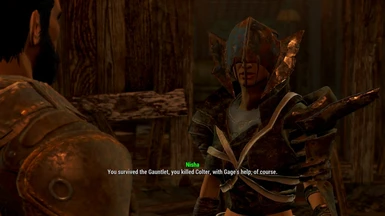
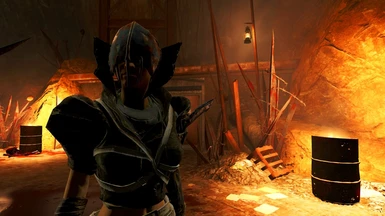
Has been expand into the DLCs in which the Nuka World DLC in particular had textures that were either 2k or 4k textures across the board which already the DLC was hinting at the up-coming high res DLC the following year.
Skyrim version of the 1k Texture Pack Project
Steps to Install the Fallout 4 1K Textures:
Highly recommend backing up the original ba2 in case anything goes wrong! Also once everything is working you would want to backup the optimized the textures ba2 files without having to go though the process on a fresh install!
1. Set Up Working Folders
Download the 1K Texture Pack mod.
Open the mod zip file and drag and drop the Working folder onto the desktop to unpack the archive
Inside the Working folder, there is a subfolder called 2
The 1K textures will be inside folder 2
Create a subfolder in the Working folder and call it "1" and make sure that it is empty for now.
As a final check make sure that there are 2 subfolders in the Working folder called 1 and 2
2. Extract the Mod Contents
Extract TOP's contents (the mod archive) into folder "2".
Leave folder "1" empty for now.
3. Extract Vanilla Textures Using Archive2
Download Archive2 (if you haven’t already).
Open Archive2 and select File > Open.
Navigate to your FO4 Data folder and open a vanilla texture.b file (e.g., Fallout4 - Textures1.ba2).
Once Archive2 has loaded the contents of the .ba2 file, extract the contents to folder "1" inside the Working folder.
4. Use Robocopy to Replace Textures
In the Working folder, Shift+Right-click and select "Open command window here".
In the newly opened CMD prompt, type the following command exactly (including spaces but without quotes):
robocopy "C:\Users\Owner\Desktop\Working\2" "C:\Users\Owner\Desktop\Working\1" /s /xl
Replace Owner with your Windows account name.
Press Enter to run the command. There should be a flood of text as the specific files are automatically replaced in folder "1".
If you don’t see any output, recheck the steps to ensure everything is set up correctly.
5. Repack the Textures into a New BA2 File
Open Archive2 again.
Select File > New, choose DDS as the format, and leave the defaults.
Select OK.
6. Add the Optimized Textures to the New BA2 File
In Archive2, select Archive > Add Folder....
Navigate to folder "1" and select the Textures folder.
7. Save the Repacked BA2 File
Select File > Save As....
Save the file with the original .ba2 file name (e.g., Fallout4 - Textures1.ba2).
8. Repeat for All Vanilla BA2 Files
Repeat steps 4-7 for each individual vanilla .ba2 file (e.g., Fallout4 - Textures1.ba2, Fallout4 - Textures2.ba2, etc.) until all are completed.
9. Clean Up Between Each BA2 File
After saving a repacked .ba2 file, go into folder "1" and delete everything before extracting the next vanilla .ba2 file.
10. Important Reminder
It is crucial that you do each vanilla BA2 file individually.
11. Replace the Original BA2 Files
After repacking all the .ba2 files:
Move the original .ba2 files to a backup folder on your computer.
Replace the originals in the FO4 Data folder with your newly repacked .ba2 files.
Important Notes:
Backup Original Files:
Always make backups of your original vanilla .ba2 files before replacing them.
File Conflicts:
Ensure that any other mods affecting textures are properly loaded and don't conflict with your repacked .ba2 files.
Test Your Game:
After replacing the original .ba2 files, launch Fallout 4 to ensure the textures are correctly replaced and no errors occur.
- This what the code looks like should you plan on having the working folder on the desktop:
robocopy C:\Users\Owner\Desktop\Working\2 C:\Users\Owner\Desktop\Working\1 /s /xl
GamerPoets great video on how to do this:
Software used to resize the textures:
Paint.Net for non transparent textures
GIMP for transparent textures
The install process is similar to the Fallout 4 - Texture Optimization Project by torcher where you'll have to manually replace the textures using the Robocopy method where you'll need to create 2 folders inside of a working folder and then be using the official Bethesda tools like Archive2 that comes with the Creation Kit to unpack and repack the files in order to optimize the textures. Although this is already been setup for you but you'll have to perform the robocopy yourself like in GamerPoets video as uploading the official Bethesda Texture Archives will be against copyright law.
Some textures however will be reduced to either 512 or 256 if they are rarely seen by the player or the object is very small. Mod currently covers only the base game and should there be any texture that looks bad, then it will be either left alone or adjusted to be at least 2048 in either dimension. Some files may not have been adjusted as there are a lot of files to adjust manually resulting in some file categorizes to remain unchanged.
Has been expand into the DLCs in which the Nuka World DLC in particular had textures that were either 2k or 4k textures across the board which already the DLC was hinting at the up-coming high res DLC the following year.
Skyrim version of the 1k Texture Pack Project
Steps to Install the Fallout 4 1K Textures:
Highly recommend backing up the original ba2 in case anything goes wrong! Also once everything is working you would want to backup the optimized the textures ba2 files without having to go though the process on a fresh install!
1. Set Up Working Folders
Download the 1K Texture Pack mod.
Open the mod zip file and drag and drop the Working folder onto the desktop to unpack the archive
Inside the Working folder, there is a subfolder called 2
The 1K textures will be inside folder 2
Create a subfolder in the Working folder and call it "1" and make sure that it is empty for now.
As a final check make sure that there are 2 subfolders in the Working folder called 1 and 2
2. Extract the Mod Contents
Extract TOP's contents (the mod archive) into folder "2".
Leave folder "1" empty for now.
3. Extract Vanilla Textures Using Archive2
Download Archive2 (if you haven’t already).
Open Archive2 and select File > Open.
Navigate to your FO4 Data folder and open a vanilla texture.b file (e.g., Fallout4 - Textures1.ba2).
Once Archive2 has loaded the contents of the .ba2 file, extract the contents to folder "1" inside the Working folder.
4. Use Robocopy to Replace Textures
In the Working folder, Shift+Right-click and select "Open command window here".
In the newly opened CMD prompt, type the following command exactly (including spaces but without quotes):
robocopy "C:\Users\Owner\Desktop\Working\2" "C:\Users\Owner\Desktop\Working\1" /s /xl
Replace Owner with your Windows account name.
Press Enter to run the command. There should be a flood of text as the specific files are automatically replaced in folder "1".
If you don’t see any output, recheck the steps to ensure everything is set up correctly.
5. Repack the Textures into a New BA2 File
Open Archive2 again.
Select File > New, choose DDS as the format, and leave the defaults.
Select OK.
6. Add the Optimized Textures to the New BA2 File
In Archive2, select Archive > Add Folder....
Navigate to folder "1" and select the Textures folder.
7. Save the Repacked BA2 File
Select File > Save As....
Save the file with the original .ba2 file name (e.g., Fallout4 - Textures1.ba2).
8. Repeat for All Vanilla BA2 Files
Repeat steps 4-7 for each individual vanilla .ba2 file (e.g., Fallout4 - Textures1.ba2, Fallout4 - Textures2.ba2, etc.) until all are completed.
9. Clean Up Between Each BA2 File
After saving a repacked .ba2 file, go into folder "1" and delete everything before extracting the next vanilla .ba2 file.
10. Important Reminder
It is crucial that you do each vanilla BA2 file individually.
11. Replace the Original BA2 Files
After repacking all the .ba2 files:
Move the original .ba2 files to a backup folder on your computer.
Replace the originals in the FO4 Data folder with your newly repacked .ba2 files.
Important Notes:
Backup Original Files:
Always make backups of your original vanilla .ba2 files before replacing them.
File Conflicts:
Ensure that any other mods affecting textures are properly loaded and don't conflict with your repacked .ba2 files.
Test Your Game:
After replacing the original .ba2 files, launch Fallout 4 to ensure the textures are correctly replaced and no errors occur.
- This what the code looks like should you plan on having the working folder on the desktop:
robocopy C:\Users\Owner\Desktop\Working\2 C:\Users\Owner\Desktop\Working\1 /s /xl
GamerPoets great video on how to do this:
Software used to resize the textures:
Paint.Net for non transparent textures
GIMP for transparent textures