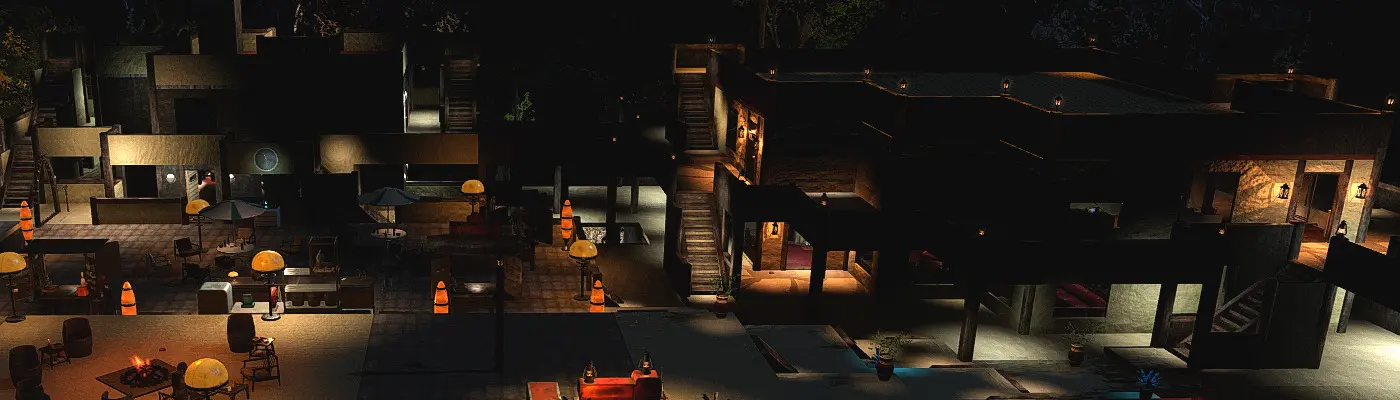
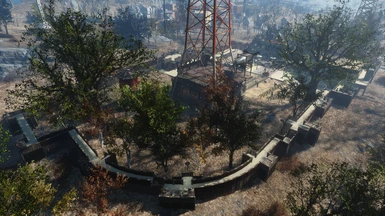
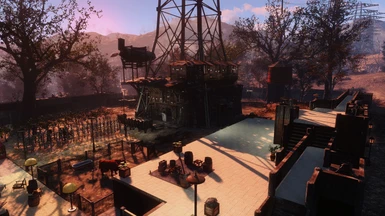
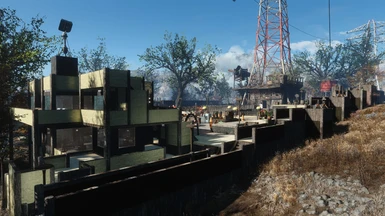
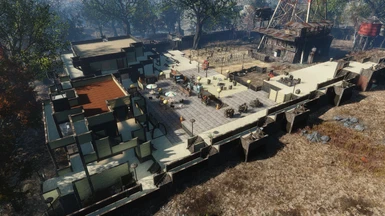
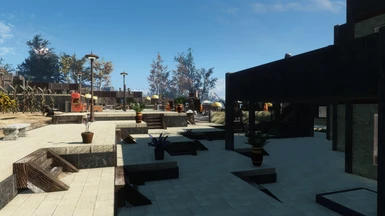
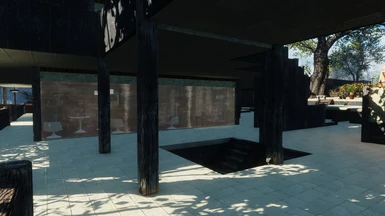
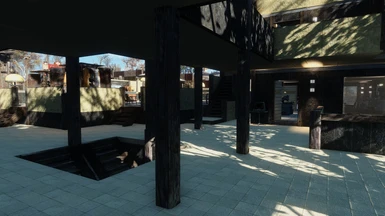
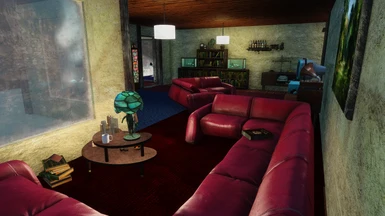
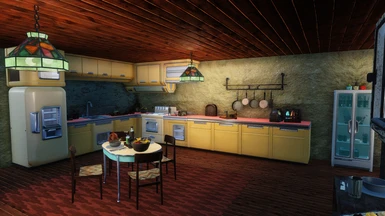
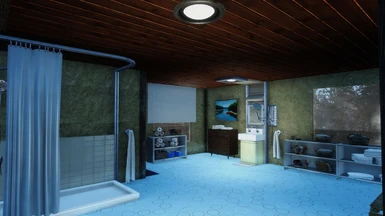
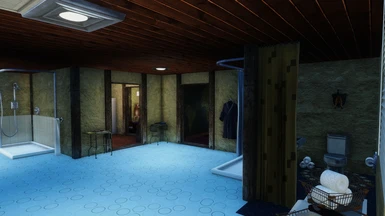
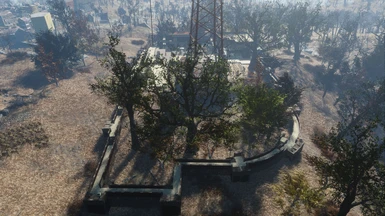
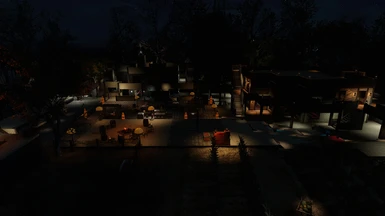
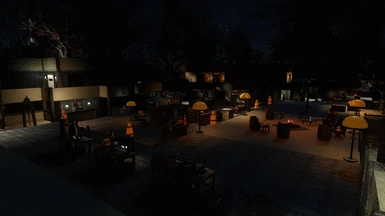
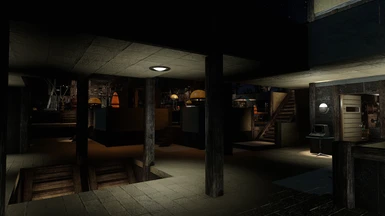
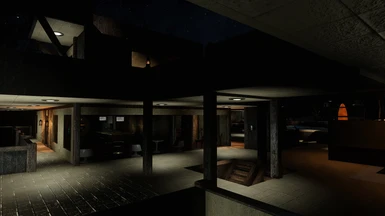
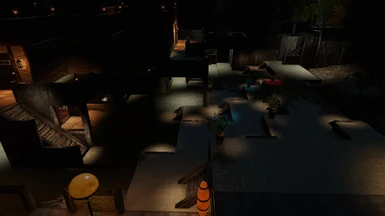
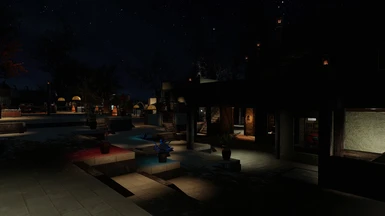
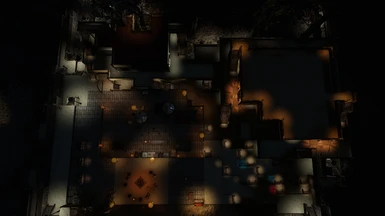
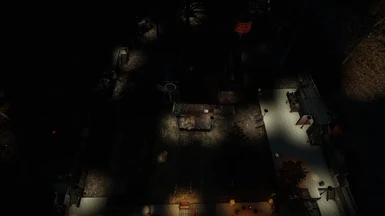
Le mur d'enceinte est fait de beaucoups d'éléments ajoutés manuellement. Les panneaux verticaux du mur et les garde-fous proviennent de 'Settlement Objects Expansion Pack - All DLC' 1.6.8. Les sols du chemin de garde et les escaliers proviennent de Alternate Settlement 1.2. Les courbes sont faites en plaçant les 1/4 de sol décallés de quelques degrés par rapport au précédent (2° à ~5°) en utilisant 'Place Everywhere'. En installant ce settlement, tu peux connaître les mods d'où proviennent les objets en utilisant 'Better Console' (en étant dans le jeu et en sélectionnant les objets). Mais tu peux utiliser n'importe quel mod qui permet de placer des éléments de construction. Il suffit d'agencer des éléments 'Mur' avec des éléments 'Sol'.
As you don't give much on which to work on, here is a resumé of the rather simple procedure you should follow step by step:
- The Transfer Settlements mod must be installed. - Not all the 20 or so mods from which the settlement depends are strictly required but those marked as important in the list must be installed. - Install NMCSU Settlement - Abernathy Farm - Plugin with your mod manager. Put the plugin (esp file) well down in the order list so that it would overwrite other mods modifying those world cells (a settlement must take precedent). - Copy the blueprint bp_septpas_abernathy_191016122446 in - With Mod Organizer, in ...\Mod Organizer\mods\TransferSettlements\F4SE\Plugins\TransferSettlements\blueprints\**copy it in a directory named 1 or 2...to 50** - With NMM, in Skyrim\Data\F4SE\Plugins\TransferSettlements\blueprints\1 to 50 - With Vortex, in the Transfer Settlements directory (I suppose) ...\TransferSettlements\F4SE\Plugins\TransferSettlements\blueprints\1 to 50
You can then use the blueprint in-game via the Transfer Settlements holotape in the Pipboy. Activate the options as said in the Transfer Settlements chapter in the description page. For the settlement building, I recommend the secondary option that makes the objects descend from the sky, it is worth seeing that (you can move around while the settlement is build).
Now, if you have already done all that and the blueprint doesn't appear in the Transfer Settlements interface, try using another blueprint and see if that works. If not, there might be a problem with the Transfer Settlements install. Do a clean uninstall and re-install it (see the mod's instruction for that (I don't remember is there is a special uninstall procedure)). Both the blueprint and the plugin have been thoroughly used so they should work fine for everyone.
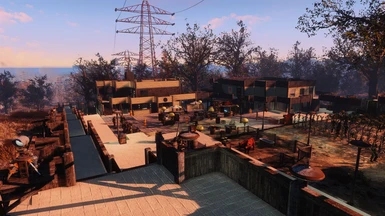
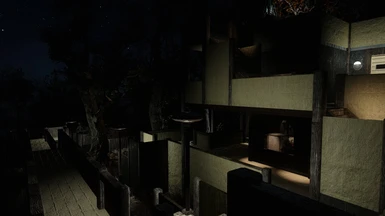
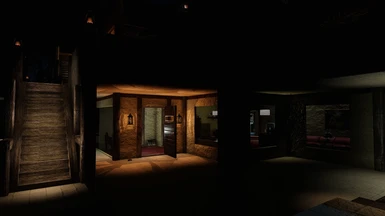
This looks pretty nice. I like that you left that original junk large shack there, lol can call it historical I guess. Got to wonder who would want to live in the old building sitting next to that new one. First picture made me think the wall had some kind of aqueduct which gives me an idea. Great job.


10 comments
Les panneaux verticaux du mur et les garde-fous proviennent de 'Settlement Objects Expansion Pack - All DLC' 1.6.8.
Les sols du chemin de garde et les escaliers proviennent de Alternate Settlement 1.2.
Les courbes sont faites en plaçant les 1/4 de sol décallés de quelques degrés par rapport au précédent (2° à ~5°) en utilisant 'Place Everywhere'.
En installant ce settlement, tu peux connaître les mods d'où proviennent les objets en utilisant 'Better Console' (en étant dans le jeu et en sélectionnant les objets).
Mais tu peux utiliser n'importe quel mod qui permet de placer des éléments de construction. Il suffit d'agencer des éléments 'Mur' avec des éléments 'Sol'.
- The Transfer Settlements mod must be installed.
- Not all the 20 or so mods from which the settlement depends are strictly required but those marked as important in the list must be installed.
- Install NMCSU Settlement - Abernathy Farm - Plugin with your mod manager.
Put the plugin (esp file) well down in the order list so that it would overwrite other mods modifying those world cells (a settlement must take precedent).
- Copy the blueprint bp_septpas_abernathy_191016122446 in
- With Mod Organizer, in ...\Mod Organizer\mods\TransferSettlements\F4SE\Plugins\TransferSettlements\blueprints\**copy it in a directory named 1 or 2...to 50**
- With NMM, in Skyrim\Data\F4SE\Plugins\TransferSettlements\blueprints\1 to 50
- With Vortex, in the Transfer Settlements directory (I suppose) ...\TransferSettlements\F4SE\Plugins\TransferSettlements\blueprints\1 to 50
You can then use the blueprint in-game via the Transfer Settlements holotape in the Pipboy.
Activate the options as said in the Transfer Settlements chapter in the description page.
For the settlement building, I recommend the secondary option that makes the objects descend from the sky, it is worth seeing that (you can move around while the settlement is build).
Now, if you have already done all that and the blueprint doesn't appear in the Transfer Settlements interface, try using another blueprint and see if that works. If not, there might be a problem with the Transfer Settlements install. Do a clean uninstall and re-install it (see the mod's instruction for that (I don't remember is there is a special uninstall procedure)).
Both the blueprint and the plugin have been thoroughly used so they should work fine for everyone.
I hope you'll say: Et voilà!