


0 of 0

Documentation
Readme
View as plain text
-----------------------------------------------------------
RAYTRACING PRESET INSTALLATION INSTRUCTIONS - DREADHALLS
-----------------------------------------------------------
Thank you for choosing my raytracing preset for Dreadhalls! Follow the steps below to install and enjoy enhanced graphics in your game.
**Note: Before proceeding, ensure that you have a compatible graphics card that supports raytracing. I have not tested how good it works on other GPUs or VRs**
1. **Download the Raytracing Preset:**
- Download the preset
- Save the preset file to a location on your computer.
2. **Locate Dreadhalls Installation Folder:**
- Open File Explorer and navigate to the installation folder of Dreadhalls.
- The default path on Steam is usually: `C:\Program Files (x86)\Steam\steamapps\common\Dreadhalls`.
3. **Install the Raytracing Preset:**
- Copy the downloaded raytracing preset files into the Dreadhalls installation folder.
- Overwrite any existing files if prompted.
4. **Launch Dreadhalls:**
- Start Dreadhalls as you normally would.
- Ensure that this preset is selected in the Reshade menu.
5. **Adjust Raytracing Settings (If Applicable):**
- This raytracing presets comes with customizable settings. Although not recommended to change
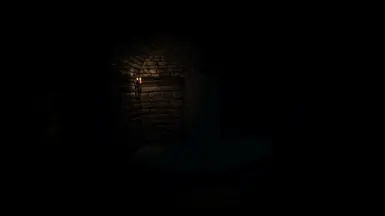
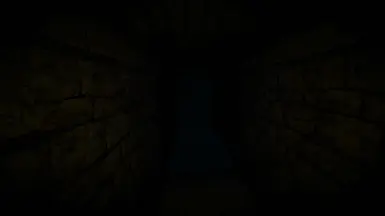
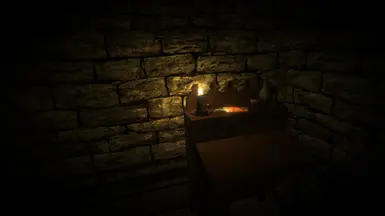
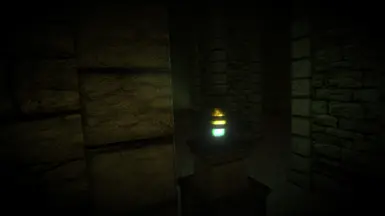
6. **Enjoy the Enhanced Graphics:**
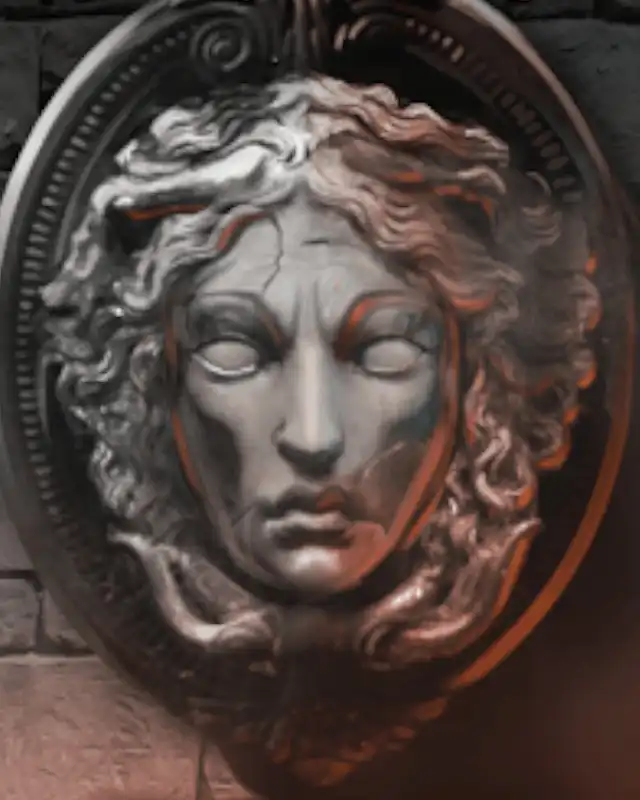
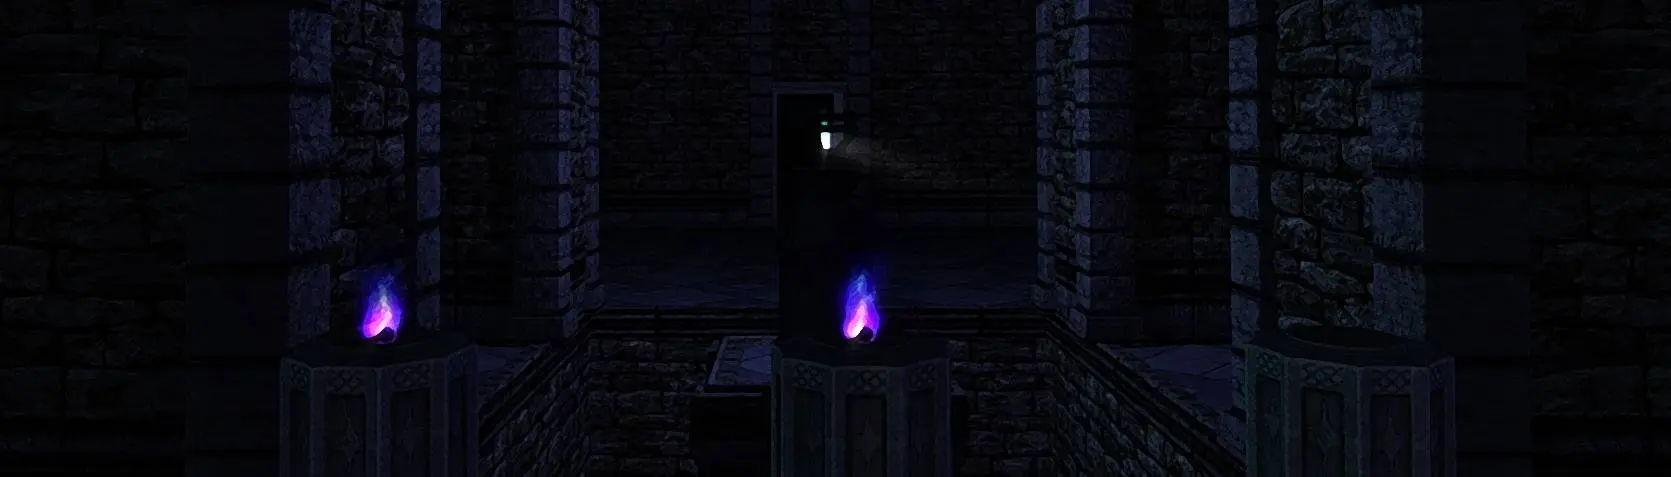
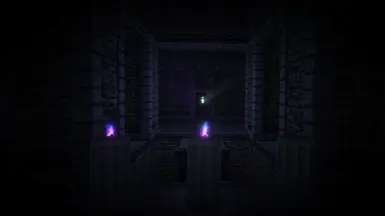
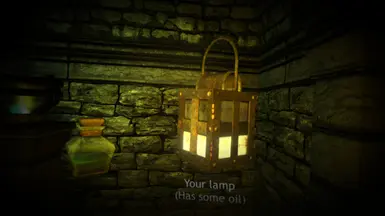
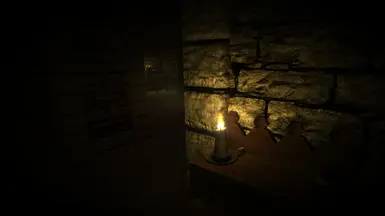
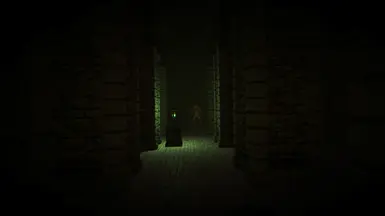
- Explore the terrifying world of Dreadhalls with improved graphics and realistic lighting effects.
7. **Troubleshooting:**
- If you encounter any issues, refer to the troubleshooting section in the preset documentation.
- Email me @[email protected]
-----------------------------------------------------------
Thank you for installing my raytracing preset! I hope you have a spine-chilling experience in the enhanced Dreadhalls environment. If you have any feedback or questions, feel free to reach out.
Email: [email protected]