


0 of 0


Documentation
Readme
View as plain text
Dead Space 2 Ray Tracing ReShade Installation Steps:
There are (3) sections to complete: Total time is 15-20 minutes.
*********************************
** ReShade Installation Steps: **
*********************************
1. You need to find a freeware version of a ReShade RTGI shader, in this case I used RTGI 0.36.1.zip from ReShade RTGI 0.36.1.zip ~ pixeldrain which I found from searching Reddit & Google. Click the Download button and save that someplace where you know where it is (example: D:\Mods\Dead Space 2 RTGI).
2. Now you need the 2nd part of this which is the ReShade tool. Go on the website (https://reshade.me/) and download the latest version (example: reshade 5.7.0, then download ReShade_Setup_5.7.0.exe and put in in the same location as the RTGI 0.36.1.zip file.
3. Launch the executable ReShade_Setup_5.7.0.exe
4. The Select Game Window appears, after it is done searching for installed games, select Dead Space (DeadSpace2.exe) or browse to the DeadSpace2.exe if it does not find it and choose
5. When your DeadSpace2.exe is selected, you click on "Use selected application".
6. After that, a window appears with "which rendering API does Dead Space use", you have to select Direct3D9 since Dead Space 2 uses DirectX9c per Dead Space 2 - PCGamingWiki in the System Requirements section at the bottom of the article.
7. A window appears with "Select Preset to Install:", click the Browse button and selection the Reshade.ini file in the same location as your DeadSpace2.exe file and select it. Click the Next button.
8. A window appears with “Select effect packages to install”, select Standard Effects, SweetFX by CeeJay, and qUINT by Marty McFly. The RayTracing shaders are not installed yet (that is the ReShade RTGI 0.36.1.zip file), but that zip will overwrite the qUINT stock ones so that is why it is important to make sure you select the qUINT option and choose next.
9. After a moment it will say “Successfully installed ReShade”, click the finish button. Now, default Reshade is installed on your Dead Space game directory.
************************************************************
** Ray-Tracing RTGI shaders .zip file installation steps: **
************************************************************
1. Using Windows Explorer, right click on the ReShade RTGI 0.36.1.zip file, choose Open With and choose Windows Explorer. You will now see a \Shaders folder, a \Textures folder, and a LICENSE file.
2. Ctrl + Left Mouse click and select the \Shaders folder, the \Textures folder, and the LICENSE file so that they are all highlighted. Left click & hold the mouse (left+click drag) and drag them over to your 2nd Windows Explorer folder that is showing the DeadSpace 2 folder (ex: C:\Games\Steam\steamapps\common\Dead Space 2) and drag those files over so that it copies over the \Shaders and \Textures folder already there. You need to confirm "Yes" when it asks if you want to replace files.
3. You have installed the files successfully, now we have to enable these plugins at the main title screen in the game.
****************************************************************
** Configuring Ray-Tracing needed plugins in ReShade In-Game: **
****************************************************************
1. Launch the game.
2. Once you are at the Main screen of the game hit the [HOME] key, this is should be above your DELETE KEY towards the upper right of your keyboard. This will bring up the ReShade Menu.
3. Click on the Home Button in the upper left-hand corner of your screen inside of ReShade, this will show the plugins that we need to Enable.
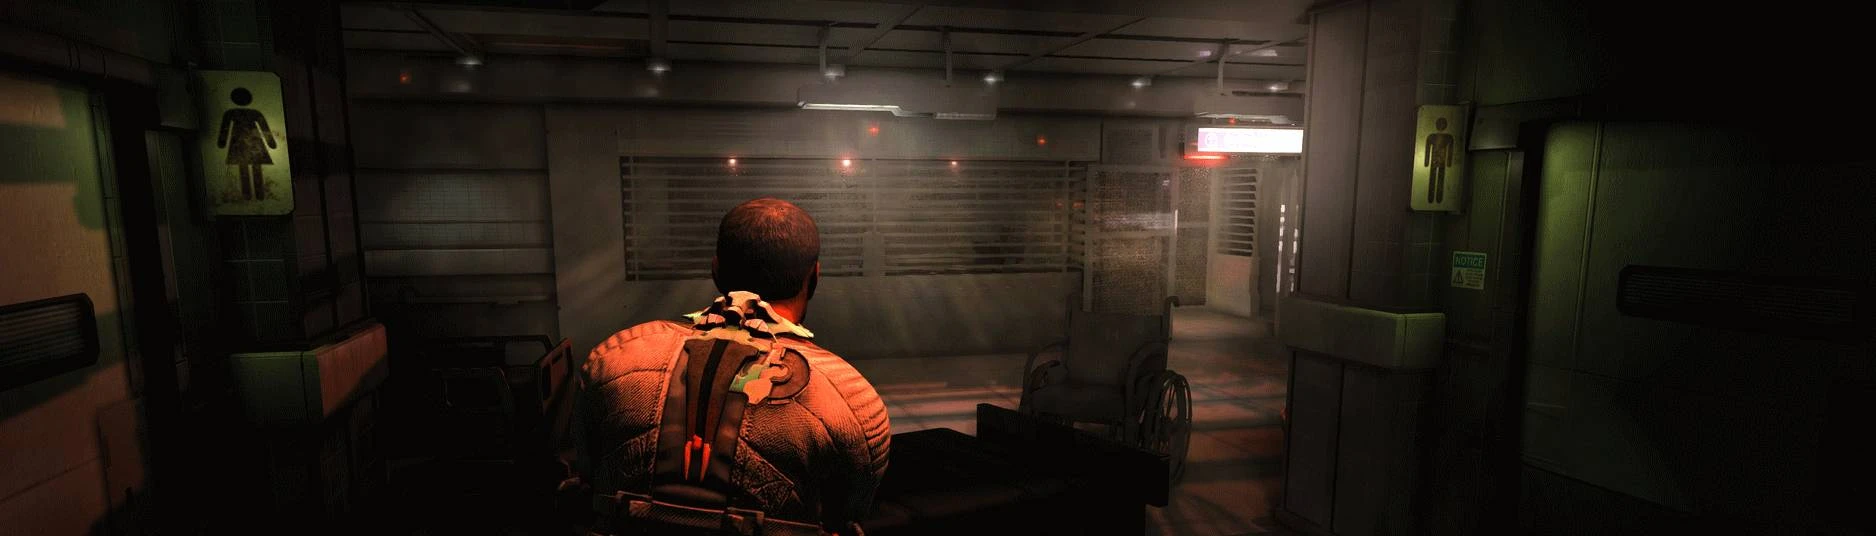
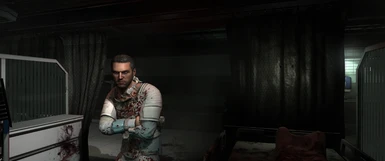
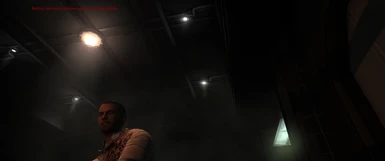
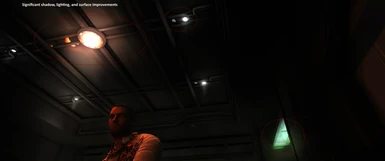
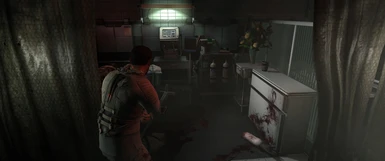
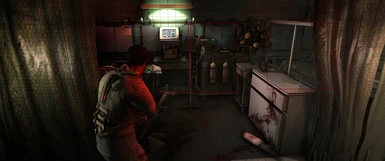
4. Select the following plug-ins at a minimum to achieve the same look you saw in in the images, then select the following choices at a minimum. You can try others if you wish.
- AMD FidelityFX Contrast Adaptive Sharpening [Cas.fx]
- FXAA [FXAA.fx]
- HDR [FakeHDR.fx]
- MXA0 [qUINT_mxao.fx]
- SMAA [SMAA.fx]
- SSR [qUINT_ssr.fx]
These are recommended as well:
- Technicolor2 [Technicolor2.fx]
- Vibrance [Vibrance.fx]
5. Then click the Active to Top button in the upper right corner so that you can see all of the ones you have enabled.
6. Now click the Settings button (2) to the right of the Home button, the first line should be the Overlay Key with the Home button as the choice. Go to the next line down and click on the Effect Toggle key to turn it On & Off to see your changes.
7. Hit the Home button one last time and you are now ready to play the game!
Note: You can also go back into the ReShade options by hitting the Home key, then clicking on Home, and turn off and on various effects to create a look at that you like (sharpen, etc.)