This pack of ReShade presets will both eliminate the game's horrendous teal/green filter while also adding tons of well-crafted, balanced cinematic effects. These ReShade will make the game look much more realistic. All added cinematic effects like depth-of-field, black bars, film grain, etc. are on hotkeys for so they can be toggled off as needed.
Permissions and credits
Credits and distribution permission
Other user's assetsAll the assets in this file belong to the author, or are from free-to-use modder's resources
Upload permissionYou are not allowed to upload this file to other sites under any circumstances
Modification permissionYou are not allowed to modify my files, including creating bug fixes or improving on features under any circumstances
Conversion permissionYou are not allowed to convert this file to work on other games under any circumstances
Asset use permissionYou are not allowed to use assets from this file under any circumstances
Asset use permission in mods/files that are being soldYou are not allowed to use assets from this file in any mods/files that are being sold, for money, on Steam Workshop or other platforms
Asset use permission in mods/files that earn donation pointsYou are not allowed to earn Donation Points for your mods if they use my assets
Author notes
This author has not provided any additional notes regarding file permissions
File credits
Crosire - for creating the ReSahde 4.0 framework.
MartyMcFLy - for creating the Lightroom and Advance DoF shaders that are the backbone of many of my ReShade presets.
Prod80 - for making amazing chromatic aberration and bloom shaders
CeeJay
Fubax
luluco
Jose Negrete
Any other ReShade Shader developers I might have missed for shaders used.
Nexus - for hosting this mod.
Sony
Sony Bend Studios
Donation Points system
Please log in to find out whether this mod is receiving Donation Points
*If you like this, please feel free to come back and hit that endorse button (top right) if you get a chance. Means a lot to me, thank you so much! Cheers.
Cool
Warm
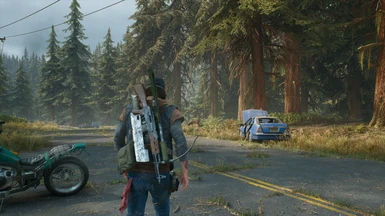
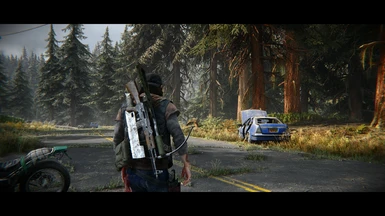
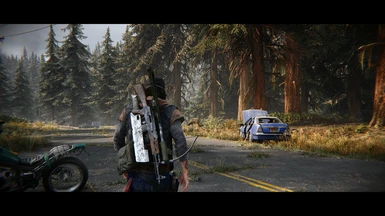
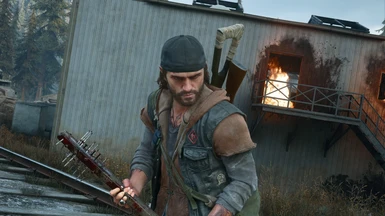
P.R.O. ReShade Collection Photorealistic Oregon w/Cinematic Effects by TheMercsAssassin
Cold
Cool
Warm
Hot
WHAT IS THIS?
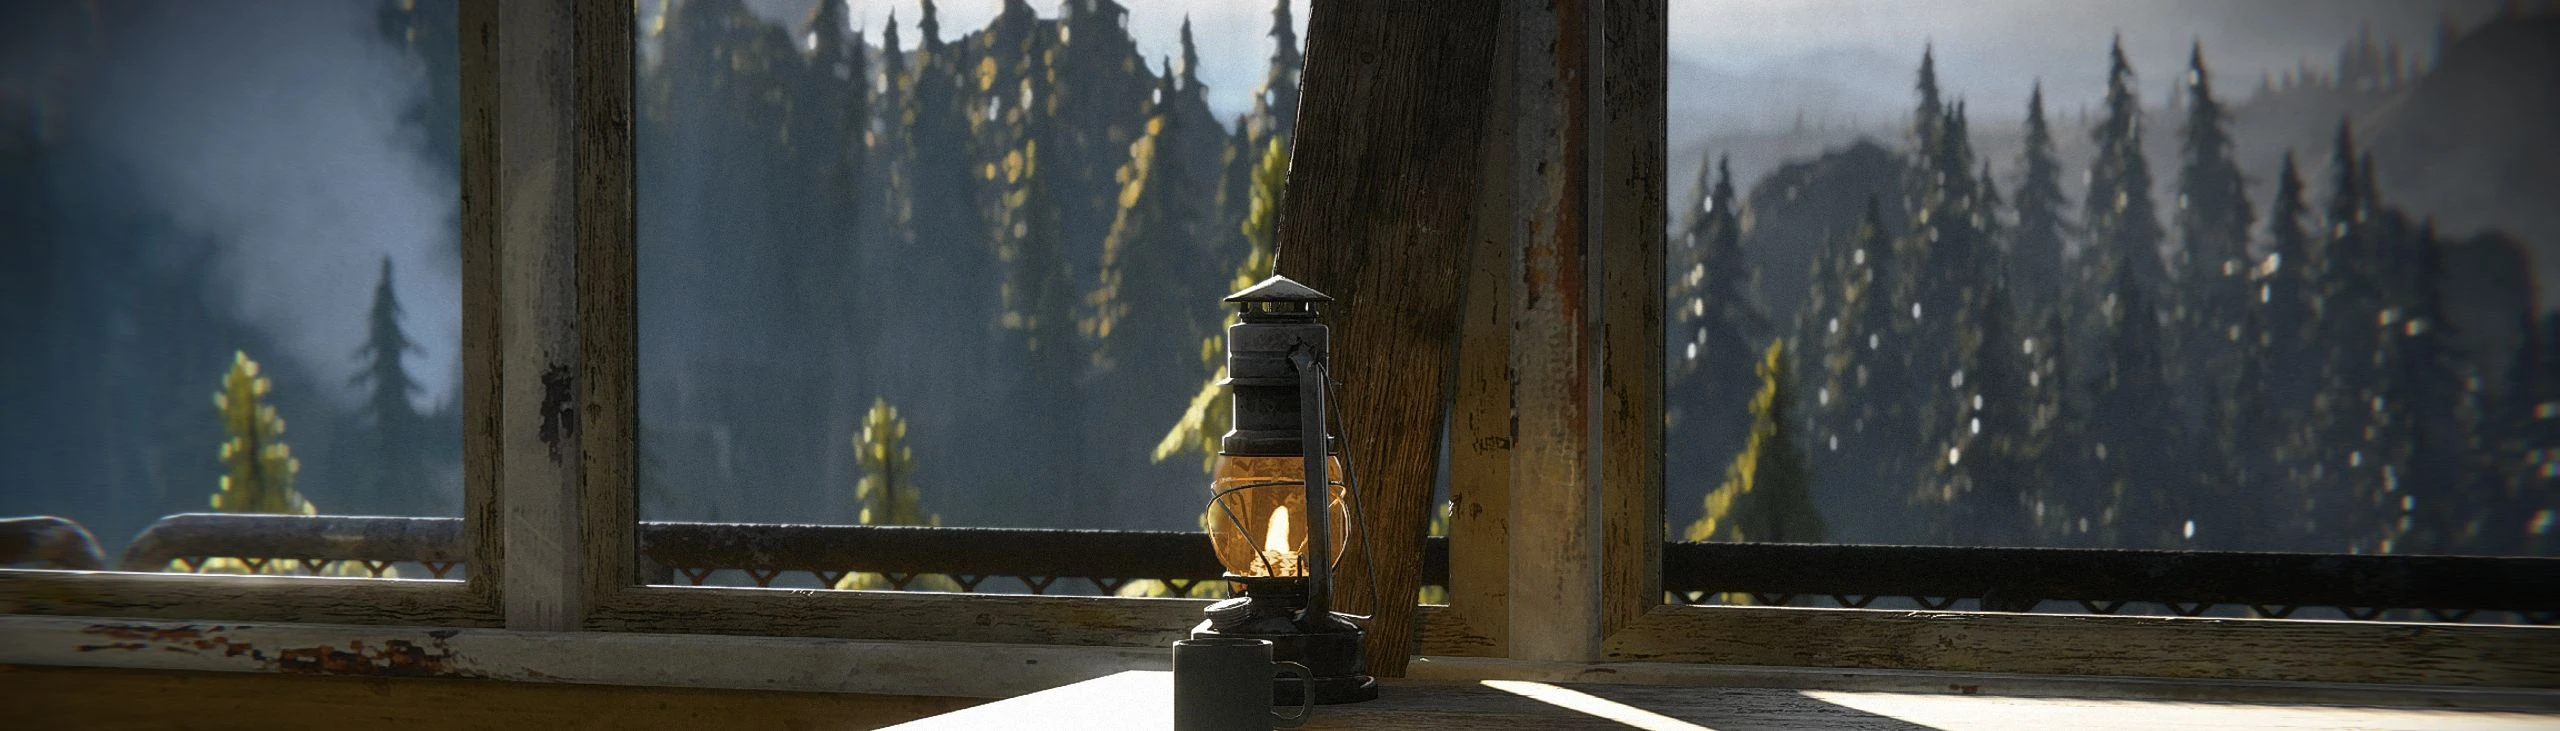
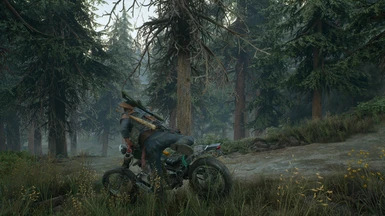
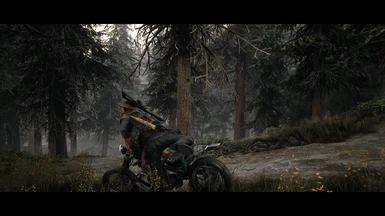
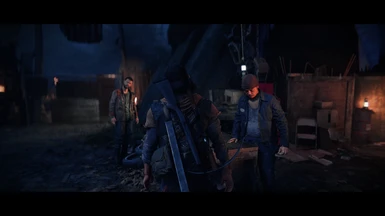
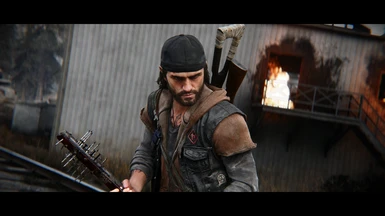
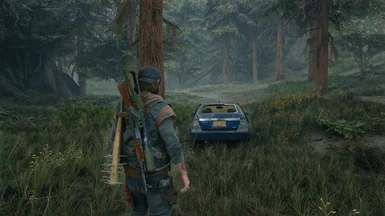
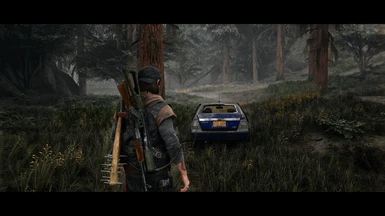
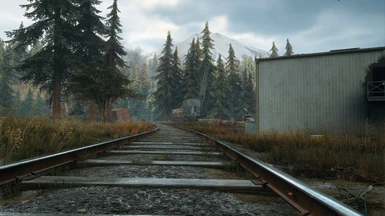
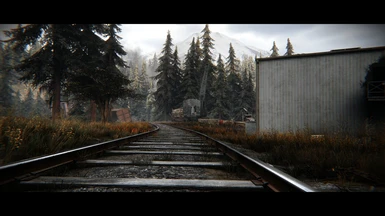
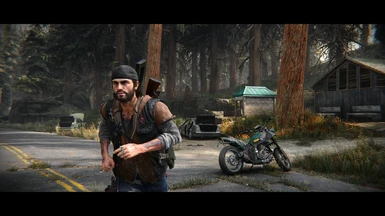
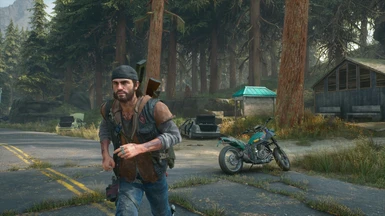
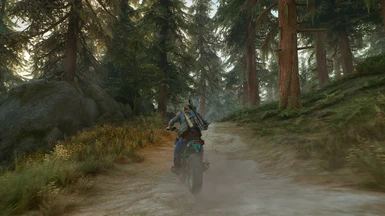
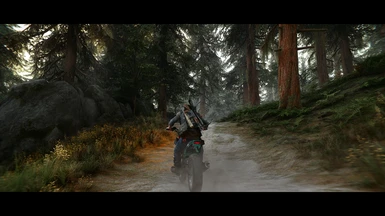
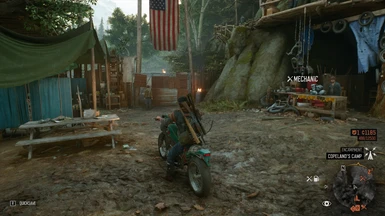
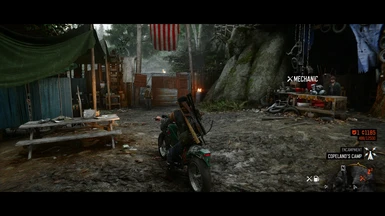
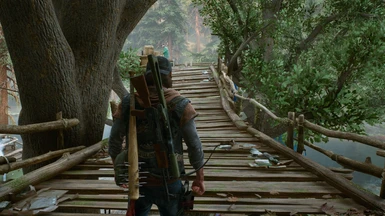
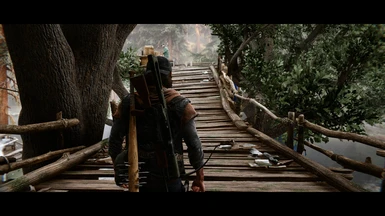
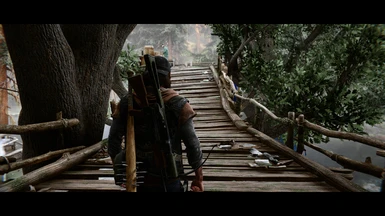
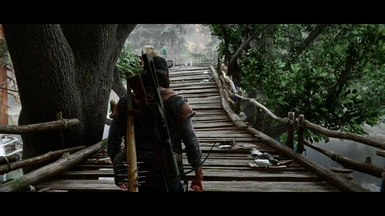
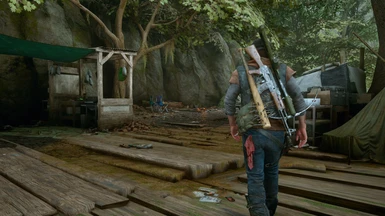
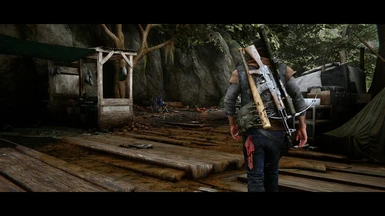
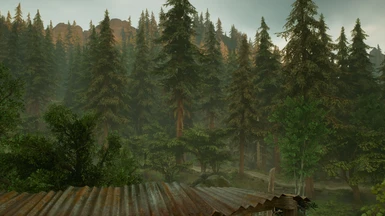
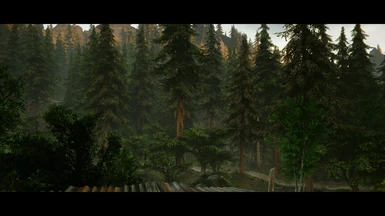
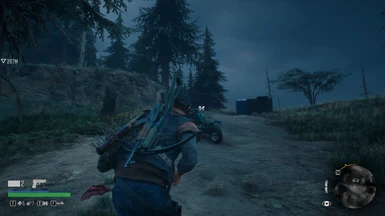
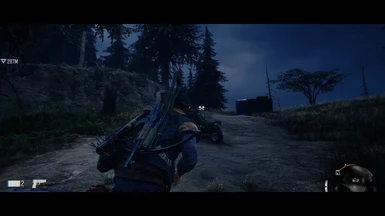
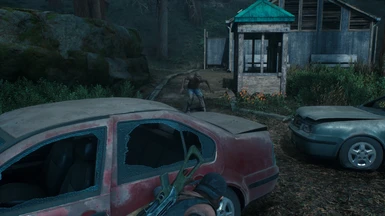
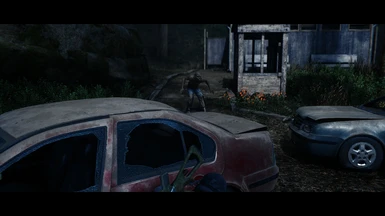
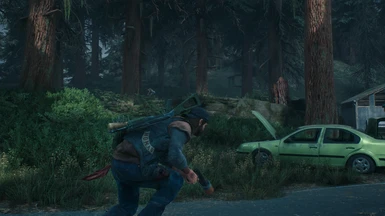
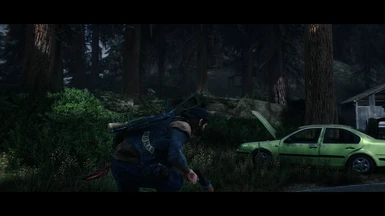
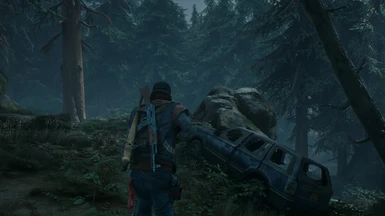
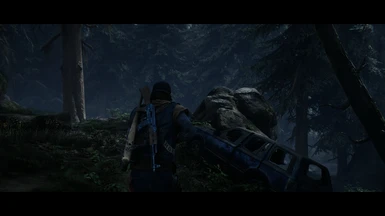
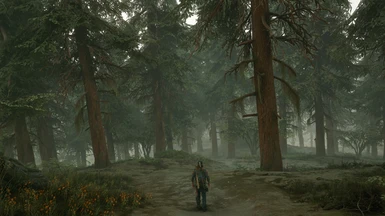
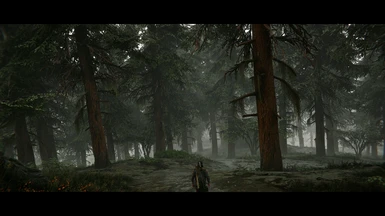
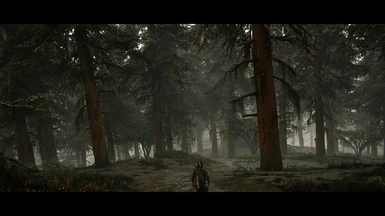
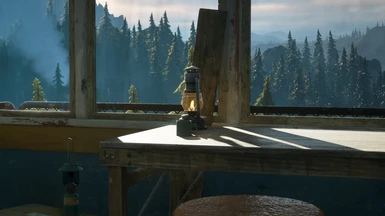
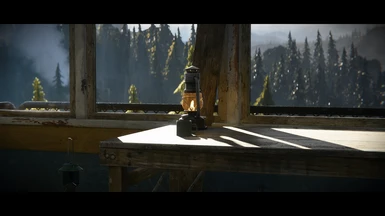
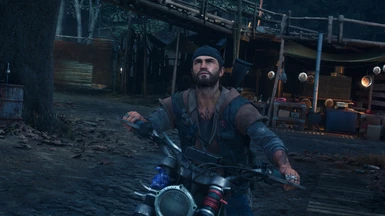
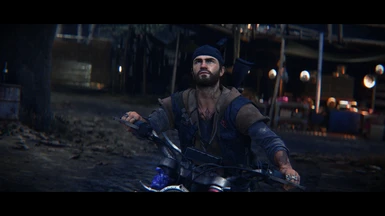
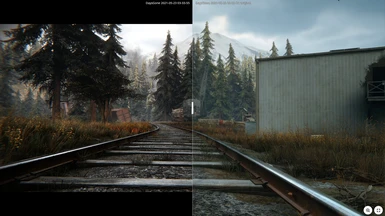
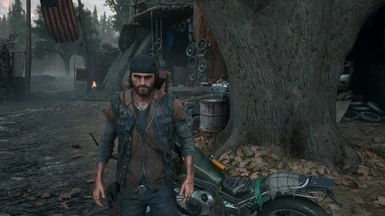
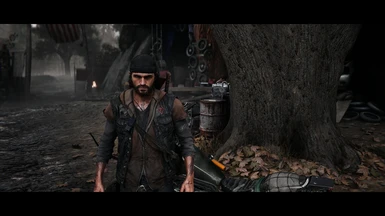
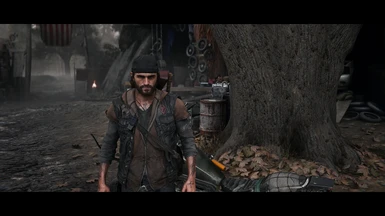
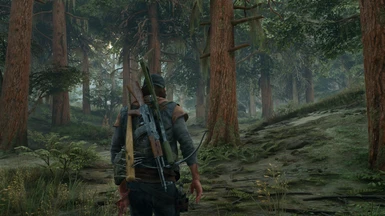
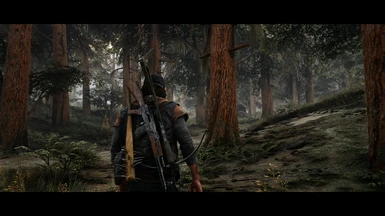
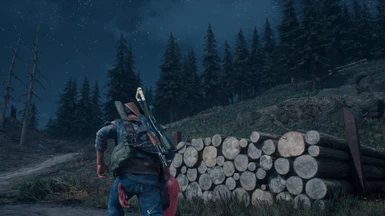
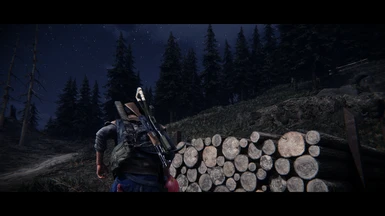
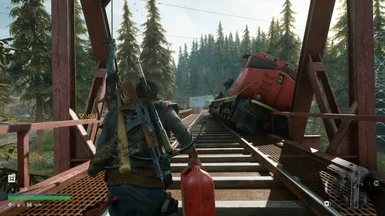
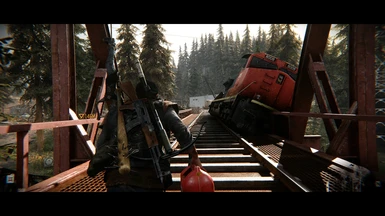
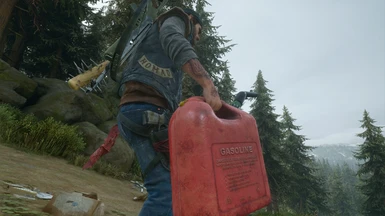
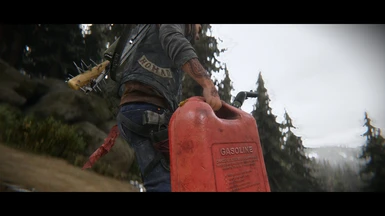
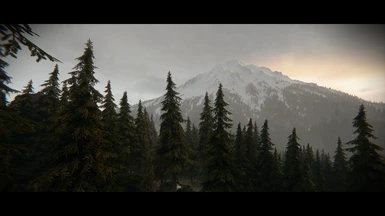
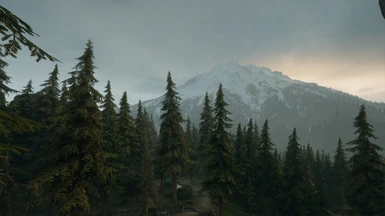
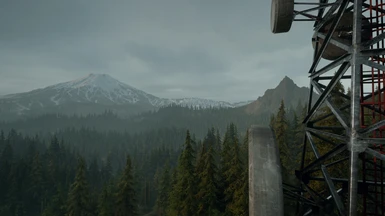
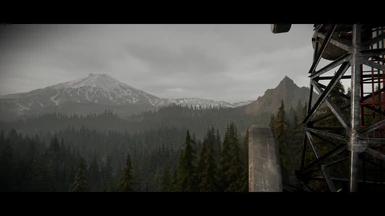
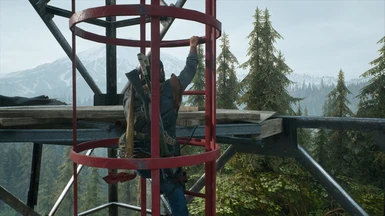
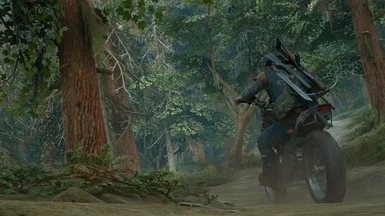
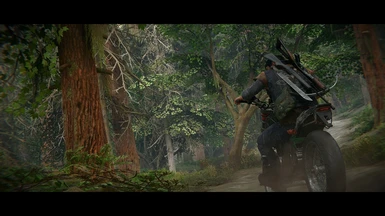
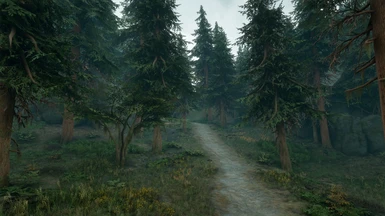
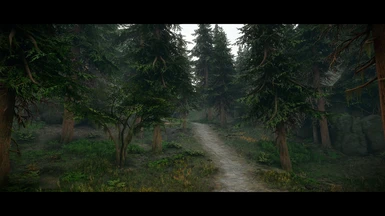
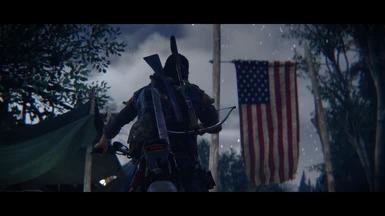
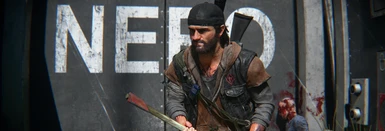
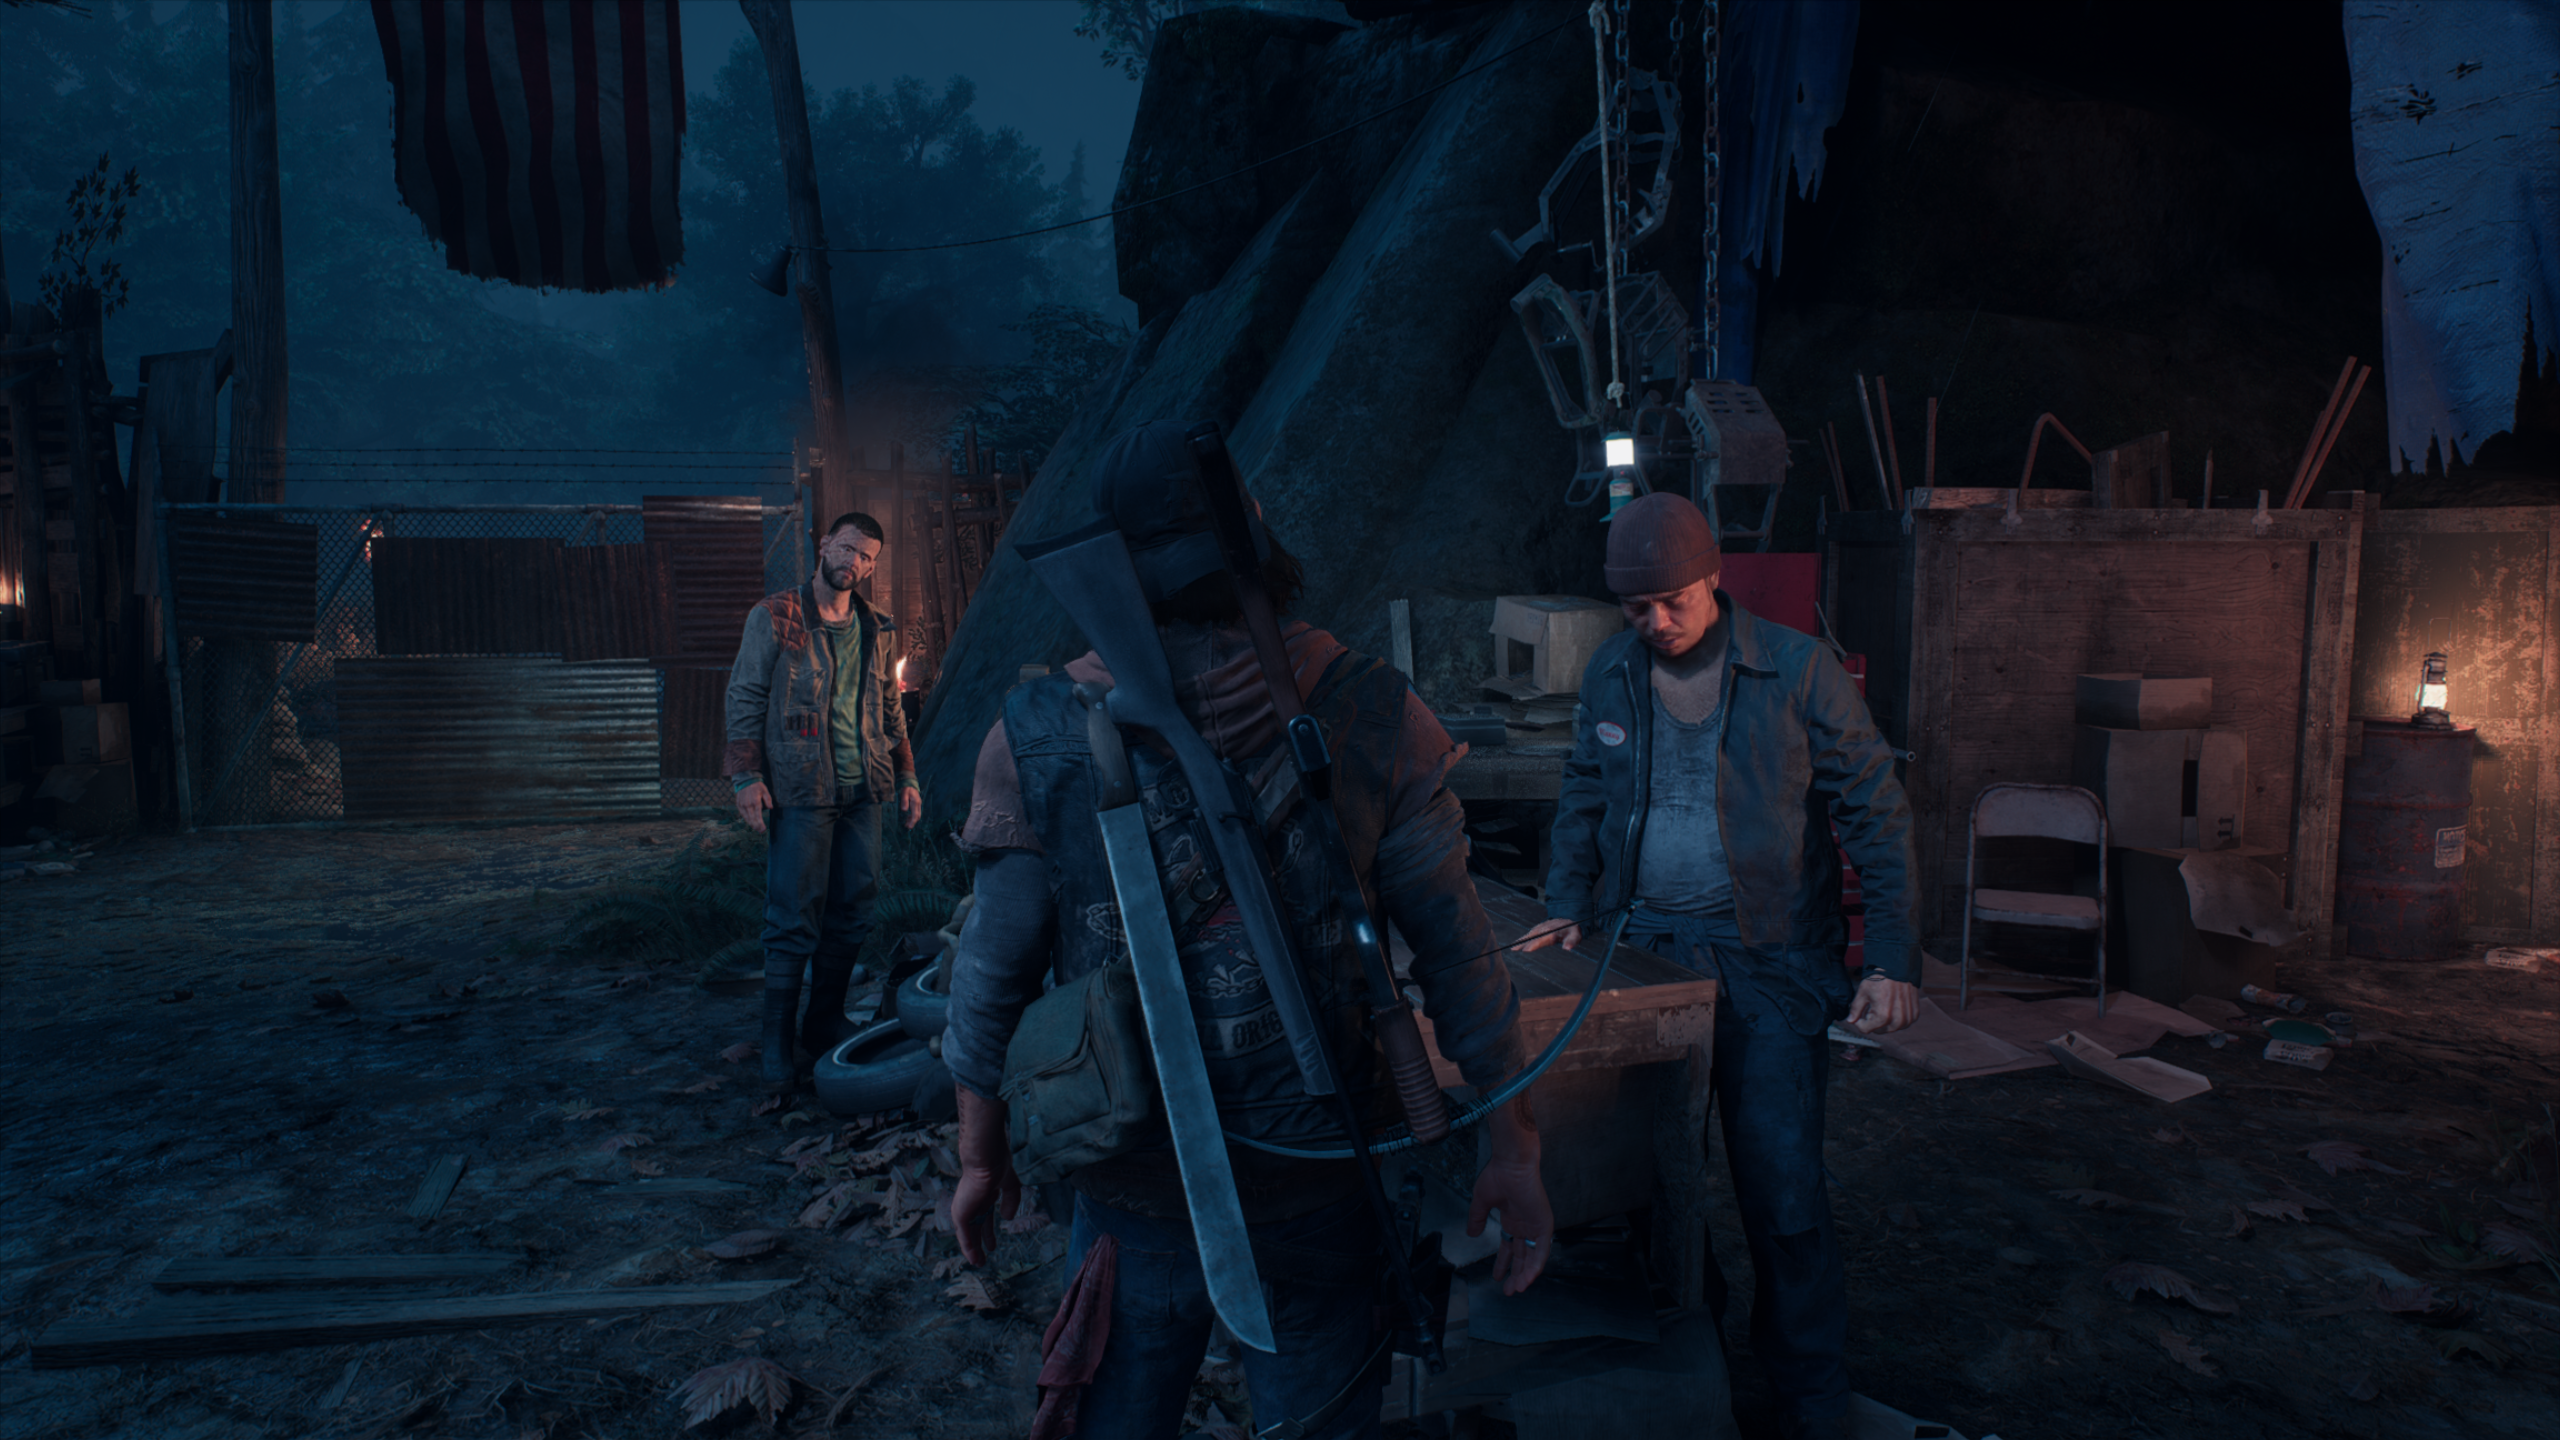
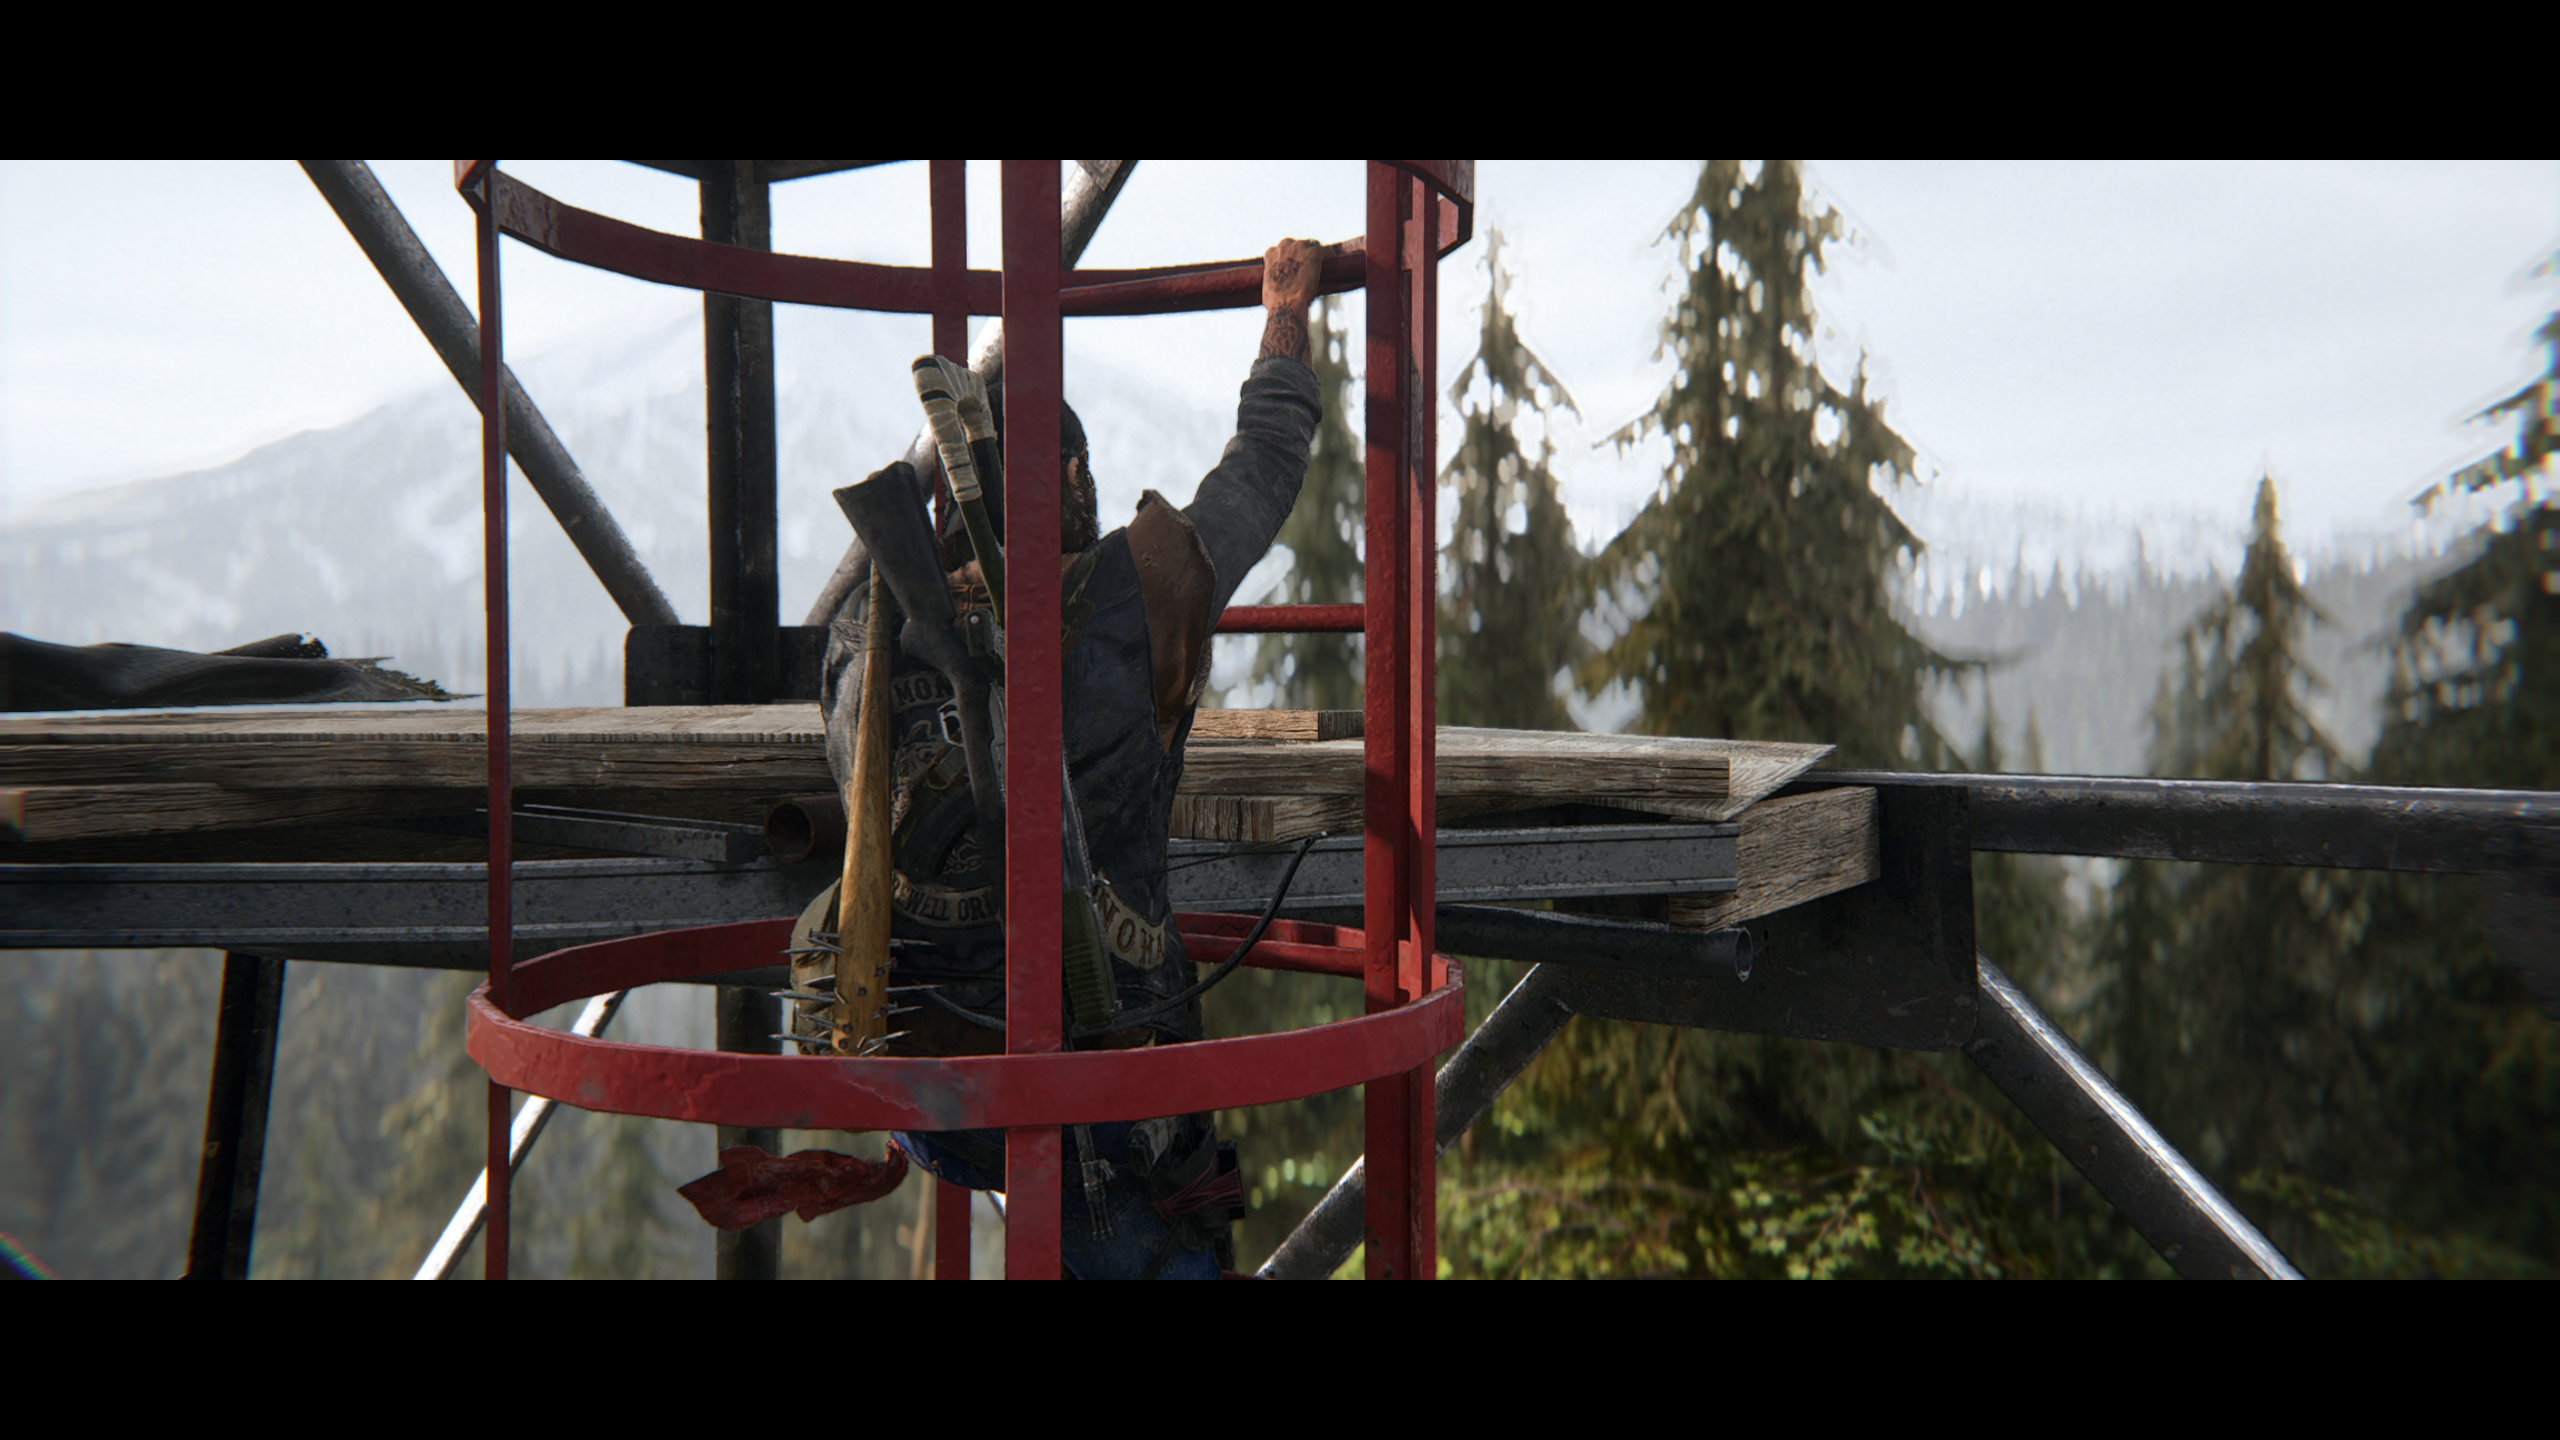
Days Gone has some of the best graphics I've ever seen, but it is teal. Aggressively, TEAL. And green. And it drives me up a wall. So I spent the time since launch trying to color correct the image by scrubbing away the teal/green filter while adding well-crafted cinematic touches, and I really hope you enjoy the outcome. In addition to completely white-balancing the color grading (adjustments to each color individually to get the teal out without desaturating the original color), I've added myriad balanced cinematic effects that are toggleable on hotkeys including letterbox, depth-of-field, film grain, chromatic aberration, and camera lens emulation.
There are four presets included at launch, Cold, Cool, Warm, and Hot. This should allow for a wide number of monitor calibrations to still enjoy the proper color correction. For those with monitors that are already properly calibrated, you can switch between the various presets for fun based on your mood as each offers a little something different in feel. Finally, including the four presets should account for changes in the game's regions where the tones seem to change up a bit. But using any one should look infinitely more realistic than vanilla.
Cool and Warm are the suggested presets as I believe they look the most realistic.
I don't usually bother aiming for complete realism in my ReShade presets, but I honestly gave this my best effort. Let me know what cha think. Please feel free to endorse if you like the work, it was quite a feat, but ultimately it was very enjoyable making these.
Cheers,
Merc
ps: Check out my Flickr account for uncompressed images (you can click any of the screenshots on this description page to get to my Flickr account).
HOTKEYS
All of these are remappable once in game. (make sure numberpad is enabled or the controls won't work). -Toggle ReShade menu on-off - HOME -Toggle all ReShade effects - END -Toggle Between presets - PageUp and PageDown -Toggle depth-of-field - / on numberpad -Cinematic Lighting Enhancer (if you don't like higher contrast or find interiors too dark etc, just disable this) - 9 on numberpad -Lens Emulation (CA in corners of the screen) - Decimal on numberpad -Further Lens Emulation & Chromatic Aberration (warping of image at the corners & color bleeding on objects' edges) - 2 on numberpad -Sharpness - 5 on numberpad -Film grain - 3 on numberpad -Letterbox ("Teh Black Barz") - 0 on numberpad -Vignette - * on numberpad -Color & Most Lighting Changes - 4 on numberpad
INSTALL INSTRUCTIONS
1. Download ReShade 4.9.1 from here: https://reshade.me/. 2. Run the ReShade .exe, select the box that says "click here to select a game", and choose your DaysGone.exe, usually found here: "...\SteamLibrary\steamapps\common\Days Gone\BendGame\Binaries\Win64" and click "open" 3. Select the DirectX 10/11/12 for the API 4. Under "select effect packages to install", you need the following effect packages in addition to the standard one:
SweetFX by CeeJay, qUINT by MartyMcFly, Color Effects by Prod80, Fubax-Shaders by Fubax, and FXShaders by luluco
These are the Shaders used (Adaptive Sharpen and Fisheye are included in my download. Do not download the Legacy shaders package, you can download any of the others though):
5. Click "Ok." 6. Close the ReShade setup box. 7. Now download the main file .zip file from here on Nexus. Open the zip file. 8. Copy and paste the .ini files and reshade-shaders folder into your Days Gone subfolder where your game's DaysGone.exe is. Overwrite anything it asks, ESPECIALLY THE 'ReShade.ini' file. (don't worry, you're just overwriting ReShade files, not your game files). 9. Launch the game. Don't press anything until the game loads up pass the splash screen, you should see the ReShade notification in the top-left of the screen in a big grey box telling it's loading its effects. 10. Open the ReShade menu with "Home" key, then use the drop down menu to select and ensure my one of my four presets (Cold, Cool, Warm, Hot) are selected. I suggest checking out all four to see what you like best. 11. Profit?
I changed my .ini settings for that mod to these for gamepad use so that the HUD comes up only when aiming or holding down left trigger. I set the toggle key to holding the down button on the d-pad with a slight delay so that I wont turn on the flashlight by mistake (tap to turn on flashlight, hold to toggle HUD. Clicking-and-holding the right thumbstick will show the HUD and holding the X button (reload button) will bring up the HUD as well. This works especially well for opening car hoods and trunks. Holding Left bumper will bring up the HUD so you can do crafting and weapon switching with ease. Clicking-and-holding the left thumbstick will bring up HUD as well:
[Key2] Key = XB_DPAD_DOWN x = 0 type = toggle Delay = 200
; Hold to show weapon wheel for Xbox controller:
[Key3] Key = XB_LEFT_TRIGGER x = 1 type = hold Delay = 1
[Key5] Key = XB_LEFT_THUMB x = 1 type = hold Delay = 1
[Key7] Key = XB_RIGHT_THUMB x = 1 type = hold Delay = 1
[Key8] Key = XB_LEFT_SHOULDER x = 1 type = hold Delay = 1
[Key6] Key = XB_X x = 1 type = hold Delay = 100
I'm sure all of these settings could be set in a similar manner for keyboard and mouse, I simply don't play with K&M so can't suggest settings. But you can just change the hotkey for whatever you use that corresponds to the most convenient controls for you. The idea is just to set as many keys as hotkeys to bring up the HUD on the "hold" type that are used in game as possible, so that you can always have the HUD up when you need it and let it automatically stay hidden when you don't during exploration and combat, like survival mode basically.
If you don't use this mod, you may want to drastically shrink the letterbox so you can see other parts of your HUD more easily.
CRASHING FIXES & FAQ
1. For me, all games used to crash if I use any form of ReShade or SweetFx in fullscreen mode. So you could try to enable borderless window mode to use ReShade if your game crashes when trying to load the game while in fullscreen mode with Reshade enabled. 2. I used to need to rename my reshade file "dxgi.dll" to "d3d11.dll" to get the game to stop crashing on launch. 3. Disable the other overlays and hooks (like frame rate monitoring software) if crashing continues. 4. I've tested and optimized this ReShade for the game's default in-game brightness. Tested on ultra settings. 5. Toggle depth-of-field - / on numberpad
UNINSTALLING
1. Delete the "reshade-shaders" folder, "ReShade.ini" file, "dxgi.dll" file (don't worry, this is ReShade's .dll so you aren't deleting game data), and "dxgi.log" file from your game folder. That's it.
CONTACT
Please subscribe to my YouTube channel for lets plays and demos of my upcoming and released ReShades: https://www.youtube.com/channel/UCn5KAZuLeVmeQLXSMJNBMcA
Please follow me on twitter: https://twitter.com/MercsAssassin
MY MODS FOR OTHER GAMES:
Exhaustive List Here, constantly updating it as I make new ReShades: https://www.facebook.com/MercsAssassin/


 Cool
Cool  Warm
Warm 
 Cold
Cold  Cool
Cool  Warm
Warm  Hot
Hot 


 Cool
Cool  Warm
Warm 

