About this mod
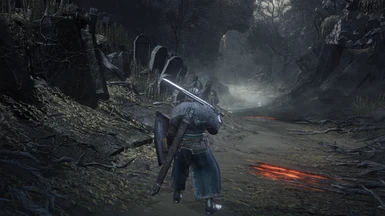
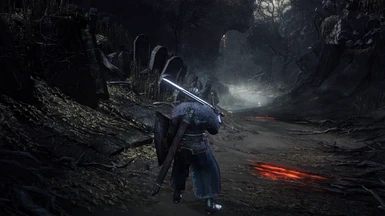
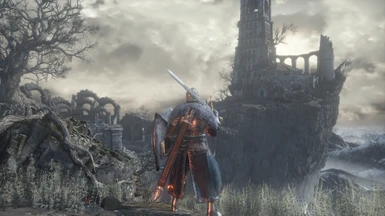
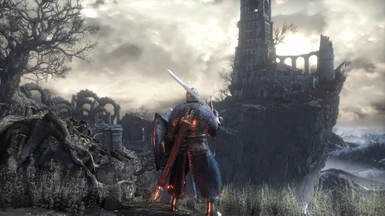
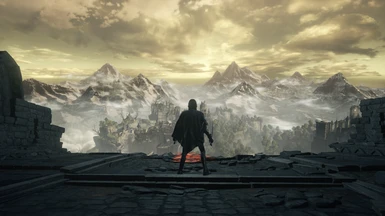
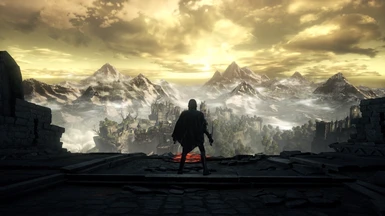
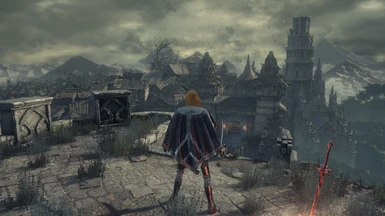
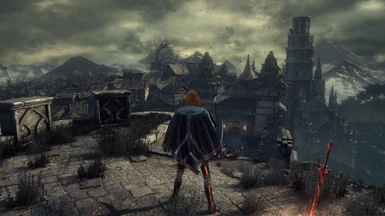
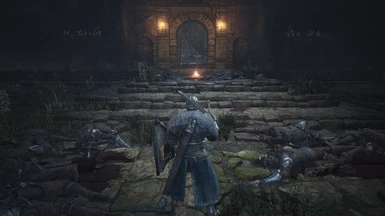
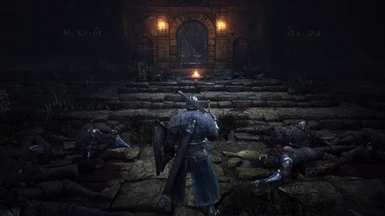
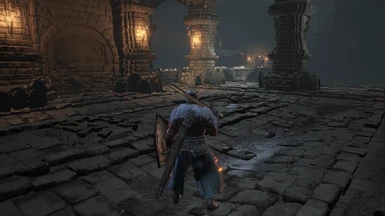
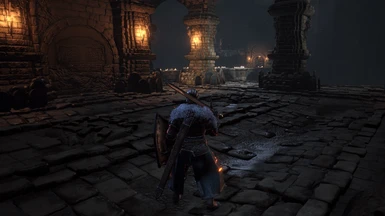
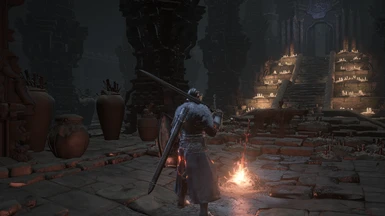
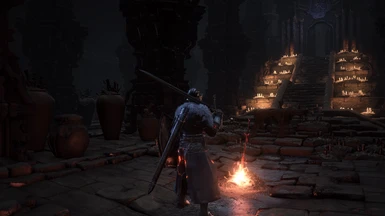
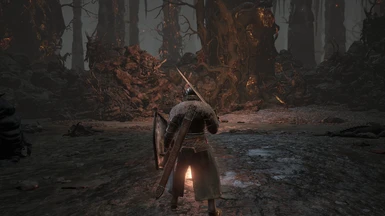
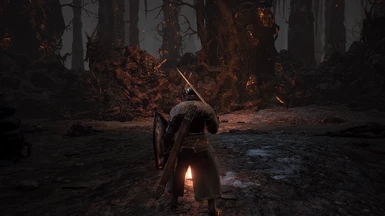
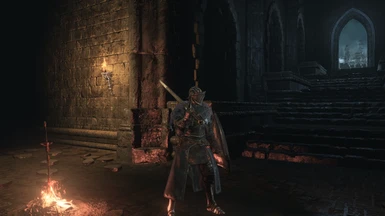
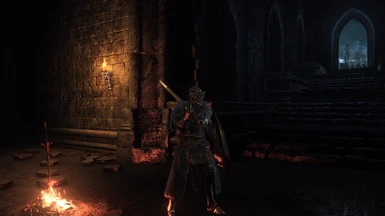
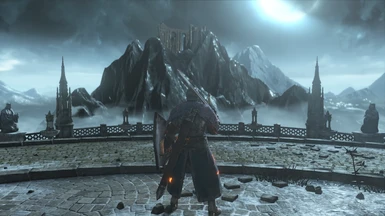
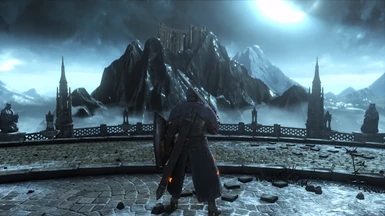
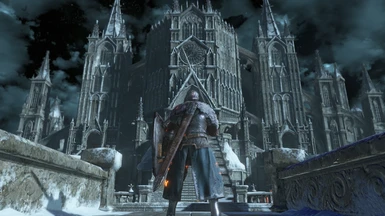
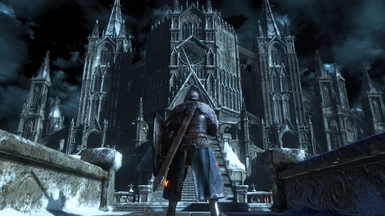
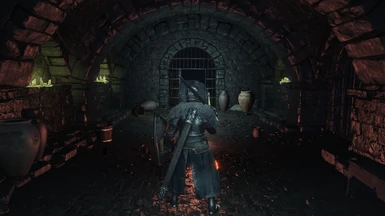
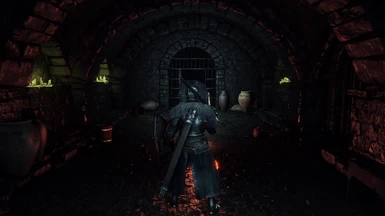
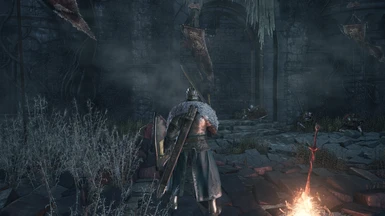
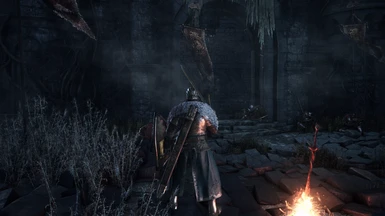
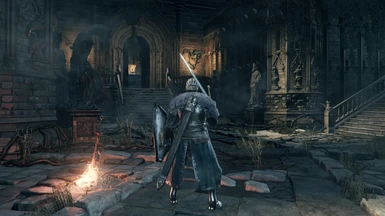
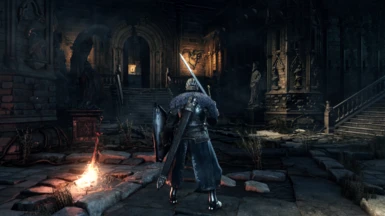
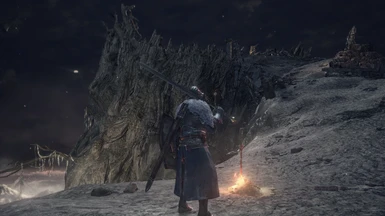
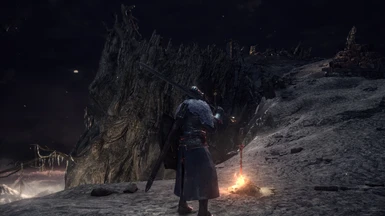
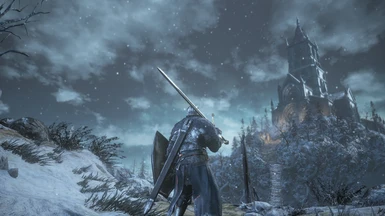
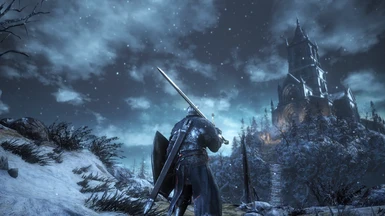
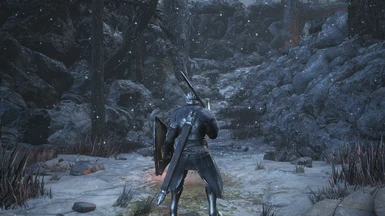
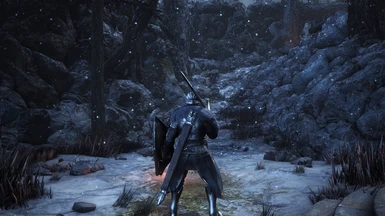
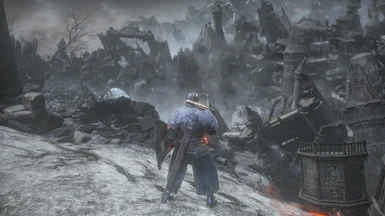
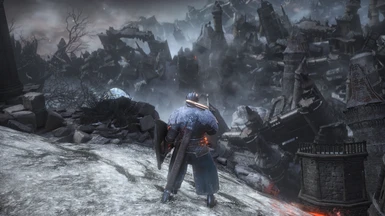
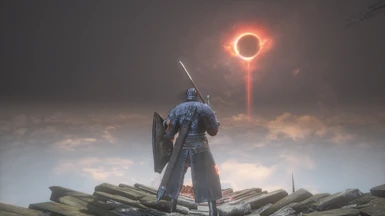
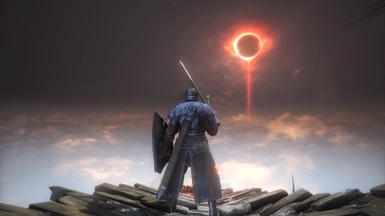
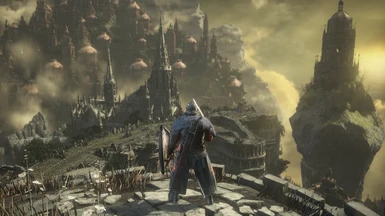
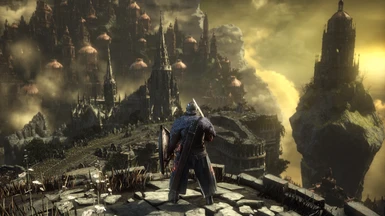
This Reshade Preset was created with the goal of enhancing Dark Souls III's graphics and atmosphere whilst remaining faithful to FromSoftware's vision for the game. Everyone's hardware is different, and as such, I've made 4 different configurations--all of them meant for different classes of hardware--so that everyone can experience this mod.
- Permissions and credits
- Donations

Overview
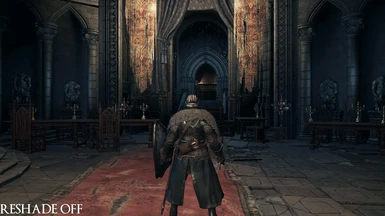
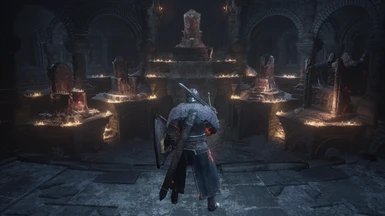
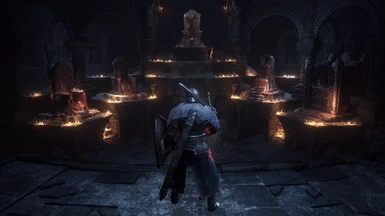
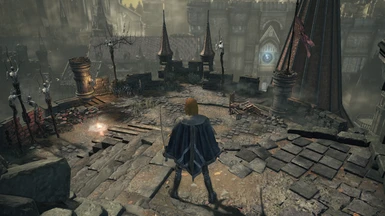
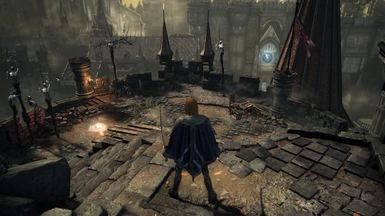
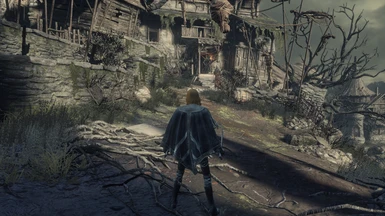
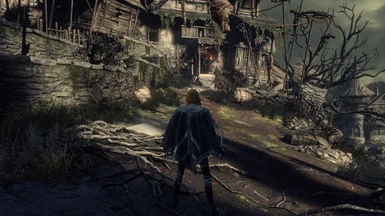
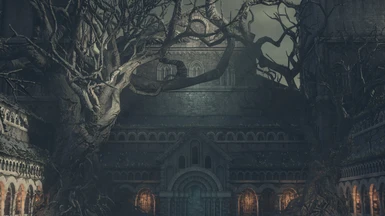
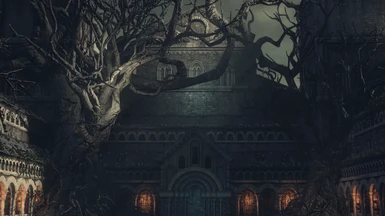
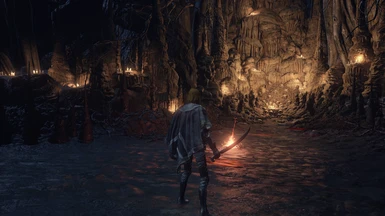
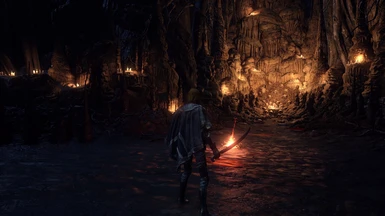
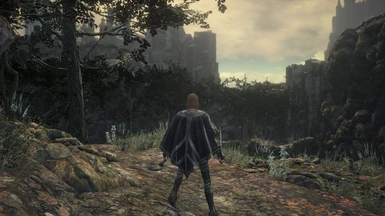
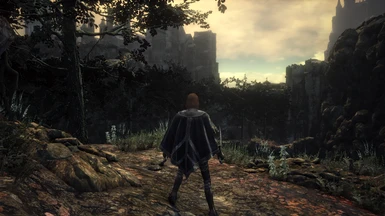
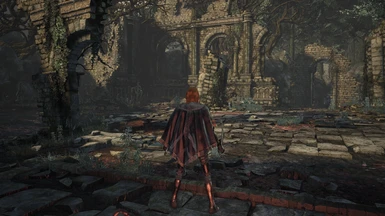
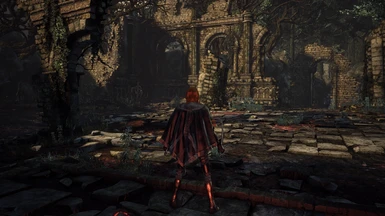
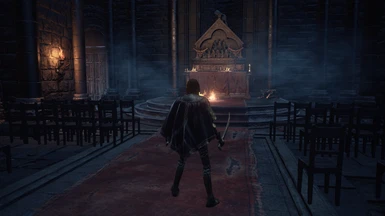
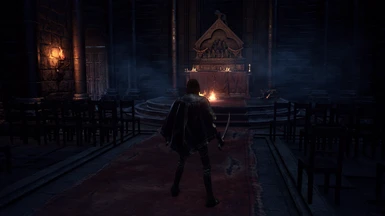
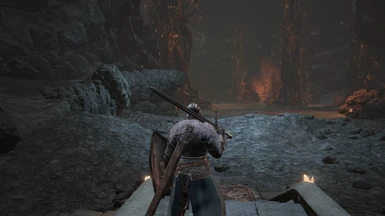
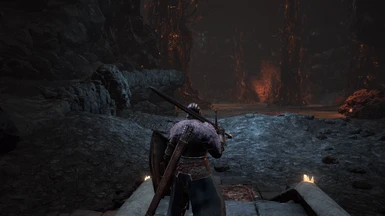
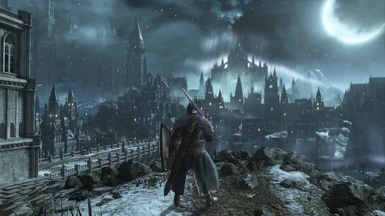
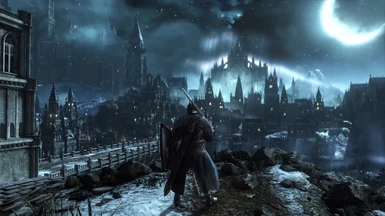
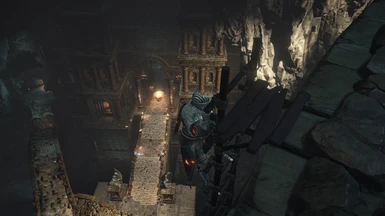
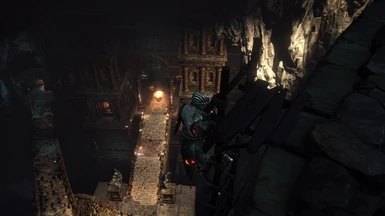
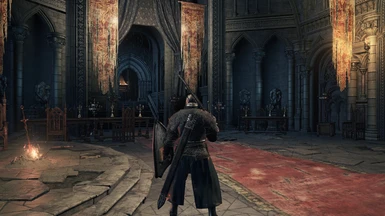
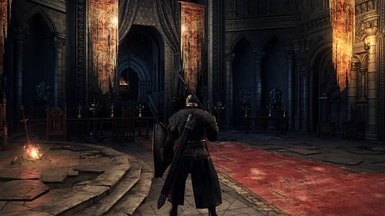
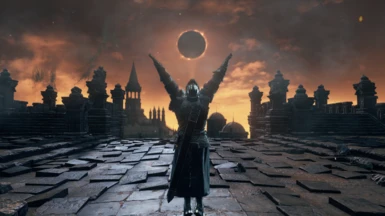
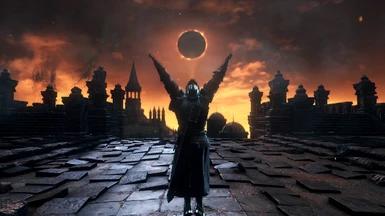
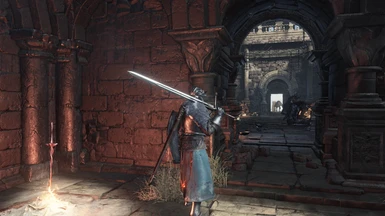
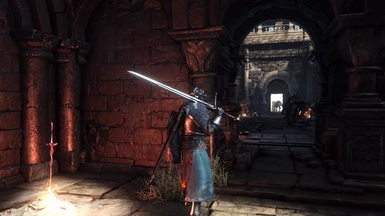
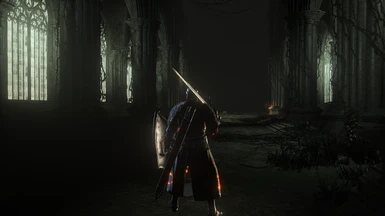
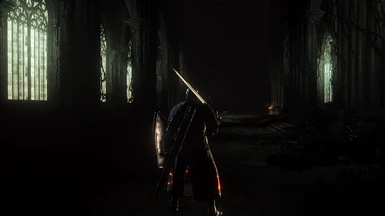
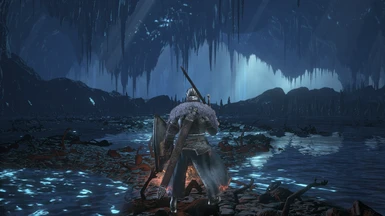
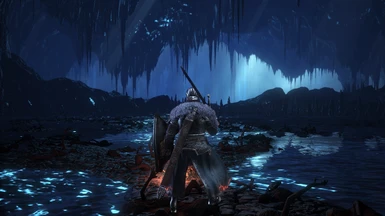
Dark Souls III is a gorgeous looking game, and thanks to its top-notch art direction, it looks pretty good even today. Still, this is a PC game. And in PC games, we can always try to improve the experience! Embrace The Darkness Reshade does exactly that, removing the overbearing grey-green tint of the base game and adding a handful of graphical enhancements. All of this is done without adding an unreasonable amount of Reshade effects that would slow your framerate down to a crawl and make your game look arguably worse. In Embrace The Darkness, areas like the Catacombs and Firelink Shrine are darker, bonfires and torches burn brighter, particle effects have a more pronounced glow, and places like Archdragon Peak and Irithyll feel warmer and colder. The screenshots in the Images tab provide a very detailed comparison to the base game.
ReShade Installation Guide
01. Go to https://reshade.me/ and download the program.

02. Run the program and click "Click here to select a game and manage its Reshade installation."

03. Wait for it to find all the executables on your computer or click the "Browse" button to find the Dark Souls III executable manually.

04. When prompted, select "Direct3D 10/11/12" as the Rendering API.

05. When asked to select effect packages, install only qUINT by Marty McFly, Color effects by prod80, and Legacy standard effects.

06. From the "qUINT" package, install only "qUINTmxao.fx"

07. From the "Color effects" package, install only "PD8002_Bloom.fx"

08. From the "Legacy standard effects" package, install only "FakeHDR.fx" and "Tonemap.fx" but don't uncheck any of the default effects.

09. You should see a message that says "Reshade Setup was successful!" If you do, you can close the program.

Embrace The Darkness Installation
01. Go to the folder where you downloaded the "Embrace The Darkness Reshade V1.1.zip" file. Then, open the .zip file and extract the 4 .ini files into your game folder (YOUR STEAM LIBRARY FOLDER\steamapps\common\DARK SOULS III\Game).

02. Launch the game and press the Home button on your keyboard when prompted. Then, click "Skip Tutorial."

03. "Click the ReshadePreset" bar near the top of the window, right next to the two arrows.

04. Select 1 of the 4 presets depending on your hardware. I've included system requirements for each preset in the next section.

05. Check the box that says "Performance Mode" to keep things running smoothly. This disables the ability to edit the preset but saves CPU power as a result. You can disable Performance Mode if you want to edit the preset at any time.

06. Click the "Settings" tab at the very top of the window and configure ReShade's keybinds and settings the way you want to. I like to have Home open the ReShade window and Scroll Lock toggle the preset on and off.

System Requirements
Option 1: Potato
CPU: Intel Core i3-2100 / AMD FX-6300
RAM: 4GB
GPU: NVIDIA GeForce GTX 750 Ti / AMD Radeon HD 7950
Option 2: Lite
CPU: Intel Core i5-2300 / AMD FX-9370
RAM: 6GB
GPU: NVIDIA GeForce GTX 780 / AMD Radeon R9 290
Option 3: Standard
CPU: Intel Core i5-7400 / AMD Ryzen 3 1300X
RAM: 8GB
GPU: NVIDIA Geforce GTX 1060 (6GB Version) / AMD Radeon RX 580
Option 4: Ultra
CPU: Intel Core i5-9400F / AMD Ryzen 5 3600
RAM: 16GB
GPU: NVIDIA Geforce GTX 1070 / AMD Radeon RX 5600 XT
Differences Between Presets
Option 1: Potato
This version of the preset only improves the game's overall colour. First, the FakeHDR shader is used to improve the black-levels and white-levels of the image and make everything pop. Next, Tonemap is used to reduce they grey and green tint from the final image.
Option 2: Lite
Lite includes everything from the potato version, in addition to a layer of standard-quality bloom is added to enhance the overall atmosphere using prod80's Bloom shader.
Option 3: Standard
Along with everything from the Lite version, Standard adds a layer of focus-bloom to enhance quality. Furthermore, Marty McFly's qUINT MXAO is used to add high quality ambient occlusion at half resolution with a sample count of 64.
Option 4: Ultra
Ultra is basically Standard on steroids, increasing the quality of bloom and increasing the resolution of ambient occlusion to native.
How to work around the MXAO Depth Buffer Bug (IMPORTANT)
Unfortunately, due to a quirk in how ReShade installs, the program may sometimes think that the depth buffer in a game is inverted even when it isn't. When this happens, MXAO (included in the Standard and Ultra presets) renders in a way that looks wrong, and often flickers on and off constantly. Follow the steps below to find out if MXAO is working as intended, and how to fix it if it isn't.
Another reason for MXAO not working is Reshade turning off the depth buffer to prevent cheating in online play, so make sure you're not in PVP/Co-op or using internet-heavy applications in the background. There are 2 symptoms that confirm that internet traffic is disabling MXAO. The first is the shader flickering on and off, and the second is the shader not rendering at all. Before you follow this guide, make sure that isn't the case.
01. Open the Reshade menu, turn off Performance Mode, and then turn on the Display Depth shader.

02. There's 2 possibilities for how it'll look. In the first, the right side of your screen will be pitch black as shown below. If this is what you're seeing, you're experiencing the inverted depth buffer bug.

03. The other (less likely) possibility is that it looks like this, in which case MXAO is working as intended and you can enjoy the game. If you are experiencing the bug, however, read on.

04. Click "Edit global preprocessor definitions." In the window that opens, change "RESHADE_DEPTH_INPUT_IS_REVERSED" to 1 and hit Enter on your keyboard.

05. The depth buffer should be fixed and now work exactly as intended.

Changelog
V1.1:
- Increased the sample count for MXAO in all presets. Performance cost is non-existent, and the effect should look less grainy in motion. Old screenshots are still an accurate representation of what it looks like.
- Updated the guide page to include a preset comparison gif, and improved instructions for fixing the MXAO bug.
Credits
Occam's Chainsaw (occamchainsaw) for creating this ReShade preset. My username on Nexus was formerly ApolIyon666.
The ReShade Team (led by crosire) for creating this awesome piece of software.
Marty McFly (Pascal Gilcher) for creating the qUINT shader suite.
prod80 for creating the Color effects shader suite.
luluco250 for creating the FakeHDR shader.
CeeJayDK for creating the Tonemap shader.


