
- Games
- Cyberpunk 2077
- Mods
- Visuals and Graphics
- FIRNIS 1.74 - Image and Light Enhancing (with optional Colour Correction against the green tint)
FIRNIS 1.74 - Image and Light Enhancing (with optional Colour Correction against the green tint)
-
Endorsements
-
Unique DLs--
-
Total DLs--
-
Total views--
-
Version1.74
- Download:
- Manual
File information
Last updated
Original upload
Created by
1m0wsUploaded by
1m0wsVirus scan
Safe to use



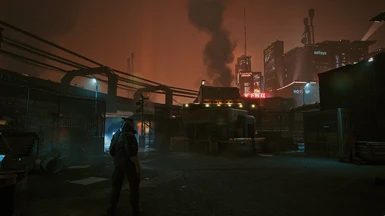
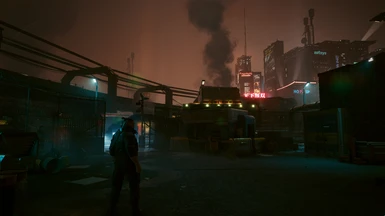
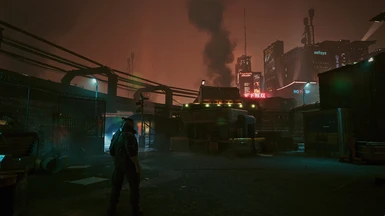
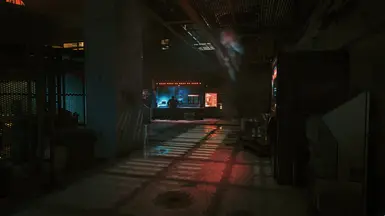
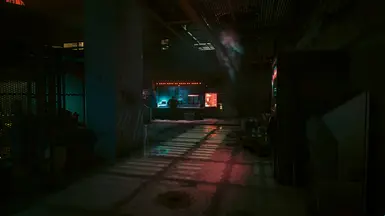
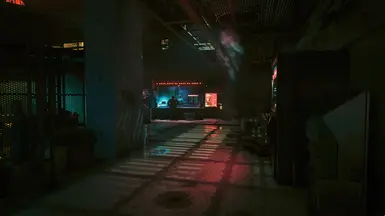
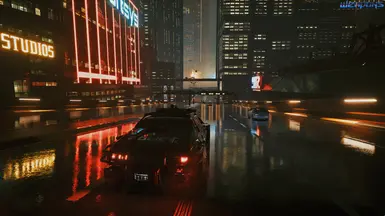
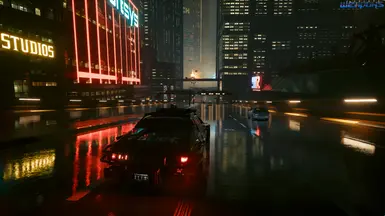

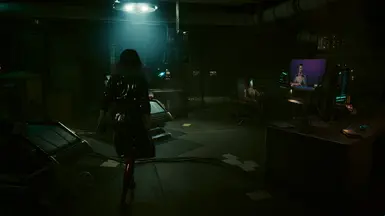
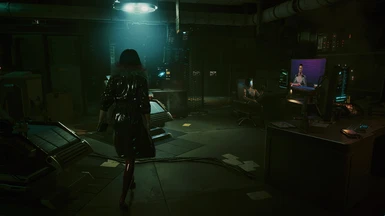
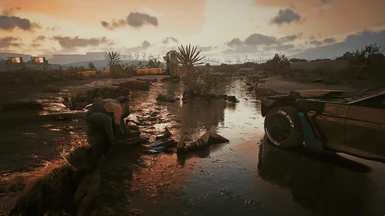
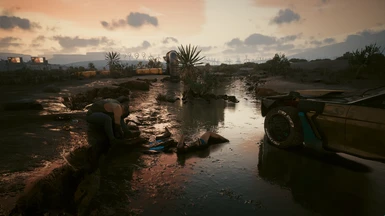
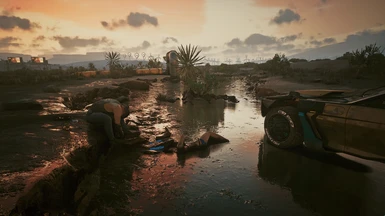
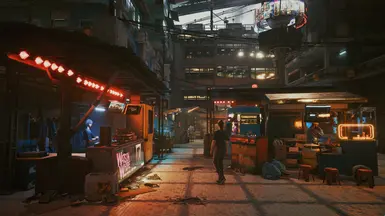
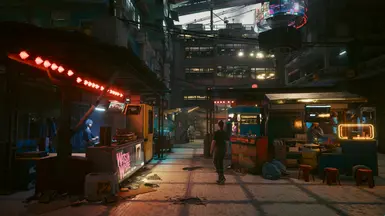
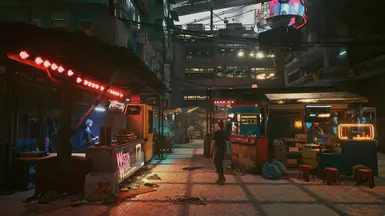
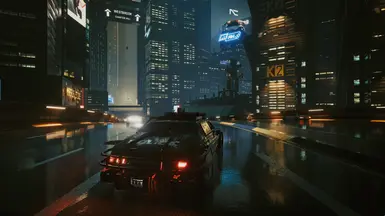
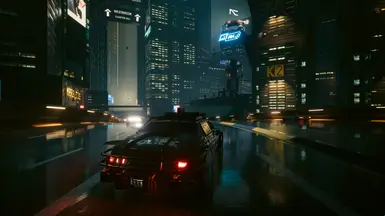
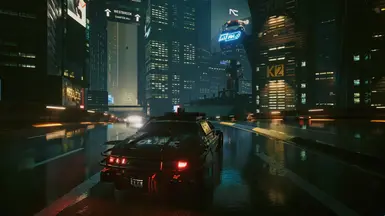
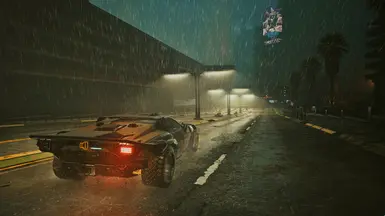
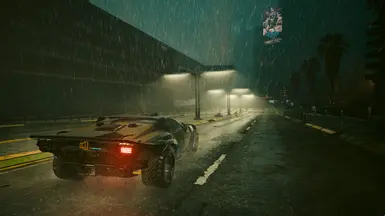
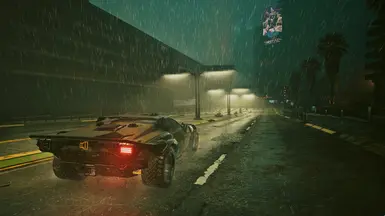
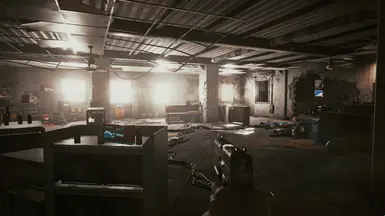
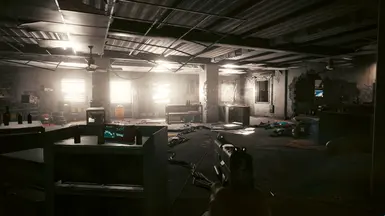
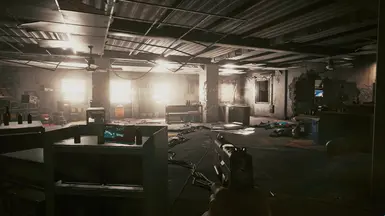
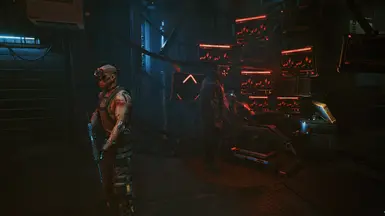
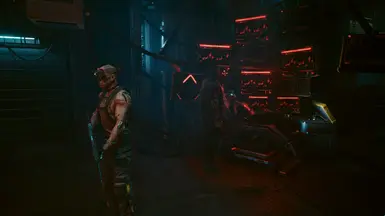
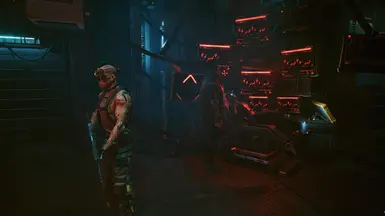
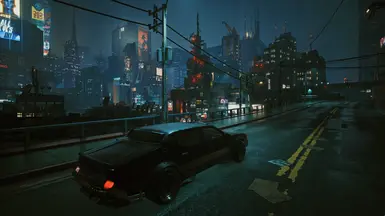
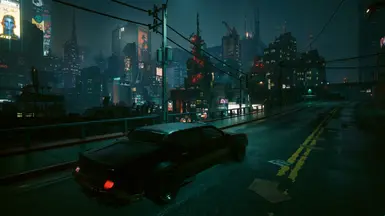
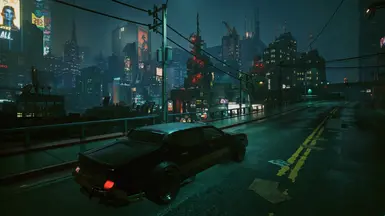
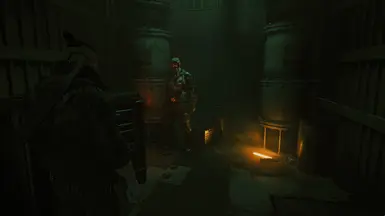
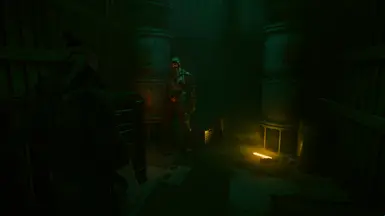
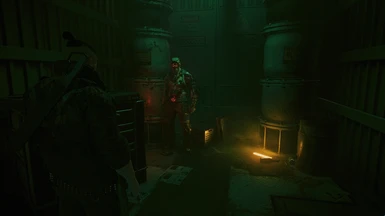
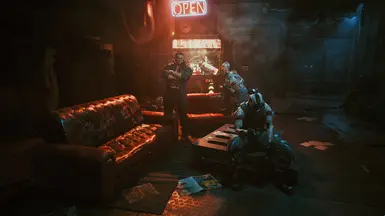
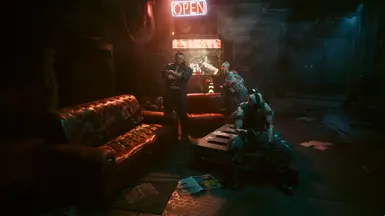
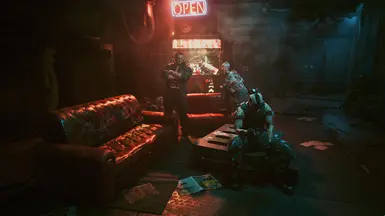
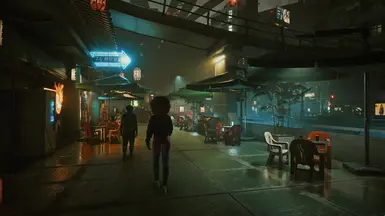
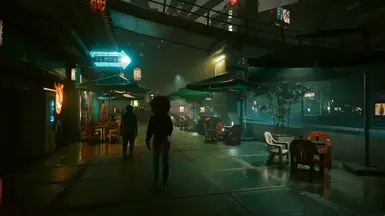
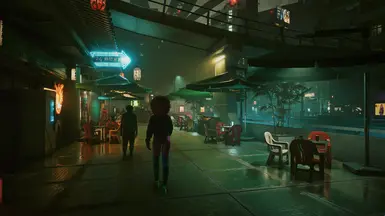
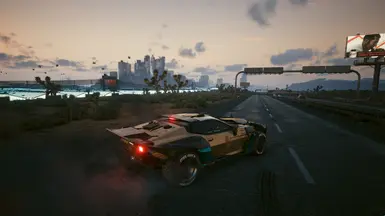
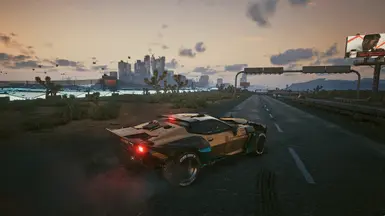
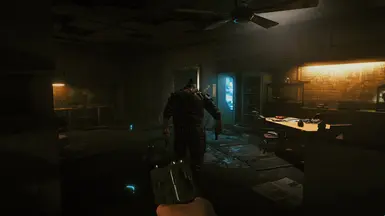
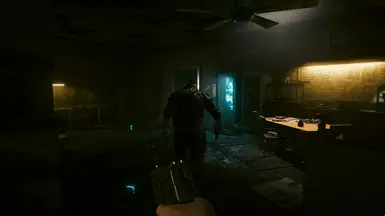
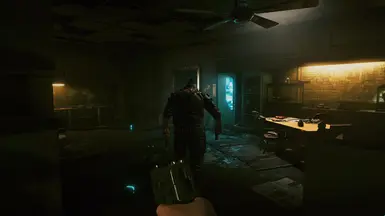
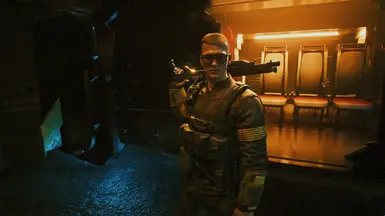

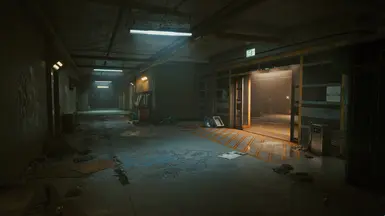
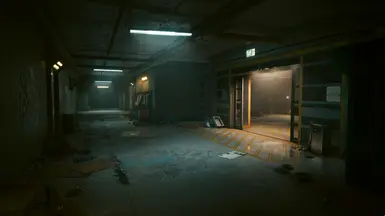
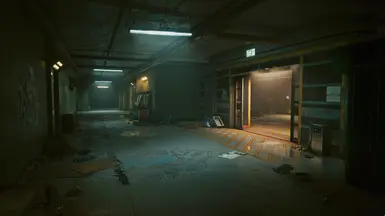
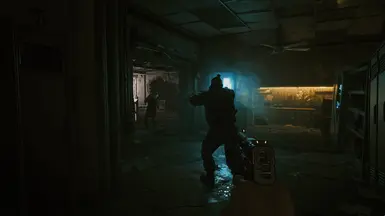
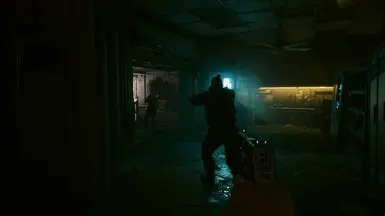
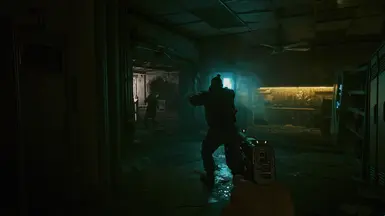
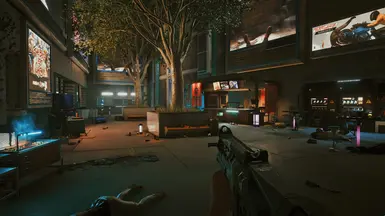
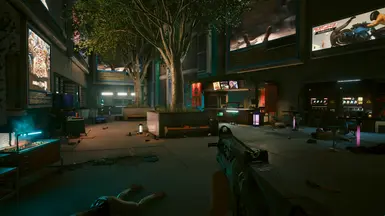
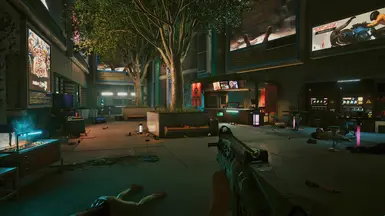



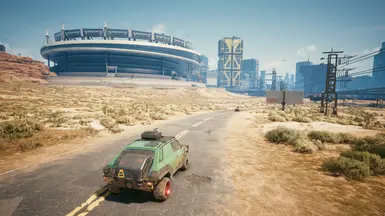
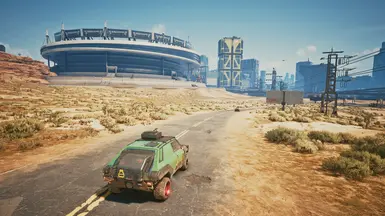
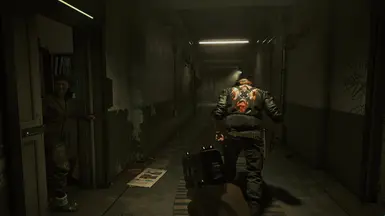
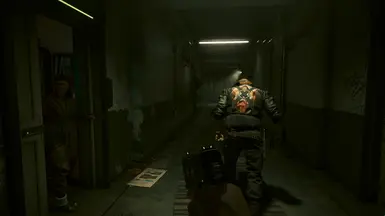
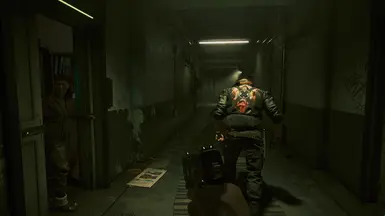
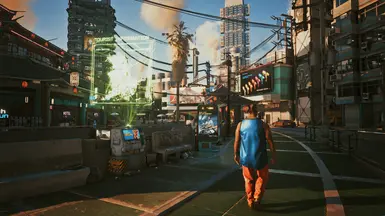
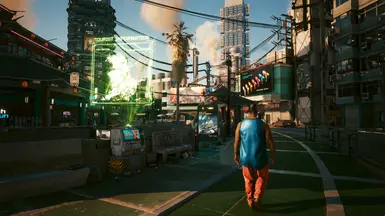
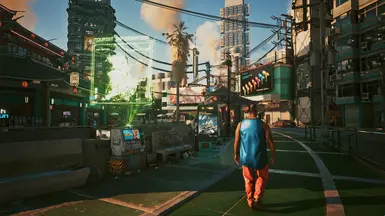

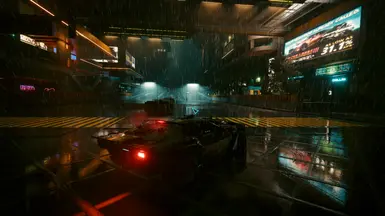
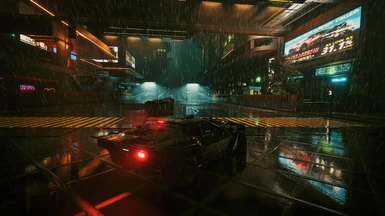
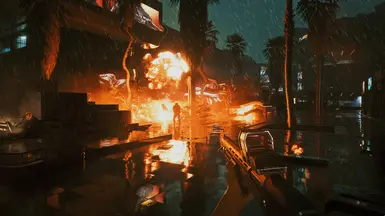
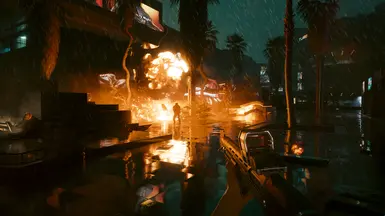
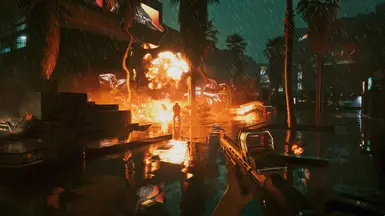
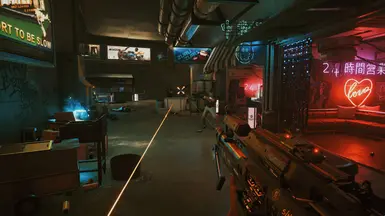
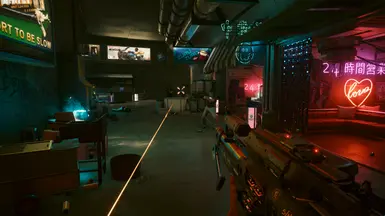
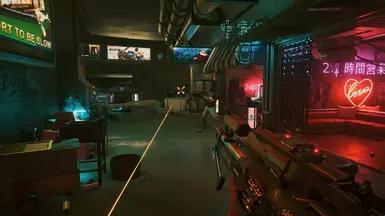
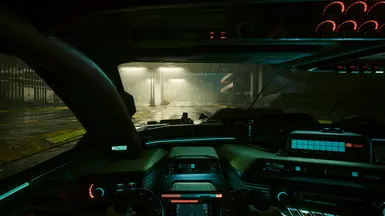
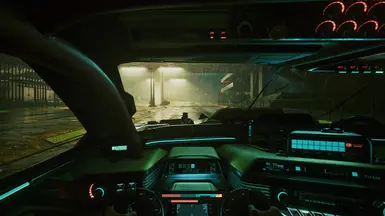
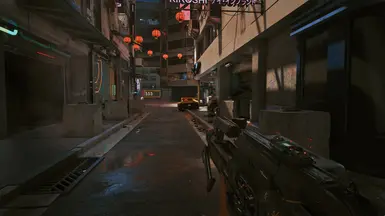
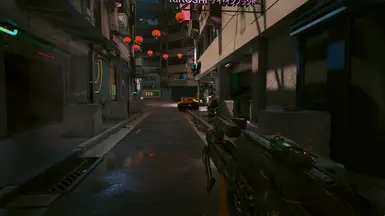

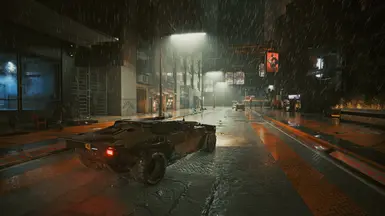
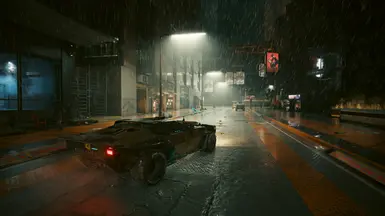
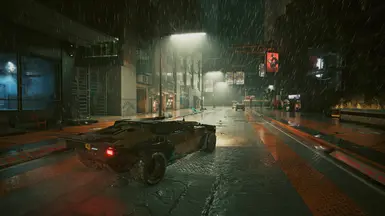
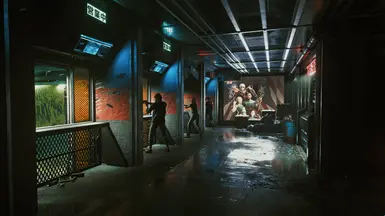
22 comments
Here is a question very important to me: does this work with HDR?
Thansk in advance!
Unfortunately, i dont have any idea how this works with hdr or RTX on, as i don't have the hardware for it :7
But basicly, as Reshade lays itself over the image space the game creates, it 'should' work basicly. And should do its trick - hopefully.
How it performs i don't know, but i sure would love to hear some testing reviews.
You can just try it out. And if you deactivate the effect, it won't bother your performance at all.
I have an already pretty nice setup (which is too dark in darker scenes though) I don’t want to mess up, but as soon as I have some time to play I’ll back it up, check out yours and will give you feedback! It might take a few days though.
Then was blown away even more when I saw it gave me a 17 fps loss :( from 47 to 30.
4K, Ultra, DLSS Balanced, HDR off, RTX off, on a 3060Ti
Will try around with setting DLSS to Performance and other settings and see if I can get it to at least 45.
Edit: Couldn't get above 40fps even on Medium/High settings and DLSS Ultra Performance, without color correction.
The other two most performance-heavy shaders are the ones that make this preset shine, so I just couldn't turn them off.
And trying to go back to 1440p is impossible after being spoiled by 4K for a month.
Endorsed tho! Awesome work :)
to fix what you are describing i can recommend https://www.nexusmods.com/cyberpunk2077/mods/2375
the lut is also just a standard lut that comes with that .fx , i only changed parameters on how and how much it blends in with the original.
honestly, i dont know much about luts indepth and just used it as a cheap and fast solution against the green hint. i used it in another reshade (respectful reshade redux) and dont know how it does, but what it does came in handy. as a first and easy solution it does the job quite well imho. also i dont want to eliminate all green - it seems to be emmited mostly of the normal neon lights and it gives a quite nice feel. just a bit to obvious imho, and so i left a tiny hint of it which imho feels great and gives athmosphere.
i now read it as the modern neon lights of the future emit some green undertone, and the light smog of the city colours everything a bit. like modern big cities do. as i write: i dont want to overdo things, this is a subtle but quite complex reshade to develope what a game gives.
i want to do better colour correction tho when i have time, and learn about luts in general.
do you have links for a some ground information and introduction to that topic?
keep it at the top of the list.
It has a box that says display lut. check that on, and set the two numbers to 32 and 32
Should see a box across top of screen. thats the lut.
make your normal adjustments just avoid any shader that will distort the lut like blurs or anti aliasing.
Once you are done, save a screen shot of the game with the lut showing.
Take that screen shot into a photo editor , and crop away the image leaving exactly the lut.
save it with a easy name as a png.
then put that into Texture folder of reshade.
start the game, start a lut shader, for starters try LUT.fx.
set its two numbers to 32, 32
and extend the drop down for preprocessor definition
replace the name "lut.png" with the name of your lut. and make sure it has the quation marks, and the extention .png so like "mynewlut.png" press enter in that box for the name to stay. that should be it. start LUT.fx in the shader list, and adjust its two sliders to tastes and test your lut out.
Can even do the same process in a photo edit software, with the base lut with no change, and just take that and the screen shot into a photo edit software and do the lighting adjustments in that too. should work just the same.
Now all you share with people, is the png lut. thats it. and tell them what shader to use to display it, like LUT.fx
nice, that will look this way up when trying to correct the colours manually. thought of .fx like lightroom to try out.
is this the way luts in film software works too? it is like saving a logical adjustment-preset as a picture, that a lut-programm (like on field monitors) then can understand?
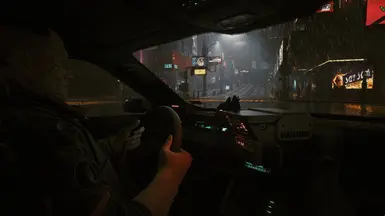
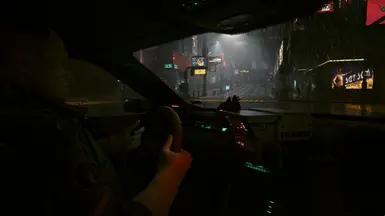
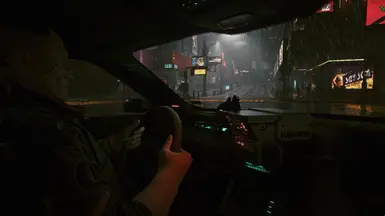
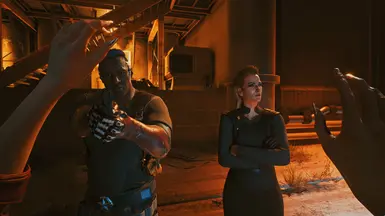
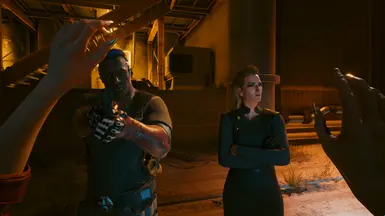
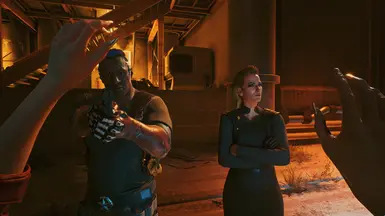
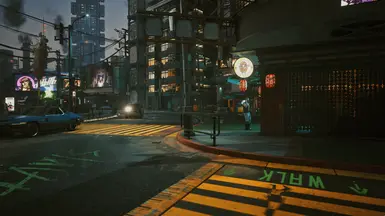
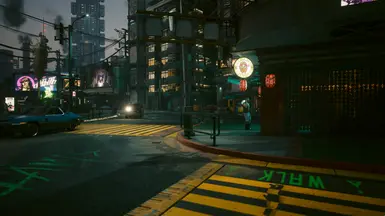
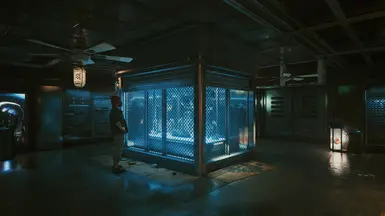
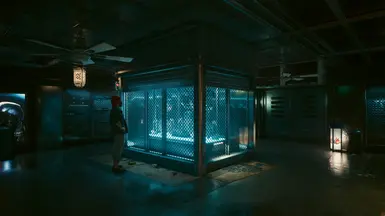
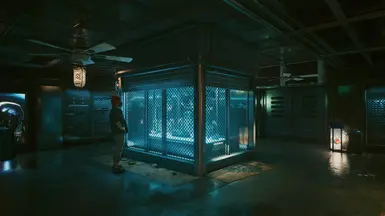
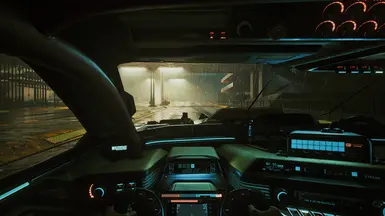
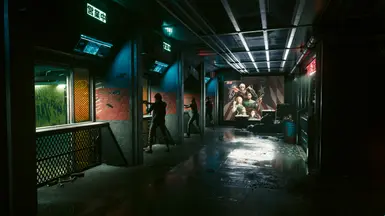
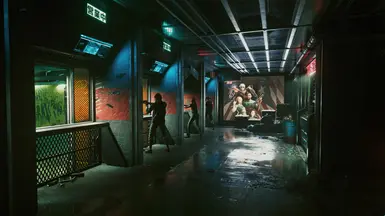
One view (either on or off, I cannot tell) is quite a lot darker than the other, with much more deep contrast, darker in the shadows and more blue tones and the opposite one has more 'warm' light to it and appears more saturated, is overall brighter with a slightly more 'green' tone. I assume the darker more contrast one is the 'On' with the mod and the other is the vanilla game? but can you confirm which is on and which is off?
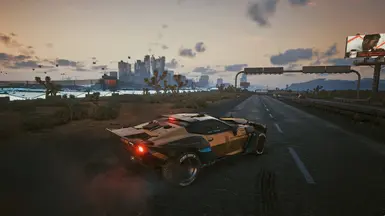
I am using the Blade Runner weather mod which I installed today, and the neon umbrella_.archive so this reshade really looks good with the rain at night, surfaces, roads, metal and stone all look very good. Good reflections on vehicles.
The only thing I didn't quite get with the instructions was when you are installing the masterfilter and prior to that you say 'uncheck all' then 'check all' .. I didn't have all those effects inside Reshade installed before, but it didn't say to uncheck them again so I assumed you had to install them all. Whatever, the result seems a lot more detailed than before using my previous reshade mod...I installed this on a machine with an Nvidia 1070Ti armor card to compare to your screenshots and it produced 36-50 fps according to the reshade monitor setting.
Thanks for your work and the detailed load instructions and set up guide
Indeed. Please sharpen your senses. No offense.
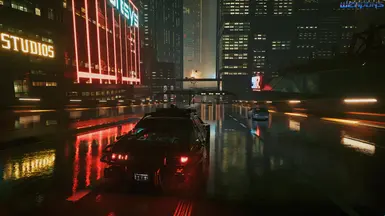
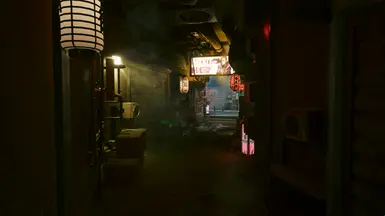
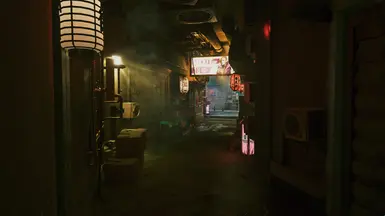
This is a quite subtle reshade, but when you dont see any difference, you really should calibrate your monitor or don't look on it on your smartphones. Look in the TL;DR-part of the Description on what it does and try to watch details, and how they change. Especially light sources and fog should - unaffected from your personal hardware - show more detailed. And the first screenshot should show how the shadows are lifted and how the outside of the car is way more defined and the dynamic range is used way better.
It makes so much more than "everything just became brighter."
And as I write in the installation description - point b):
If the game looks too bright for you, just alter the curves.fx a little bit.
I indeed willingful raise brightness a tiny bit, but this is my personal taste on how i develope my images.
But you can quick and easy restore the originals luminance by alter curves.fx - and you still will have the improvement in 3d-perception, flow of light, materials and overall development of image quality.