Documentation
Readme
View as plain text
EN
Hi, here I will try to describe briefly but informatively how to change the texture and create a mod using the method I used.
1. First, you need to create a project in WolvenKit (1 picture).
2. After that, in the new project, you need to find and add the tattoo texture that will be replaced, for this in "Arhive Name" you need to find this texture (location is shown in number 4) and transfer it to the project. (2 picture).
3. In order to get PNG from XBM format, you need to export the texture (3rd picture), if you did not change the folder locations when installing WolvenKit, then the texture will be located at the following path C:\Users\You user name\Documents\Project Name\source\raw\base\characters\common\character_customisation_items\tattoos\face\textures
4. Open any image editor (in my case, Photoshop) and create the necessary texture, for my tattoos I used "head_tattoo__customisation_02_d02". It is worth noting that the texture is mirrored on the second half of the face, and also bends it. (3rd picture).
5. After creating the texture, export it in PNG format from a graphics application, and overwrite the texture that we took as a basis, the main thing is not to change the location (4th picture).
6. Next, we add our texture to our project, for this we import it, to make sure that the necessary texture has been added, you can look in the preview window (picture 5).
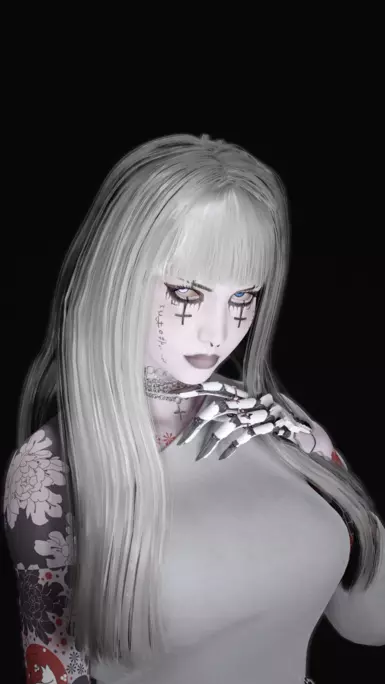
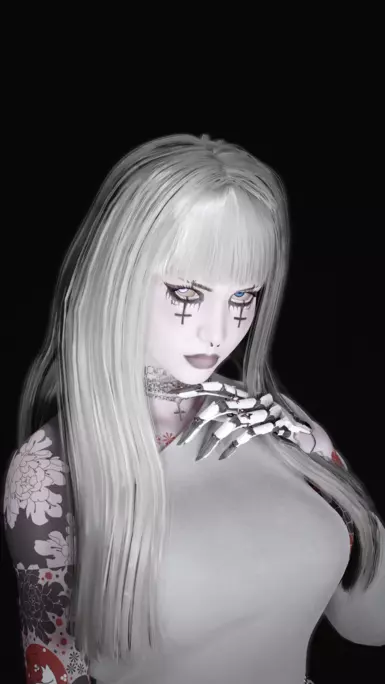
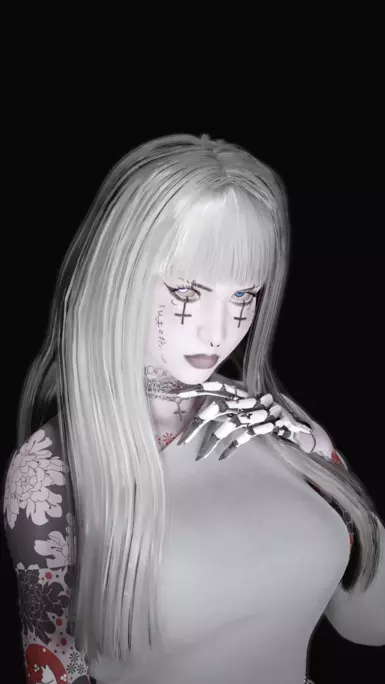
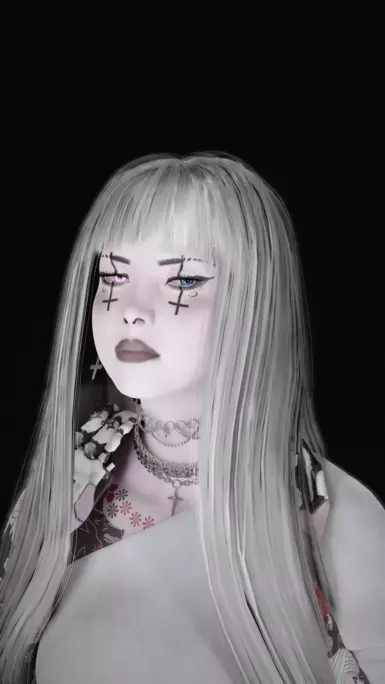
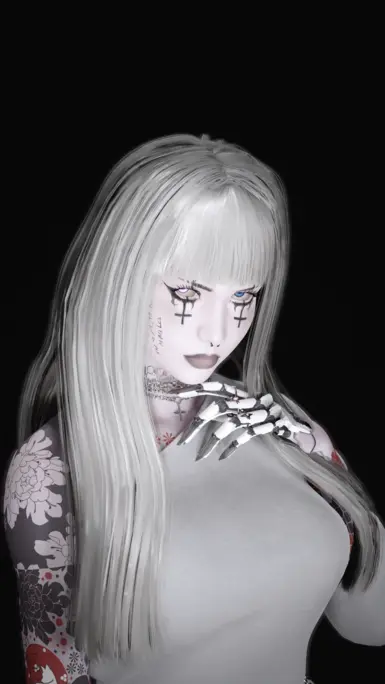
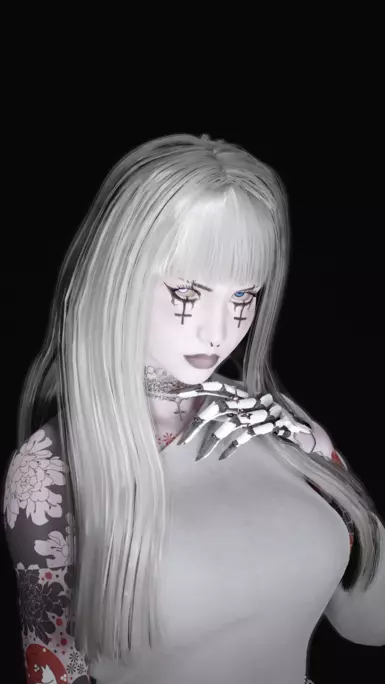
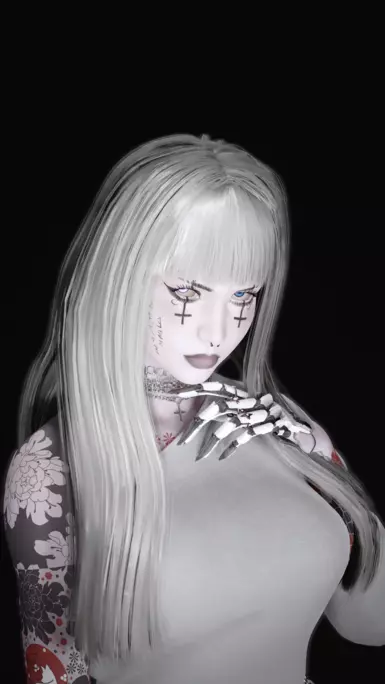
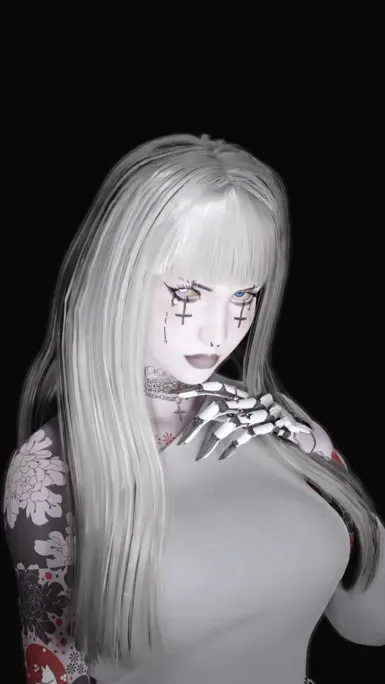
7. Install the mod and check in the game (picture 6).
I hope we will succeed the first time :)
RU
Привет, тут я попытаюсь расписать кратко но информативно как изменить текстуру и создать мод методом которым я воспользовался.
1. Для начала тебе необходимо создать проект в WolvenKit ( 1 картинка ).
2. После в новом проекте нужно найти и добавить текстуру татуировки которая будет заменена, для этого в "Arhive Name" необходимо найти эту текстуру (расположение показано на цифре 4) и перенести ее в проект. ( 2 картинка ).
3. Для того чтобы из формата XBM получить PNG, необходимо экспортировать текстуру ( 3 картинка ), если вы не изменяли расположения папок при установке WolvenKit, то текстура будет находится по следующему пути C:\Users\You user name\Documents\Project Name\source\raw\base\characters\common\character_customisation_items\tattoos\face\textures
4. Открываем любой редактор изображений (в моем случае фотошоп и создаешь необходимую текстуру), для своих татуировок я использовал "head_tattoo__customisation_02_d02". Стоит обратить внимание что текстура зеркалится на вторую половину лица, а так же ее изгибает. ( 3 картинка ).
5. После создания текстуры экспортируем его в формате PNG из графического приложения и перезаписываем текстуру которую мы брали за основу, главное не изменяйте расположение ( 4 картинка ).
6. Далее добавляем нашу текстуру в наш проект, для этого импортируем ее, чтобы убедиться что добавилась необходимая текстура можно посмотреть в окно предпросмотра ( 5 картинка ).
7. Устанавливаем мод и проверяем в игре ( 6 картинка ).
Надеюсь у нас все получится с первого раза :)


