thats okay, you just need to duplicate the material and replace the images used by it. there are plenty of tutorials online that can help you get better antiquated with blender.
I'm having trouble with baking my maps and I've combed through the guide for hours trying to figure out what I'm doing wrong. When I bake them, they come out sort of full color, like this:
I know this post is old but just in case others have this issue (especially if you're like me and new to Blender), what fixed it for me was unplugging the Diffuse BSDF from the Material Output and replugging it back in T.T
I think its a result of me having to omit the eye shader's parallax occlusion from Blender recreation, as I wasn't able to get it looking right. I have heard a few people mention the issue before, so I am pretty sure that it's not on your end. When I come back to this project I'll have another look at it.
E: Question remove because I was stupid and worked it out myself. Thank you for providing this wonderful tool to the community, you're doing the lord's work.
heya, I saw your original comment and forgot to reply as it was early in the morning for me, apologies. But I just wanted to jump in and say that you're not stupid for not knowing something, there are no bad questions asked in good faith. I am glad that you where able to sort out your problem yourself, and I am glad that you are enjoying the tool. If a future update I may add a part in the guide that talks about installing legacy addons + how the Norbyte's tool is compatible with newer versions of Blender even though it says version 3.6 as a few people have gotten confused about that.
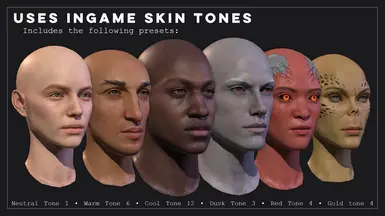
OK, so loading textures is generally OK, so far so good, I can see clearly I'm loading the correct maps for a correct character... But then, how do I handle color for a githyanki and their spots? I see there is a "Gith spots" item in the shader settings but I don't understand how to use it (and I think I'm missing the spot map, as I can't see them in the basic four map files [CLEA, HMVY, NM, MSK]). So... How do I handle the toad-colored spotted gith with this great tool? :)
You need to make sure that your texture maps are set to non-colour (unless otherwise specified). To change a skin colour from the defualt preset to another provided preset, look for the node group plunged into the skin shader labelled "skin colour", then at the bottom of that node click the checkered circle icon to open a drop down menu to show a list of all available node groups inside the file, select any node group with "skin:" in its name to change to that preset.
For Blender 3.6 I had similar issue, however it wasn't the non-colour fix. I had to remove the MSK and MSKA/MSKA Alpha. As show on the BSDF shader. Character on the right is the fixed and the character on the left is the one with the issue.
Awesome Toolbox.
Edit: Don't remove the MSK and MSKA/MSKA Alpha. On skin_shared_shading_MSKA texture image, set it to sphere instead of flat. There will still be a slight imperfection mesh, but hardly noticeable. But if you don't want any color issues use above method.
Thanks to Volno for clarify that the shaders were made for blender 4.0.
you are using an older version of blender, changes to the BSDF shader where made in version 4.0 which I believe is the cause of the issue with subsurface scattering you have pictured. Please upgrade your version of Blender to the latest version. Additionally, there is separate MSK/MSKA map for bodies that you will need use instead. (the one included in the toolbox is specific to heads).
I do have 4.0 but because of some add-ons I can't use it. If they ever update them I'll switch over. But at least for now I can still work with your toolkit. I did figure out a slightly better way. On skin MSKA I set it to sphere instead of flat, there is still issue on the left hand but only minor, hardly noticeable.
Never mind me, I just realized I was following your guide but not by your blend file, and I just discovered padme video.
But anyway thank you for your hard work, I see this has been great help for new modders, hopefully I managed to use it, since I'm very veeeery new in anything 3d
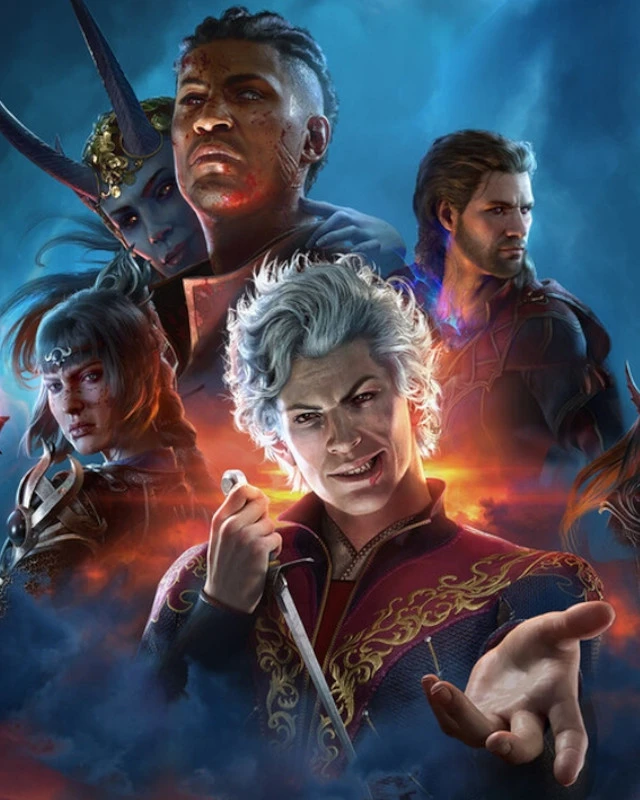


162 comments
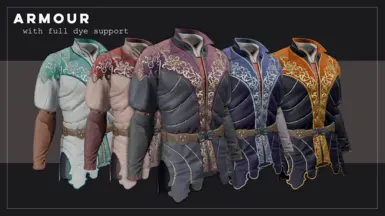
Thank you so much. Would you consider doing something like this for body models?
there are plenty of tutorials online that can help you get better antiquated with blender.
I'm having trouble with baking my maps and I've combed through the guide for hours trying to figure out what I'm doing wrong. When I bake them, they come out sort of full color, like this:
https://imgur.com/a/8E7rSle
Any ideas what I'm doing wrong here??
But I just wanted to jump in and say that you're not stupid for not knowing something, there are no bad questions asked in good faith. I am glad that you where able to sort out your problem yourself, and I am glad that you are enjoying the tool. If a future update I may add a part in the guide that talks about installing legacy addons + how the Norbyte's tool is compatible with newer versions of Blender even though it says version 3.6 as a few people have gotten confused about that.
So... How do I handle the toad-colored spotted gith with this great tool? :)
I had similar issue, however it wasn't the non-colour fix. I had to remove the MSK and MSKA/MSKA Alpha. As show on the BSDF shader. Character on the right is the fixed and the character on the left is the one with the issue.
Awesome Toolbox.
Edit: Don't remove the MSK and MSKA/MSKA Alpha. On skin_shared_shading_MSKA texture image, set it to sphere instead of flat. There will still be a slight imperfection mesh, but hardly noticeable. But if you don't want any color issues use above method.
Thanks to Volno for clarify that the shaders were made for blender 4.0.
I am glad that you are enjoying the toolbox!
I do have the same problem.... all textures are .png and setted to "non-colour" T.T
But anyway thank you for your hard work, I see this has been great help for new modders, hopefully I managed to use it, since I'm very veeeery new in anything 3d